
As the world battles the Covid-19 pandemic on a war-footing, people have adopted Yoga as the means of boosting immunity and improving overall health. With its growing demand now might be the best time to launch your Yoga website. Having a Yoga website will increase your student base and allow you to build deeper relationships with them.
A website will also give more collaboration opportunities. You didn’t get into teaching yoga for the money. But, it does feel like it could be, well…a little more profitable, doesn’t it? You can now! Because the online yoga space is booming, as it has developed an incredible online community.
Yoga instructors who move to teach yoga online go on to earn an average of $5,000 a month.
I promise it’s really not as difficult to launch a Yoga website as you might think. This guide will lead you through all the steps needed to set up your own yoga website.
Let’s get started!
How to Create a Yoga Website Using WordPress
To start a yoga website, there are a few steps that you’ll need to follow.
1. Choose a Web Hosting Provider and Get A Domain Name
Before starting the website, the first step is to have a domain name and a reliable hosting plan. You can select a WordPress-friendly hosting provider like Bluehost or Kinsta.
For this tutorial, I’m using Bluehost as my hosting provider.
If you want to do the same, you can visit the Bluehost website and start the process by clicking the Get Started button. Or if you want, you can as well choose other hosting providers that suit your needs.
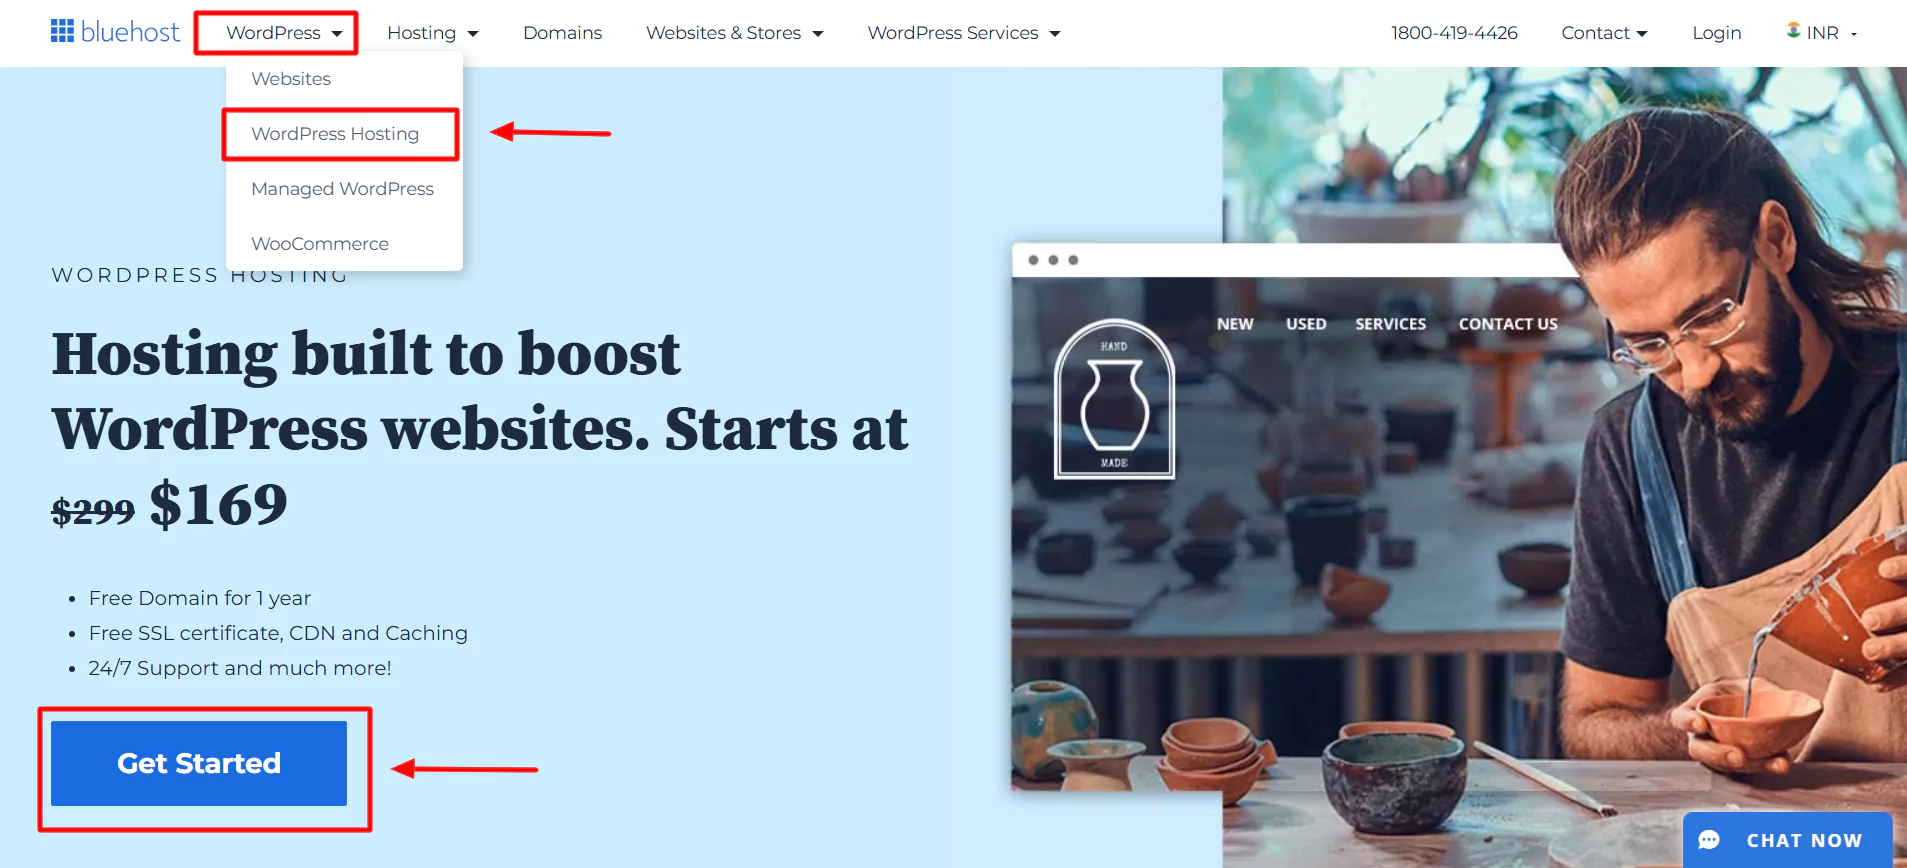
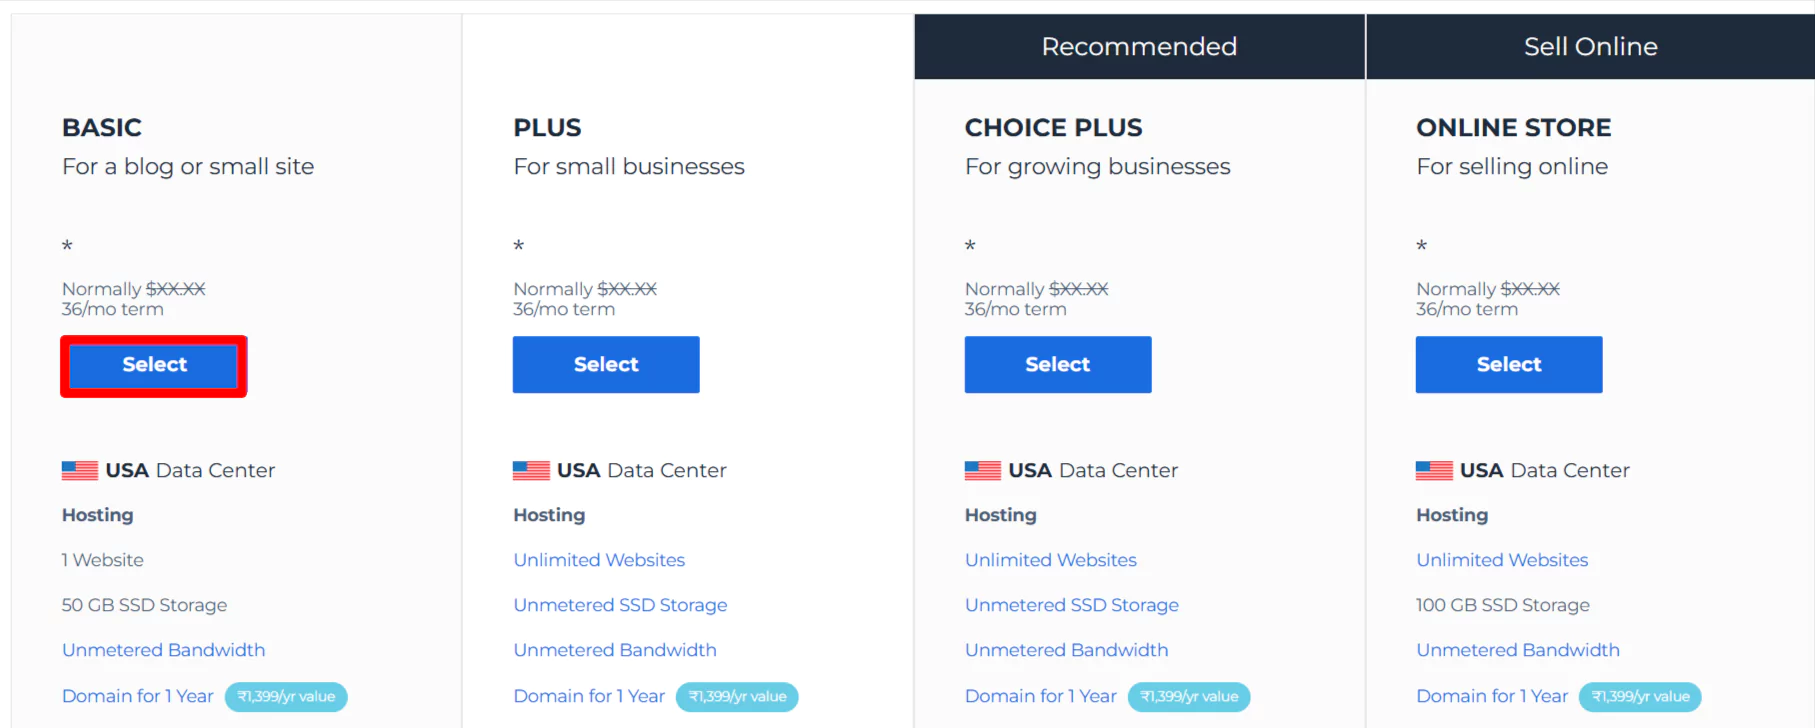
After clicking Get Started button, a pricing plan page will appear. Select the plan that fits your needs.
We recommend selecting the Basic plan, as this plan is flexible and better for small to mid size businesses. Once you have chosen the plan, enter the domain name you want.
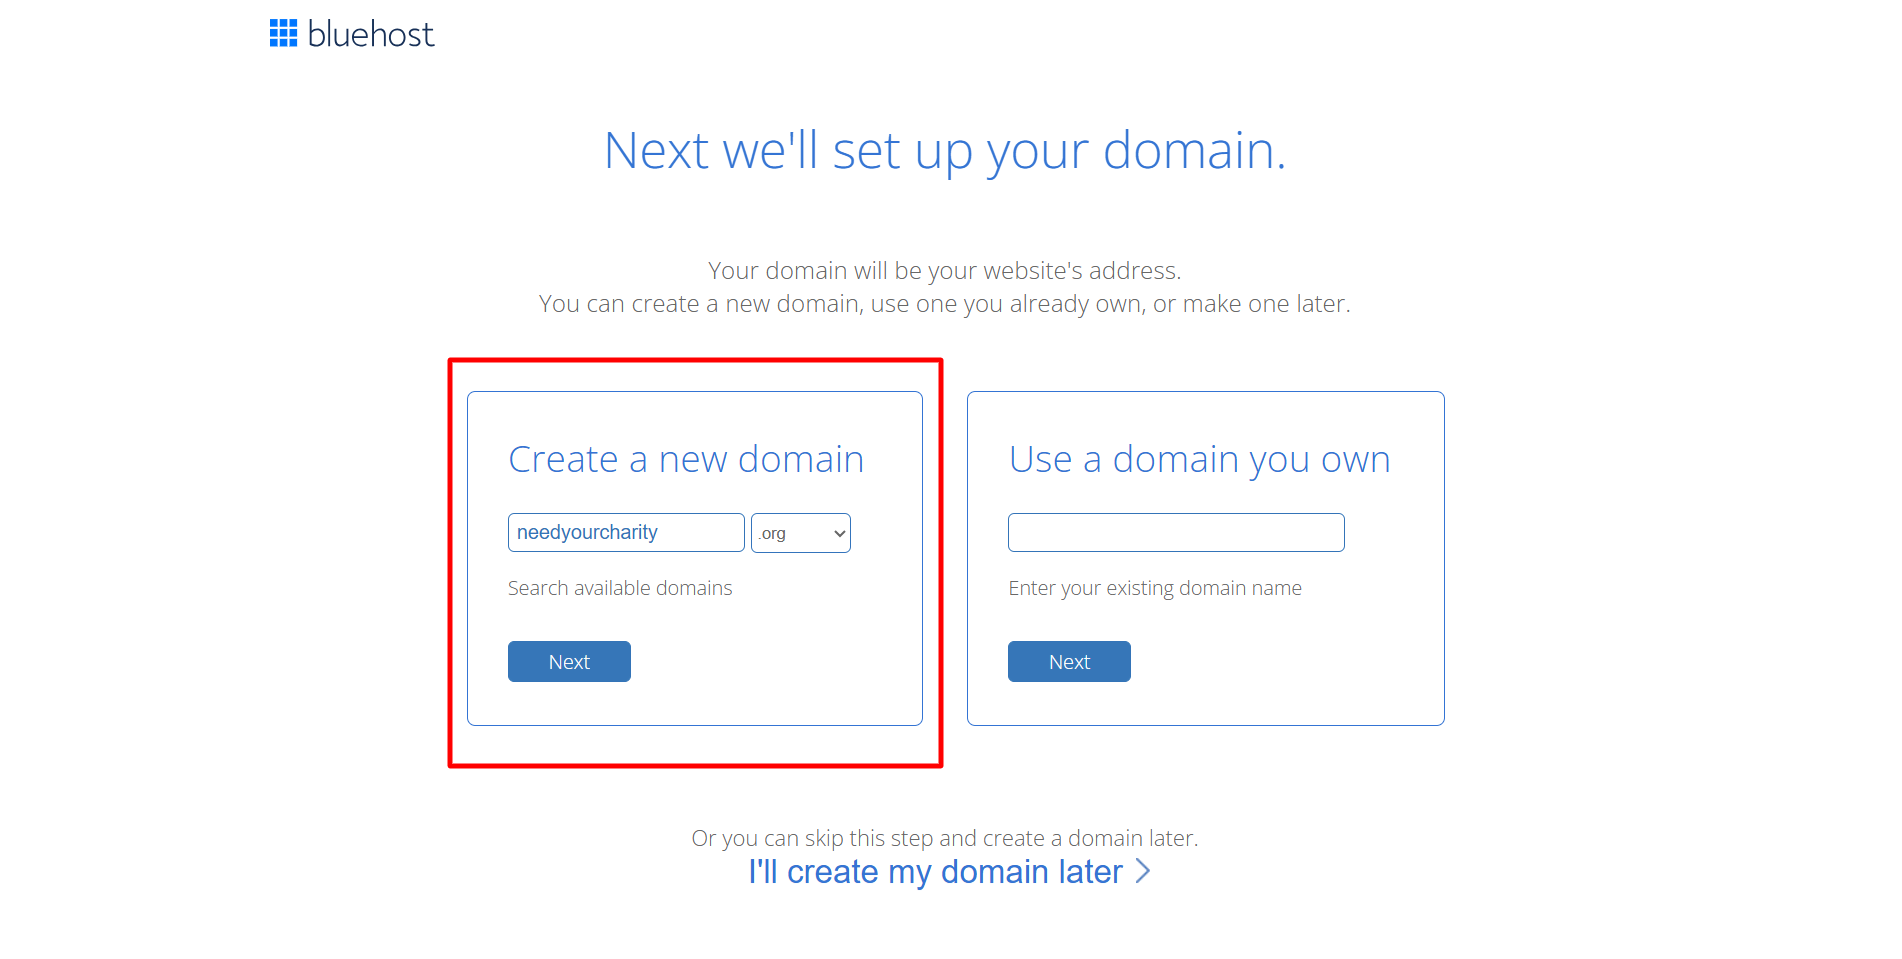
Now, you can create a new domain name for your website.
Click on Next.
Fill in all the required fields and submit your payment.
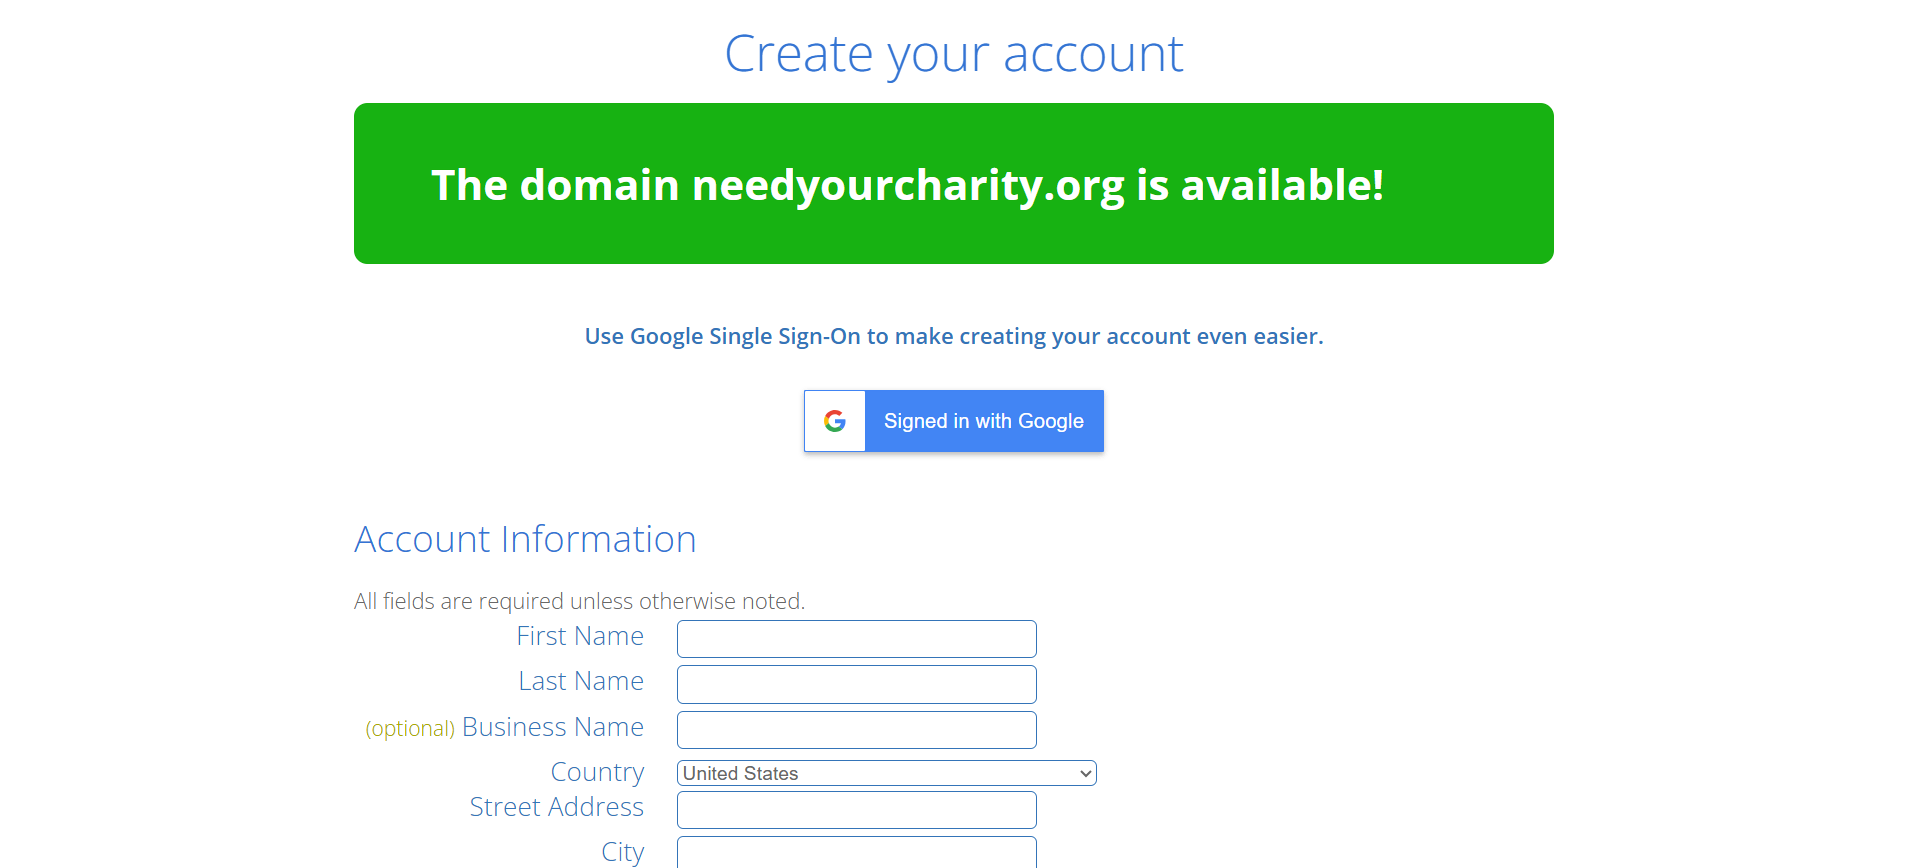
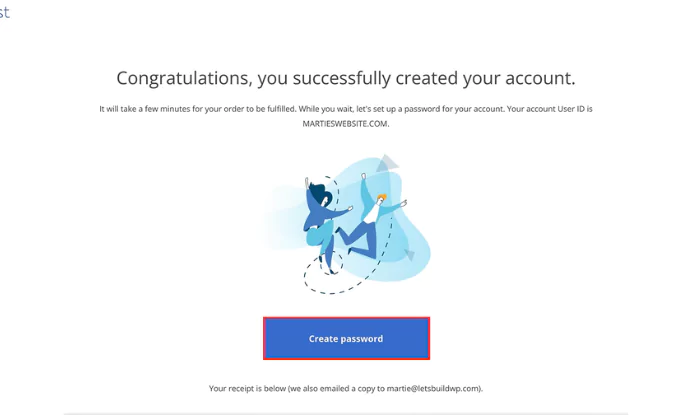
After completing the payment, you can create an account with Bluehost.
Click on Create password.
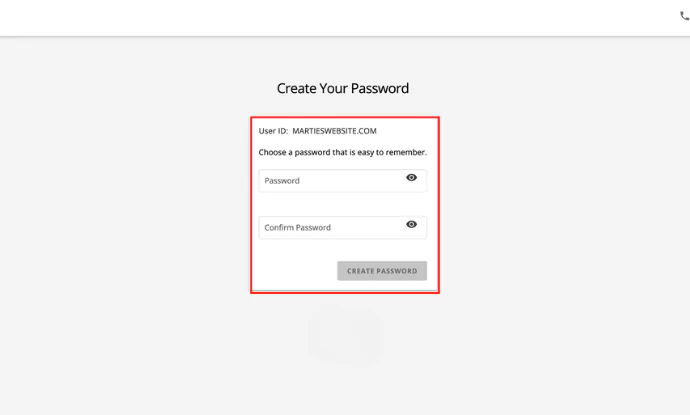
Enter your password, and you’re all done setting up Bluehost. Next, let’s look at how to download WordPress.
2. WordPress Installation with Bluehost
Once done with web hosting and the domain name, the next step is to install WordPress.
WordPress is easy to install with web hosts like Bluehost or Kinsta. These hosts provide one-click WordPress installation, making the process effortless.
For instance, if you have Bluehost, use the following steps to install WordPress:
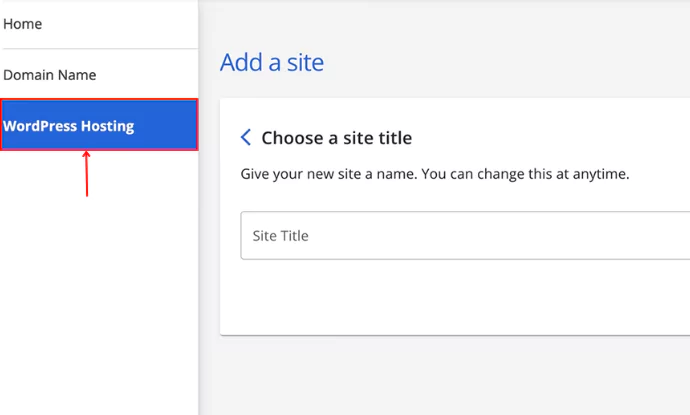
Select WordPress Hosting.
Click on Add Site.
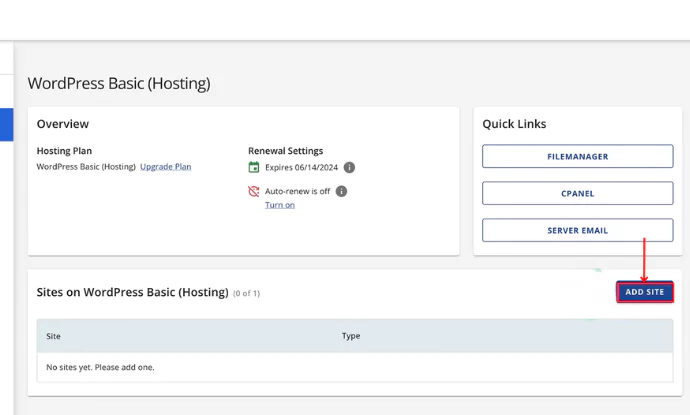
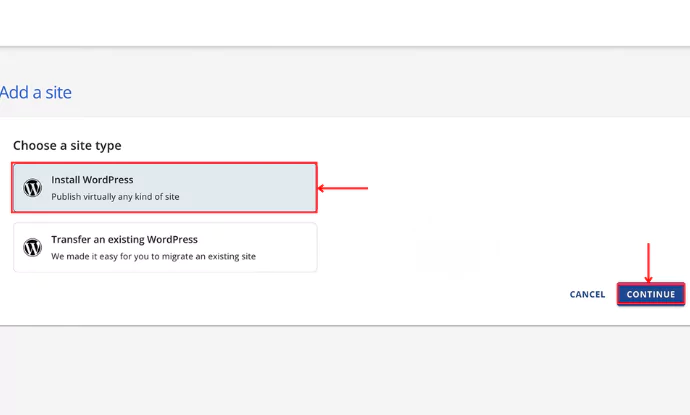
Click on Install WordPress > Continue.
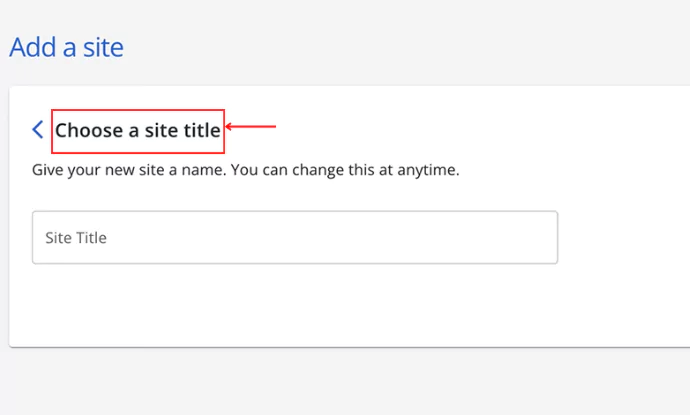
Give a name to your site.
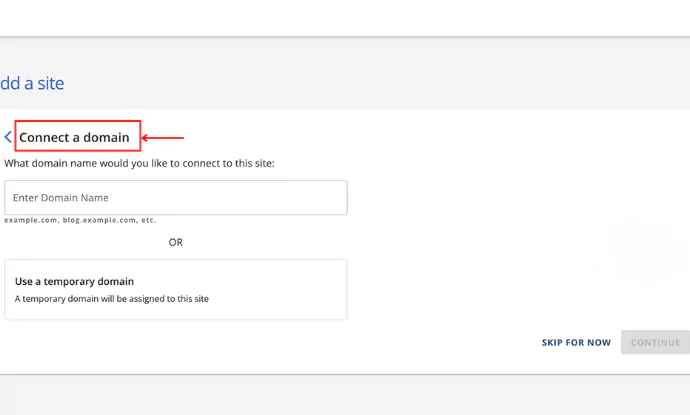
Enter the domain name that you wish to be addressed as and click Continue.
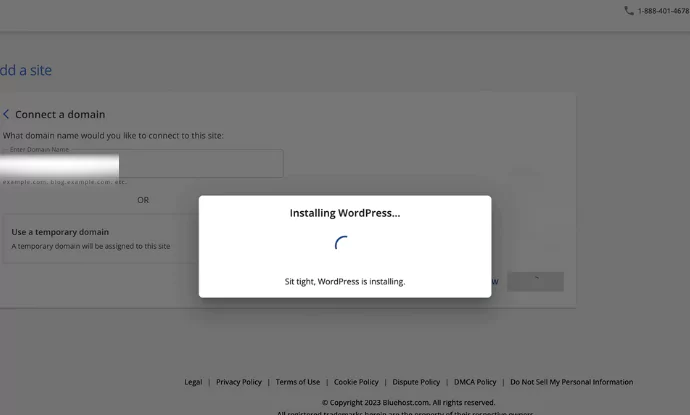
Once you click on continue, WordPress gets installed.
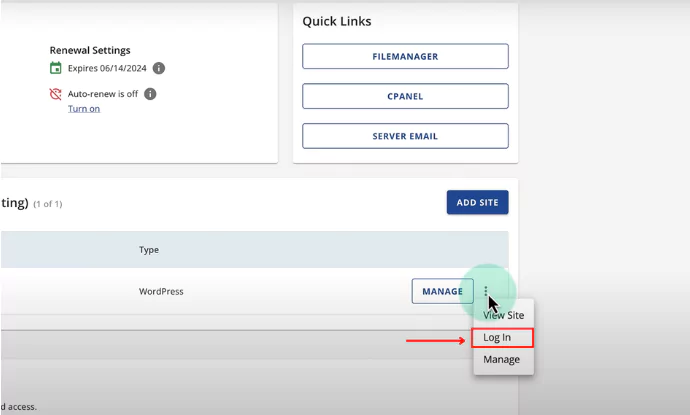
Click on the kebab menu and click on Log in.
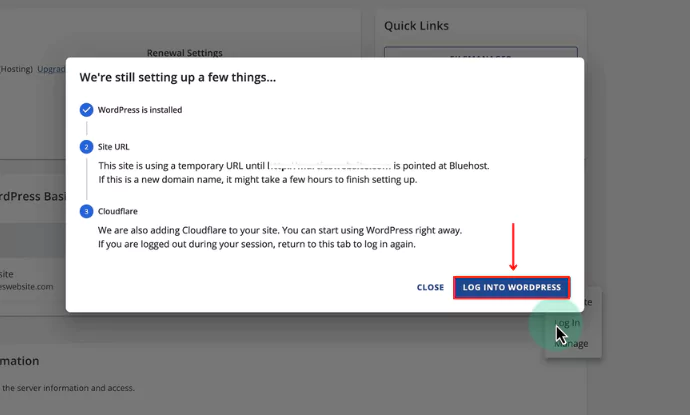
Click on LOG INTO WORDPRESS.
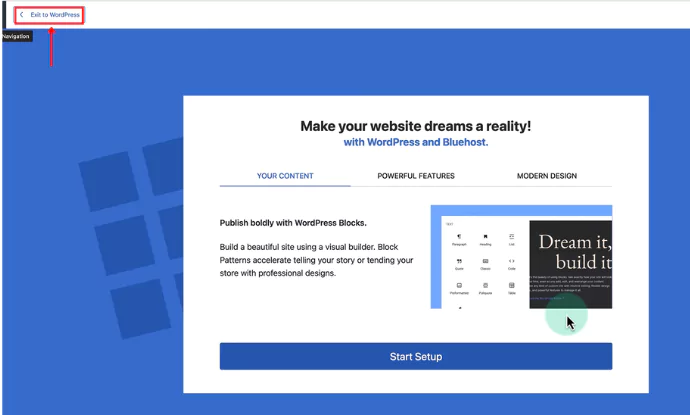
Exit to WordPress click on that.
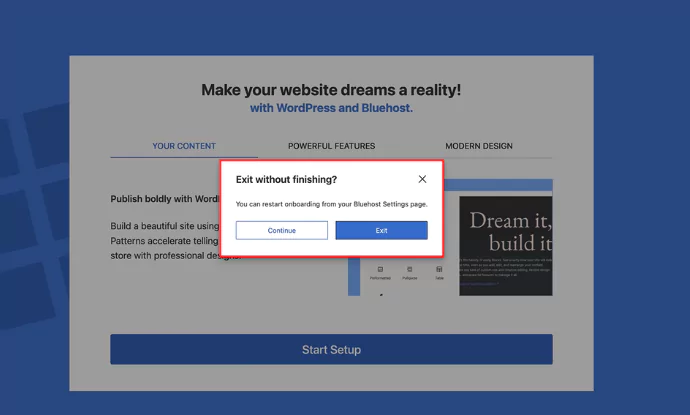
Exit, and you will be redirected to the WordPress dashboard.
3. Installing and activating Responsive free theme
Responsive theme is a free theme that is fast, reliable and help loiad all your content quickly. It comes with 250+ pro and free website templates that fit any kind of business niche. It also comes with tons of customization options. All you have to do is import any template and launch your website.
You can get a free copy of the theme from the website. Alternatively, you can also download it from the WordPress repository.
The other way to get Responsive theme is by doenloading from WordPress itself. Follow these steps below.
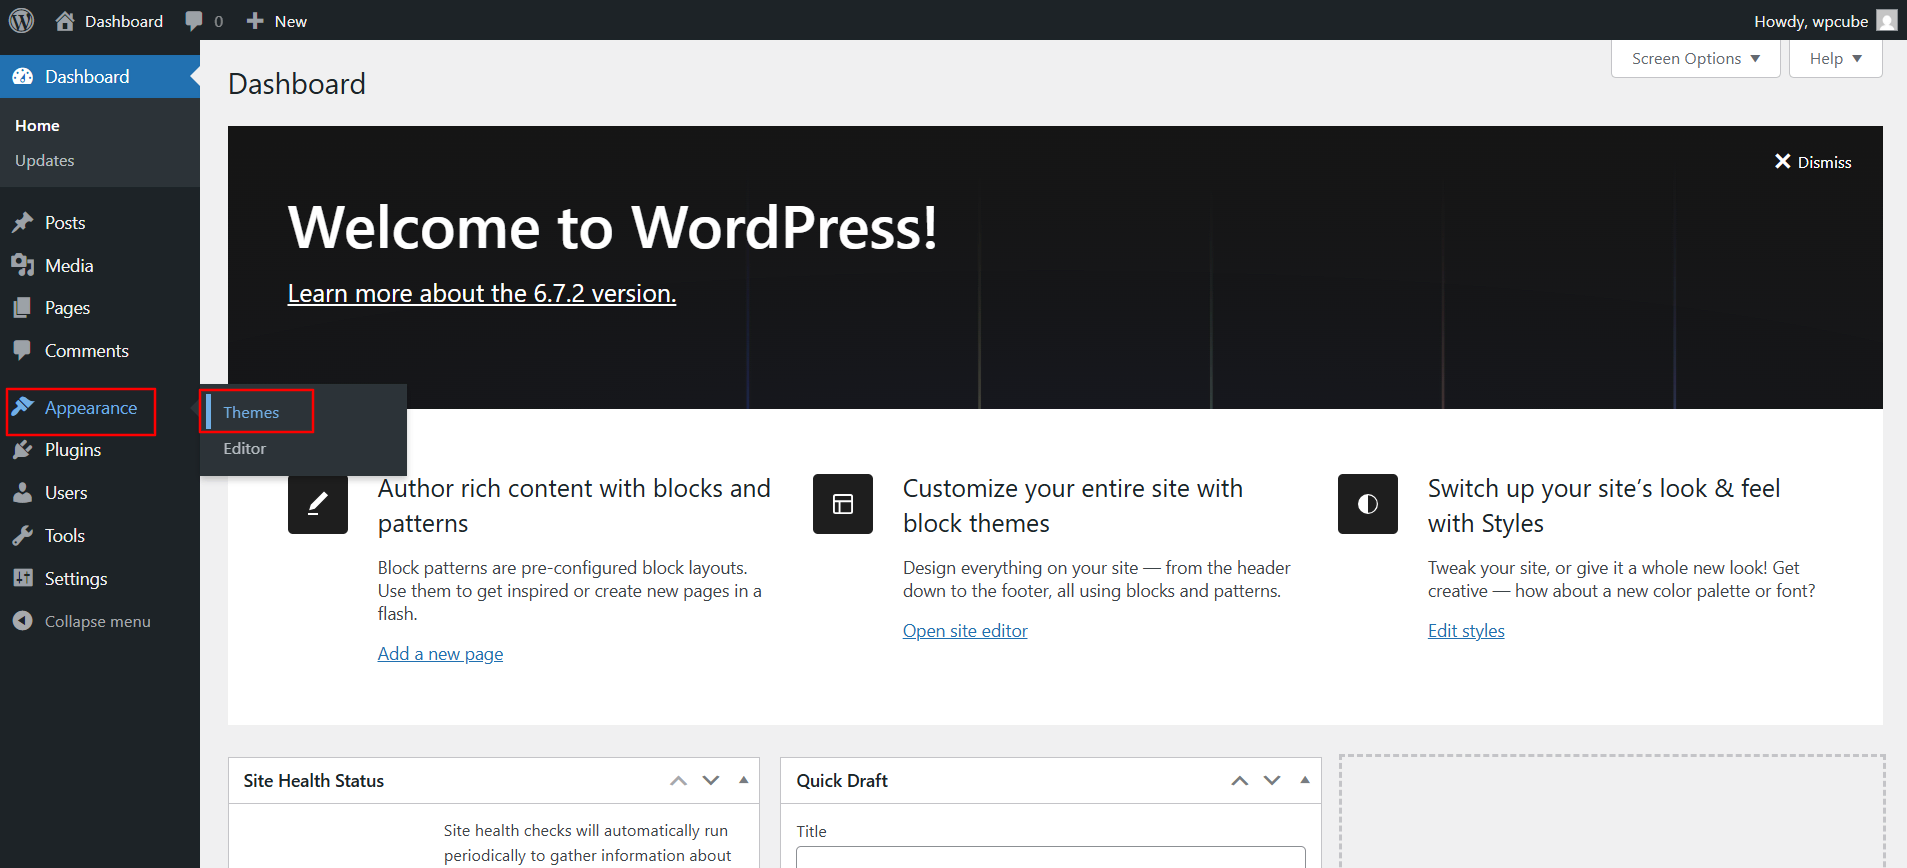
From your admin dashboard, navigate to Appearance > Themes.
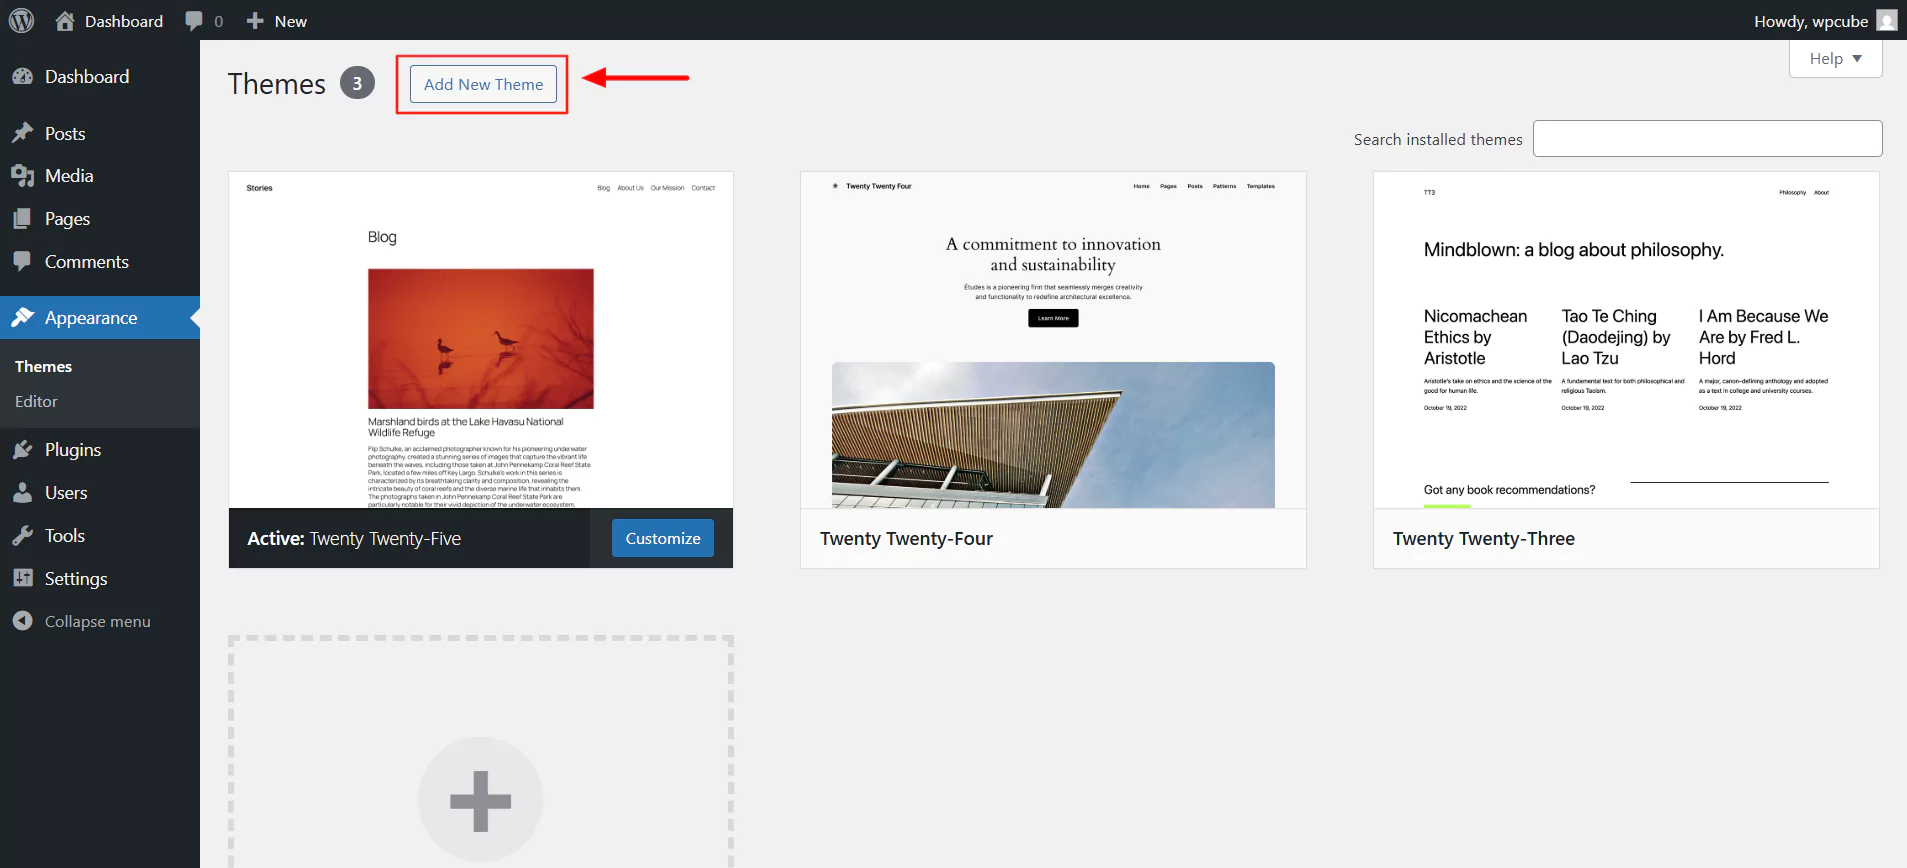
Click the Add New Theme button at the top.
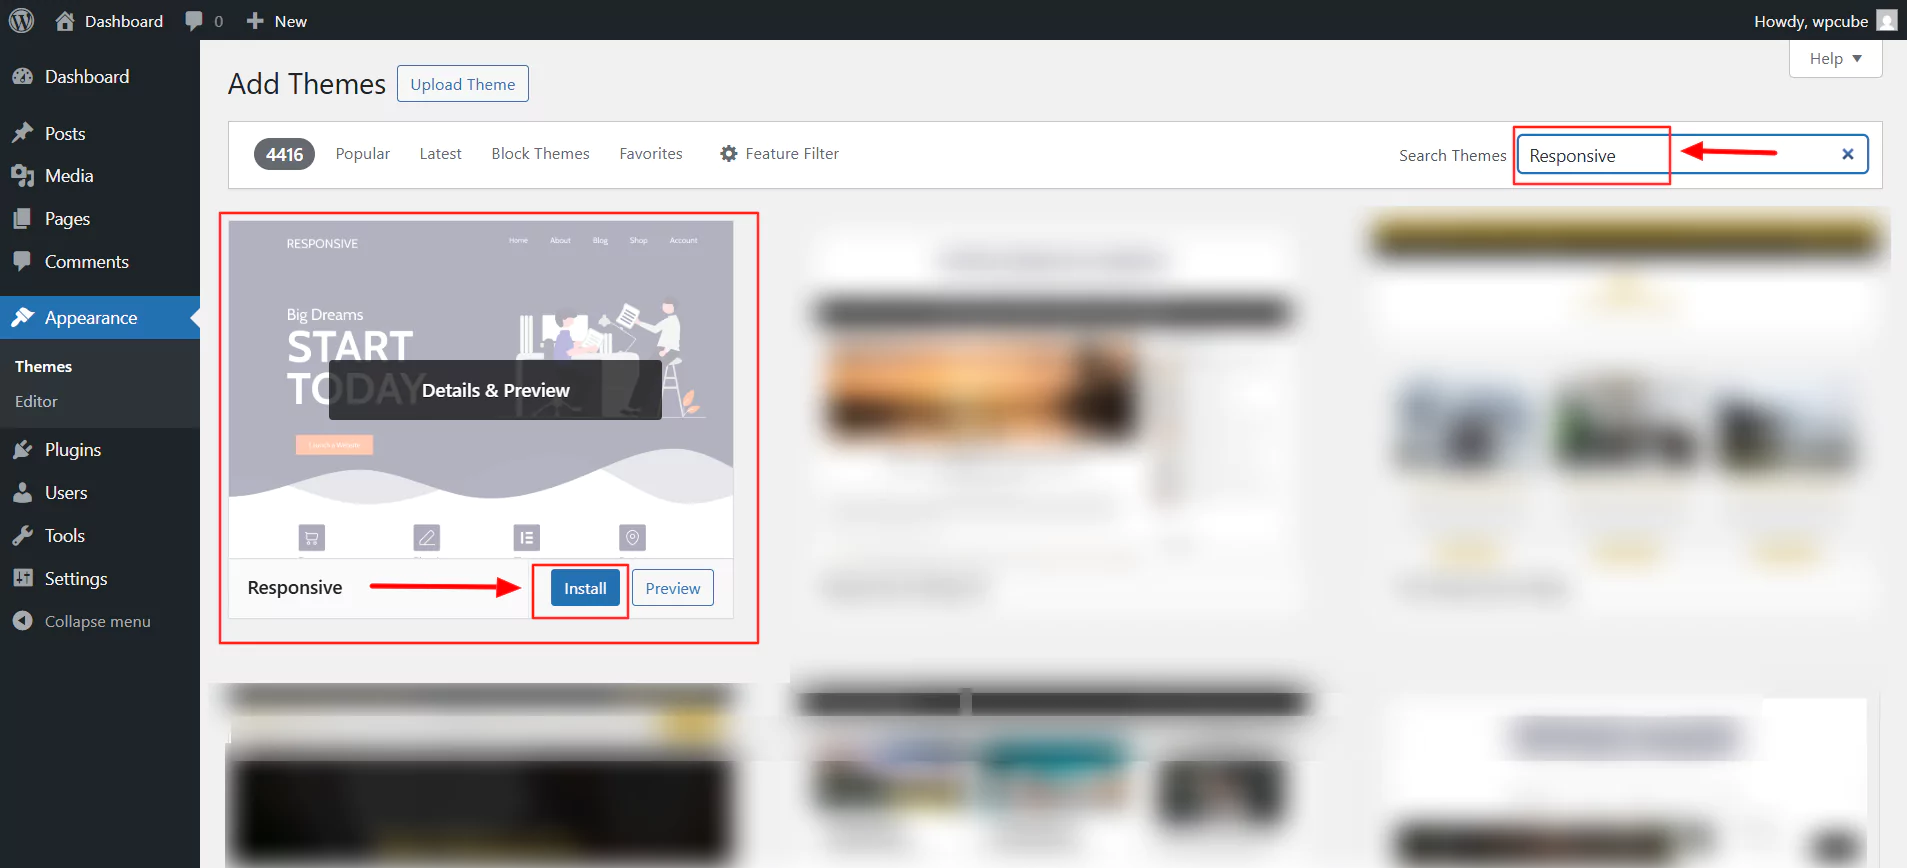
In the search bar, type Responsive and click on Install.
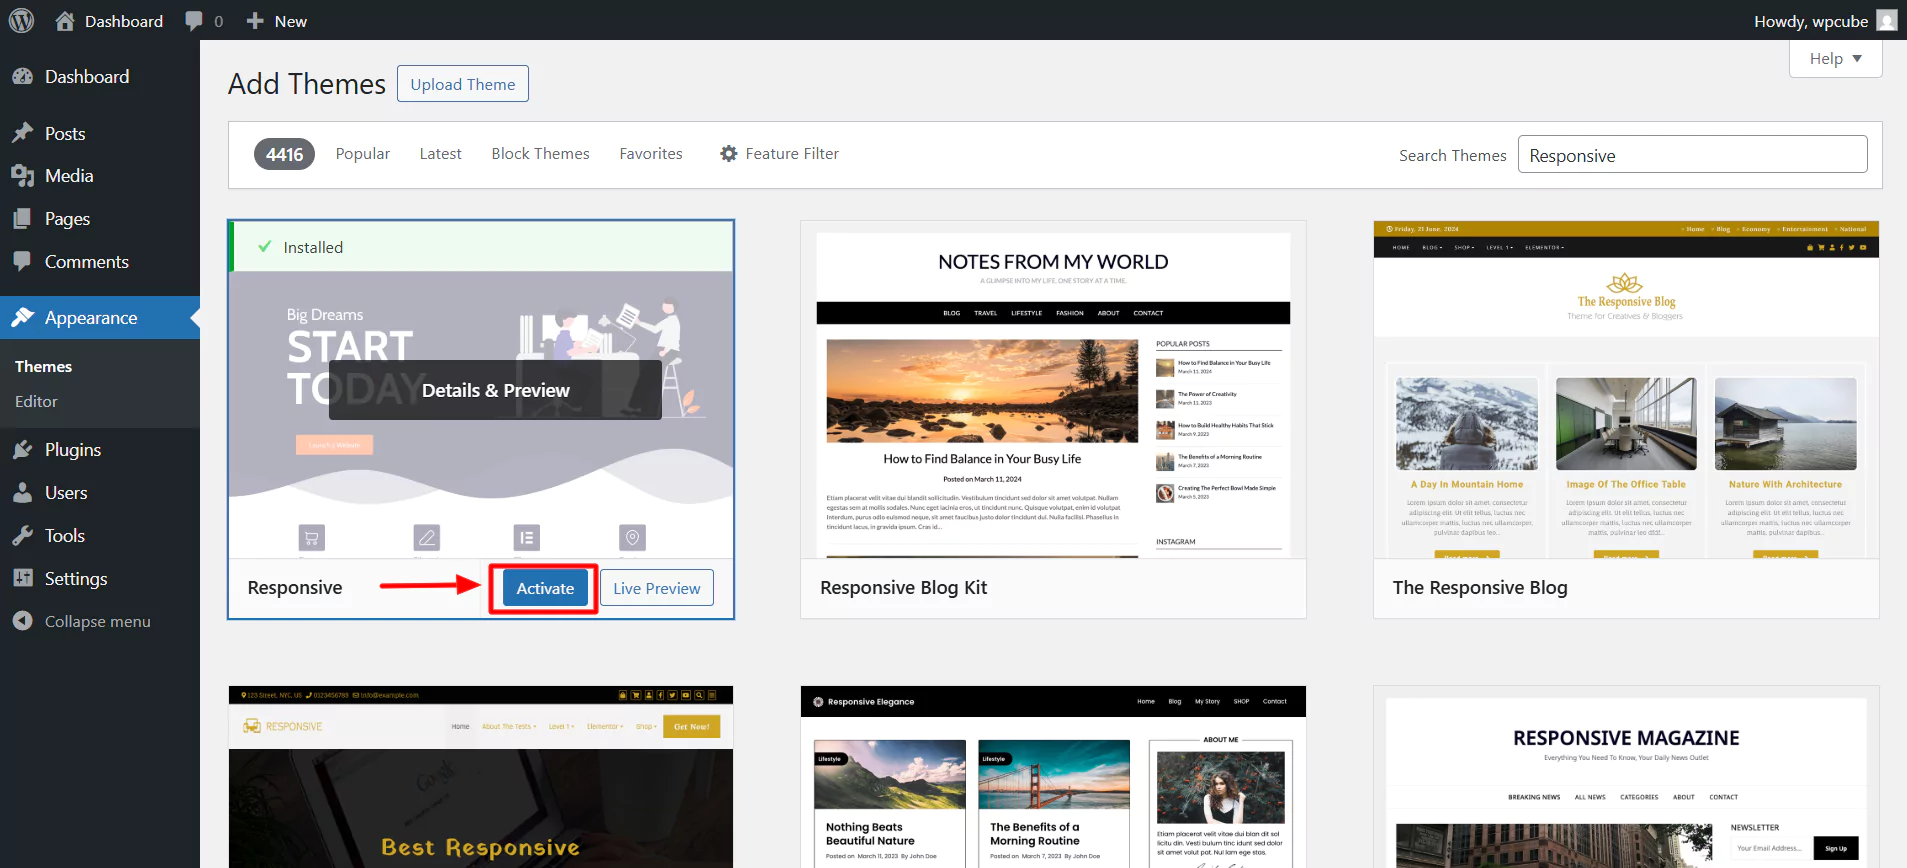
Next, click on Activate.
Click on Appearance > Customize.
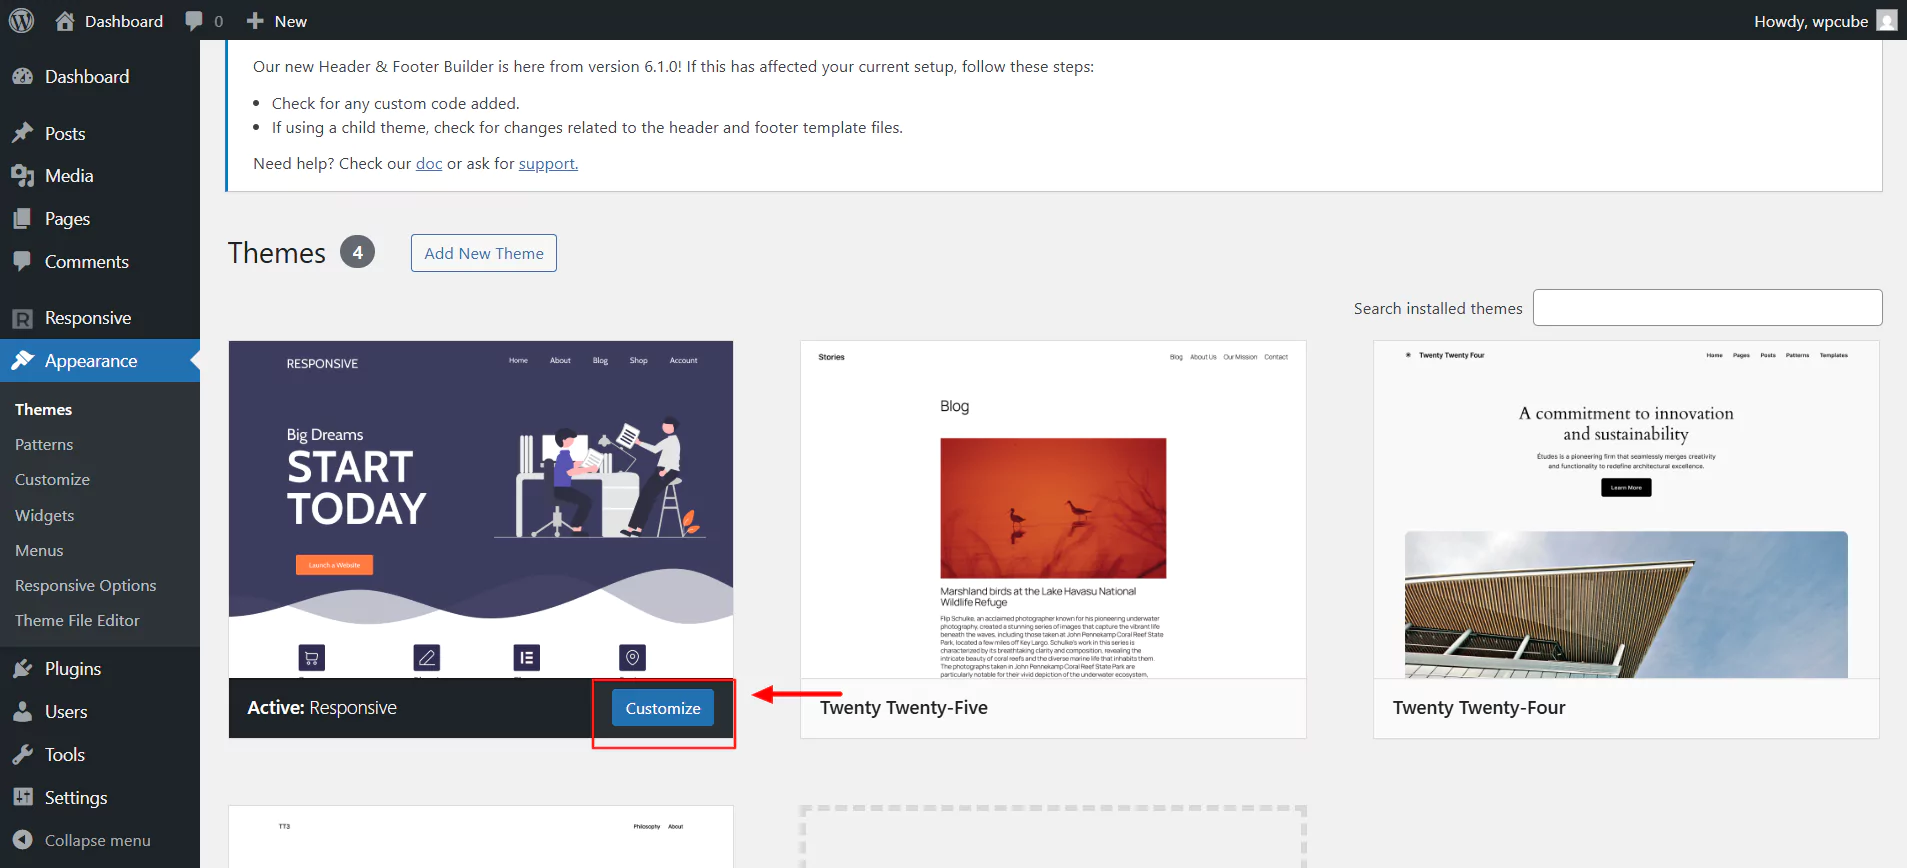
Once activated, you can now customize the website according to your needs.
4. Installing Responsive Plus Plugin
The Responsive Plus—Starter Templates plugin by Cyberchimps is a WordPress plugin that offers more than 250 fully customizable templates. To create any website, choose a template from the collection and click import. This one-click process enables you to make as many websites as you want.
Installing the Responsive Plus Plugin is simple.
Click on Install and Activate to install the Responsive Plus plugin from the dashboard.
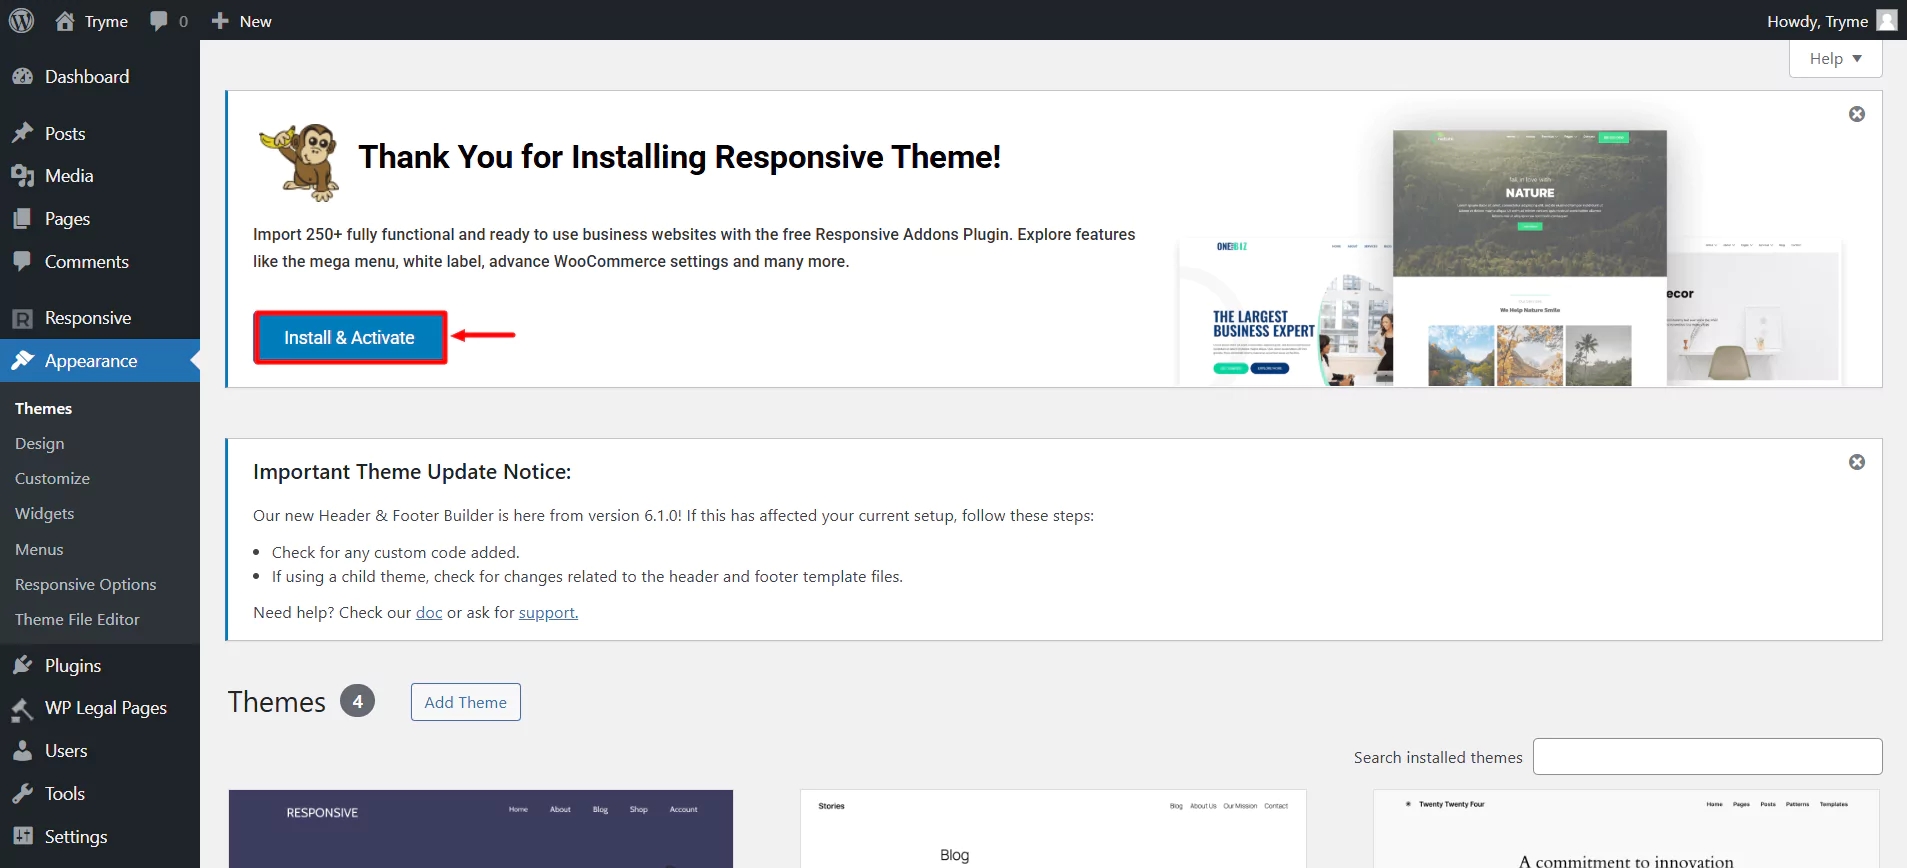
Once you’ve activated it, it’s time to choose a template and create a website.
Create a Responsive WordPress Website Using Responsive
5. Importing the Free Yoga ready site template
The Yoga instructor template enables you to create and sell your Yoga classes by launching a fully functional website within minutes. Get pre-designed home, about, contact, and blog pages that can easily be edited with the in-built Elementor page builder.
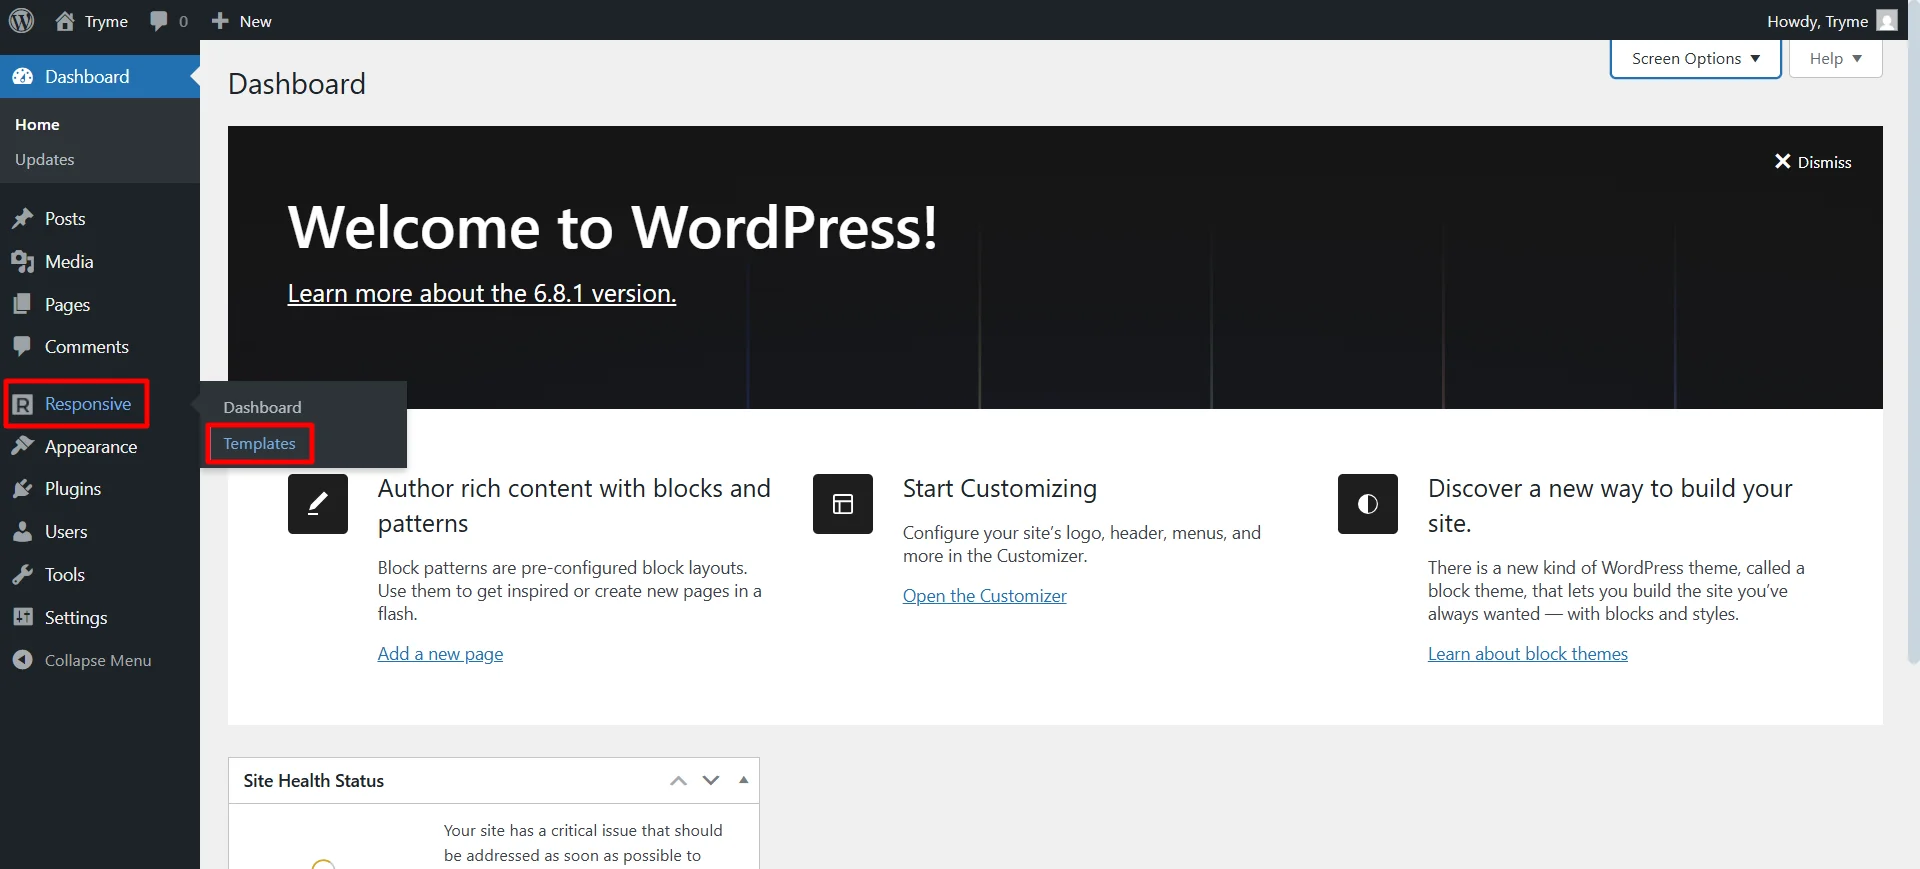
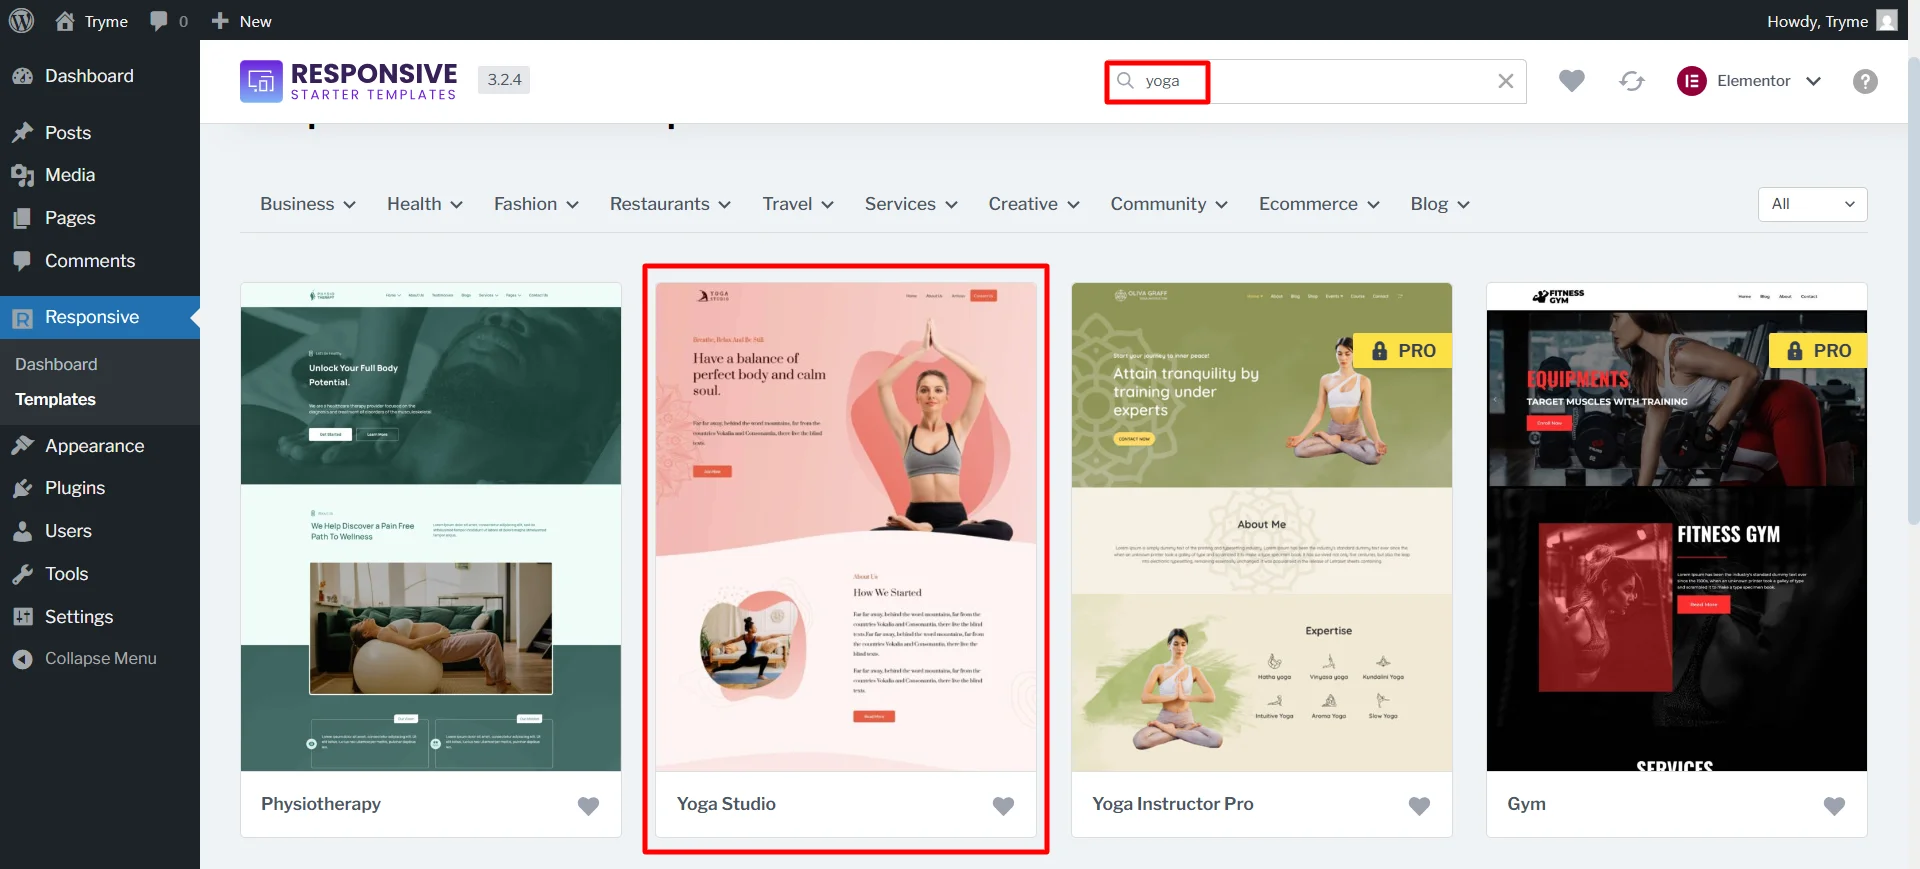
To begin with, head over to your dashboard. Hover on Responsive and click on Templates.
Search for yoga in the search bar provided above and click on the Yoga studio template.
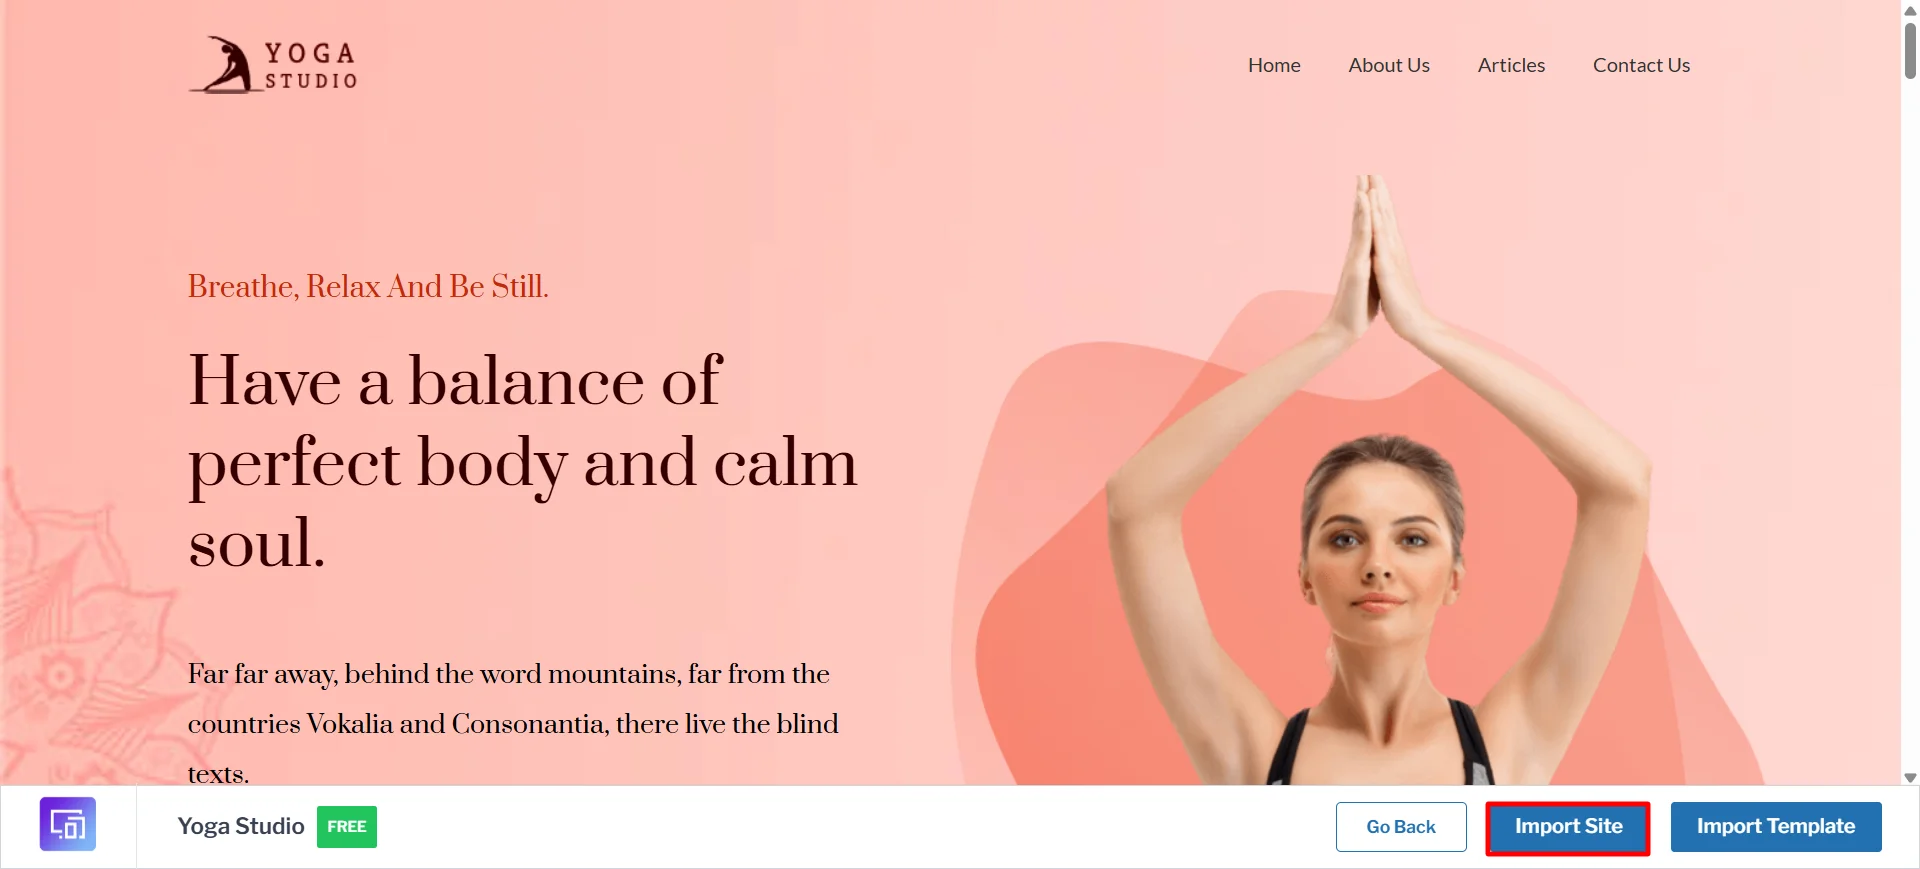
Next, click on Import Site button.
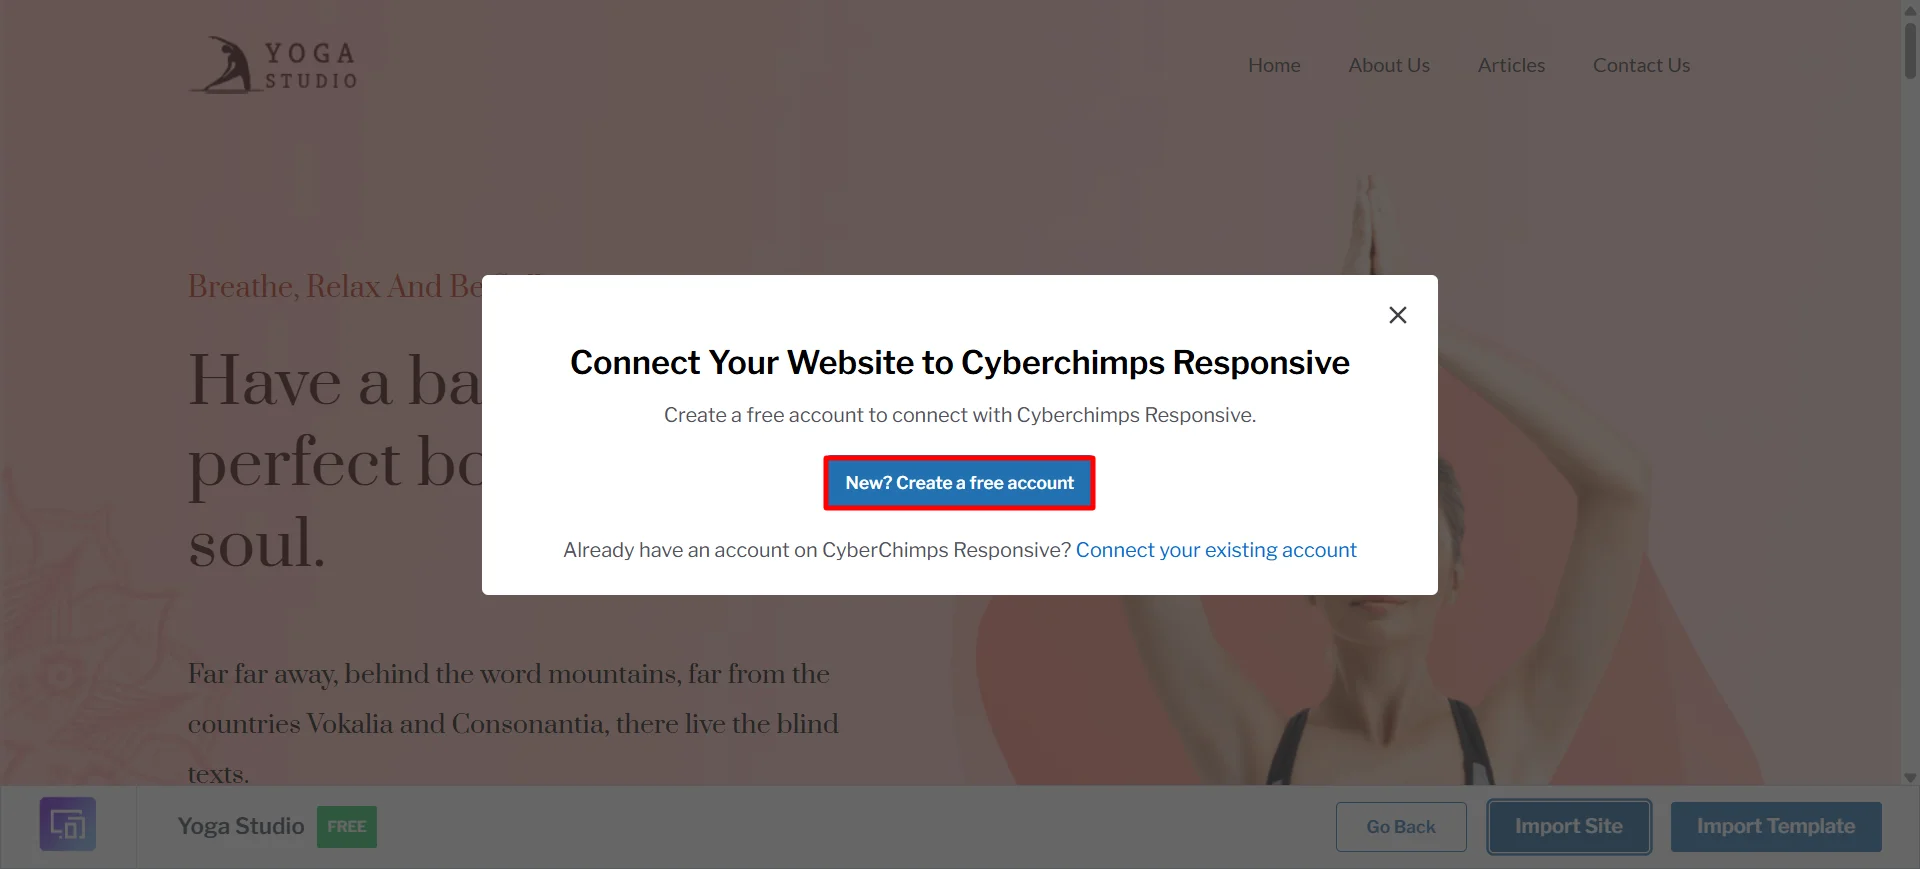
To further proceed, you’ll need to create a free account. Click on New? Create a free account button.
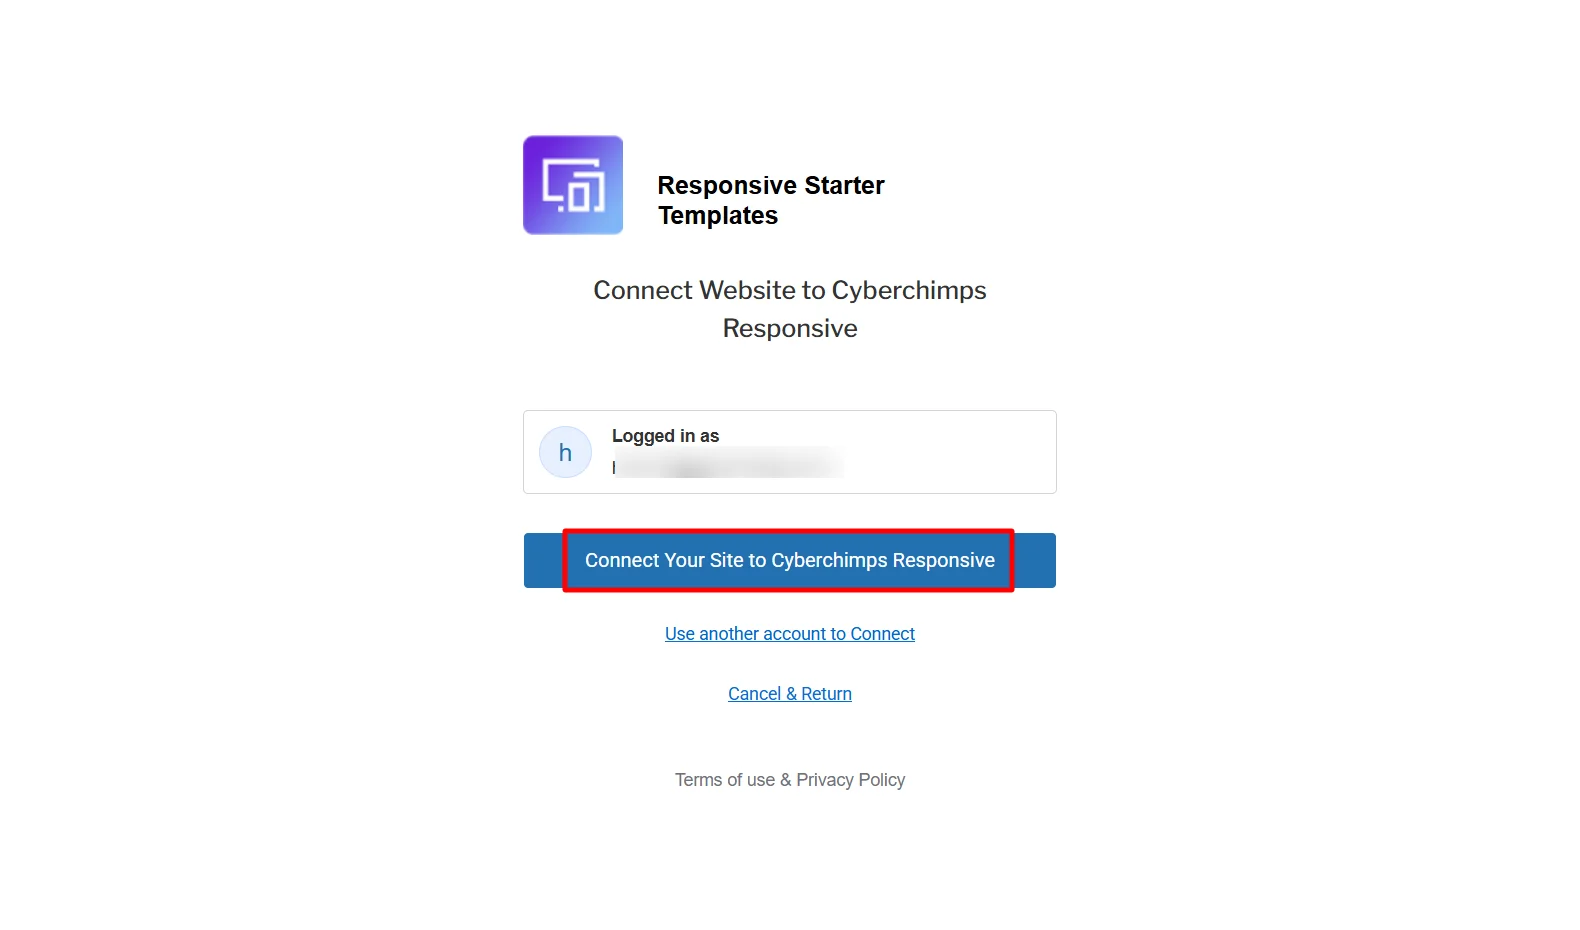
After giving your email address, click on Connect Your Site to Cyberchimps Responsive.
Choose the yoga template again and select the import site. Now the template will start importing for you.
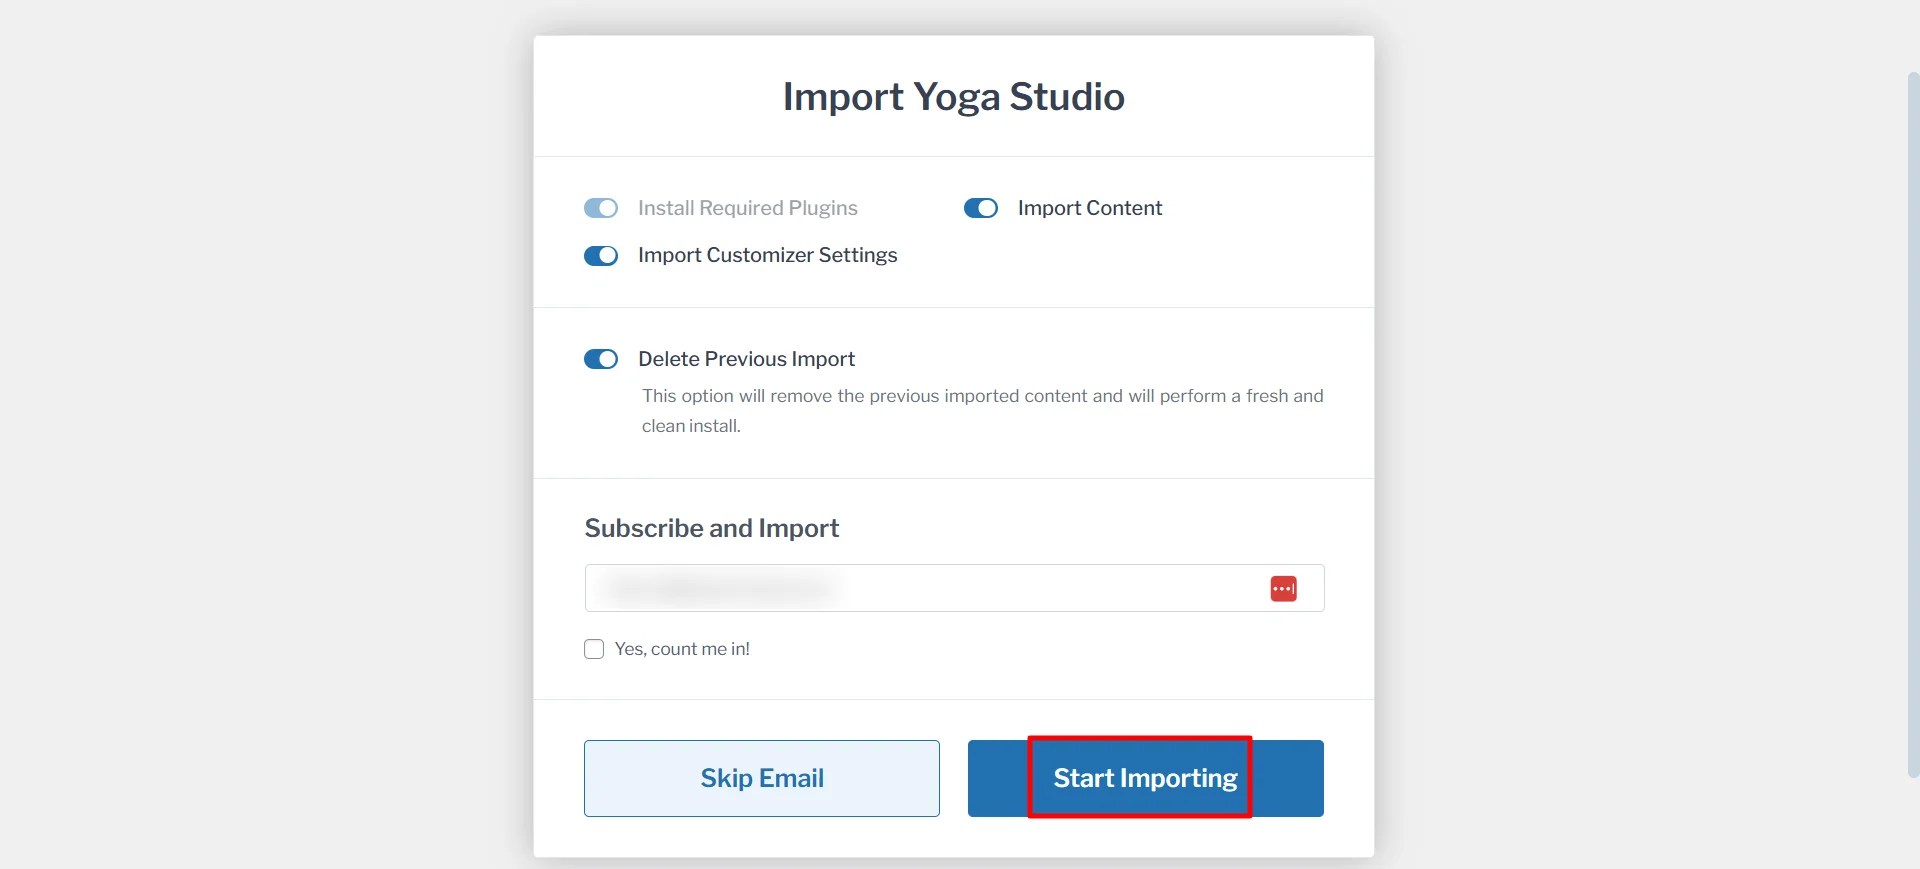
Once done, you’re good to go. Here’s the yoga studio website.
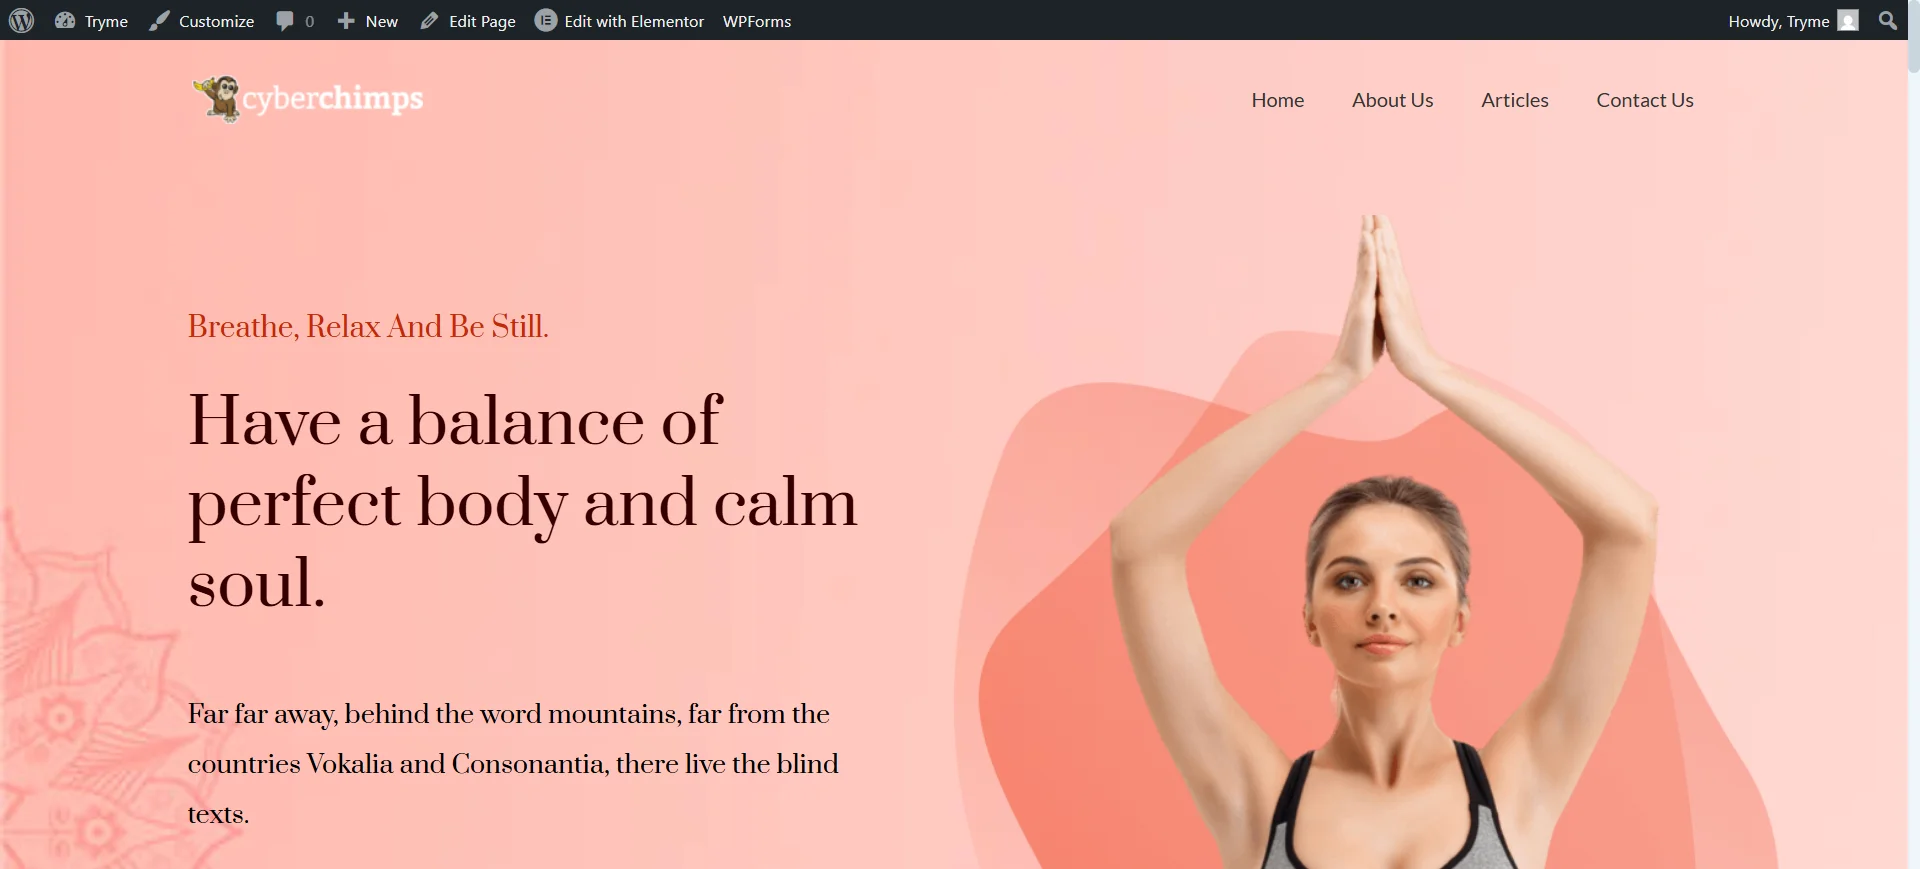
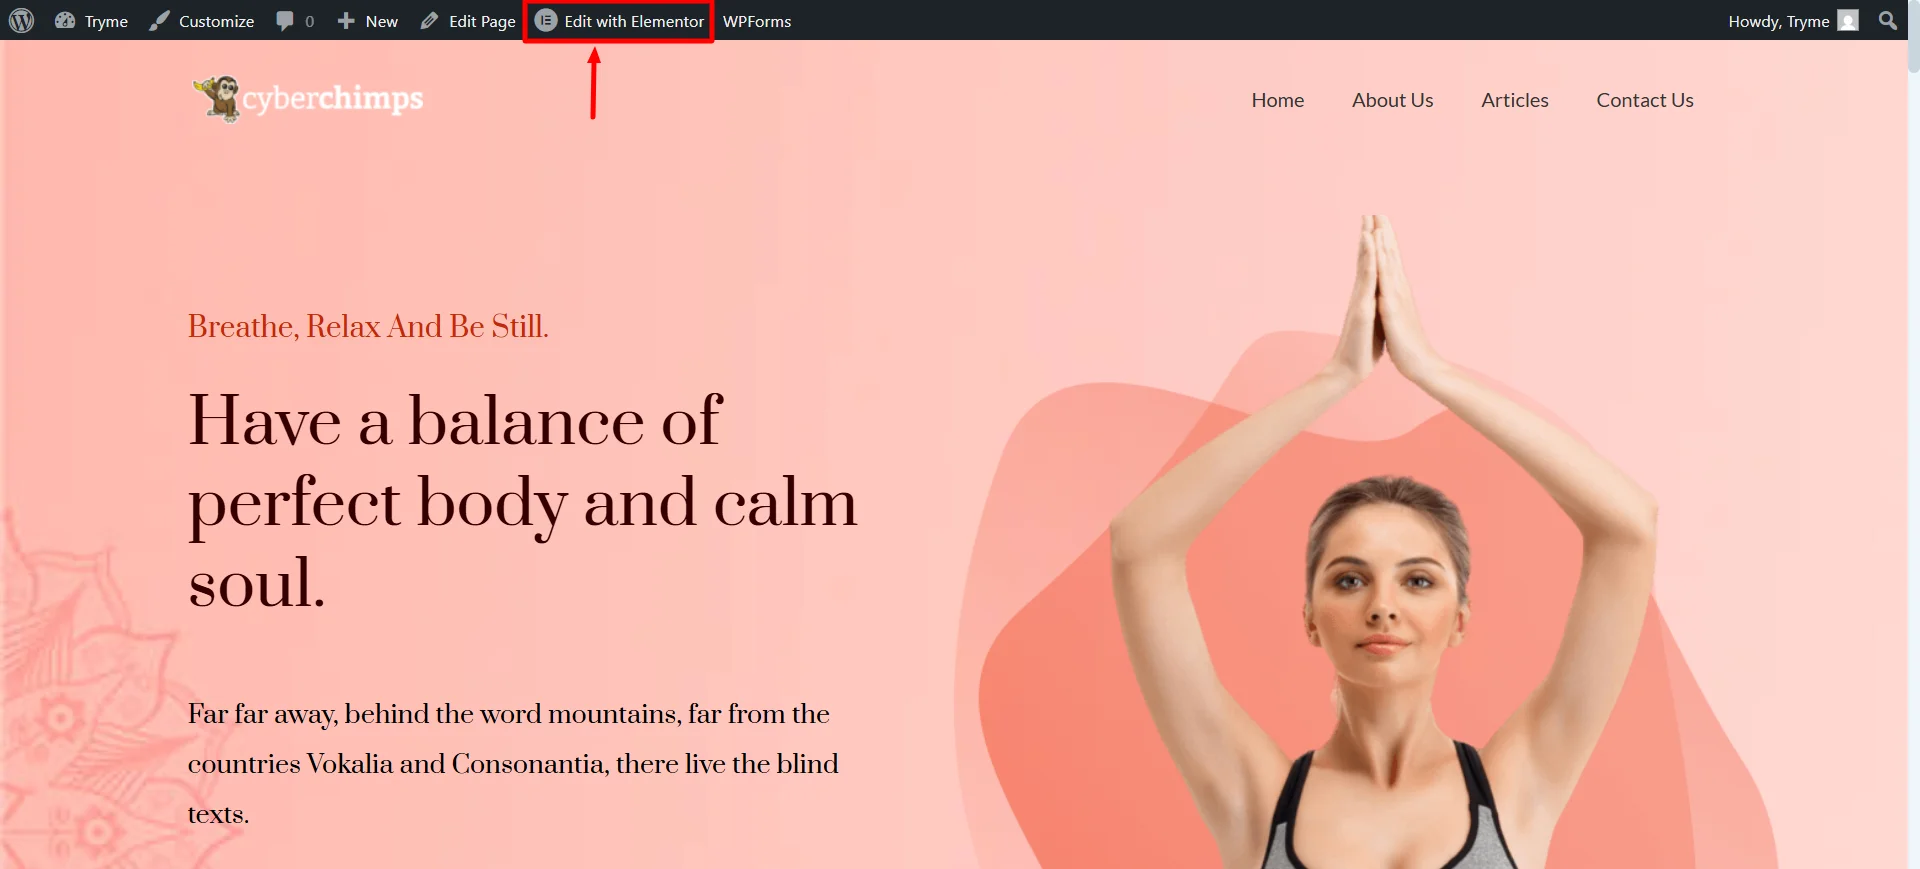
You can customize the website by clicking on the Edit with Elementor button.
How to change the logo of your Yoga Website?
Follow these steps to customize the logo of your website.
- From the WordPress dashboard navigate to Appearance > Customize > Site Identity

- Click on the Select Site Icon and upload your logo.
*Note: Suggested image dimensions are 300 by 100 pixels. The maximum upload file size is 40 MB.
How to add & style the navigation menu?
To add a navigation menu using customize follow these steps:
1. From the WordPress dashboard navigate to Appearance > Menus
2. Click on Pages and View All. Select all the pages that you want to appear in your menu (use the checkboxes next to the pages’ names) and click on the Add to Menu button.
3. You can edit the name of the added Menu under the Menu Structure. Click Save Menu to save all the changes.
Now if you want to change the style of the Navigation Menu:
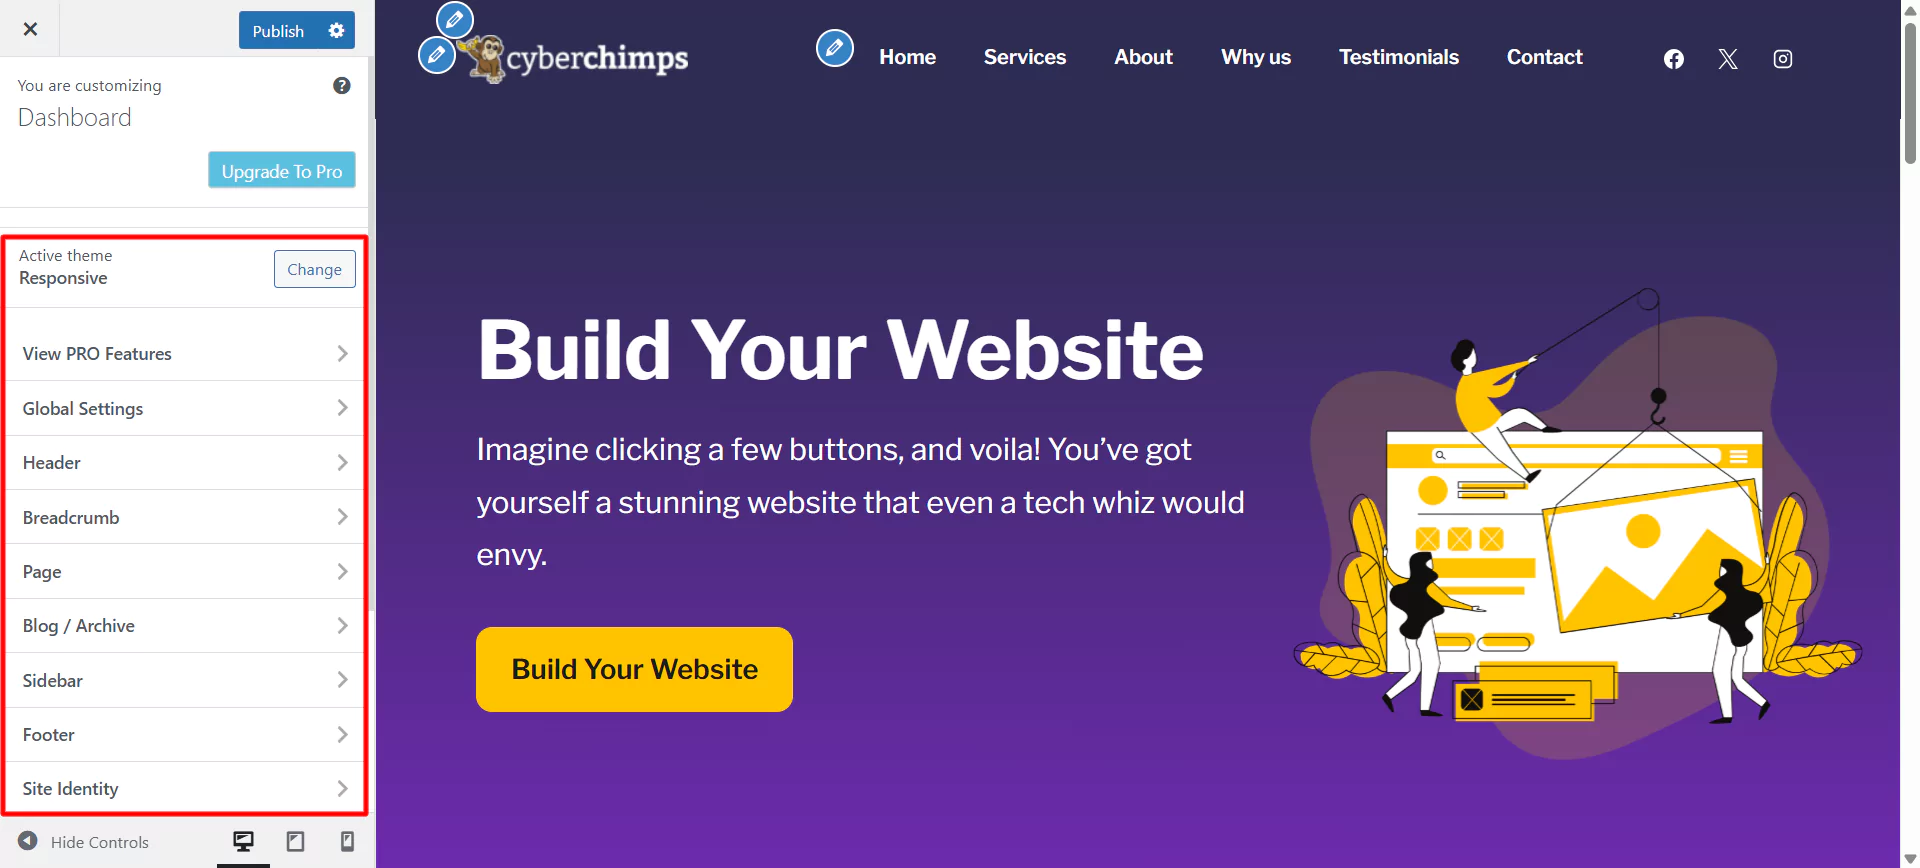
- Go the WordPress dashboard and navigate to Appearance > Customize> Main Menu

- Now on the left panel, you can modify the look of the navigation menu by reordering the Layouts, Colors & Backgrounds, and Typography.
- After making the changes, click the Publish button to save all the changes and make it live.
How to customize the blog layout using Customizer?
- From the WordPress dashboard, navigate to Appearance > Customize
- Next, select Blog / Archive
- You will see different options to change the layout of your blog page:
- Post Content: You can choose between Content and Excerpt to show on the blog page.
- Excerpt length: Set the number of words for Excerpt
- Read More Text: Change the text of “Read More” button
- Default Blog Posts Index Layout: Change the layout of your blog posts index from 9 available layouts.
- Post Elements: Drag up and down to change the position of the post elements, you can also show or hide a particular post element.
- Post Meta: Show or Hide any post meta elements such as Author, Date, Categories, and comments.
- Post Pagination: With this option you can set up page pagination without any coding
- Blog Post Background Color: Change the blog post background to match with the website theme or logo.
How to customize the post layout using Customizer?
Follow the steps below to customize the blog post layout using the customizer:
- From the WordPress dashboard, navigate to Appearance > Customize
- Next, select Single Post

- On the next page, you will see different options to change the layout of your blog post.
You have successfully set up your Yoga website on WordPress.
FAQ
To create a Yoga website, you’ll need to have the following:
– A Hosting Service
– A Domain Name
– A WordPress Theme
– A Yoga Template
You can easily create a yoga studio website in just five steps. They are:
1. Purchase a hosting and a domain name.
2. Install WordPress from the hosting provider dashboard.
3. Install Responsive Theme by Cyberchimps
4. Install Responsive Plus – Starter Templates
5. Click on Yoga Template and import the template.
6. Customize the template according to your company’s needs and publish the website.
Conclusion
Now that you’ve read till here, you can easily create a yoga website by following the above-mentioned steps. They


