Are you looking for a way to create a WordPress real estate website?
Improving the growth rate of your real estate business is quite a challenge. But the best solution for this, is to showcase all your work on a real estate website.
Statistics show proof that realtors and brokers who don’t have a website for their business are leaving a huge chunk of opportunity behind.
That’s why we have put together an easy guide on how you can launch your real estate website within a few minutes.
Let’s dive in!
- How to Create a Real Estate Website in WordPress (Easy Steps)
- Step 1: Pick a Hosting Provider and Register a Domain Name
- Step 2: Install WordPress
- Step 3: Install Responsive Theme
- Step 4: Install Responsive Starter Templates Plugin
- Step 5: Import Real Estate Template
- Step 6: Launch and Customize Real Estate Template
- Step 7: How To Change The Logo?
- Step 8: Edit with Elementor
- Final Thoughts
How to Create a Real Estate Website in WordPress (Easy Steps)
To create a WordPress real estate website, all you have to do is follow these simple steps.
Step 1: Pick a Hosting Provider and Register a Domain Name
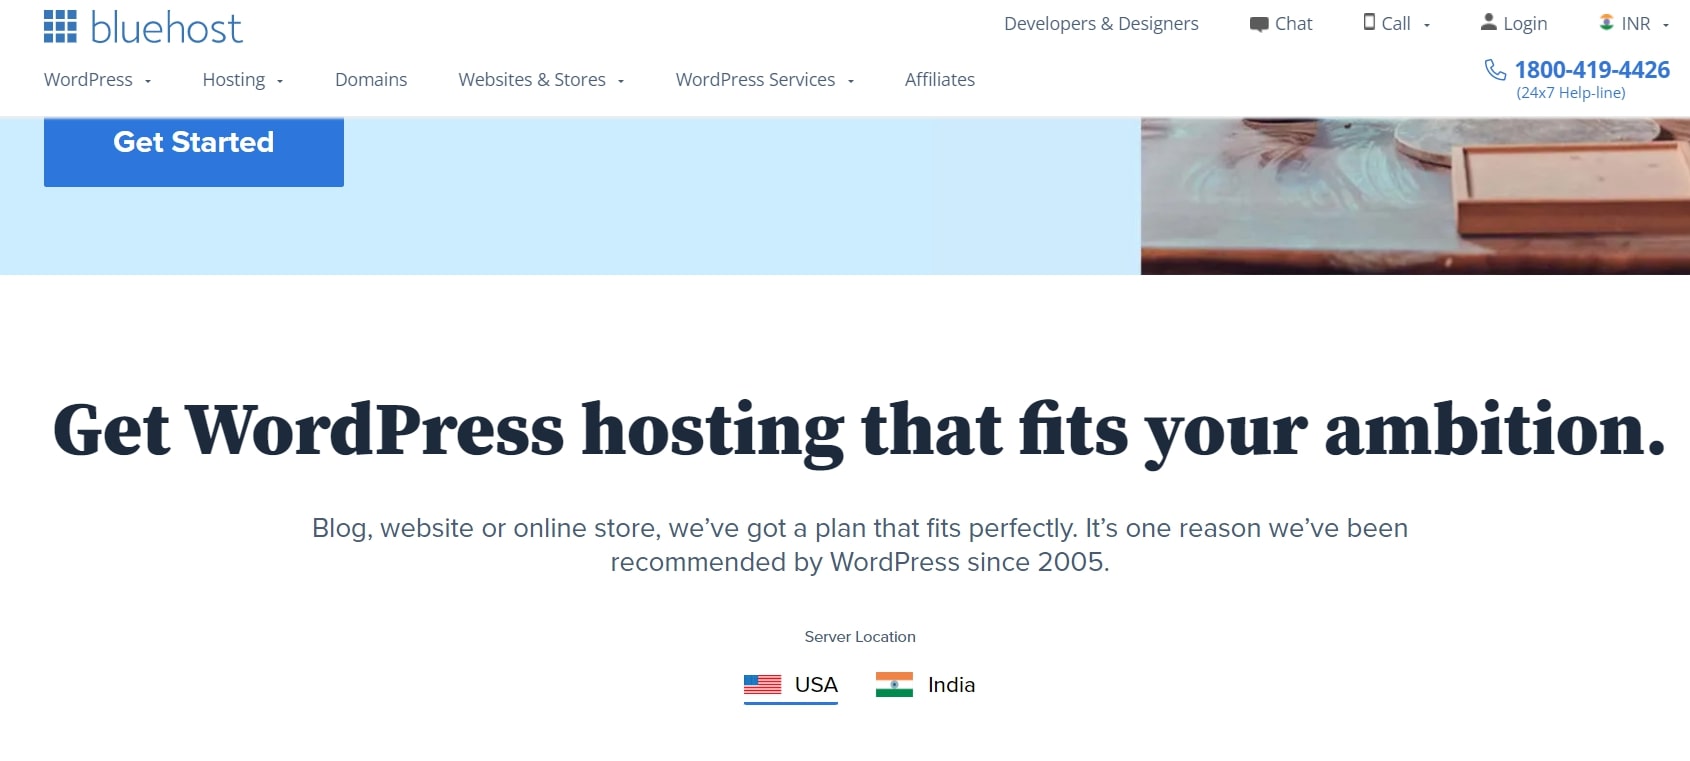
Key part of running a website is to get a hosting provider. You can choose any web hosting service provider. But, we recommend using the Bluehost hosting provider.
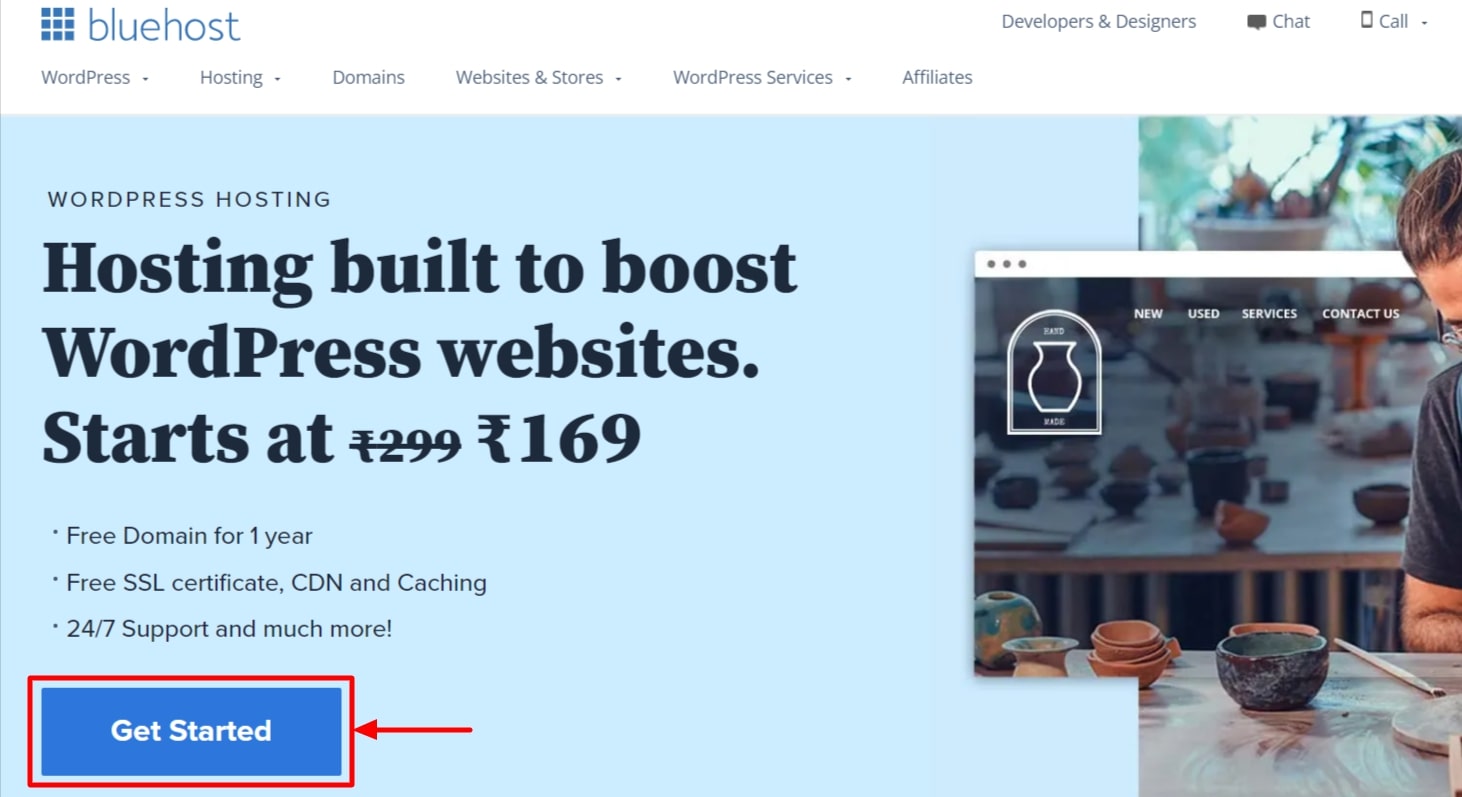
How to Install Bluehost
When you land on the homepage of Bluehost, click on the “Get Started” button.
After the signup, you need to choose your pricing plan. If you are a small to mid-level business, it’s wise to choose the plus plan. You can always upgrade as the scope of your business grows.
Once you select the plan, choose the domain name.
The domain name is the address of your website. An easy way to come up with the domain name is using your real estate business name and putting .com as your extension.
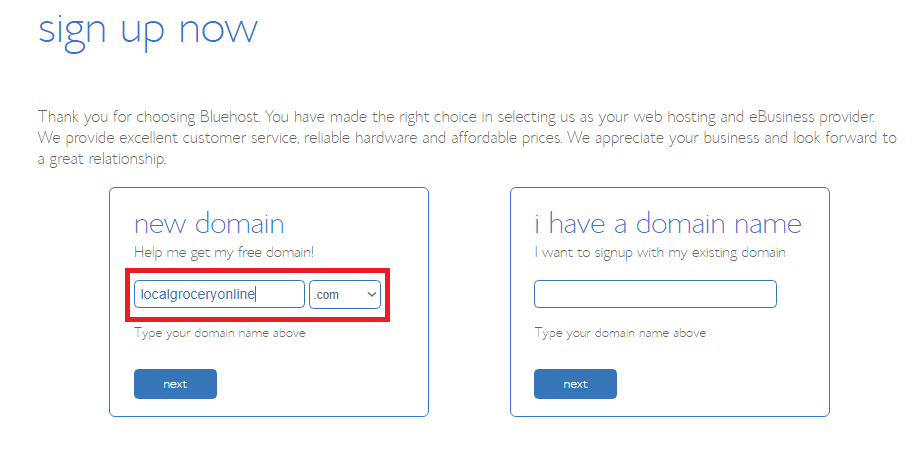
Once you’re registered with Bluehost, you’re good to go to the next step.
Step 2: Install WordPress
Bluehost offers 1-Click Installation for WordPress. Below are the steps to install WordPress from Bluehost.
- Log into Bluehost.
- Go to the control panel. Under the website section, click on the WordPress icon (Install WordPress).
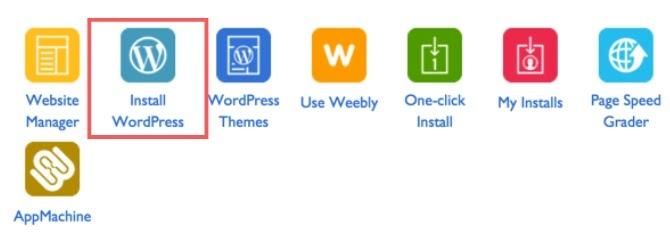
- Choose the domain for which you want to install WordPress
- Enter the site name, admin username, and admin password of your choice, and then click on “Install Now”
Step 3: Install Responsive Theme

Creating a WordPress real estate website is an easy process with the Responsive theme.
Cyberchimps Responsive theme is our top pick as it comes with 150+ starter templates that fit every business need. It is fast, high in performance, and produces an absolutely stunning website.
In addition, it also integrates seamlessly with Responsive Addons for Elementor plugins 50+ Elementor Widgets and 50+ Gutenberg blocks that enhance website building by adding powerful functionalities.
Key features of Cyberchimps Responsive theme:
- Responsive theme is designed to load quickly, requiring less than 100 KB to load completely.
- It provides customization settings for layouts, typographies, and colors, allowing for full customization of the theme.
- The theme offers a library of over 150 premium Elementor and block templates through the Responsive Starter Templates plugin, which you can easily import to quickly launch a website.
- The theme is also fully compatible with popular plugins like Contact form 7, Mailchimp, Yoast, WooCommerce, and WP Legal Pages.
How to Install Responsive Theme
To install Responsive theme, follow these steps:
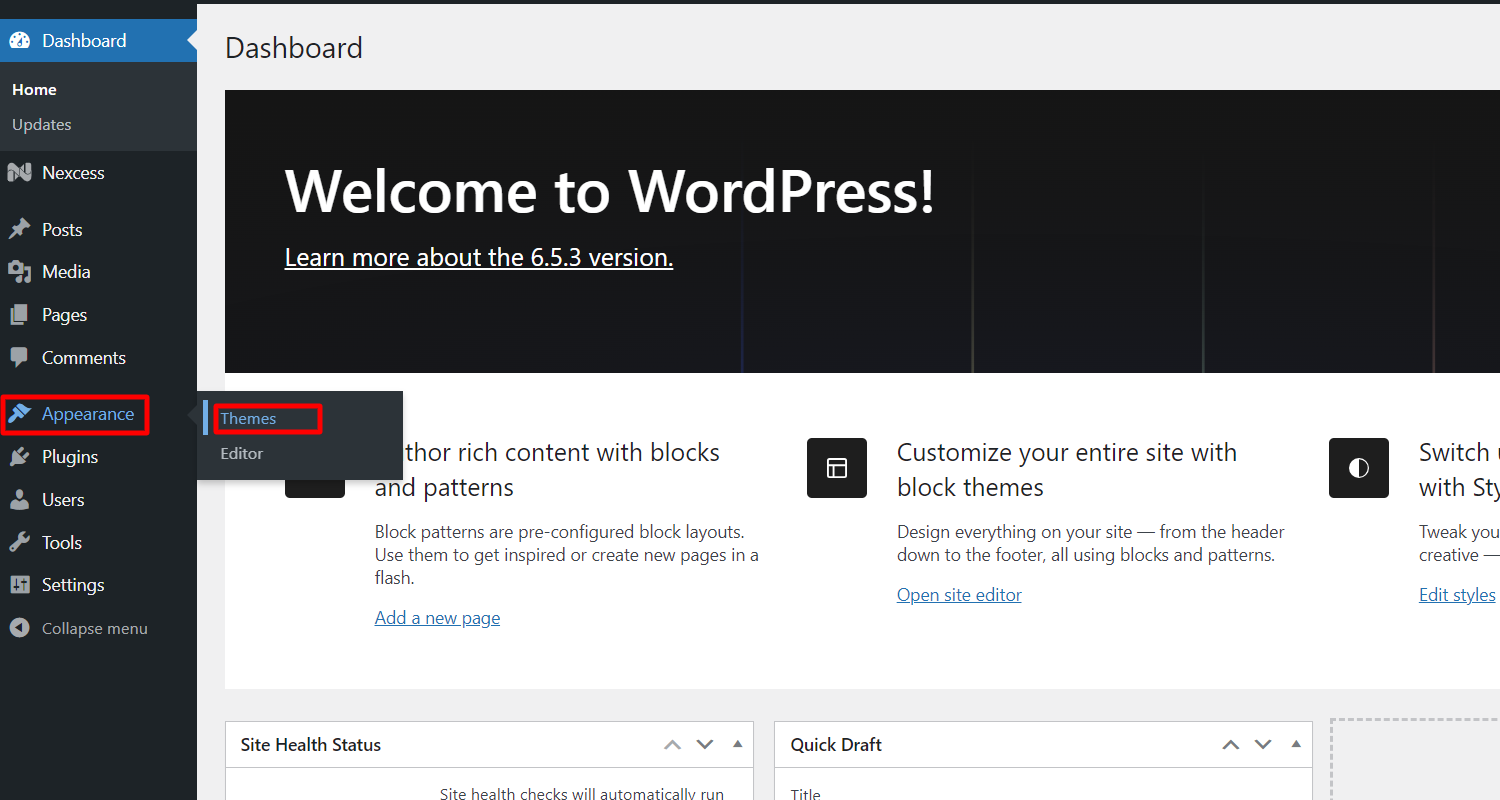
From your WordPress dashboard, go to Appearance > Themes.
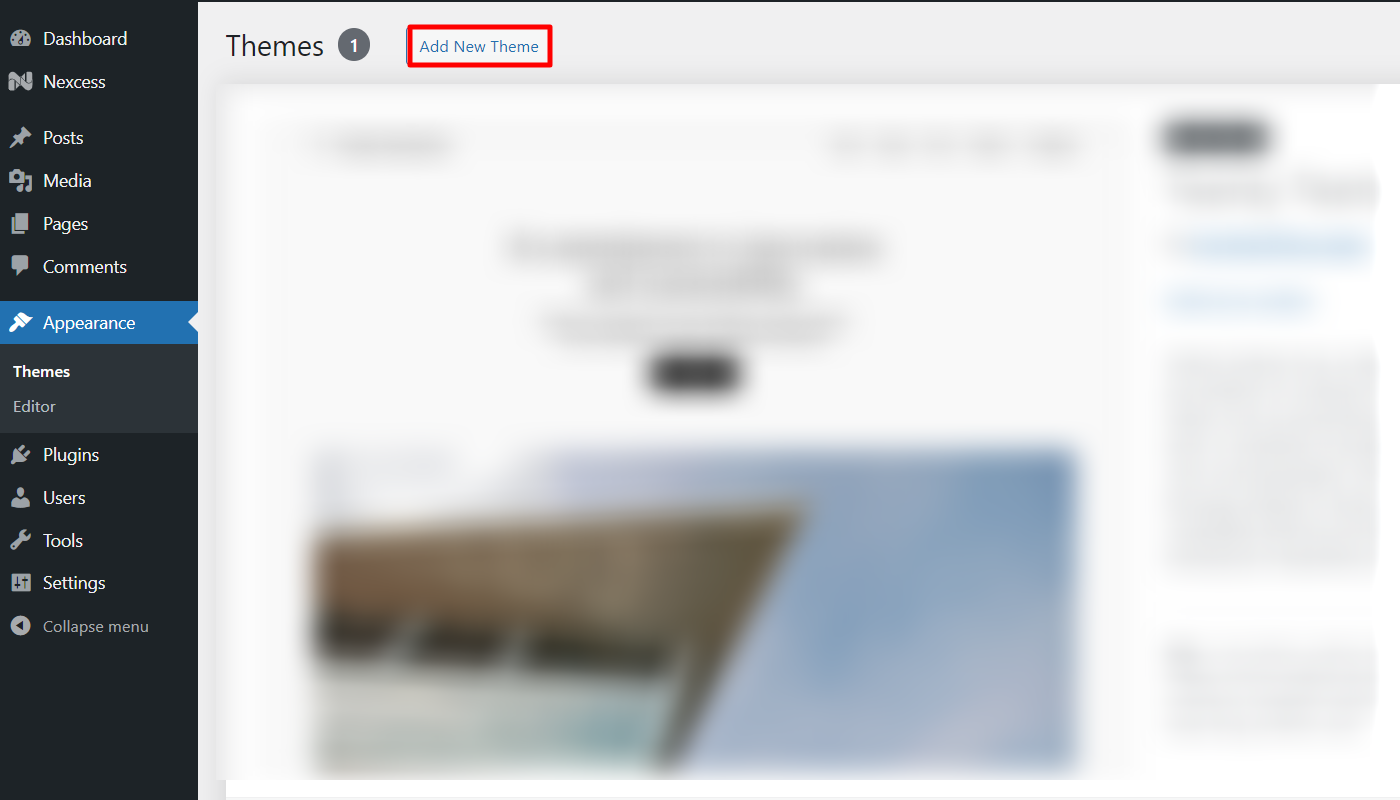
Click on the “Add New” button.
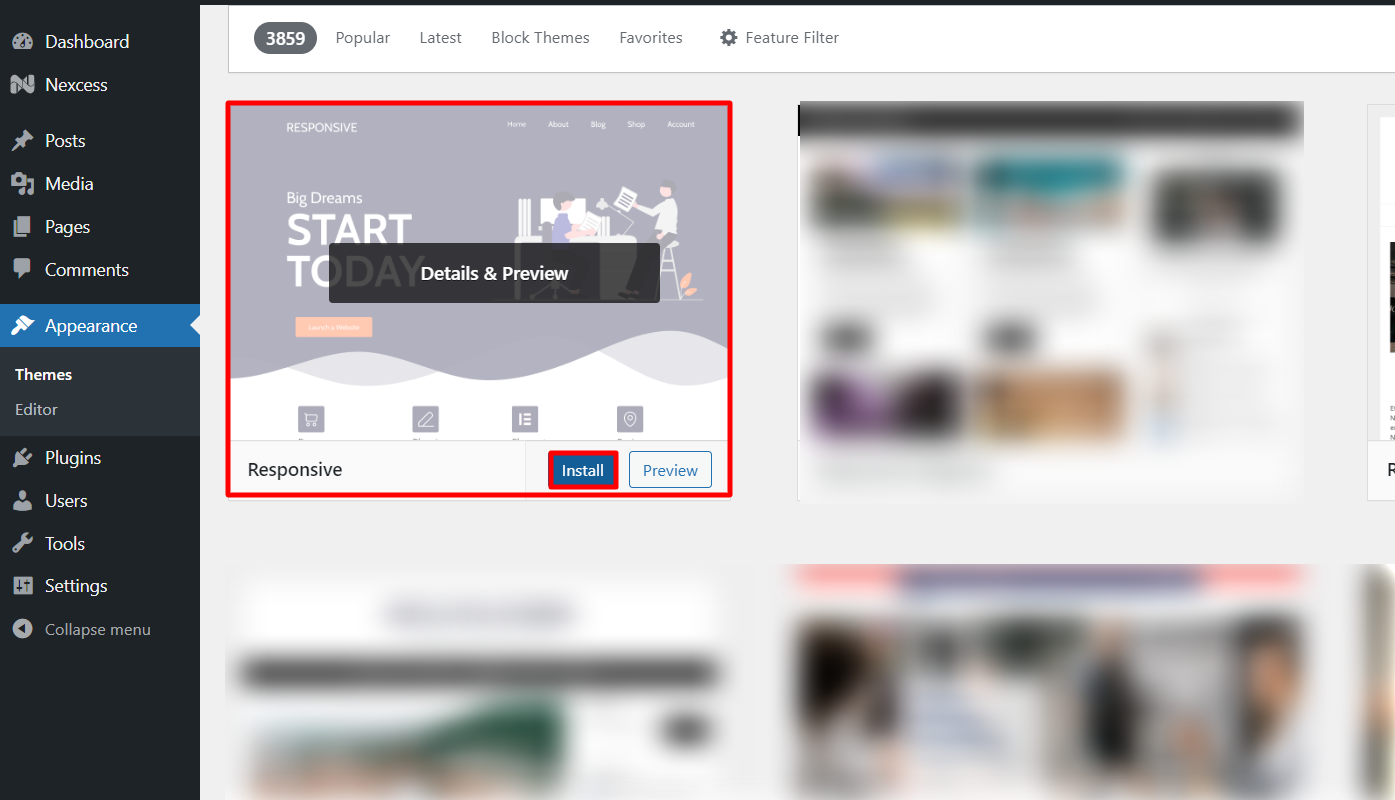
Search for “Responsive Theme” in the provided search bar.
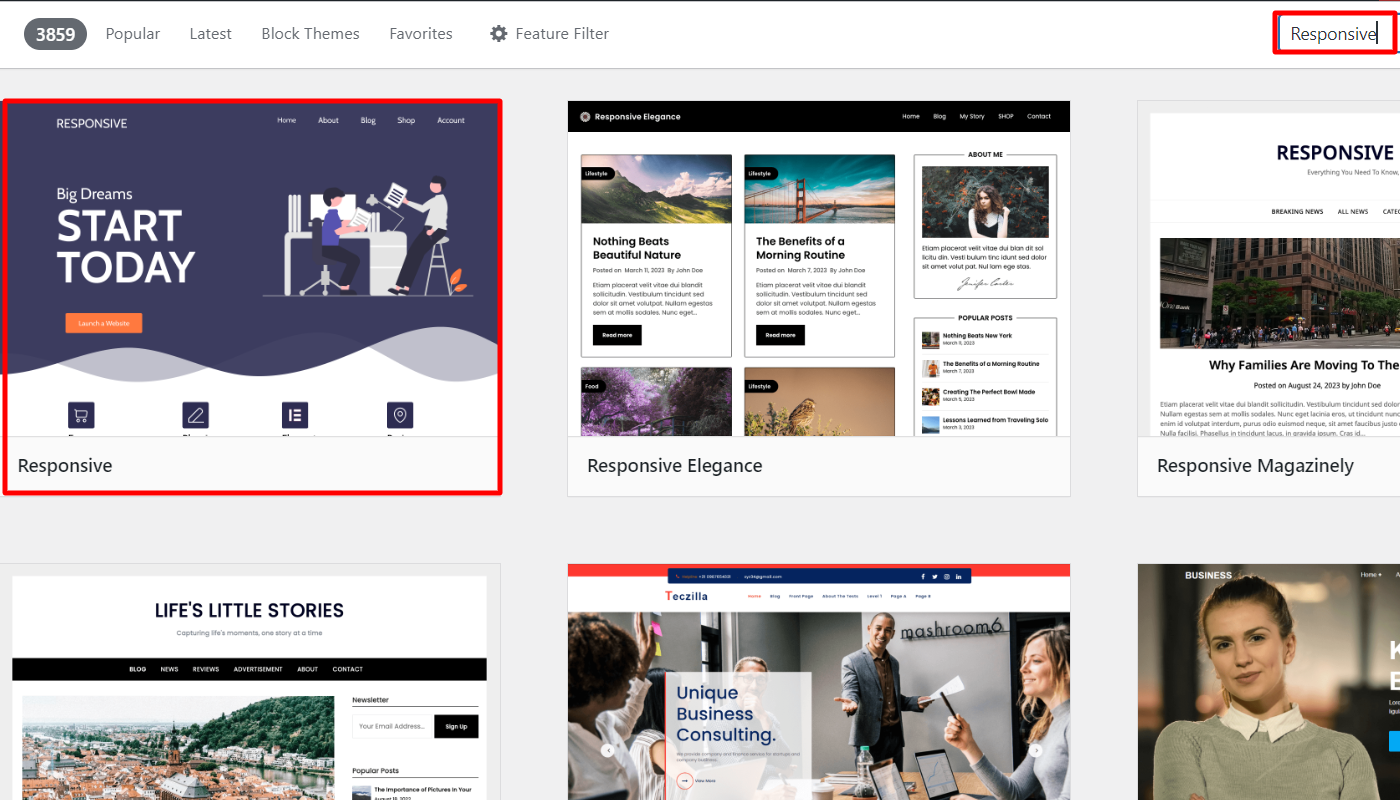
Next step is to Install the theme. To do so, Click on the “Install” button.
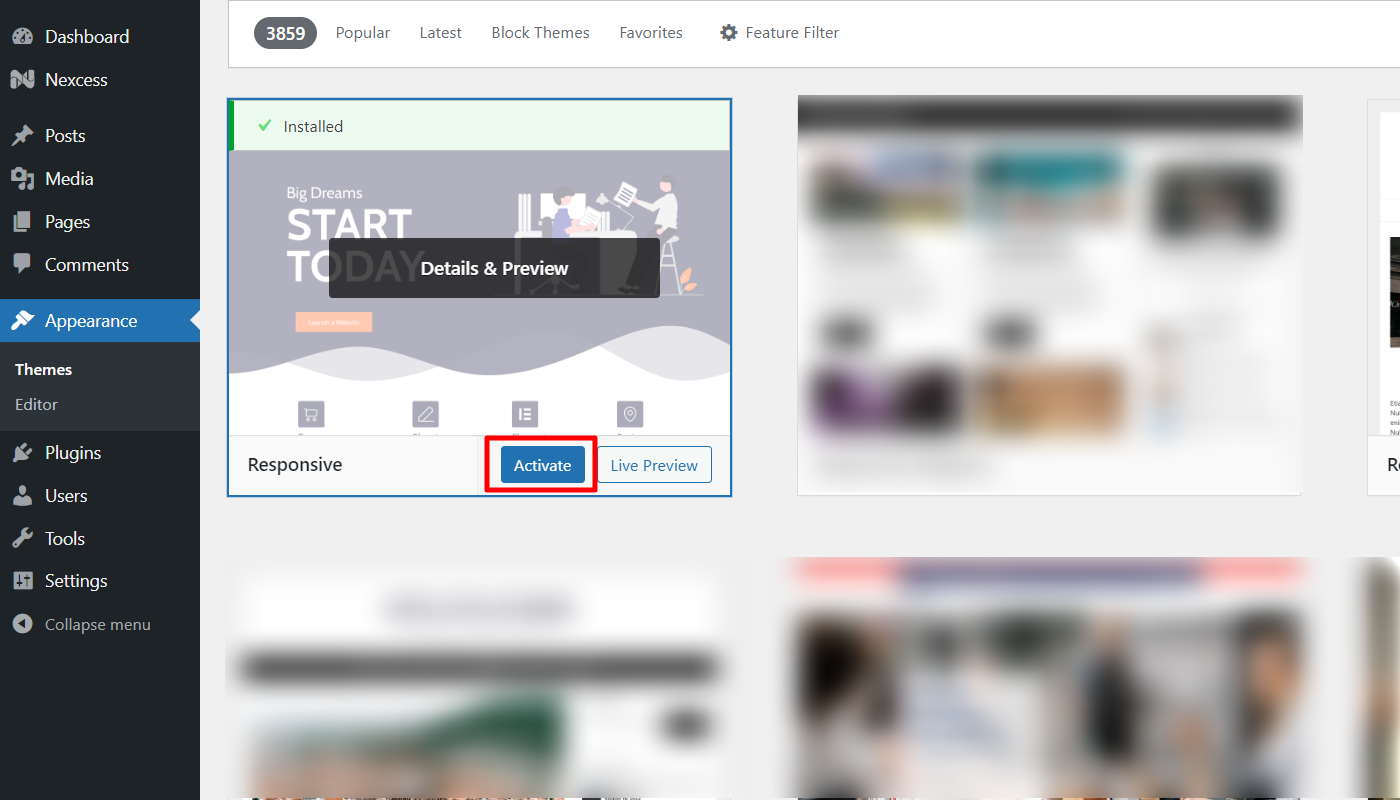
The last step in this process is to activate the theme.
So click on the “Activate” button.
Step 4: Install Responsive Starter Templates Plugin
The next step is to install the Responsive Starter Templates plugin from WordPress.
To install, follow these simple steps:
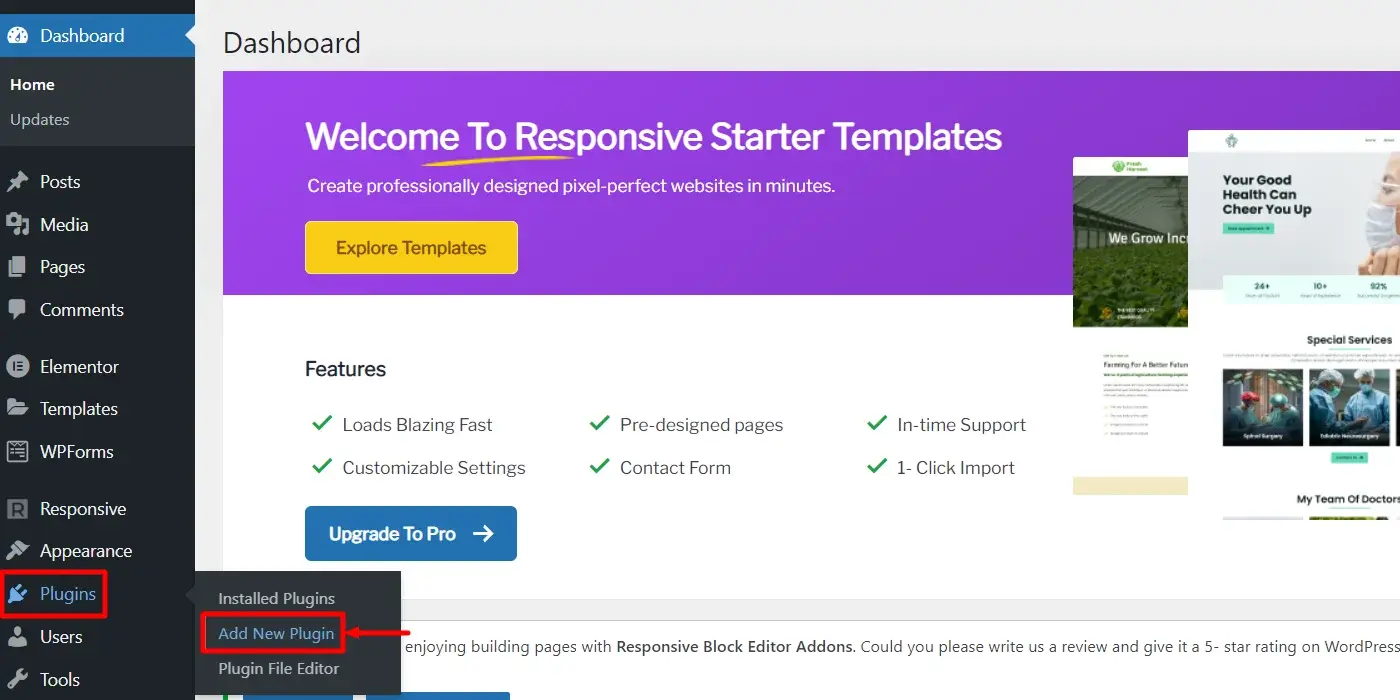
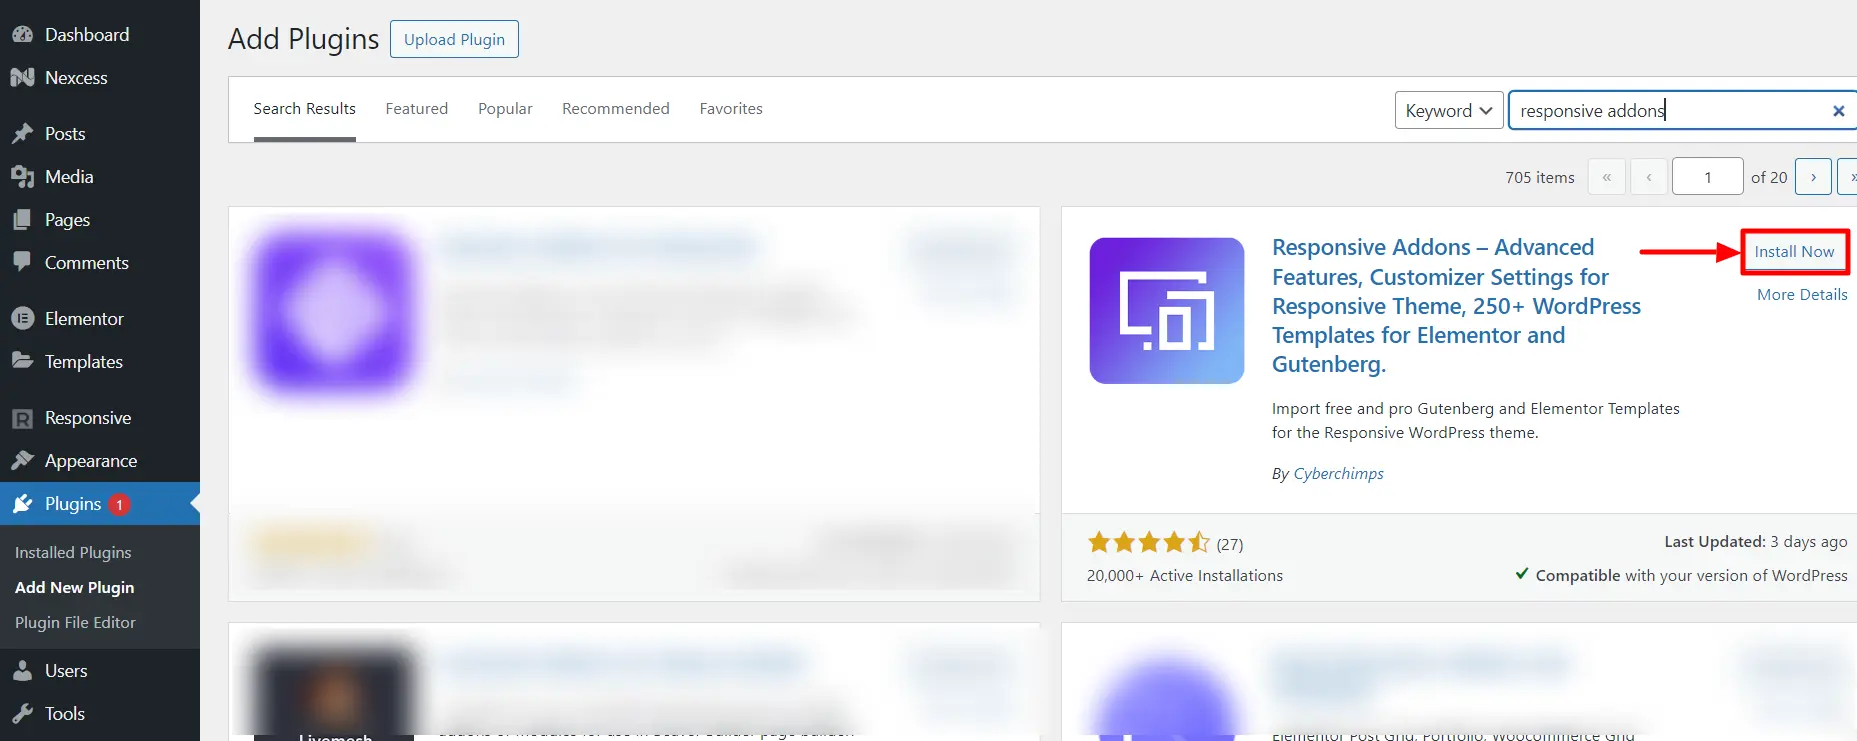
Hover over the plugins, click on the Add New Plugin button.
Search for Responsive Addons in the provided search bar.
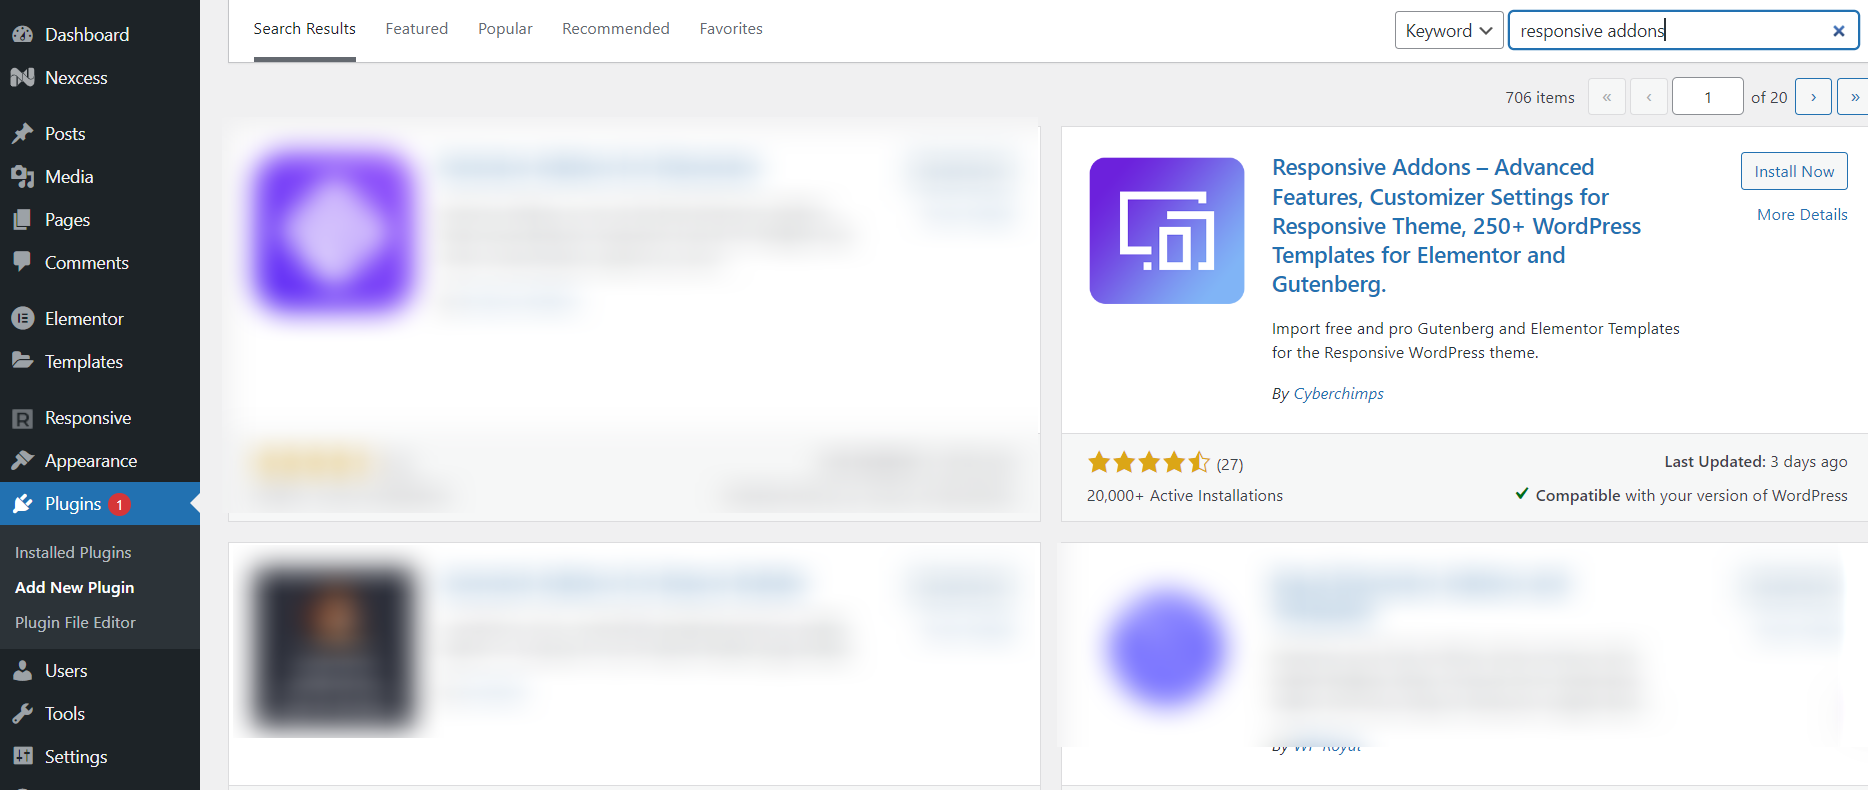
Click on the Install Now button.
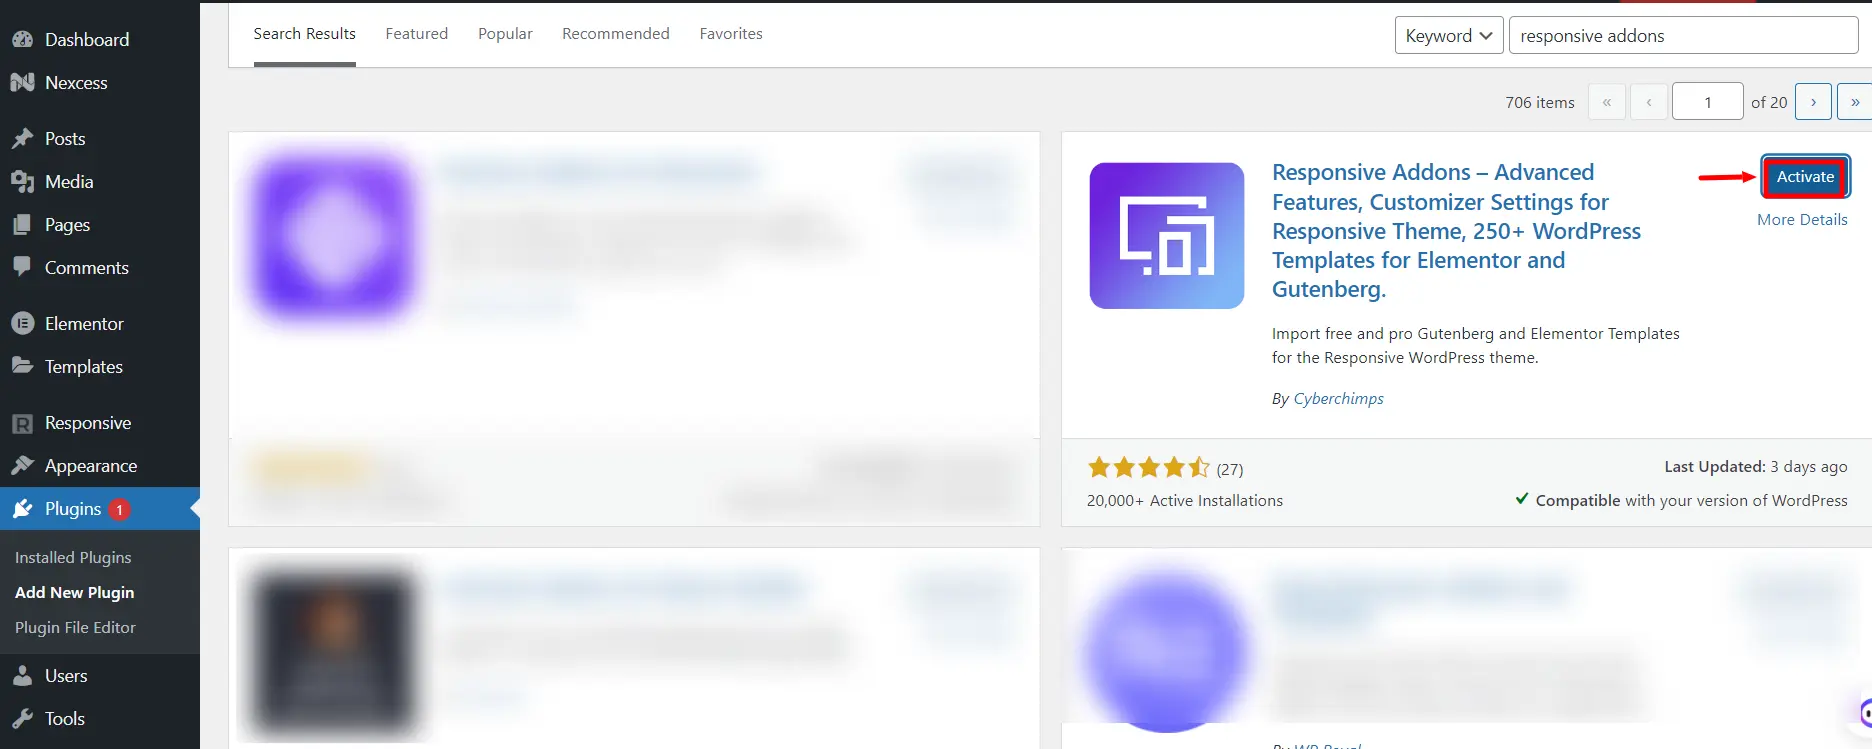
Once you have installed, the next step is to click on the “Activate” button.
Once the plugin is active, navigate to your admin dashboard, and click Responsive> Dashboard, and go to the Settings tab.
Click on New? Create a free account.

4. You will be redirected to the signup page window, where you need to enter your details and click on the Sign up & Connect button.
[Note: You need to sign up and connect only if you are a new user, else you skip to the next step]

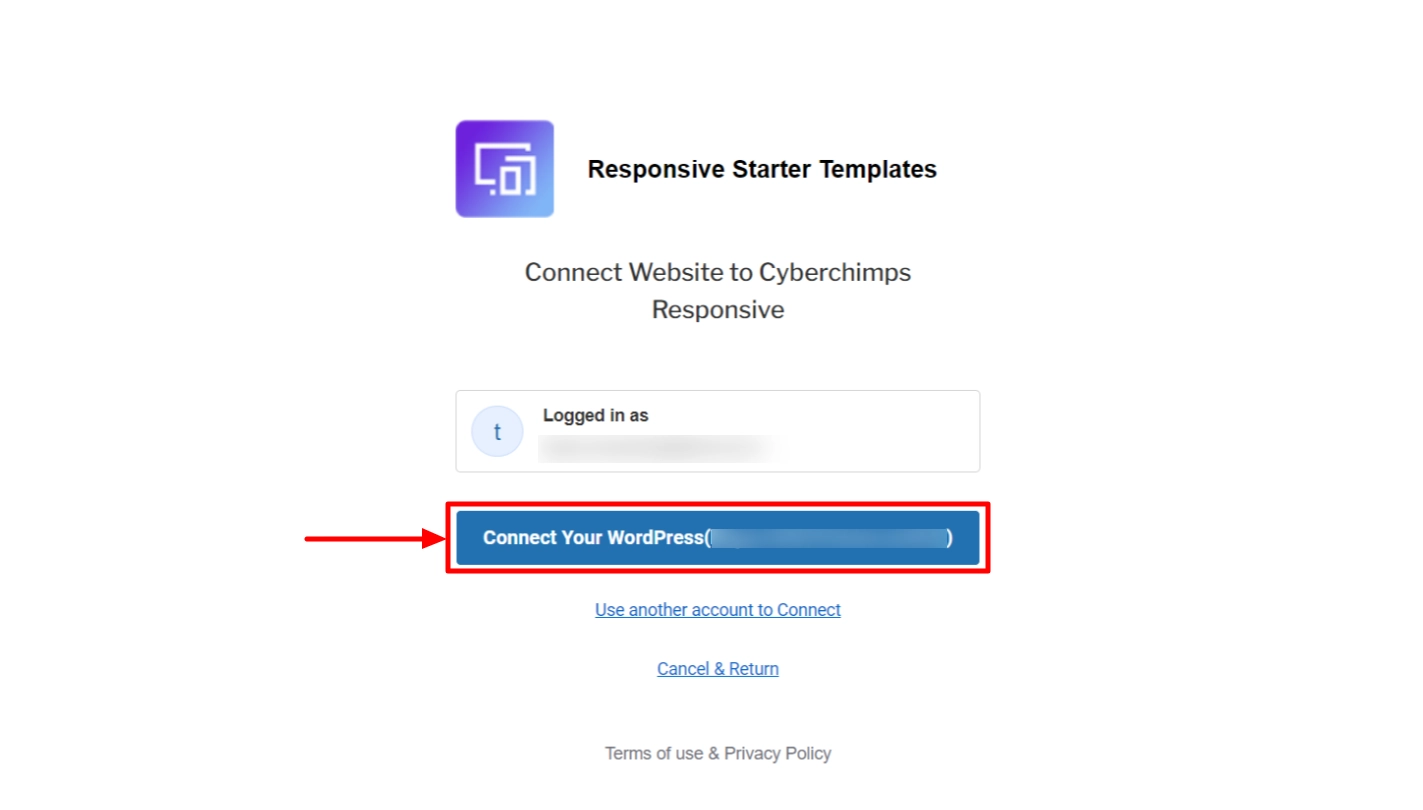
5. Click on Connect Your WordPress and you’re done.
Step 5: Import Real Estate Template
The Real Estate template is the best feature rich-template to create your WordPress real estate website.
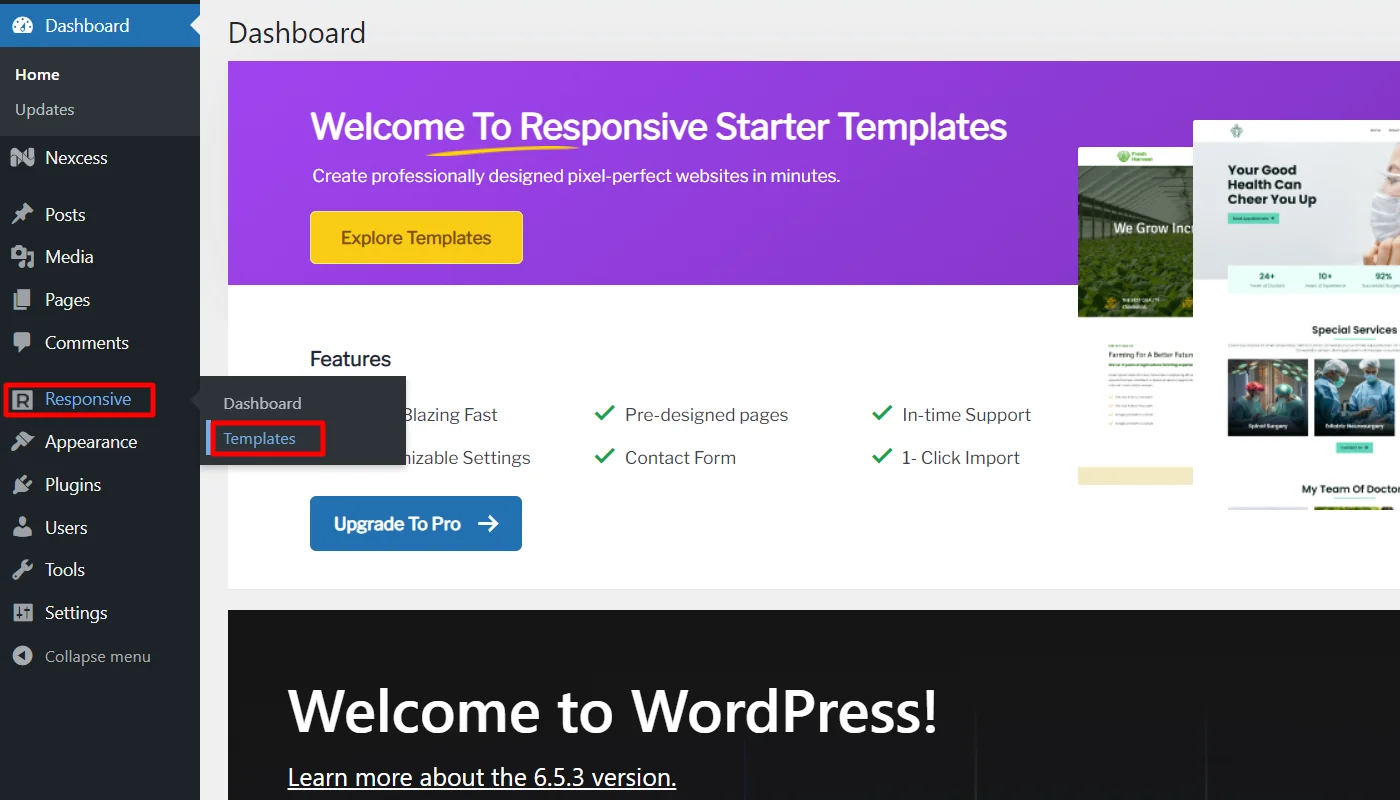
To import the template, hover over Responsive and click on Templates from the WordPress Dashboard.
Search for “real estate” in the search bar option.
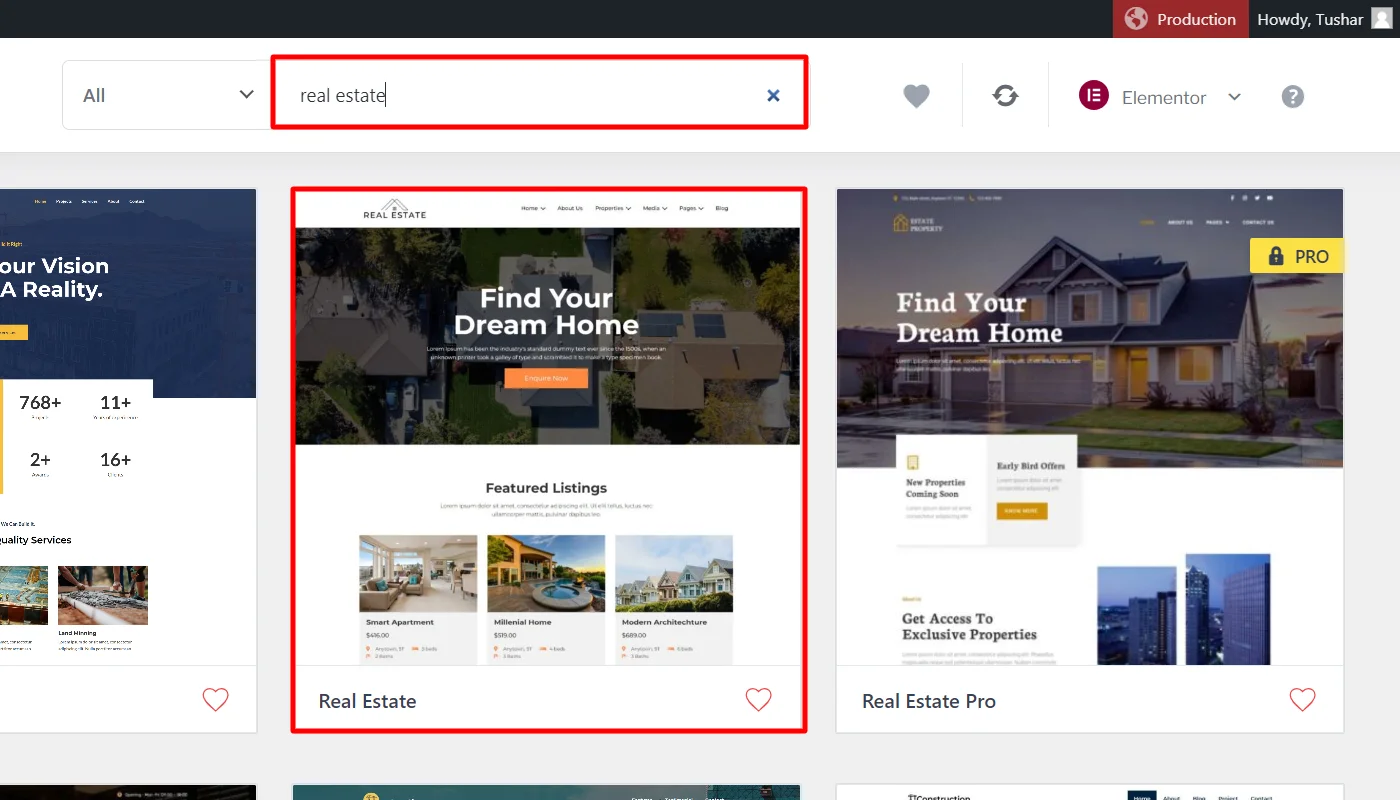
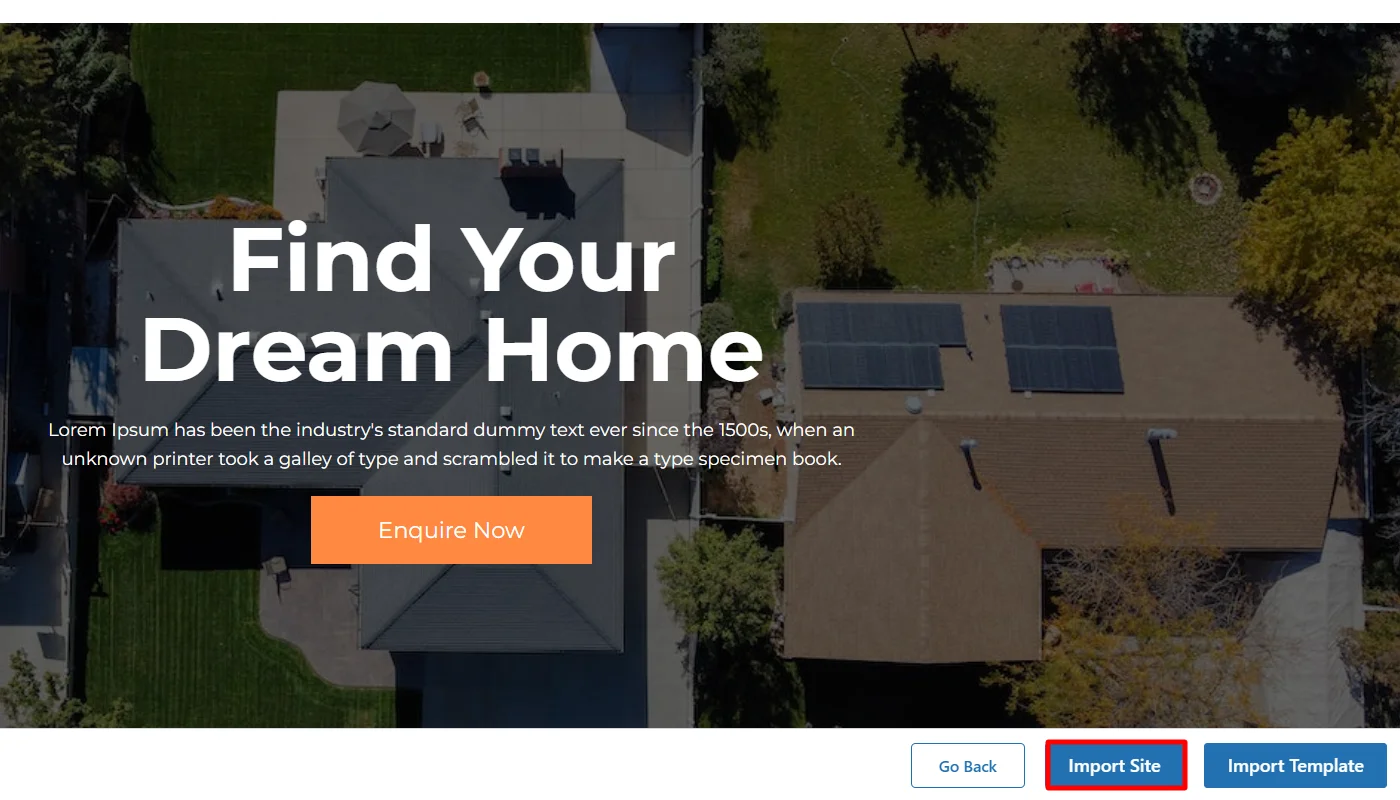
Click on the “Import Site” button.
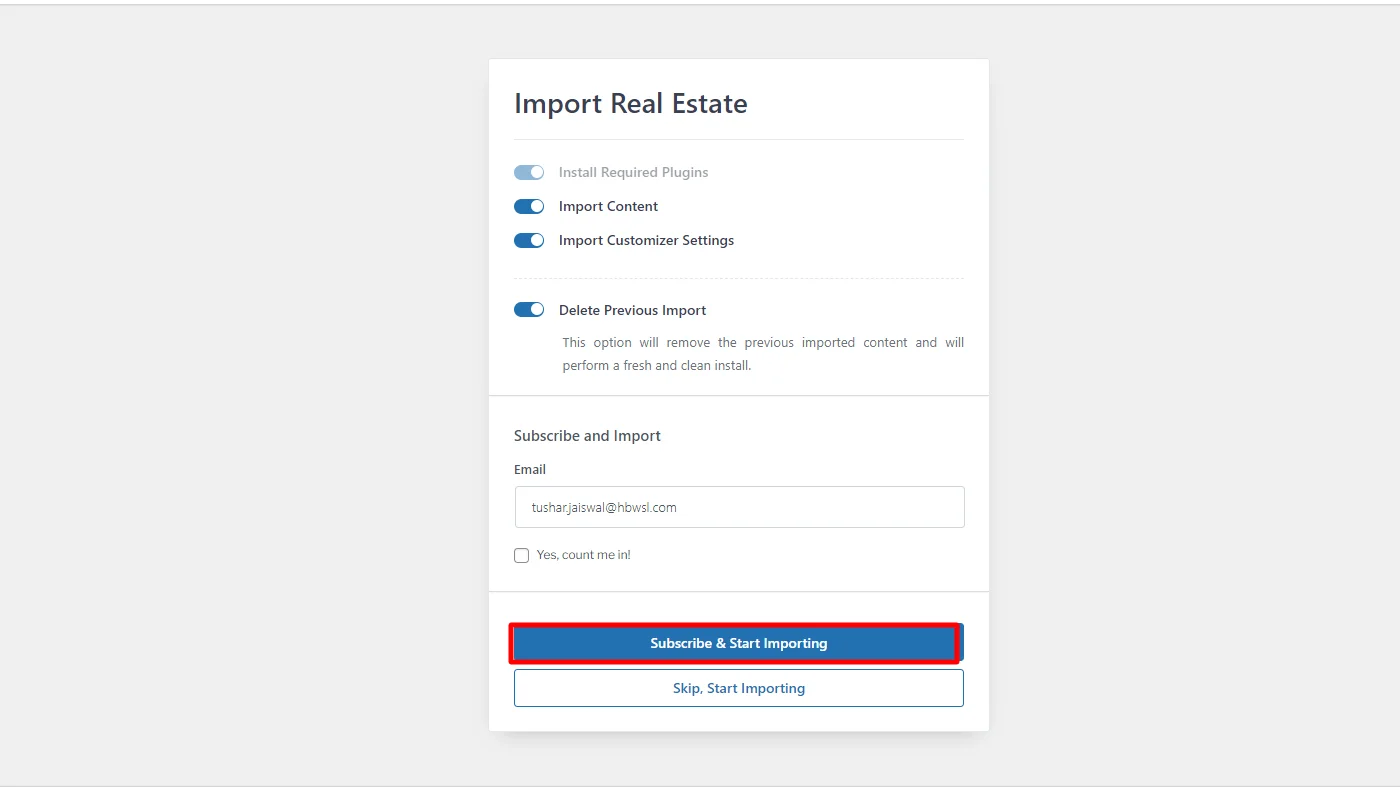
Step 6: Launch and Customize Real Estate Template
Next to import the site click on Subscribe & Start Importing.
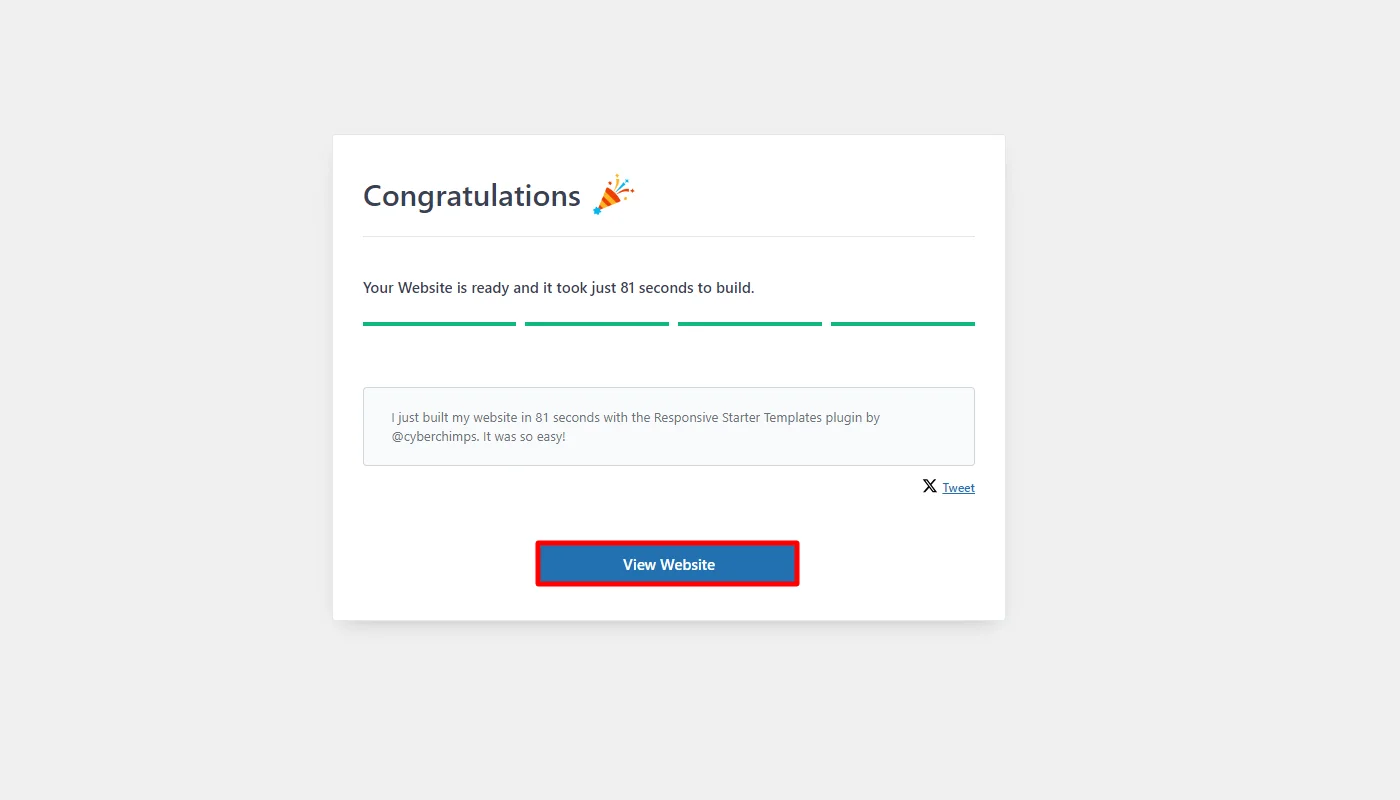
Once your website is imported click on the Visit Website button and visit your website.
Step 7: How To Change The Logo?
You can easily change the logo with the following steps:
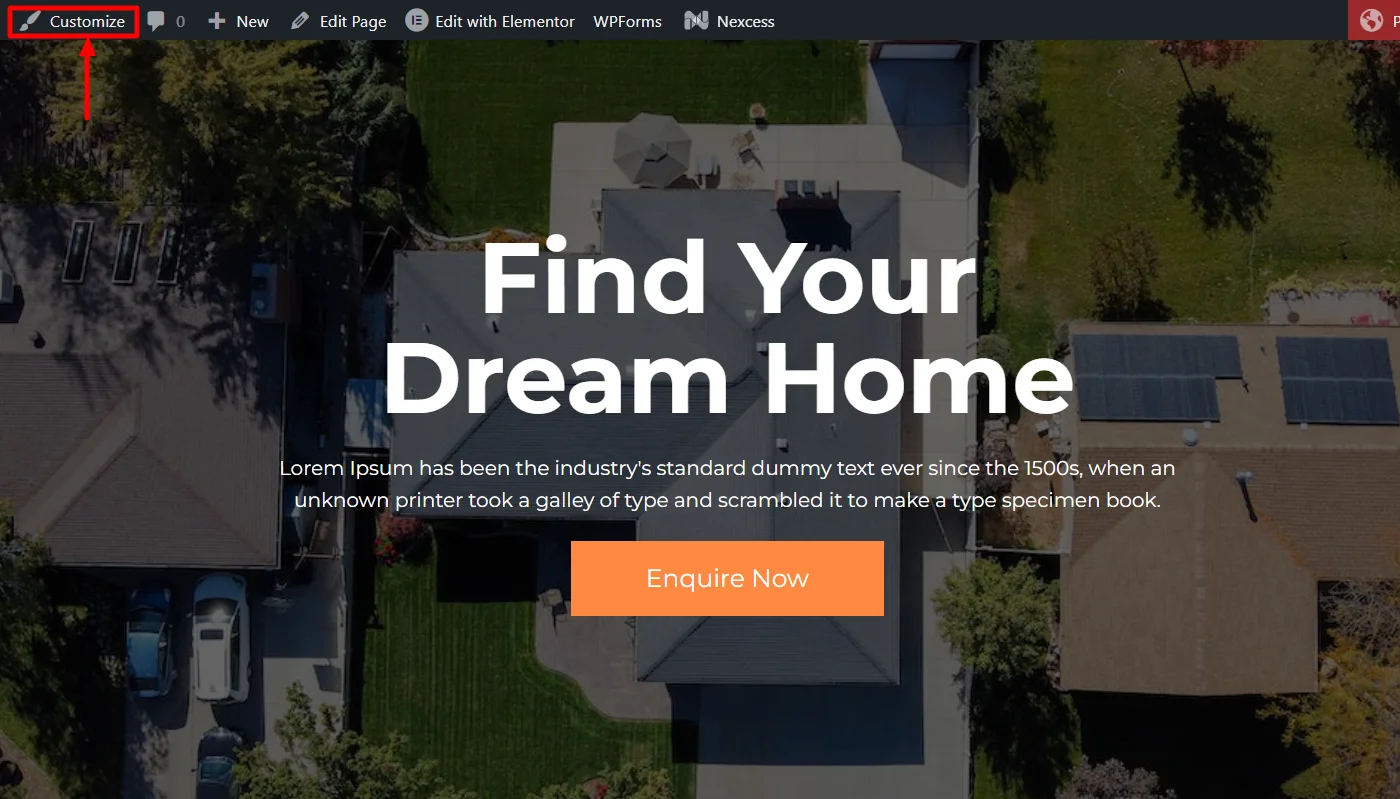
Click on the “Customize” button.
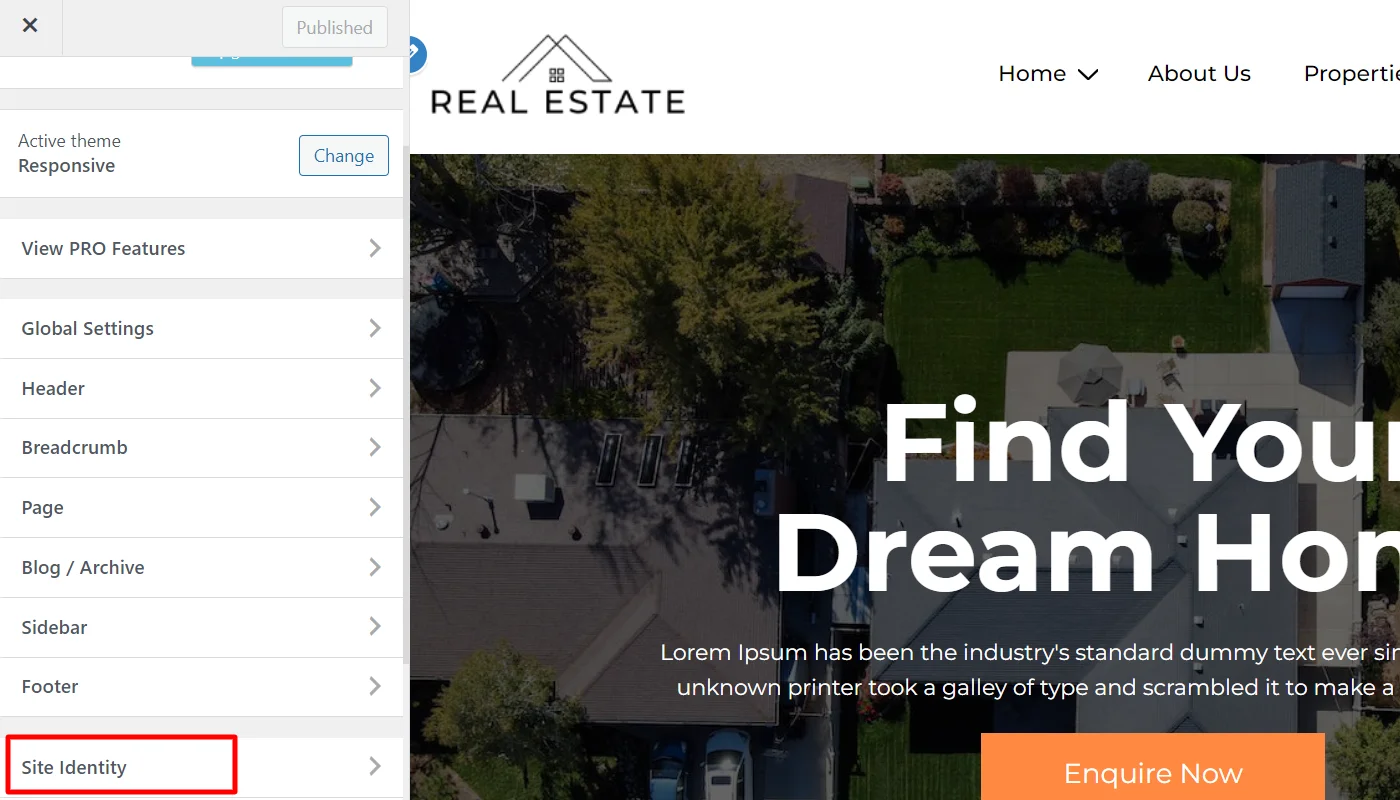
Next, select “Site Identity”
The last step is to click on the “Change logo” button to upload your logo image file.
Step 8: Edit with Elementor
Elementor is one of the most popular page builders to edit the website.
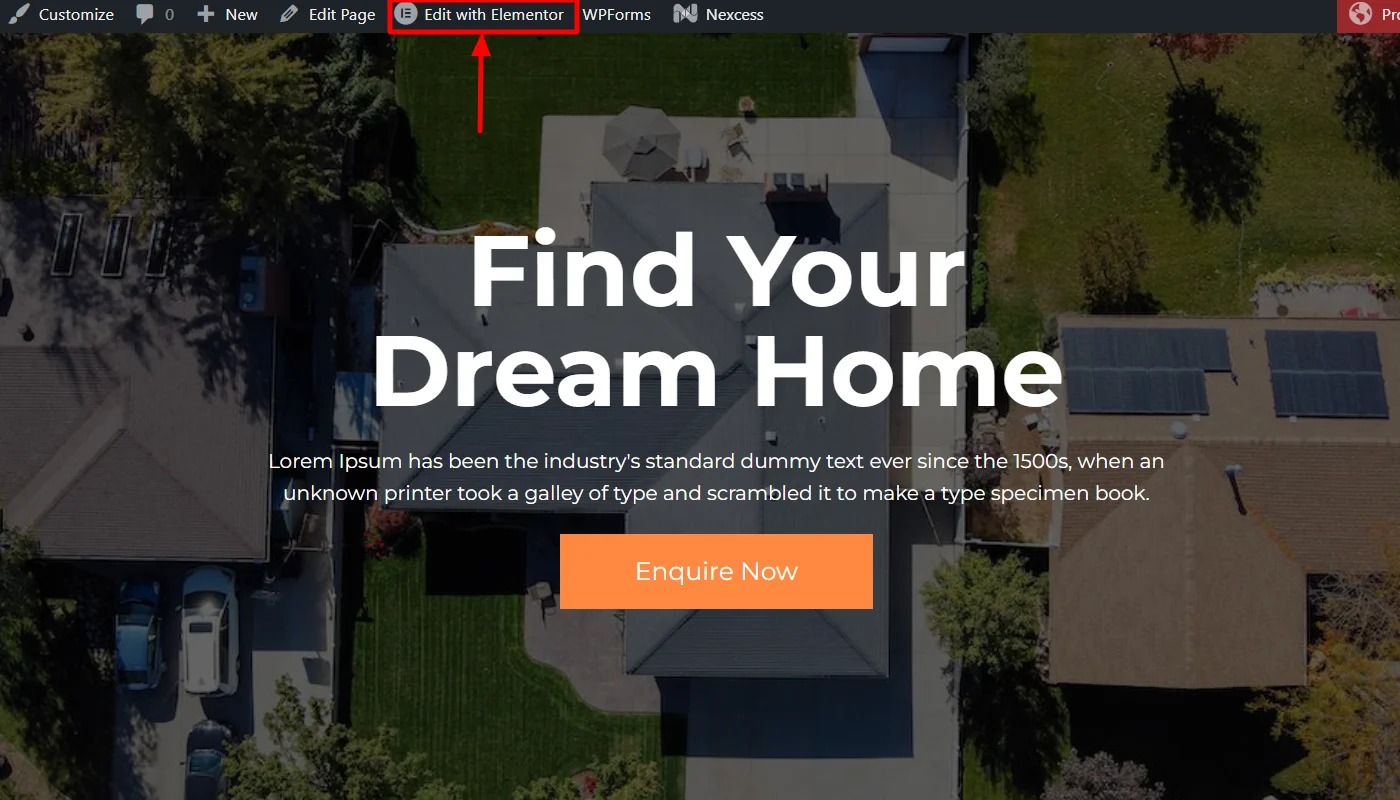
To edit the real estate website, click on the “Edit with Elementor” button on top of your page.
Click on any content widget you want to add or edit and drag and drop wherever you want to add.
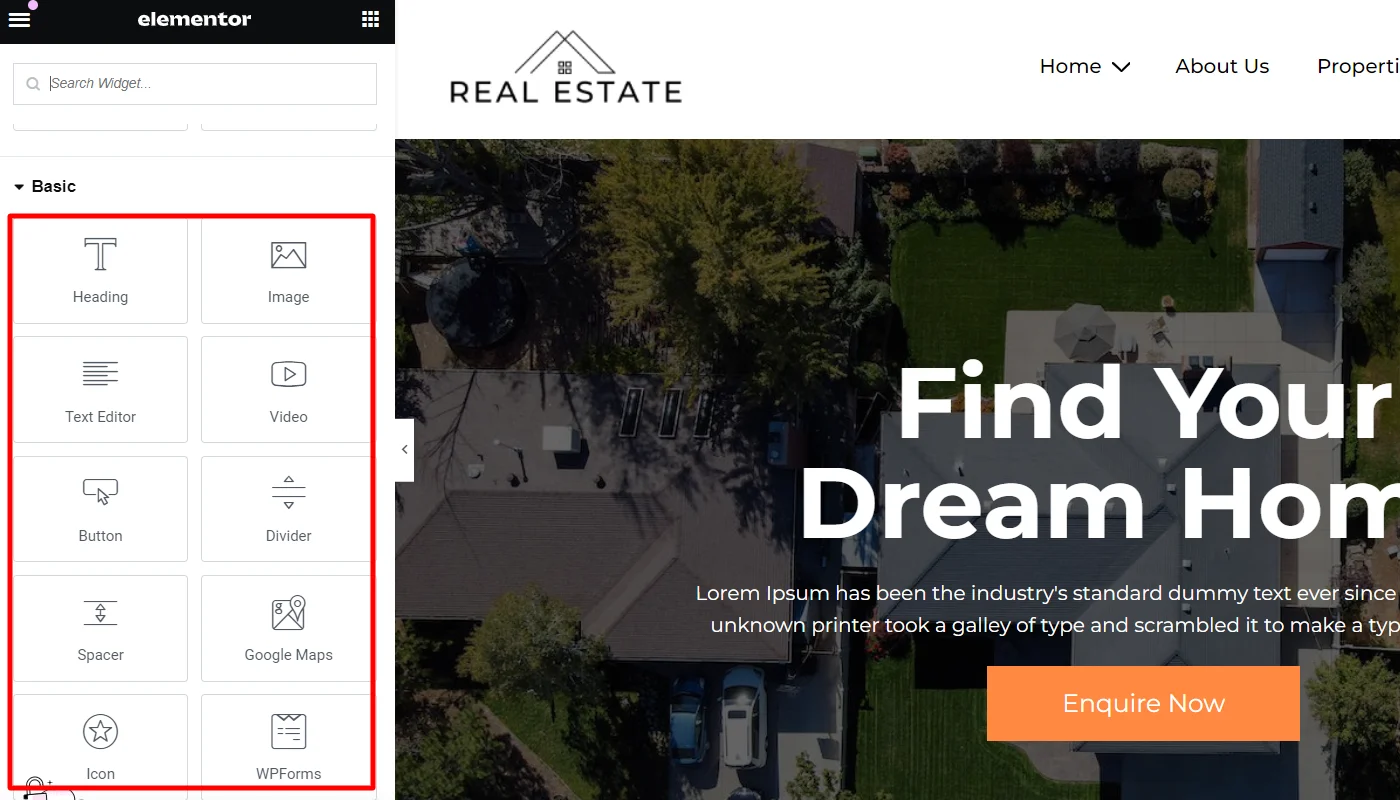
Now hover over each section to edit the section, column, and element modules.
Final Thoughts
Having gone through the complete guide, it’s time to get started with your real estate website.
To create a real estate website, all you have to do is install a theme like Responsive as it makes your work easier and faster. It provides the best in class features and widgets, helping you create a stunning real estate website.
Hope you enjoyed reading this article. Don’t forget to check our other similar articles:
Already want to create a WordPress real estate website? Get the Responsive theme now!


