Are you looking to add a divider to your Elementor to enhance your website aesthetics?
A divider is a visual element that separates different sections or content on a web page. It helps organize the layout, guide the user’s attention, and make the website look more visually appealing.
Adding a divider is a great way to enhance your content’s visual appeal and organization. It separates different sections, but more importantly, it creates a clear visual hierarchy, putting you in control of your website’s design.
While there are various ways to add a divider to your website, using an Elementor divider widget can be the easiest way.
This article will cover in detail the steps to easily add an Elementor divider widget to your website.
So, let’s get started without further ado!
What Is An Elementor Divider Widget?
The Elementor Divider widget is a powerful tool that allows you to add horizontal dividers to your website easily.
These dividers serve various purposes. They allow you to separate different sections or content blocks on your page, creating a clear visual hierarchy and organization.
They can also enhance your website’s aesthetic appeal by adding stylistic elements and breaking up the monotony of continuous content. Further, the divider helps direct users’ attention to specific page areas by using it as a visual cue.
Moreover, the widget offers a wide range of customization options, allowing you to tailor the divider’s appearance to match your website’s branding and design. You can adjust the style, color, width, and height and add animations or effects to make it more visually engaging.
Things You’ll Need for Adding Free Divider in Elementor
Well, there are various ways to add a divider to your Elementor website however, all you need is a WordPress website with the Elementor page builder plugin integrated,
Next, to add a free divider in Elementor, you can write a code to integrate with your website to add a divider. However, it is a technical process and requires you to have a lot of coding knowledge.
Another easy method you might consider is using Elementor’s widget library. Elementor, the page-building platform, also offers a huge library of widgets, including the divider widget.
However, its widgets are not free, and a premium version must access its advanced customization features.
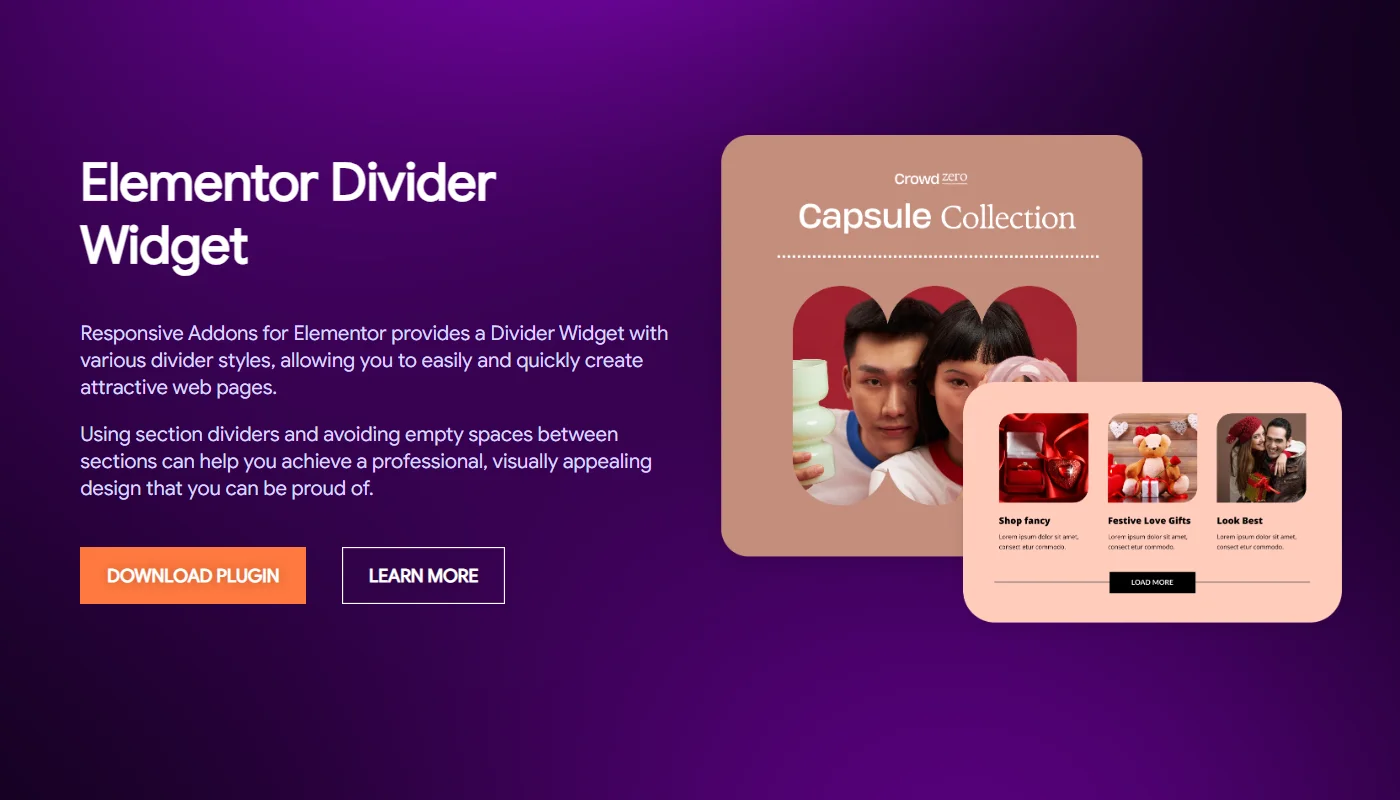
Another way to add a free divider widget to your Elementor is using a third-party plugin. Various third-party plugins offer a huge library of Elementor Add-Ons. One such free Elementor add-on plugin we recommend is Responsive Addons for Elementor.
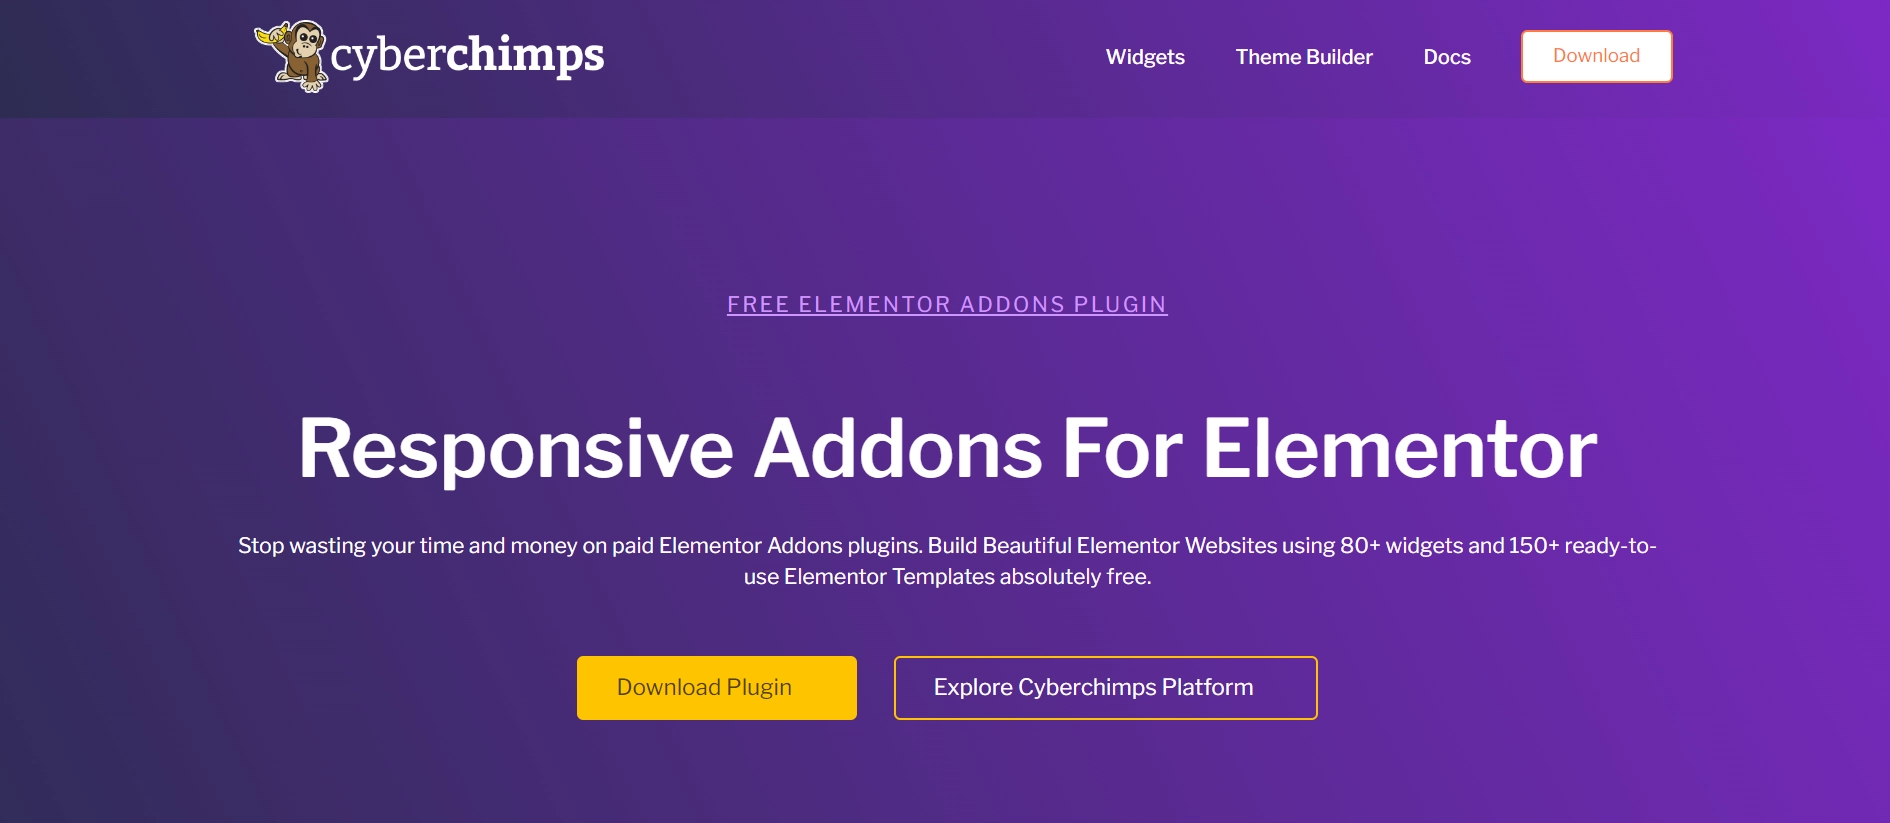
Responsive Addons for Elementor is a free and easy-to-use Elementor addons plugin that expands the functionality of the Elementor page builder. It offers over 80 powerful widgets, including various advanced and theme builder widgets that let you easily create an interactive and feature-rich website.
Among the various widgets offered, the plugin includes an Elementor divider widget that simplifies adding music content to your website. Furthermore, this widget is easy to use and offers various advanced customization options.
To learn more, read Responsive Addons for Elementor Review.
Now, let’s understand how you can use the Responsive Addons for Elementor plugin to add the widget.
How to Add Divider To Your Elementor Site
To add a divider to your WordPress website, follow the following steps:
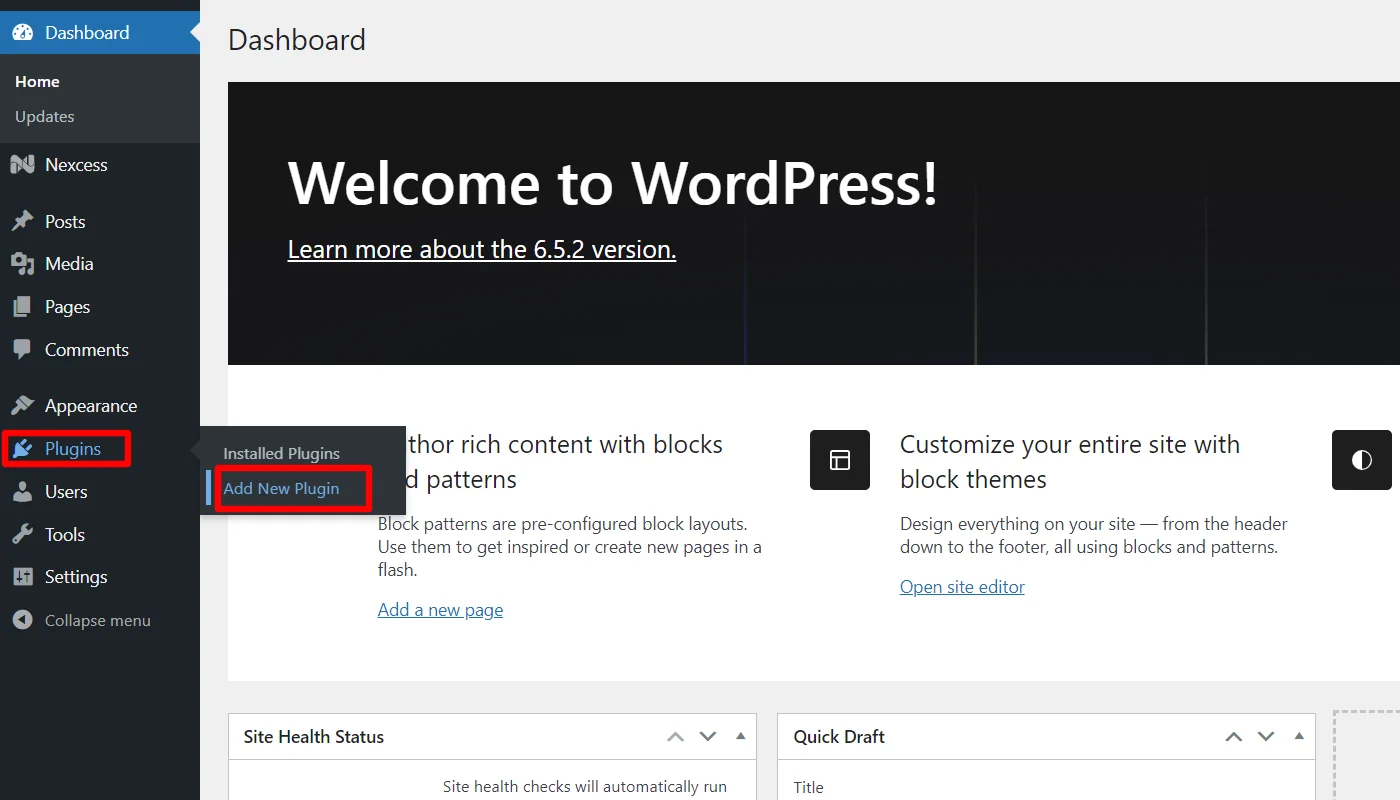
Step 1: Install and Activate Responsive Addons for Elementor
Navigate through your WordPress Admin dashboard and go to Plugins > Add New Plugin.
Go to the search bar and search for responsive addons for elementor.
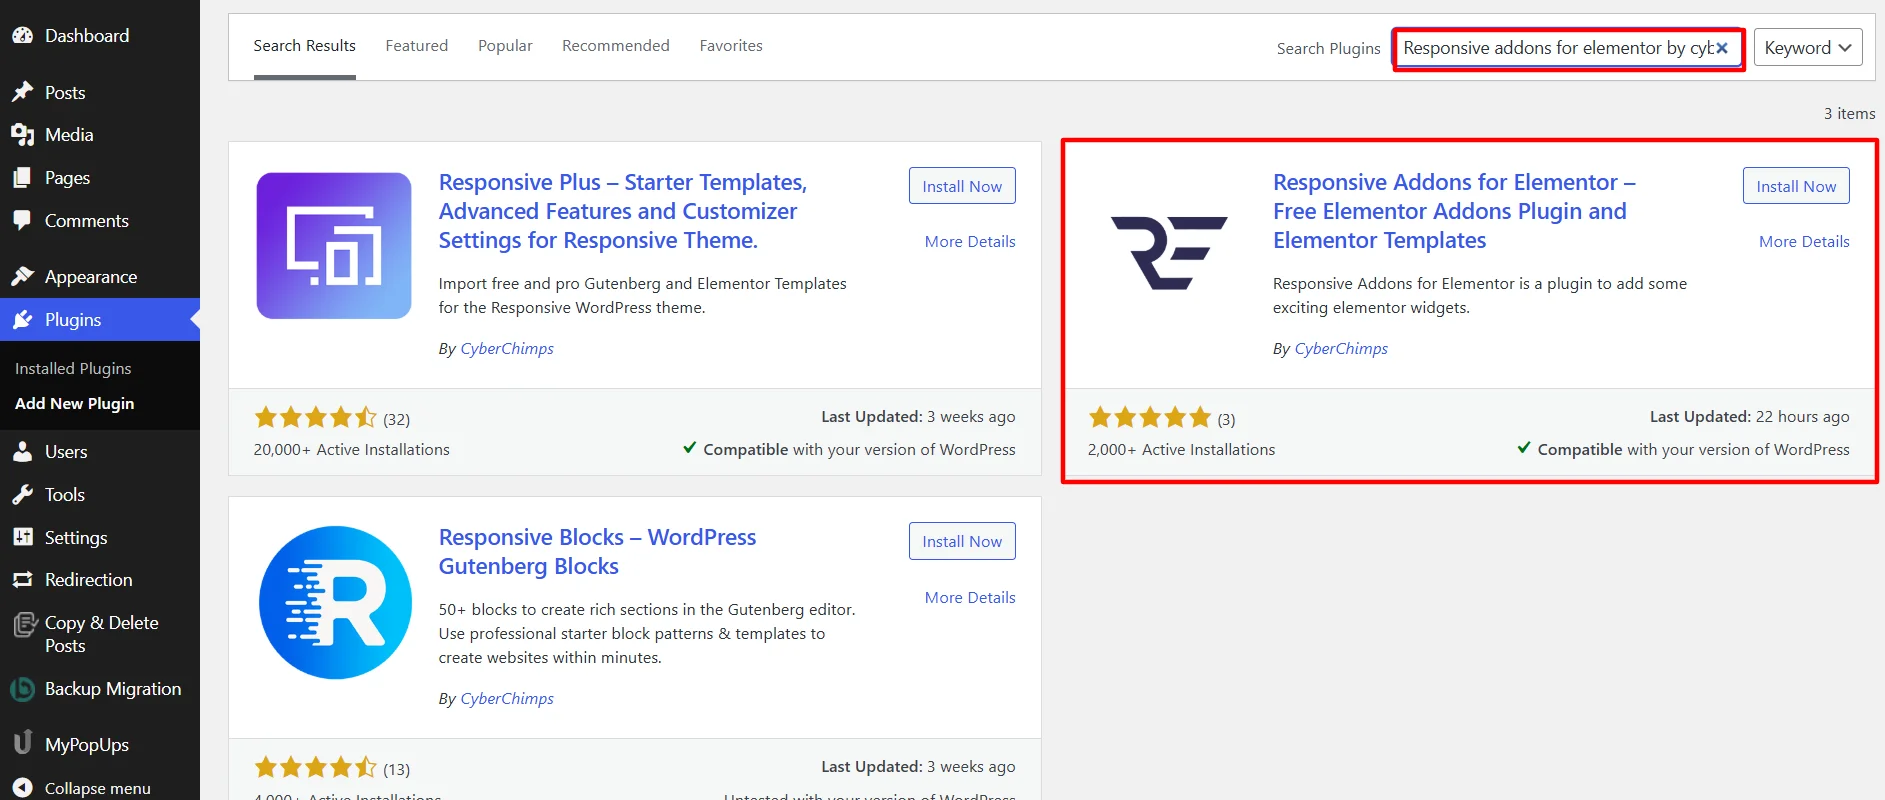
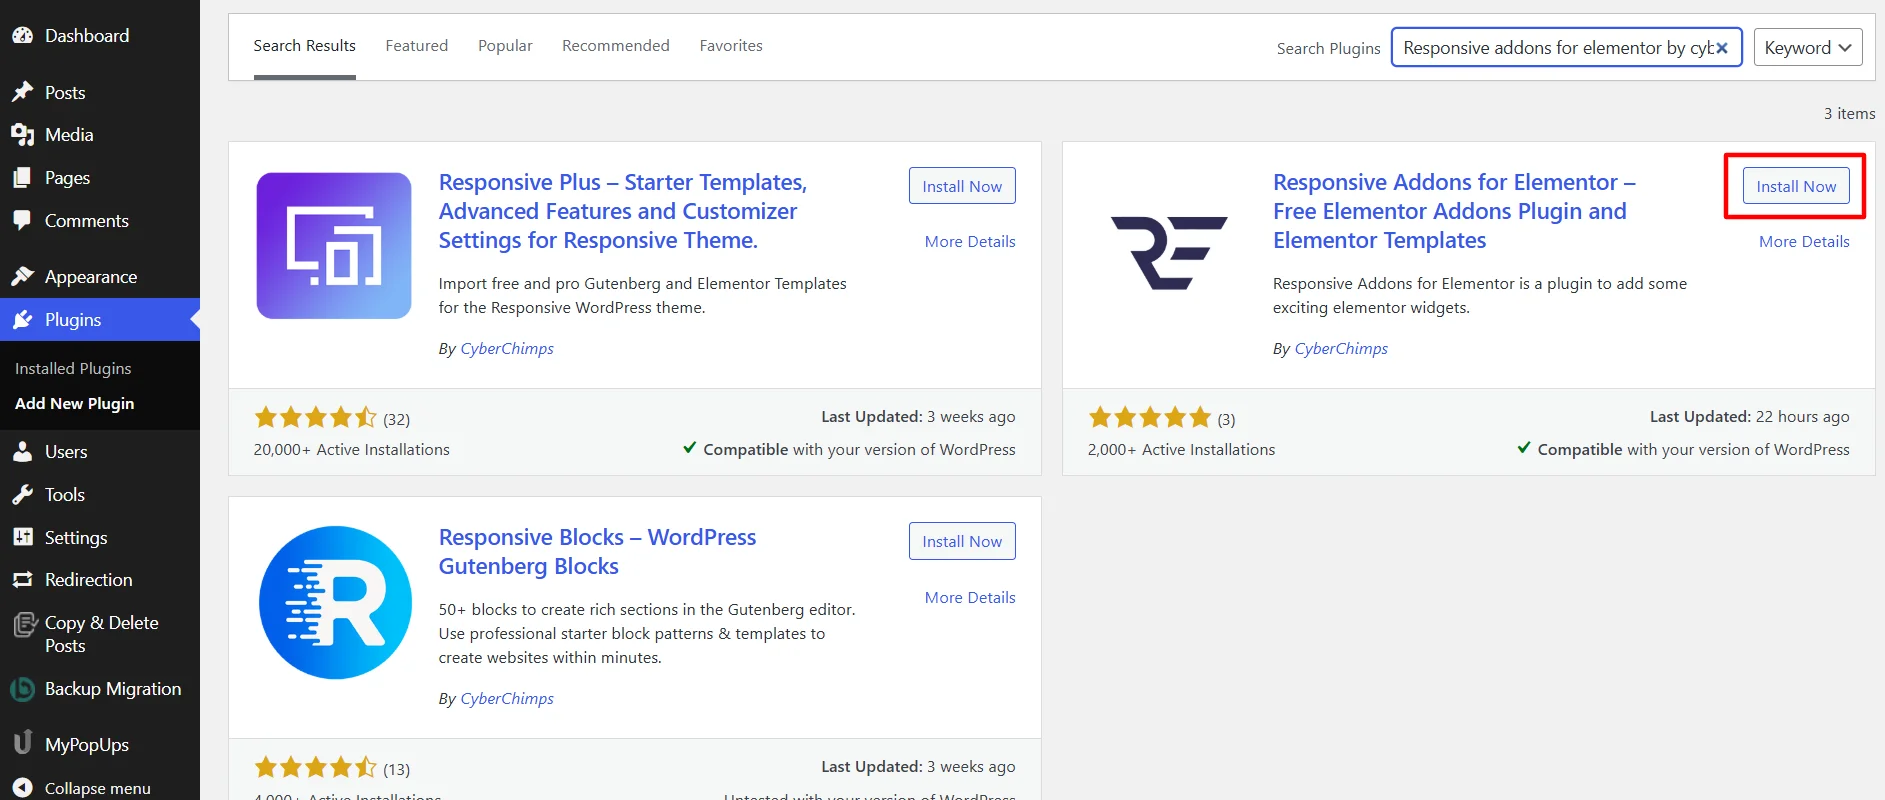
Next, click on the Install Now button.
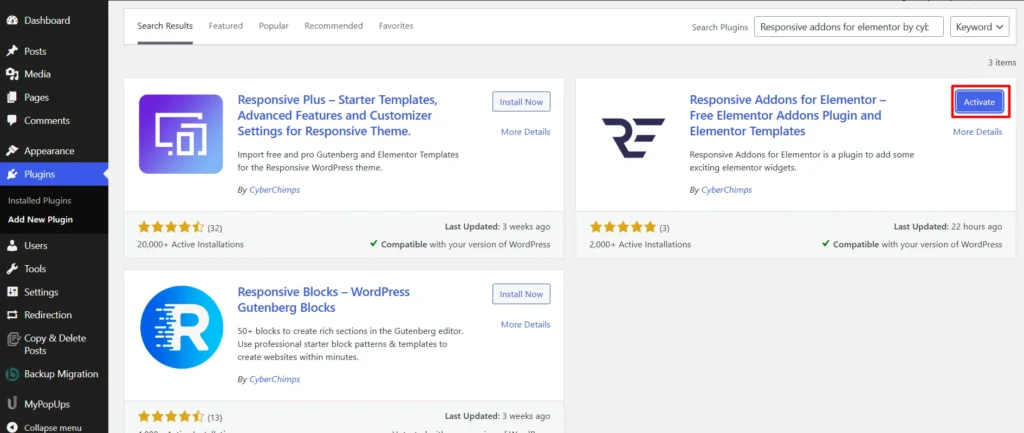
Click on the Activate button to activate the plugin.
Step 2: Adding Elementor Divider Widget to Elementor Site
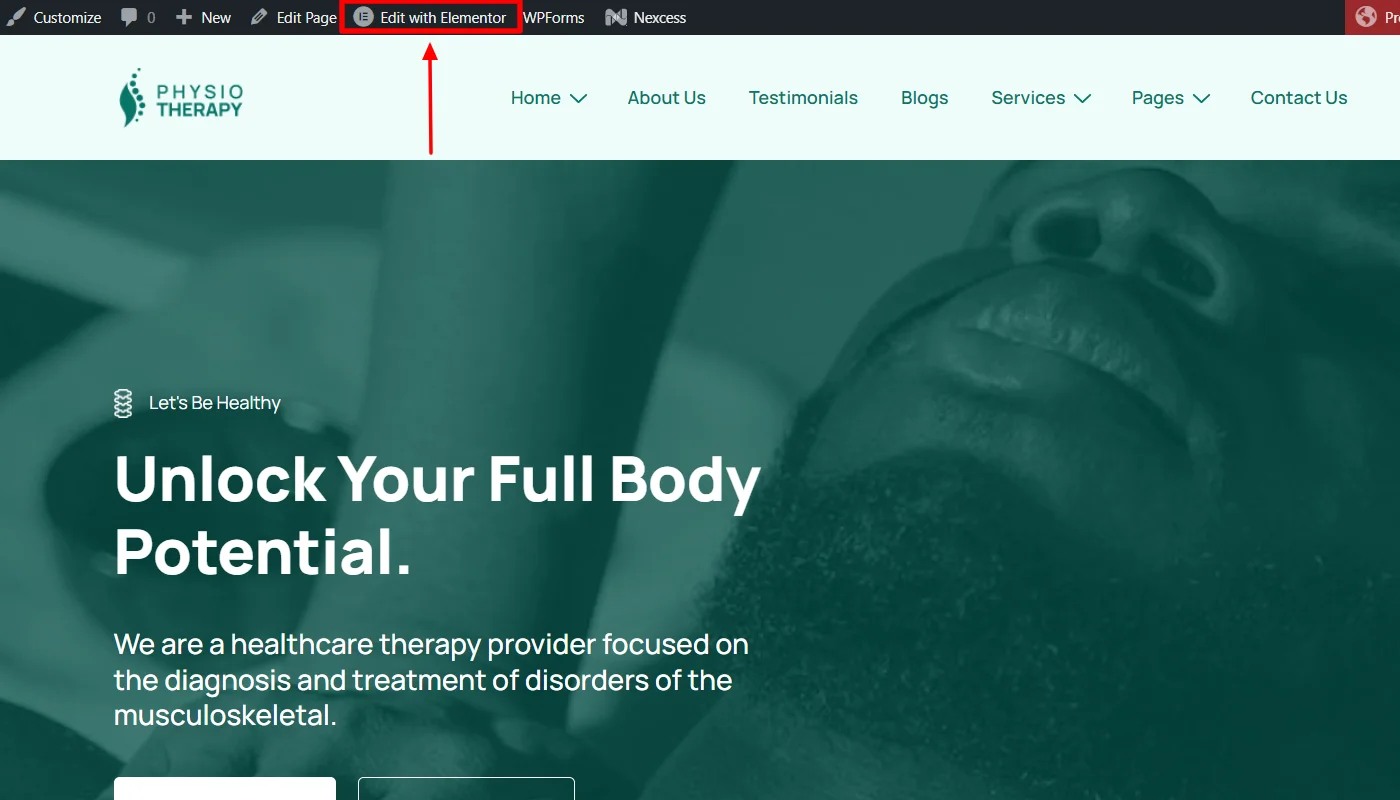
Once you have added the plugin, open the page where you want to add the Search bar.
[For the purpose of this article, we will be using the Physiotherapy WordPress Website Template. For more templates, check out the 150+ Elementor templates offered by the Responsive Addons plugin]

Once you’ve selected the page, click on Edit with Elementor.
Search for the Divider in the widget search bar.

Next, drag and drop the RAE Divider widget.
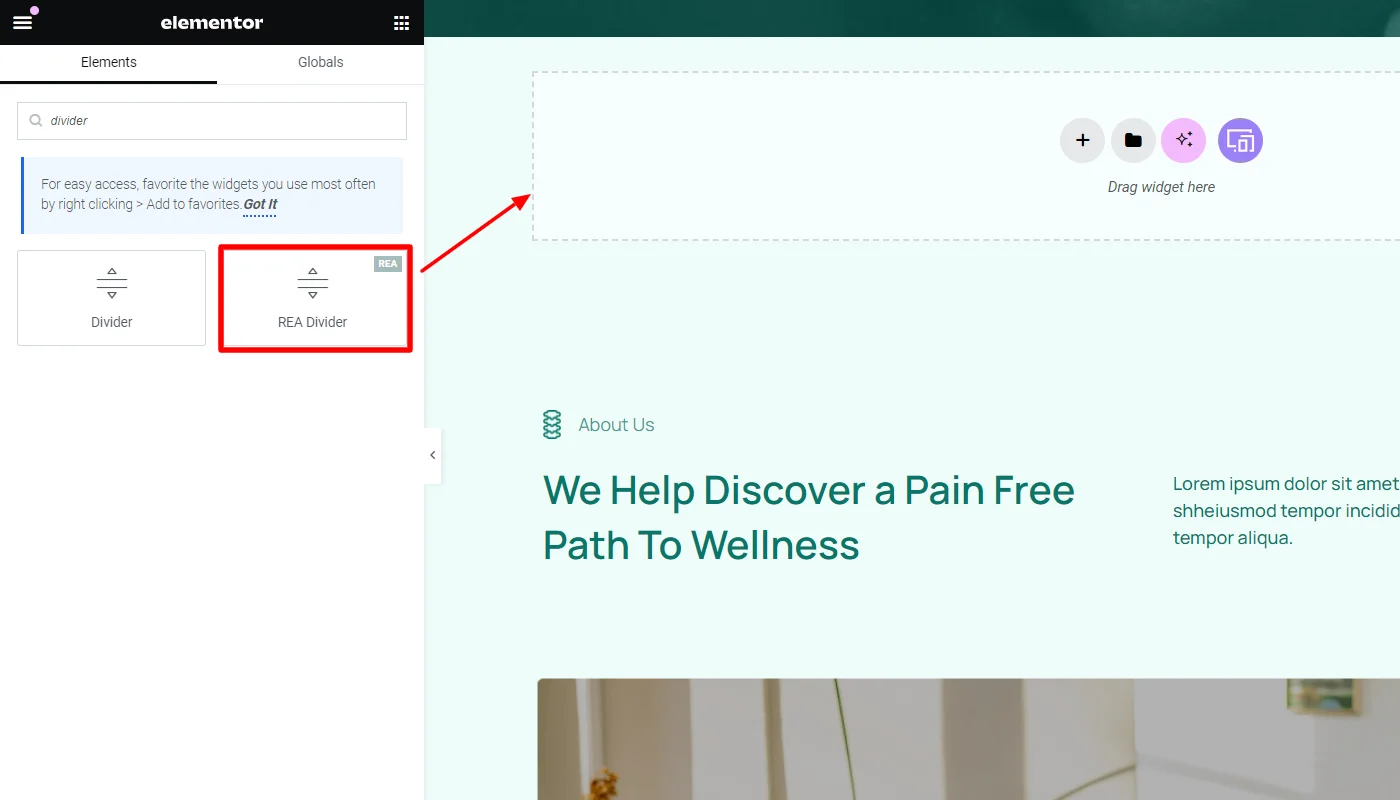
Once you’ve added the widget, you can customize it using the following step.
Step 3: Customizing Divider
The Divider widget provides various customization option for each layout layout (you will get the customization option based on the layout you choose):
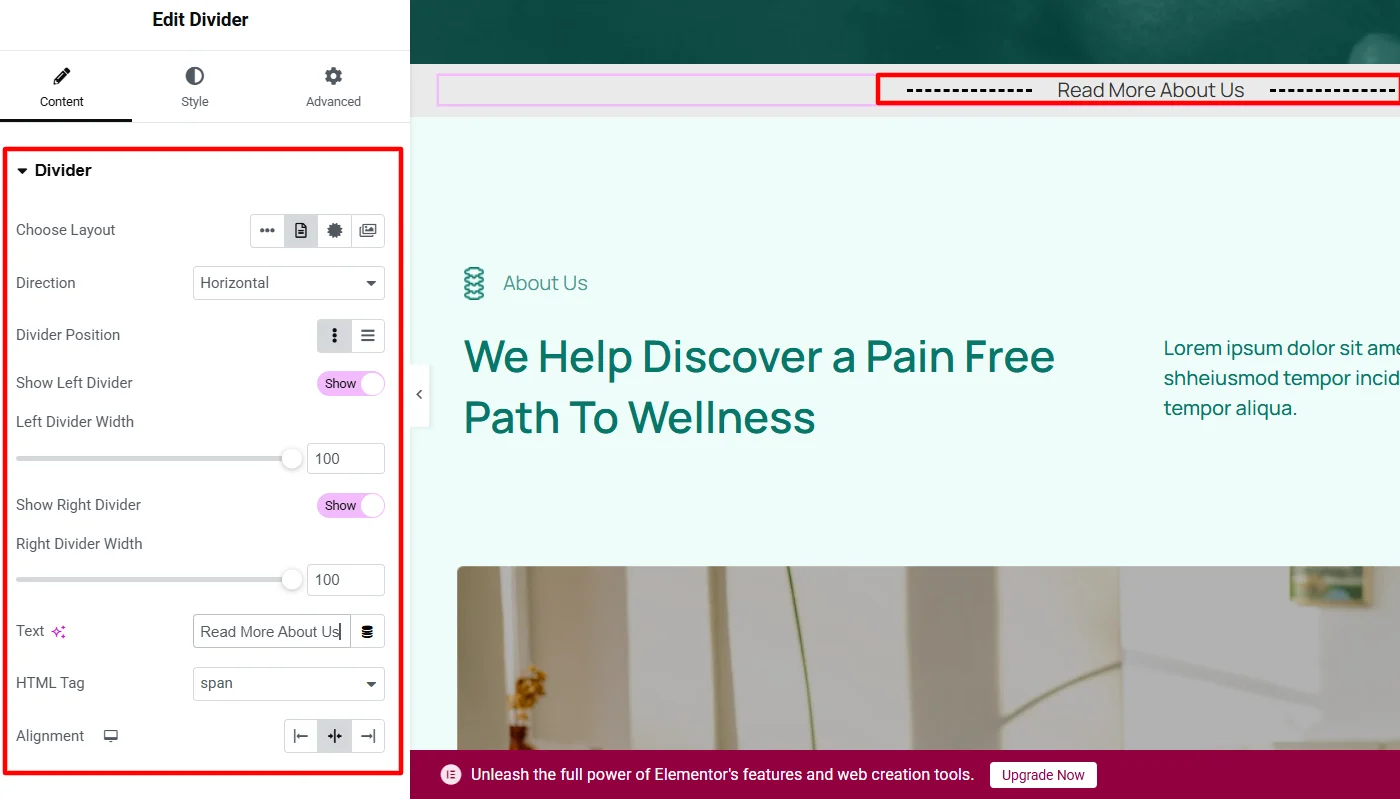
Choose Layout – Choose the layout for the divider. Available options are Plain, Text, Icon, and Image.
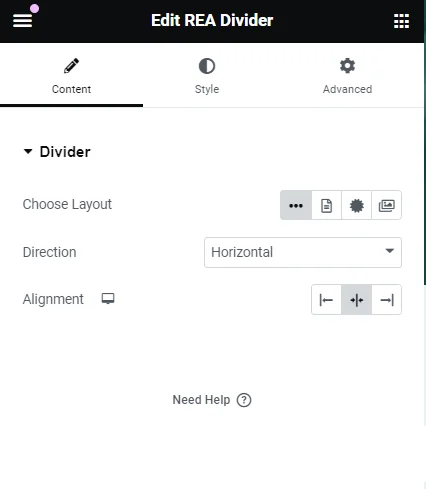
Plain Layout
- Direction – Let’s you set the direction of the divider. Available options are Horizontal and Vertical.
- Alignment – Allows you to set the alignment of the divider.
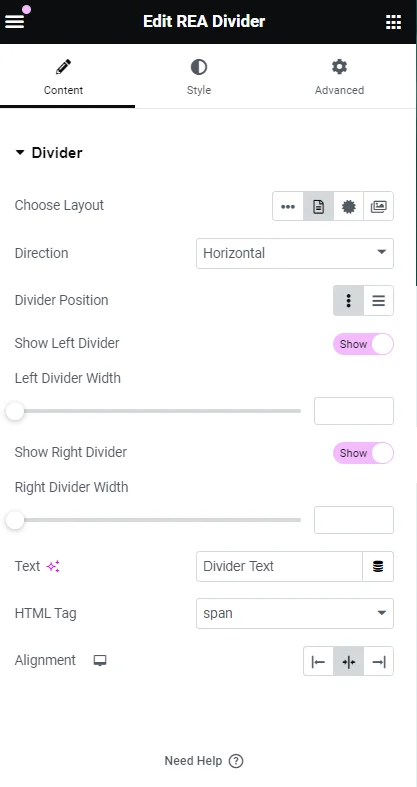
Text Layout
- Direction – Set the direction of the divider. Available options are Horizontal and Vertical.
- Divider Position – Allows you to set the divider position. Available options are Inline and Block.
- Show Left Divider – Allows you to show/side the left part of the divider.
- Left Divider Width – Let’s you set the width of the left part of the divider.
- Show Right Divider – Allows you to show/hide the right part of the divider.
- Right Divider Width – Enables you to set the width of the right part of the divider.
- Text – Allows you to add the text to be displayed between the divider.
- HTML Tag – Set the HTML tag for text.
- Alignment – Allows you to set the alignment of the divider.
Icon Layout
- Direction – Set the direction of the divider. Available options are Horizontal and Vertical.
- Divider Position – Allows you to set the divider position. Available options are Inline and Block.
- Show Left Divider – Allows you to show/side the left part of the divider.
- Left Divider Width – Let’s you set the width of the left part of the divider.
- Show Right Divider – Allows you to show/hide the right part of the divider.
- Right Divider Width – Enables you to set the width of the right part of the divider.
- Icon – Allows you to choose the icon to be displayed between the divider.
- Alignment – Helps setting the alignment of the divider.
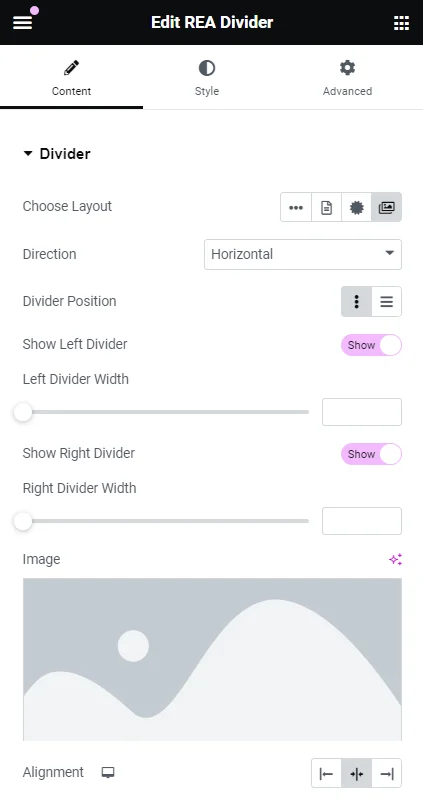
Image Layout
- Direction – Set the direction of the divider. Available options are Horizontal and Vertical.
- Divider Position – Allows you to set the divider position. Available options are Inline and Block.
- Show Left Divider – Allows you to show/side the left part of the divider.
- Left Divider Width – Let’s you set the width of the left part of the divider.
- Show Right Divider – Allows you to show/hide the right part of the divider.
- Right Divider Width – Enables you to set the width of the right part of the divider.
- Image – Allows you to choose the image to be displayed between the divider.
- Alignment – Helps setting the alignment of the divider.
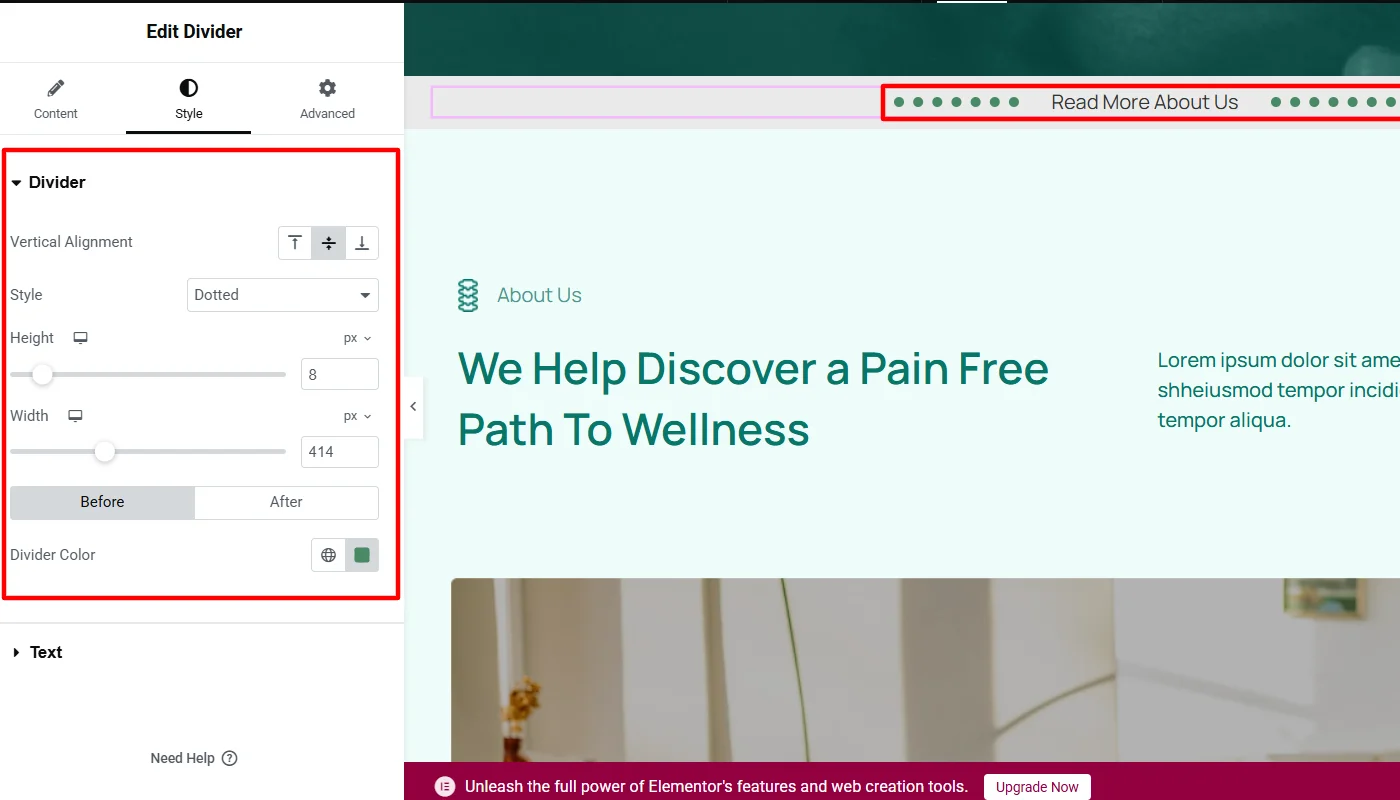
Step 4: Styling Divider
You can also style the Elementor divider of each layout with the following which is common in every layout:
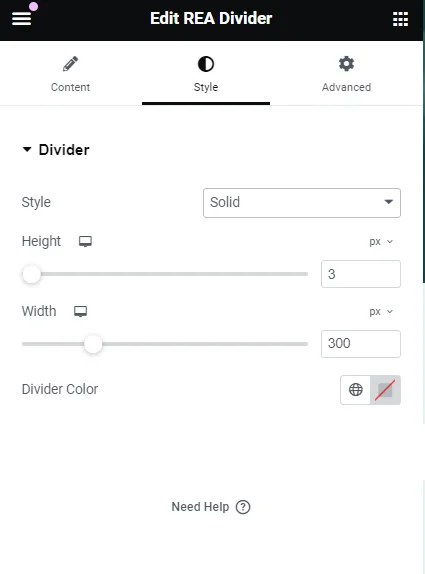
- Style – Allows you to select the divider style. Available options are Solid, Dashed, Double, and Dotted.
- Height – Enables you to set the height of the divider.
- Width – Enables you to set the width of the divider.
- Divider Color – Allows you to et the color of the divider. If Choose Layout is not set to Plain then the color for the left and right part of the divider can be set under Before and After tabs respectively.
Plain Layout
Basic Styling: The divider with plain layout offers only basic customization options as mention above only for the divider
The contents of the divider certain elements can be further styled as follows:
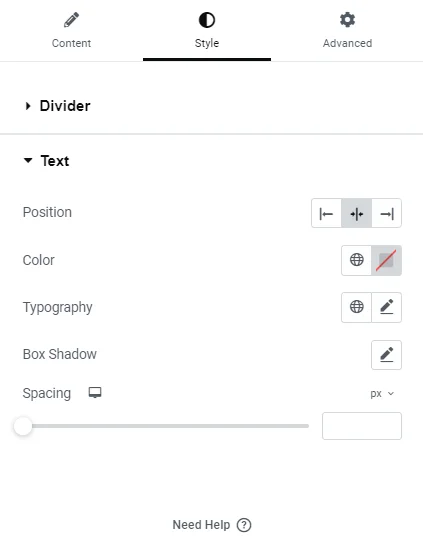
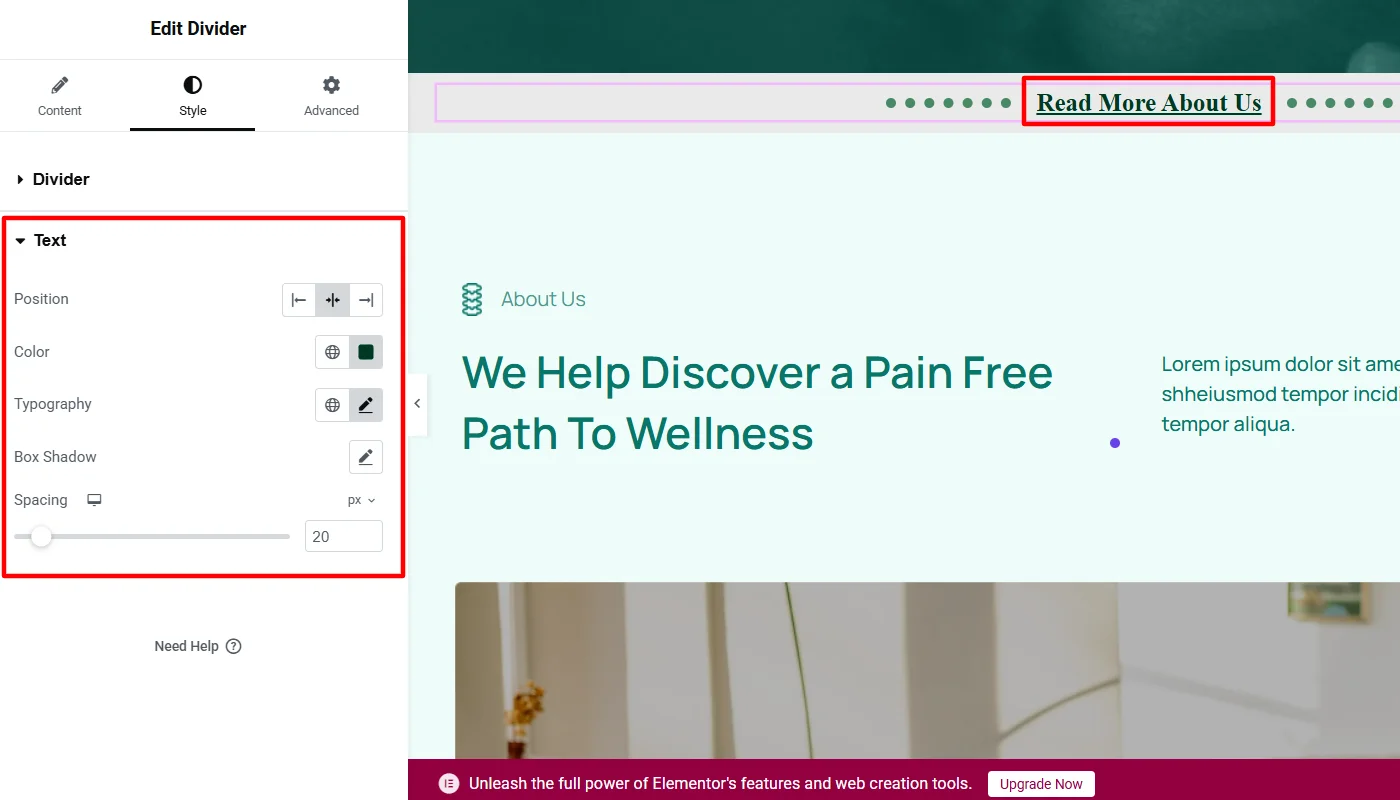
Text Layout
- Position – Allows you to set the position for the text. Available options are Left, Middle, and Right.
- Color – Allows you to set the text color.
- Typography – Allows you to set the typography settings for the text.
- Box Shadow – Allows you to set the box shadow properties for the text.
- Spacing – Allows you to set the spacing between the text.
Icon Layout
- Position – This option allows you to set the icon’s position. The available options are Left, Middle, and Right.
- Color – Allows you to set the icon color.
- Size – Allows you to set the size for the icon.
- Icon Rotation – Allows you to set the parameter for the icon rotation.
- Spacing – Allows you to set the spacing for the icon.
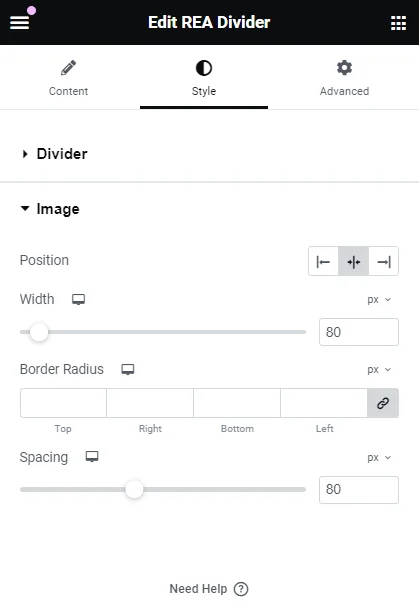
Image Layout
- Position – Allows you to set the position for the image. Available options are Left, Middle, and Right.
- Width – Allows you to sett he width of the image.
- Border Radius – Allows you to set the border radius for the image.
- Spacing – Allows you to set the spacing for the image.
How To Use the Divider Widget?
Now that you know how to add the divider widget and its settings, let’s understand how to use it.
To explain this, I will show you how I used customizations to add features to my website.
Customizing Divider Widget Content
To begin with, I customized the divider’s layout and content. I adjusted the text layout horizontally, positioning it inline.
I kept the divided width at the maximum value for both the left and right sides. The divider text was “Learn More About Us” with the default HTML tag and central alignment.
Styling Divider Widget
Once the content customizations were set up, I jumped into styling.
To style the divider, I kept the vertical alignment the same as the default in the middle and changed the style to dotted. In addition,
I also adjusted the divider’s height and weight and changed the color before and after the text to match the overall website appearance.
For the divider text, I kept the text position at the default center and changed the text color to match the other website elements. I also changed the typography font, weight, and text size.
I kept the box shadow as the default and slightly adjusted the spacing.
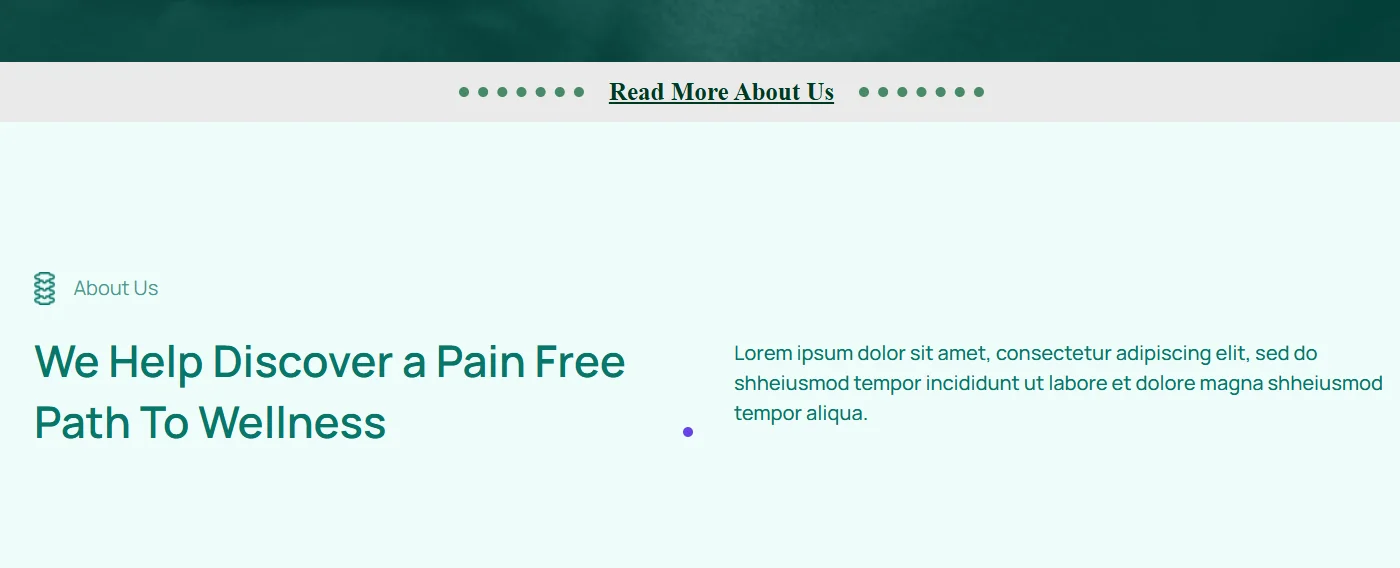
Final Appearance of Divider Widget
After these customizations, the final appearance of the divider looked like this:
FAQ
There are various ways to add a divider to your website. You may add a code or use the Elementor Addons widgets offered by Elementor itself or third-party plugins.
A divider is a visual element that separates different sections or content on a web page. It helps organize the layout, guide the user’s attention, and make the website look more visually appealing.
Yes, you can add Divider for free in Elementor using the Responsive Addons for Elementor.
Conclusion
Overall, with the help of a divider, you can easily enhance your website aesthetics.
While there are various ways to add a free divider to your Elementor website, we recommend using the Responsive Addons for Elementor as it is free and provides various functionalities.
If you liked this article, you can also consider reading:
- How to Add Modal Popup in Elementor
- How to Add Testimonial Slider To Your Elementor Website
- How to Create A Data Table in WordPress With Elementor
Further, check out the Cyberchimps Responsive theme to create a multipurpose website effortlessly.


