Do you want to add a captivating Elementor logo carousel to your website?
An attractive website can significantly improve a brand’s online presence and provide a memorable experience for visitors. Dynamic visual elements are among the various factors that contribute to a website’s effectiveness and are particularly captivating.
When created carefully, these elements can communicate professionalism, reliability, and brand identity, prompting users to delve deeper.
A logo carousel on your website effectively showcases your brand’s credibility and partnerships, offering an impactful way to achieve this.
By strategically integrating a logo carousel, you can promptly enhance your website’s credibility and attract potential customers. This guide will walk you through incorporating a logo carousel onto your website.
What is the Elementor Logo Carousel Widget
An adaptable and attractive tool, the logo carousel widget displays a sequence of logos rotating or sliding on a website.
Typically, the logo carousel widget allows you to upload multiple logo images, which are then exhibited in a continuous loop, either automatically or under manual user control.
Besides its visual appeal, the logo carousel widget serves a functional purpose. It conserves space by accommodating several logos in a condensed area, making it particularly advantageous for websites with limited space.
Furthermore, it helps draw attention to the brands or organizations associated with your business, reinforcing trust and authority in your visitors’ eyes.
Why you Should Add Logo Carousel to WordPress Website
A logo carousel can enhance a WordPress website’s visual appeal and credibility. It can also be a valuable tool for promoting a brand and connecting with other businesses.
Following are some of the advantages of incorporating a logo carousel into your WordPress website:
1. Enhanced credibility
Displaying logos of well-known brands or industry leaders can instill trust in your website and business among visitors.
2. Increased brand recognition
Utilizing a logo carousel can increase brand awareness by showcasing your partnerships and affiliations.
3. Improved engagement
A logo carousel can elevate the visual appeal of your website, leading to increased user engagement.
4. Simplified management
Numerous logo carousel plugins for WordPress are readily available, making adding and controlling a logo carousel on your website effortless.
5. Responsive design
Most logo carousel plugins are designed to be responsive, ensuring an optimal display across various devices, from desktops to smartphones, and delivering a consistent user experience.
Things You’ll Need for Adding Free Logo Carousel in Elementor
Make sure you have the required plugins to add a complimentary logo carousel widget to your website.
Elementor
Elementor is a popular WordPress plugin that allows users to create and customize websites without needing to write code.
The easy-to-use drag-and-drop interface is attractive to beginners and offers powerful features that cater to the requirements of experienced users.
With its real-time editing feature, users can see changes immediately, and it seamlessly integrates with most WordPress themes.
Elementor has become a crucial tool for web designers and developers due to its flexibility, user-friendliness, and extensive collection of design elements, which enable the swift and efficient development of high-quality websites.
Responsive Addons for Elementor
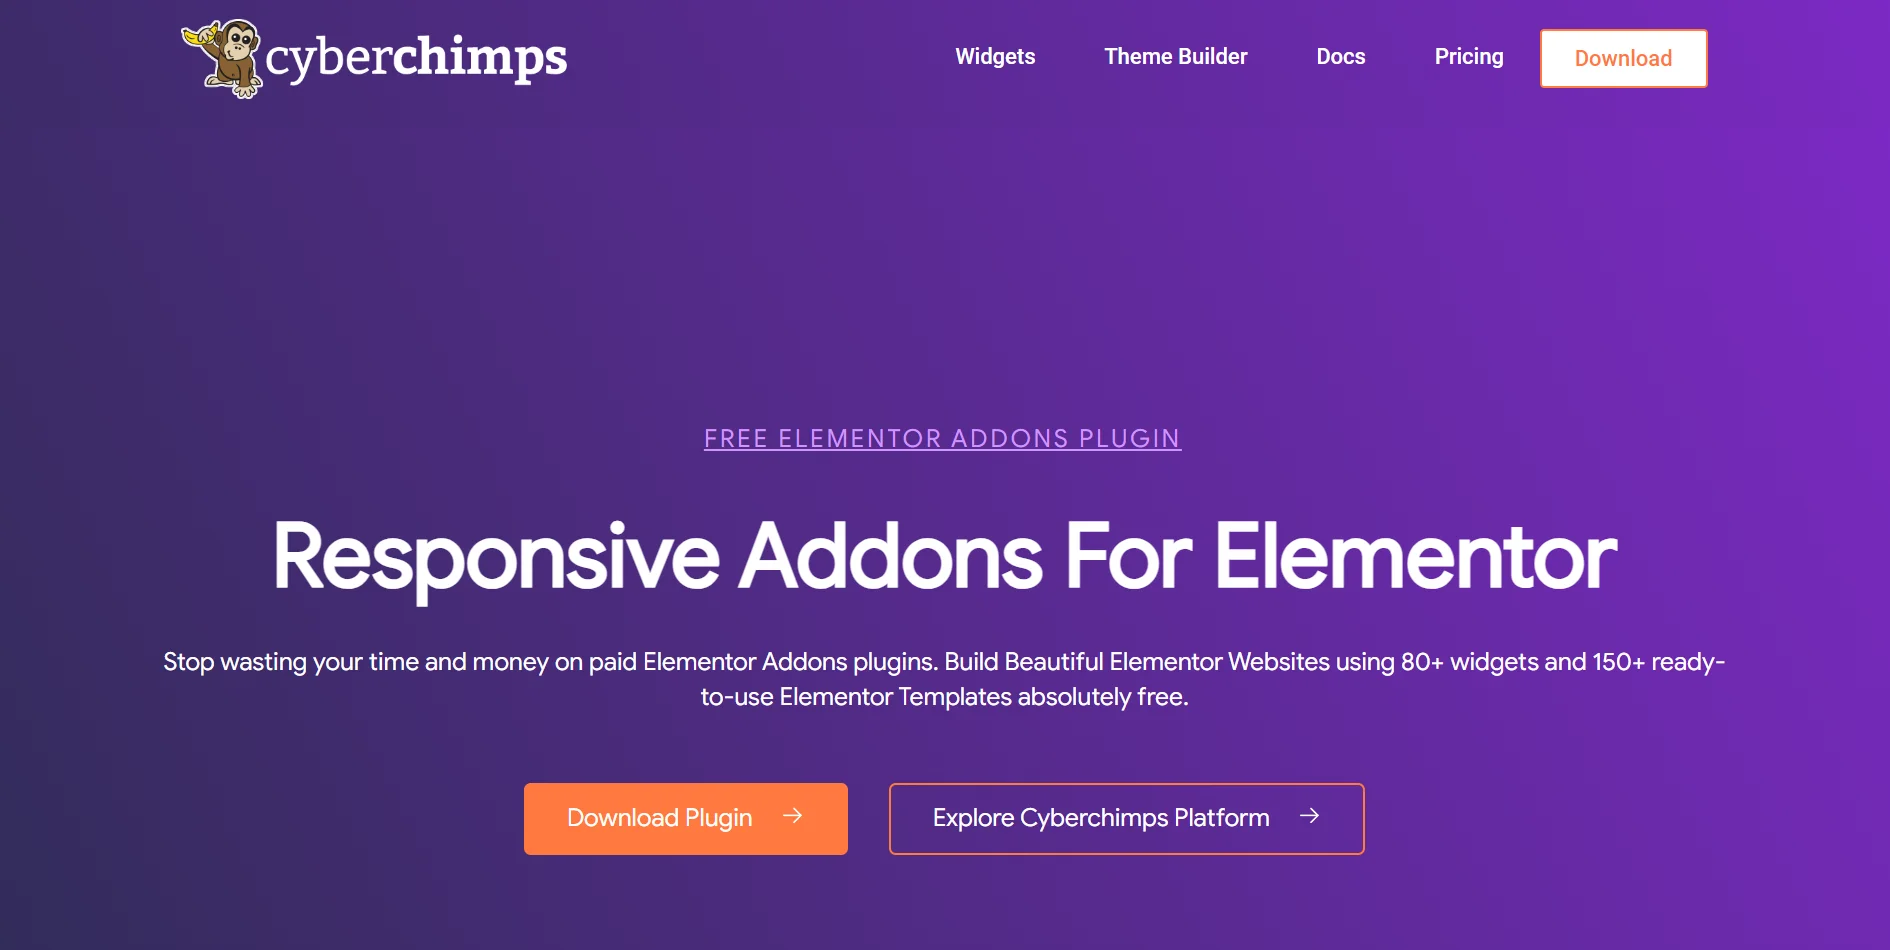
Responsive Addons for Elementor is a plugin designed to enhance the functionality of the Elementor page builder by providing additional design features and customization options with a focus on responsive design.
The plugin boasts an impressive collection of 80+ Elementor widgets and 250+ Elementor website templates, which significantly expand the capabilities of the Elementor page builder.
This plugin empowers users to customize how their content appears on mobile, tablet, and desktop screens, ensuring a seamless user experience across all devices.
These Addons serve as valuable tools for developers and designers seeking to optimize their Elementor-created websites for mobile and other devices.
How to Add Logo Carousel To Your Elementor Website
[Note: To add a logo carousel widget, your website must have Elementor plugin activated]
Cyberchimps provides over 250 Elementor website templates that you can use to create your website instantly.
Follow the steps below to add a logo carousel to the Elementor website.
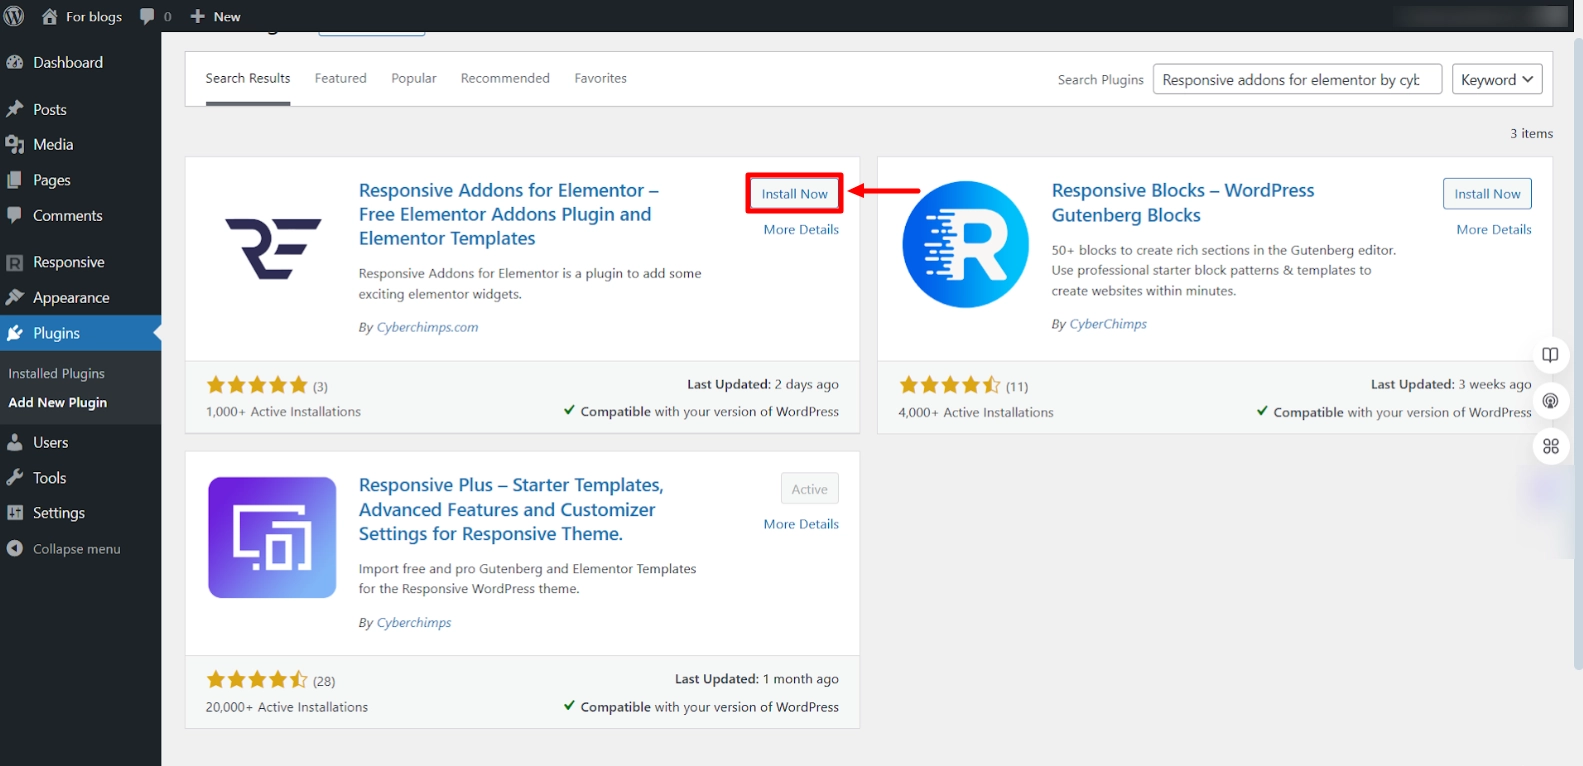
Step 1: Install and Activate Responsive Addons for Elementor
Navigate to the WordPress dashboard, select Plugin > Add new plugin

Type Responsive Addons for Elementor into the search bar. Once the plugin appears, click the Install Now button.
Once the installation is complete, click the Activate button to activate the plugin.
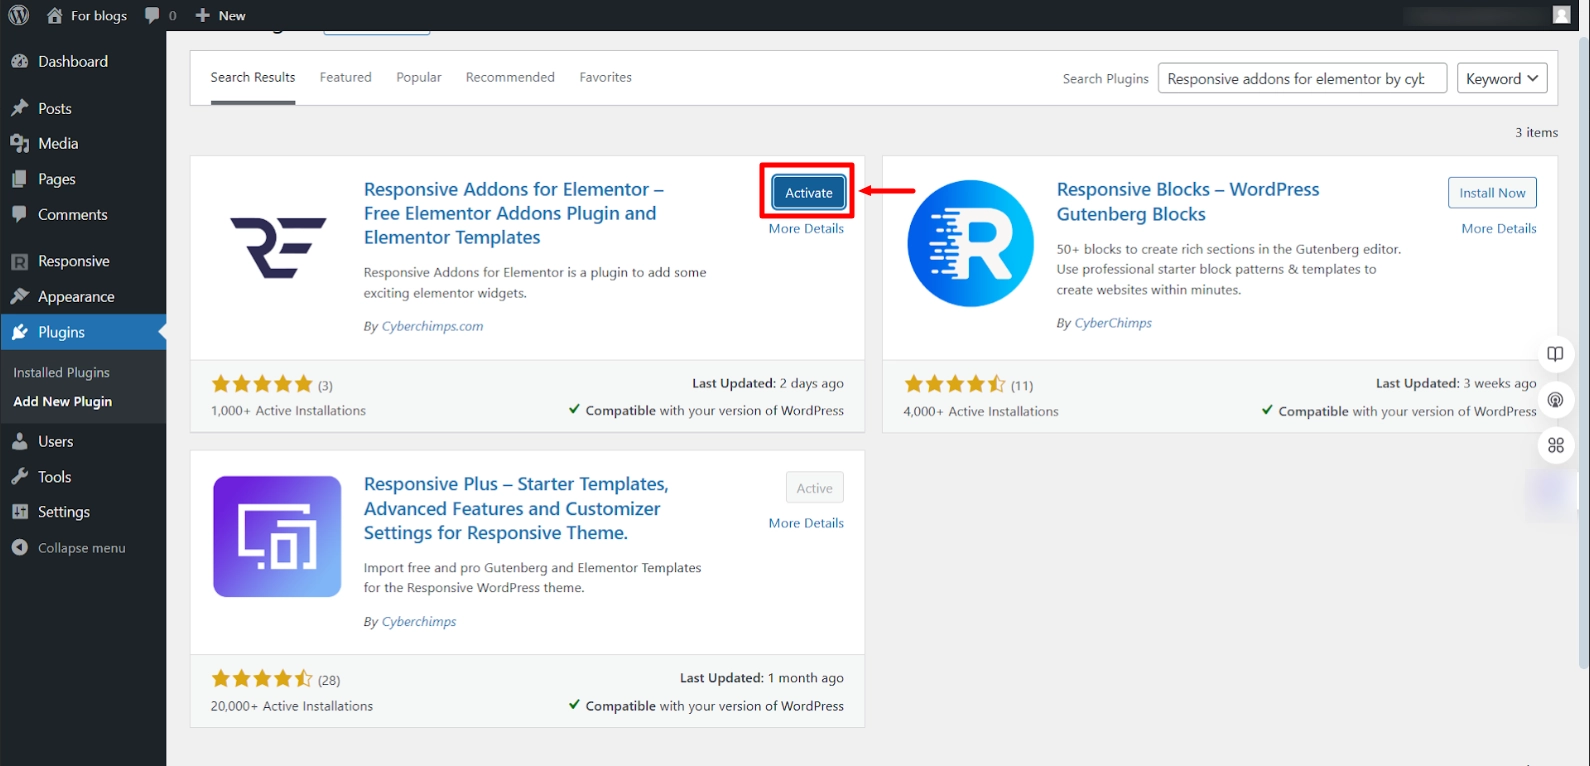
The Responsive Addons for Elementor plugin has been successfully added to your WordPress dashboard.
Step 2: How to Add Logo Carousel Widget
To learn how to add logo carousel widget, we’ll use a pre-designed Car Rental WordPress Template.
You can access a range of other templates from the Responsive Plus collection of free WordPress templates.
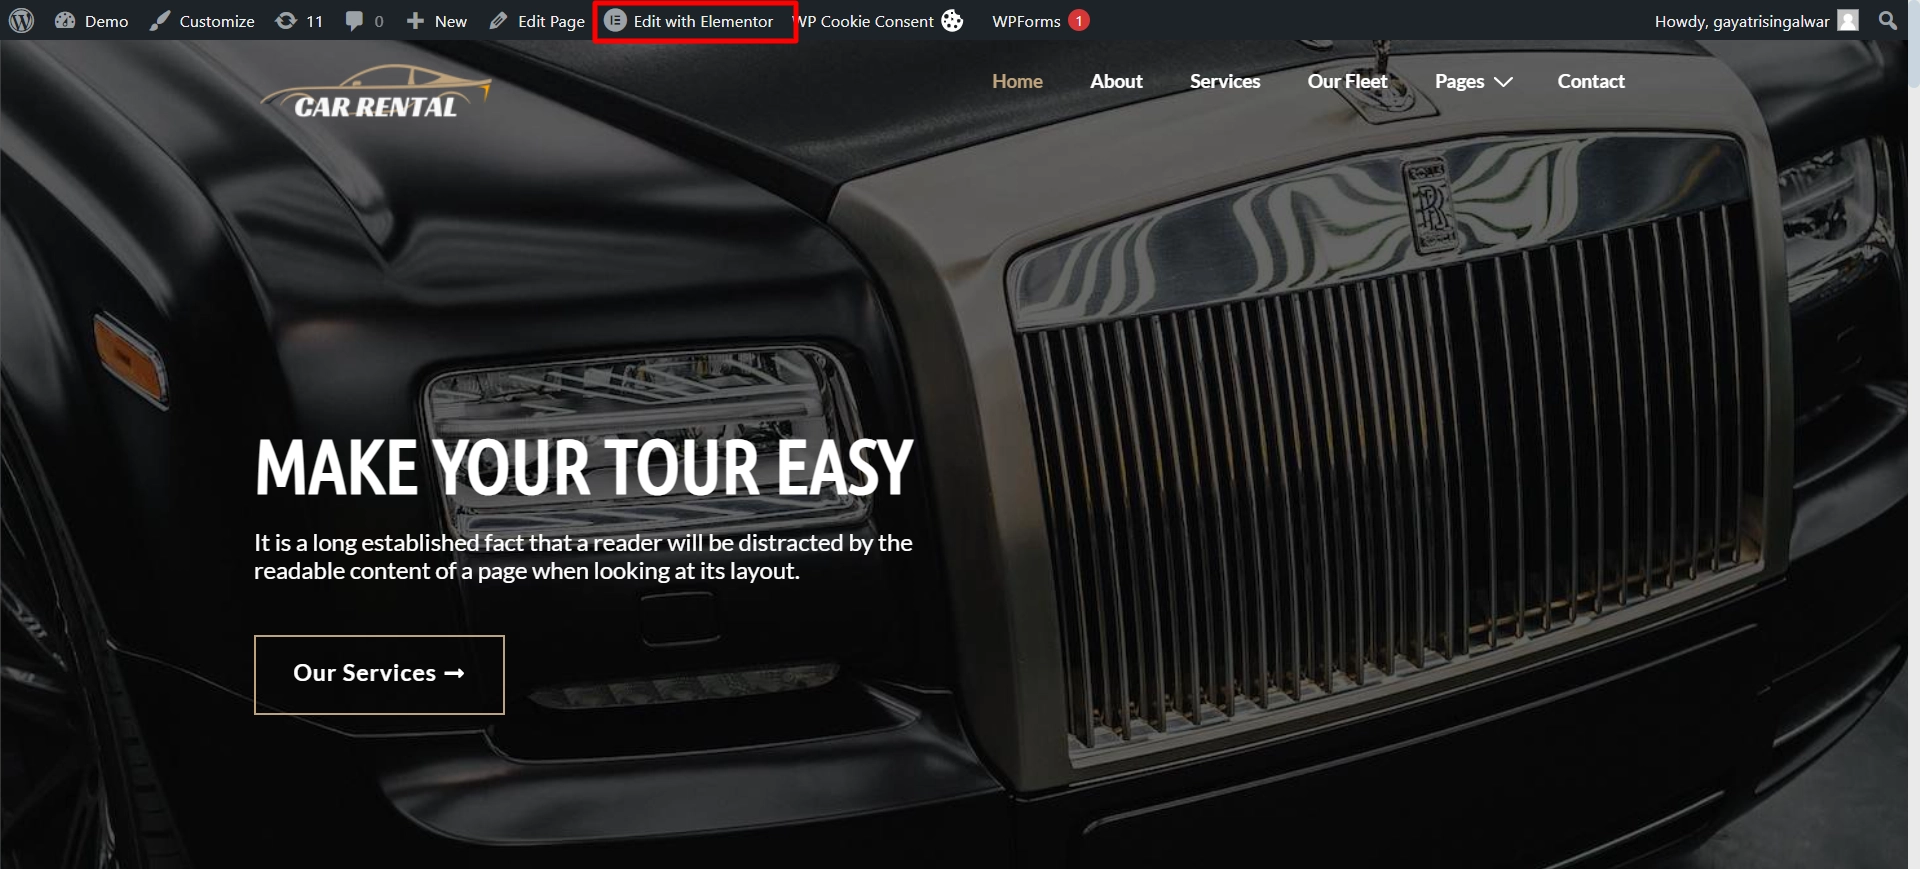
After navigating to the relevant page, you must find and select Edit with Elementor.
Next, use the widget search bar to enter the RAE logo carousel.
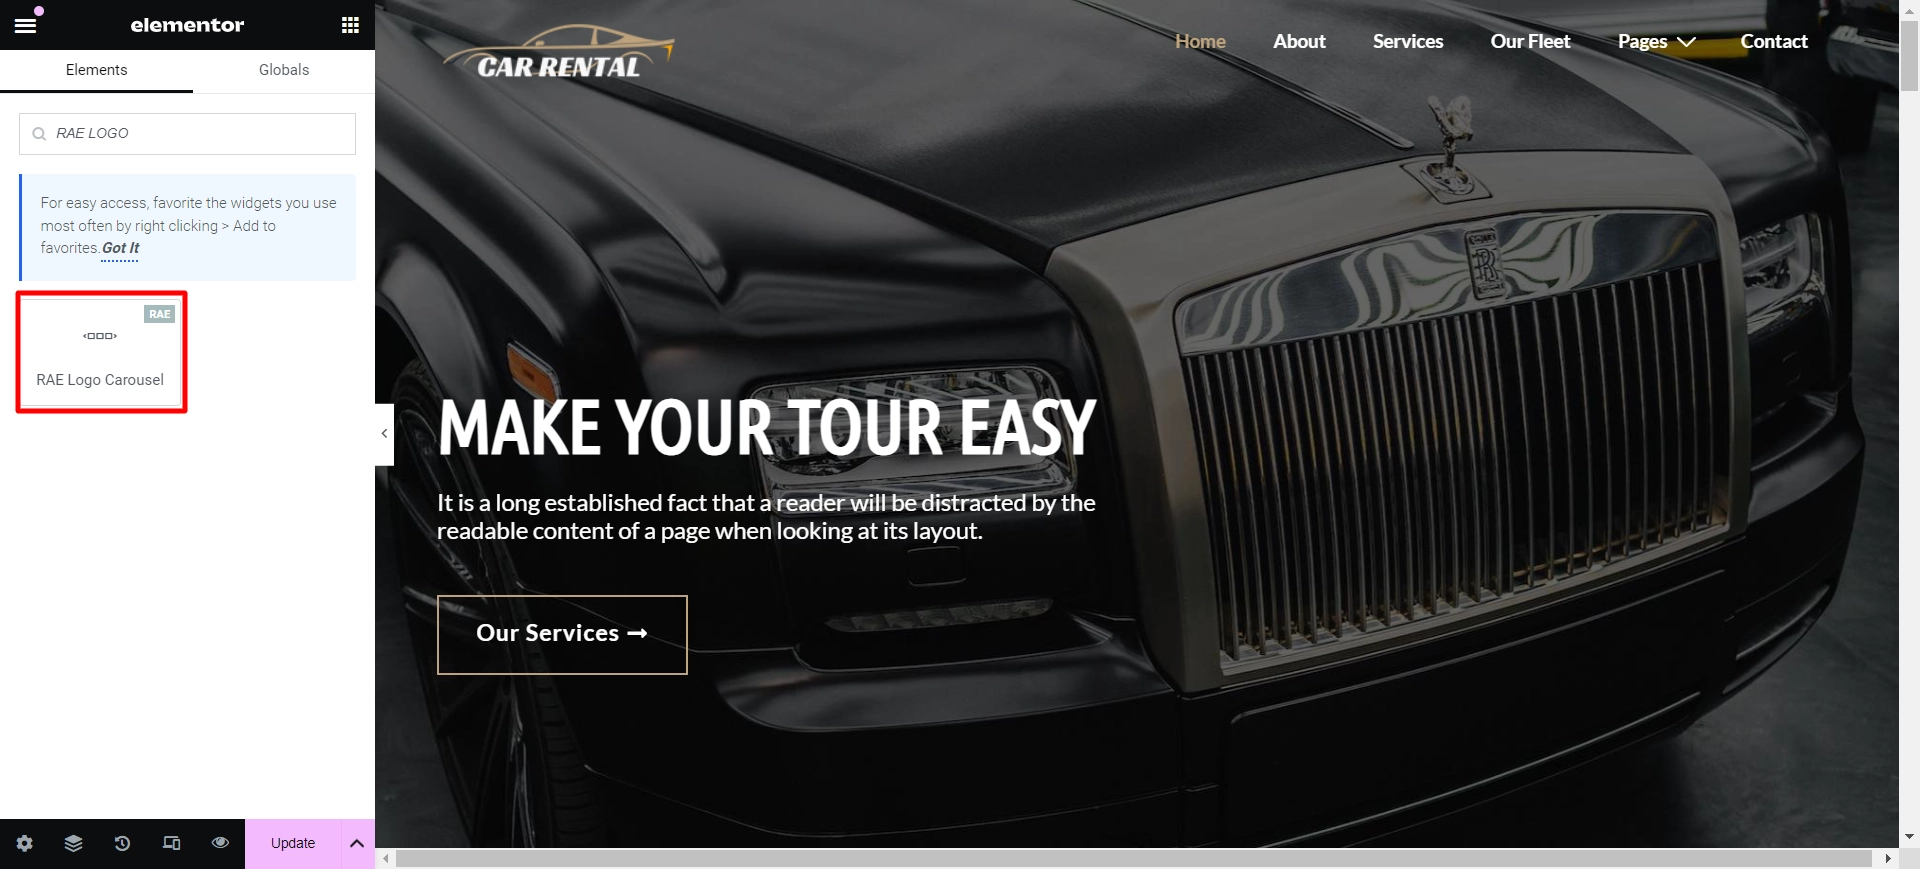
Drag and drop the widget onto the page to integrate it into your design.
Once the widget is placed on the main page, the logo carousel will be successfully added. We can then proceed with customizing it.
Step 3: Customizing Responsive Addons for Elementor Logo Carousel Widget
There are several methods to customize your widget.
Next, let’s explore the Content section.
Logo Carousel
Logo Carousel Options
- Upload Logo Image: You can add a logo image for each item.
- Title: Add a title to be displayed below the logo image.
- Alt Text: Include alternate text for the logo image.
- Link: Add a link to the logo item.
- Title HTML Tag: Choose an HTML tag for the title of the logos.
To create a realistic logo carousel for our website, I began by adding logos of the cars the car rental website deals with, the car’s brand in the title, and setting alt tags for each image. There was specific need I felt to add any links to the images so I left and kept the title tags default H4.
Carousel Settings
Now, let’s understand the carousel setting options.
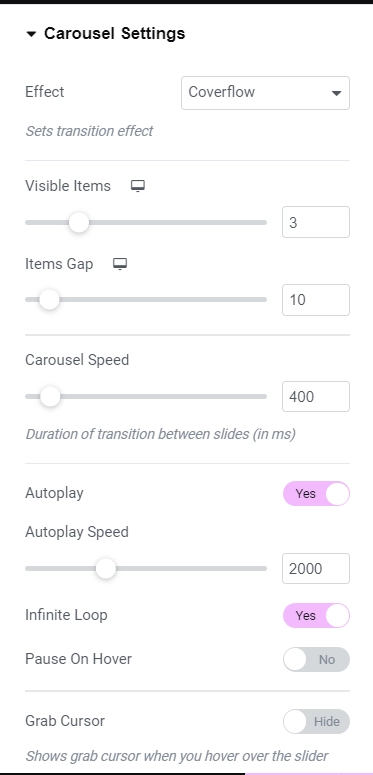
Carousel Setting Options
- Transition Effect: Select the transition effect you prefer for the carousel from options such as Slide, Fade, Cube, Coverflow, and Flip.
- Visible Items: Define the number of items visible within the carousel window. This option is applicable when the effect is set to Slide or Coverflow.
- Items Gap: Specify the gap between the carousel items. This feature is accessible only when the effect is set to Slide or Coverflow.
- Carousel Speed: Adjust the speed of the carousel according to your preference.
- Autoplay: Enable or disable the autoplay feature for the carousel.
- Autoplay Speed: Set the delay for autoplay. This option is only available when the Autoplay feature is enabled.
- Infinite Loop: Toggle the infinite loop feature for the carousel.
- Pause On Hover: Choose whether the carousel should pause when hovered over. This option is applicable when the Autoplay feature is enabled.
- Grab Cursor: Determine whether a grab cursor should be displayed when hovering over the slides. Set to “Yes” to enable this feature.
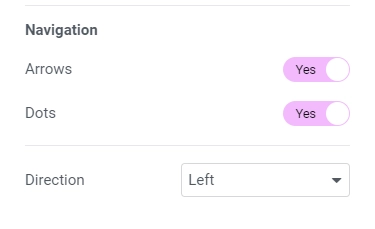
- Arrows: Display or hide navigation arrows.
- Dots: Show or hide pagination dots.
- Direction: Select the direction for the carousel.
To make the logo carousel appear more interactive, there were a lot of options to configure the carousel setting, which I changed in the following ways:
- Changed the carousel’s transition effect to coverflow.
- Kept the default number of visible items in one viewport the same as three.
- Moreover, for another set, which was good at default, I kept them the same, like item gaps, carousel speed, infinite loop, and auto play speed.
- Further, I switched on some interactive settings, such as pausing while hovering over any specific logo and grabbing the cursor.
- Lastly, I left the navigation settings the same as default, as they looked perfect.
Step 4: Styling Responsive Addons for Elementor Logo Carousel Widget
This section will help you to style your free logo carousel widget
Logos
Logos Options
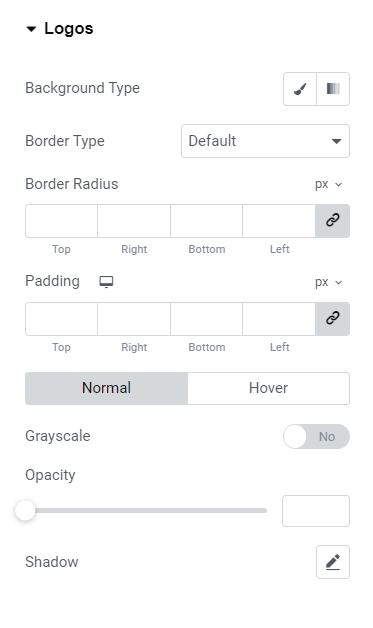
- Background Type: Select either Classic or Gradient for each carousel item and configure the settings accordingly.
- Border Type: Choose a border type for the carousel items, and adjust the Border Width and Border Color settings if a border type other than None is selected.
- Border Radius: Set the border radius for the carousel items.
- Padding: Set the padding for the carousel items.
- Grayscale Effect: Add or remove the Grayscale effect on the carousel items for both Normal and Hover states.
- Opacity: Adjust the opacity of the carousel items for both Normal and Hover states.
- Opacity: Adjust the opacity of the carousel items for both Normal and Hover states.
- Shadow: Add or remove the shadows for the carousel items for both Normal and Hover states.
To style the logo carousel, the widget offers various customization options. We have chosen to set the background of the logo carousel with a greyish gradient effect and a radial type of look to make it look 3D. For the rest of the settings, we kept it to default.
Title
Title Options
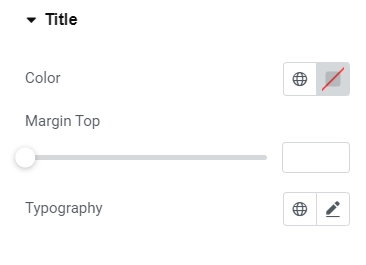
- Color: Determine the color for the logo title.
- Margin Top: Specify the margin top for the logo title.
- Typography: Define the typography for the logo title.
To customize the title, I kept it minimal, setting the color as black and setting a margin-top space of 20.
Arrows
This section is available only if Arrows is set to Yes under Content > Carousel Settings.
Setting Options
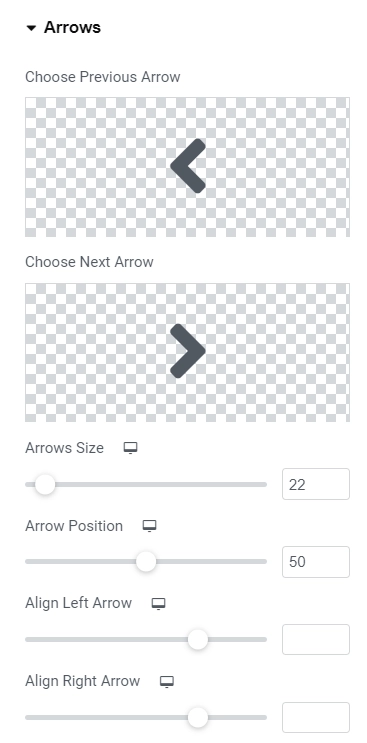
- Choose Previous Arrow: This adds the previous arrow icon.
- Choose Next Arrow: This adds the next arrow icon.
- Arrows Size: Set the size of the arrows.
- Arrows Position: Set the vertical position of the arrows.
- Align Left Arrow: Horizontally align the left arrow.
- Align Right Arrow: Horizontally align the right arrow.
- Padding: Adjust the padding for the arrows.
Arrows: Normal State
- Background Color: Select the background color for the arrows.
- Color: Choose the color for the arrows.
- Border Type: Determine the border type for the arrows. If the selected value is not “None”, then settings for Border Width and Border Color will be accessible.
- Border Radius: Adjust the border radius for the arrows.
Arrows: Hover State
- Background Color: Define the background color for the arrows.
- Color: Specify the color for the arrows.
- Border Color: Establish the border color for the arrows.
Pagination: Dots
This section is available only if Pagination is set to Yes under Content > Carousel Settings.
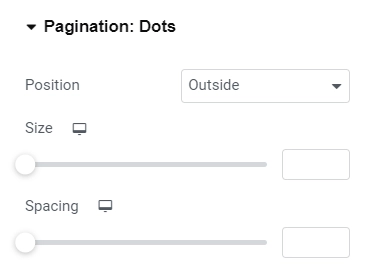
Setting Options
- Position: Determine whether the dots should be positioned inside or outside.
- Size: Specify the size of the dots.
- Spacing: Set the spacing between the dots.
Dots: Normal State
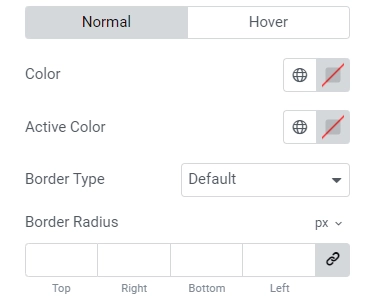
- Color: This setting allows you to specify the color of the dots.
- Active Color: Use this setting to define the color of the active or current dot.
- Border Type: You can choose the border type for the dots. If you select a value other than “None,” you can adjust the Border Width and Border Color settings.
- Border Radius: This setting enables you to set the border radius for the dots.
- Padding: Use this setting to adjust the padding for the dots. Only the top and bottom padding can be edited.
Dots: Hover State
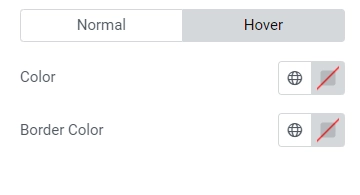
- Color: Set the color for the dots.
- Border Color: Set the border color for the dots.
Finally, to style the navigation appearance I kept the arrows and dots mostly basic with the same as default settings.
I kept the SVG of the arrows the same as what was offered by default. You can change or choose a different SVG according to your requirements.
While the widget offered a wide variety of settings to customize the appearance of the logo carousel, we are keeping it basic, which aligns with the simplicity and showcase of the business. You can explore the customizer further and enhance its look and feel.
Final Output
Here’s the final look of our Elementor logo carousel.
FAQ
Install and Activate Responsive Addons for Elementor
Open the page where you want to add logo carousel (Use an Elementor template)
Edit with Elementor
Search for the logo carousel widget
Drag and drop the widget
Customize the widget
Publish the page
The RAE Logo Carousel widget enables you to generate a dynamic carousel of logos or images utilizing various transition effects.
Absolutely, you add a logo carousel for free using Responsive Addons for Elementor plugin by Cyberchimps.
Conclusion
Using a logo carousel can improve the visual attractiveness, credibility, and brand recognition of your Elementor website. The logo carousel widget from Responsive Addons for Elementor provides a customizable and user-friendly solution.
After adding the widget and adjusting its settings, you can generate an attractive carousel that effectively displays your brand’s partnerships and affiliations.
If you found this article helpful, you may also want to check out:
- How to Add Media Carousel To Your Elementor Website
- How To Add Product Rating To Elementor Website
- How to Add Table Of Contents To Your Elementor Website
- How to Add a Dual Color Header to Your Elementor Website
If you wish to include a logo carousel widget on your site, get the Responsive Addons for Elementor today! You might also want to install the Responsive theme, a versatile website theme that can streamline your website creation process.


