Are you looking to add a price list to your Elementor website?
A website’s user experience extends beyond just its visual appeal; it involves crafting a smooth and educational path that effortlessly steers visitors toward their objectives.
A clear and concise presentation of your products or services to potential clients is crucial for a successful website. This is where a price list becomes essential.
We’ll address everything from selecting the appropriate structure to creating an appealing design for your Elementor website.
By the end of this article, you will have the skills to create, customize, and style a price list that will significantly contribute to your business’s online success.
What is Elementor Price List Widget?
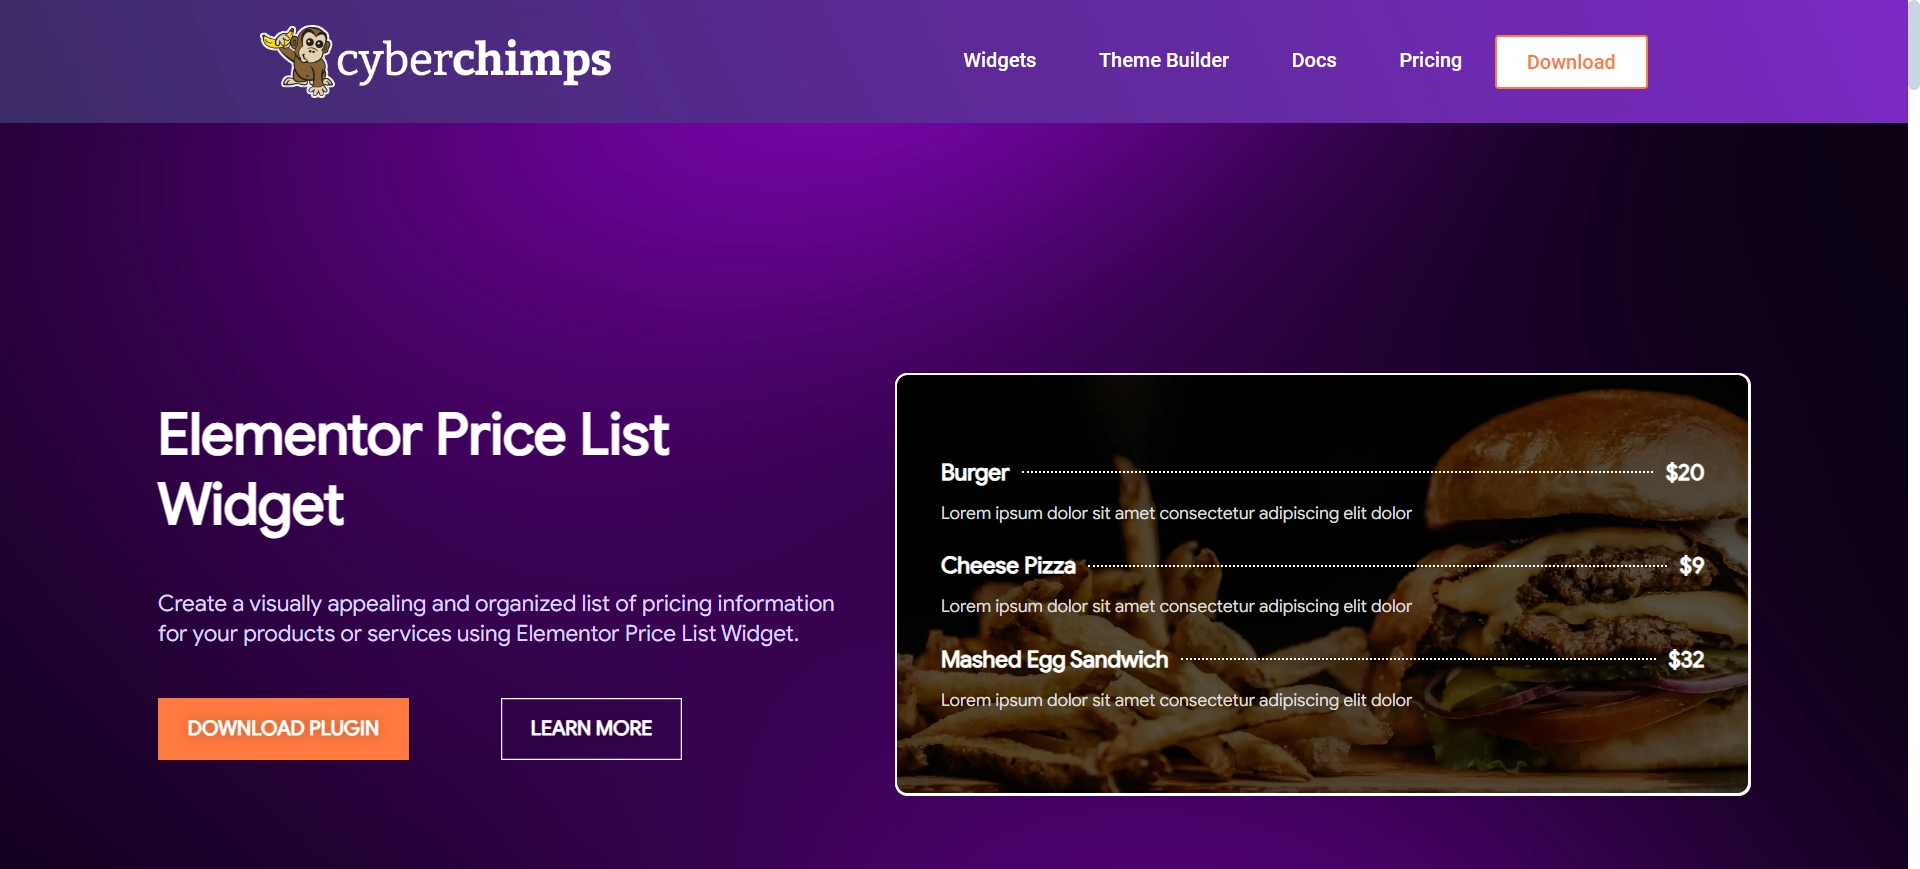
The price list is a robust widget for crafting visually appealing and well-structured lists containing pricing details for your products or services.
This widget empowers you to personalize a range of elements, such as titles, descriptions, prices, and images, thereby enabling the creation of a polished and captivating presentation.
With features like responsive design, customizable layouts, and advanced styling options, you can be assured that your WordPress price list widget will display exceptionally across all devices.
Additionally, the widget accommodates the addition of badges, discounts, and links, simplifying the process of showcasing special offers and directing users to specific pages.
Things You’ll Need for Adding a Free Price List in Elementor
For the seamless addition of a free price list widget to your Elementor website, you’ll require the following essential resources:
Elementor

Elementor is a widely renowned WordPress page builder plugin that enables website development and customization without coding.
With its drag-and-drop interface, users can quickly move various elements and widgets as needed, allowing for visual creation and modification of web pages.
Elementor empowers you to swiftly and effortlessly create a professional-looking website with comprehensive functionality and a polished appearance.
Responsive Addons for Elementor
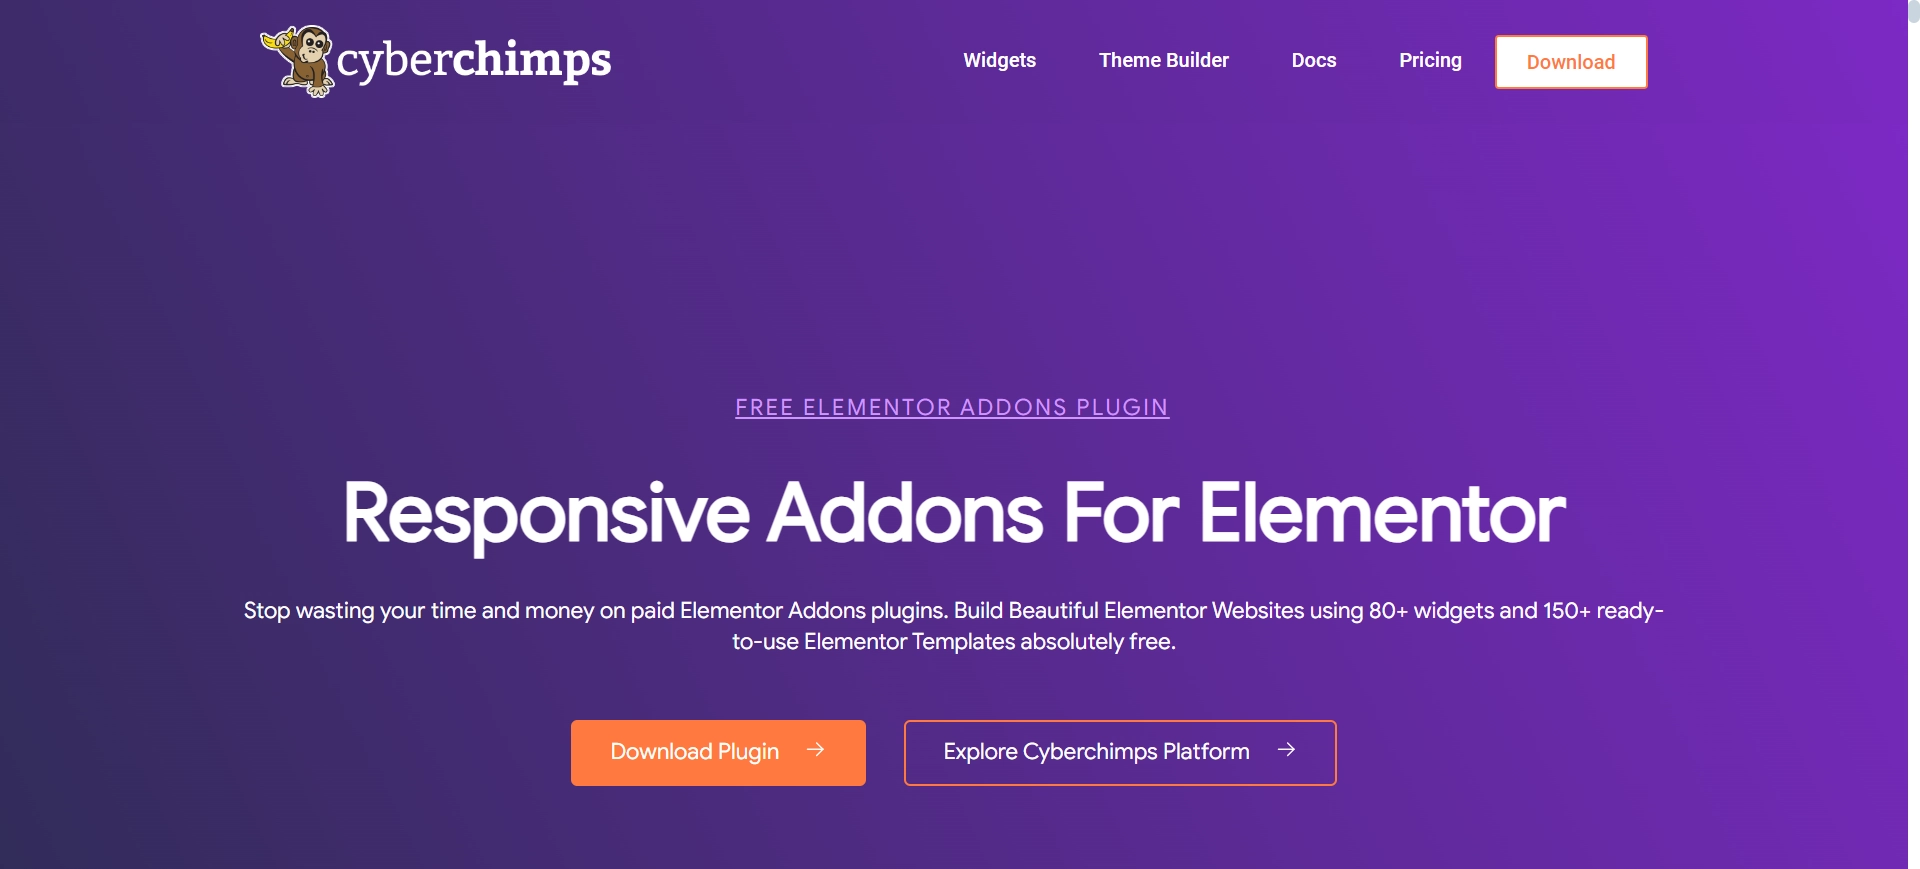
Another critical plugin is Responsive Addons For Elementor, which offers 80+ advanced widgets and 250+ ready-to-use templates at no cost.
Furthermore, it provides advanced customization features, including responsive controls, widget adjustments, and design elements tailored for desktop, mobile, and tablet displays.
Responsive Addons for Elementor significantly enhance user experience and engagement, making it especially valuable for developers and designers aiming to quickly and effortlessly build professional, dynamic, and mobile-friendly websites.
How to Add Price List To Your WordPress Website?
[Note: To add a price list widget, a website template must be built with the Elementor page builder].
Cyberchimps offers 250+ Elementor templates you can use to build your website instantly.
The Responsive Addons for the Elementor plugin can significantly boost your website design capabilities. It provides a wide range of advanced and customizable widgets that integrate seamlessly with Elementor.
Now, let’s consider adding a price list with Responsive Addons for Elementor.
Step 1: Installing and Activating Responsive Addons for Elementor
Go to the WordPress dashboard and click Plugins > Add New from the menu.

Search for Responsive Addons for Elementor in the search bar to find the plugin. Then, click on Install Now.
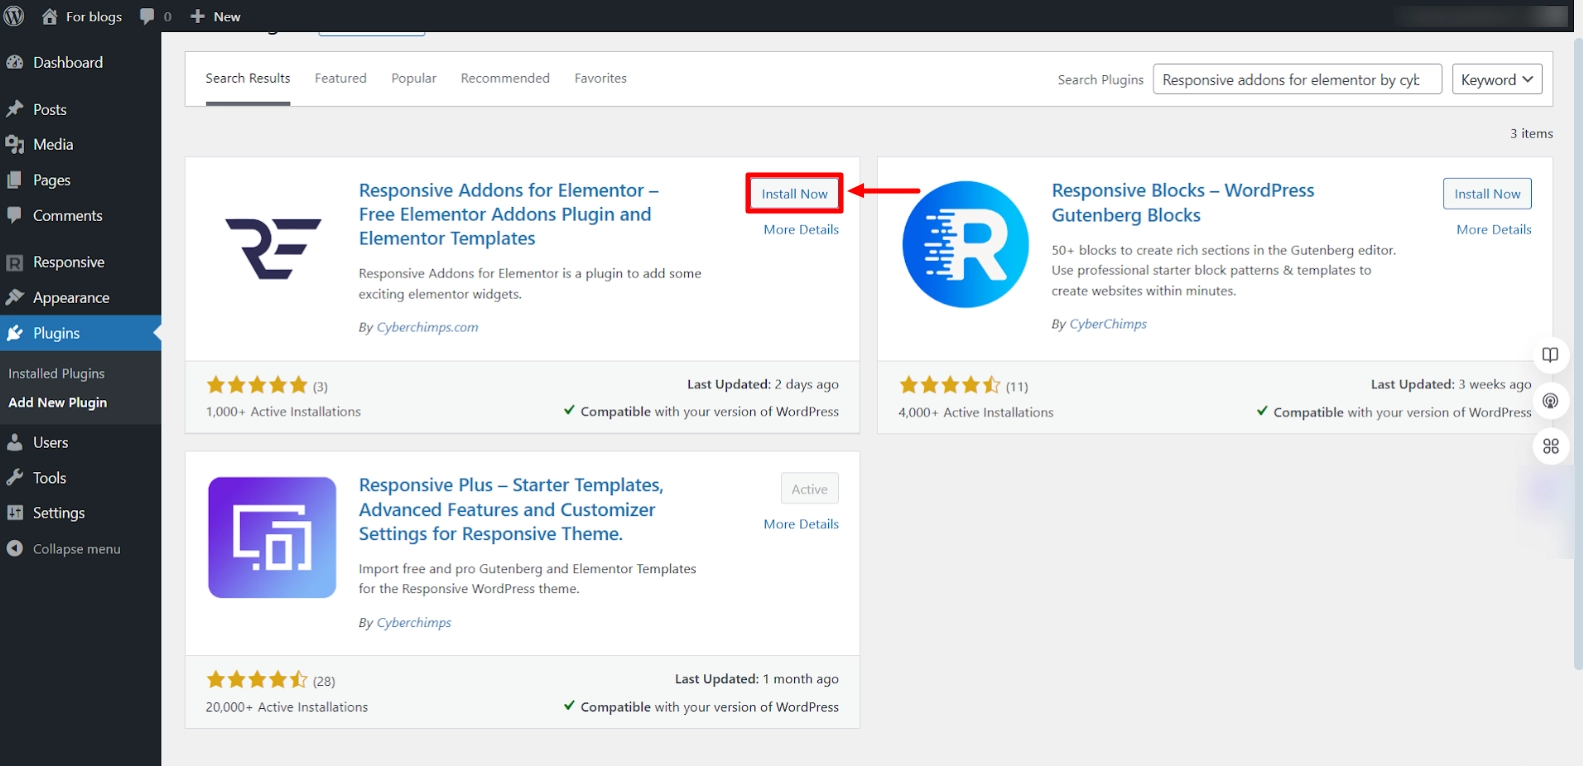
Once the download is complete, click on Activate to activate the plugin.
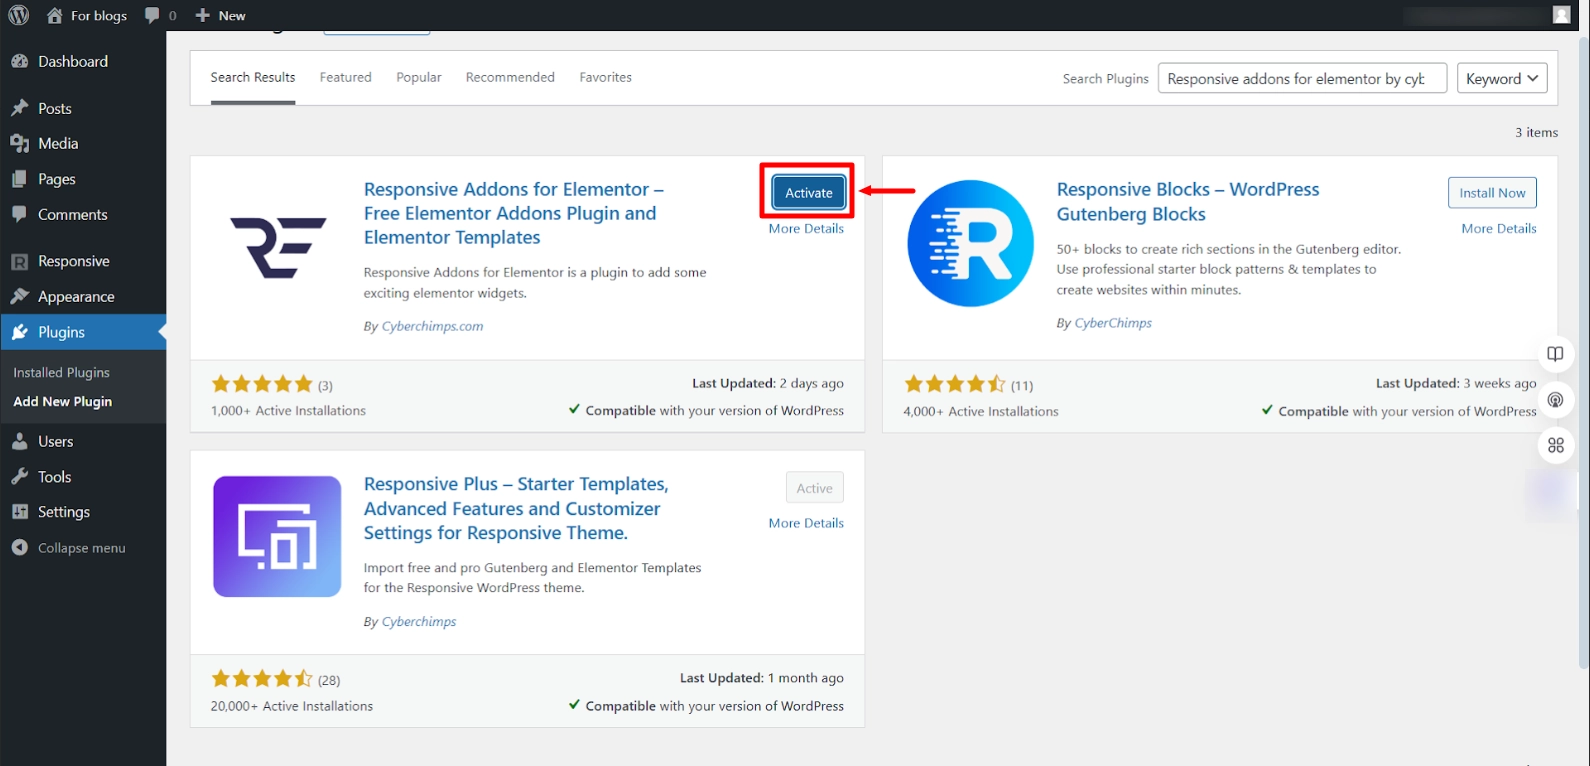
And there you go, you have successfully added the Responsive Addons for Elementor plugin.
Step 2: How to Add Elementor Price List Widget
To learn how to add price list widget, we’ll use a pre-designed Car Rental WordPress Template.
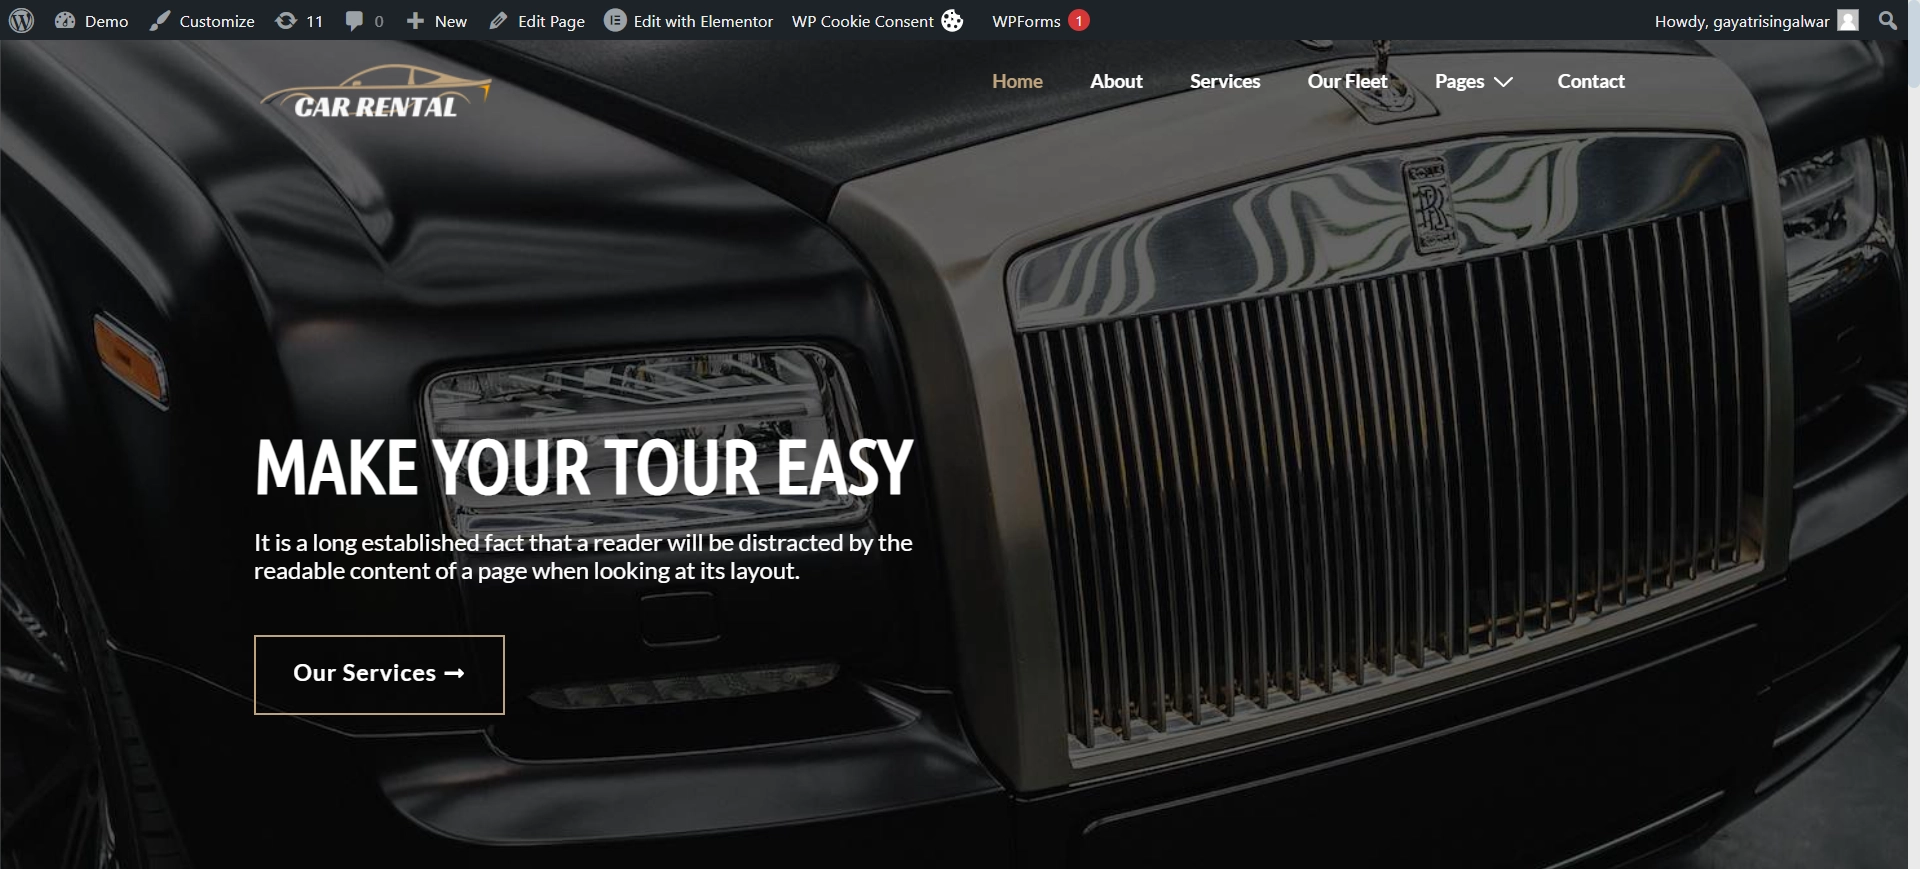
Access a variety of templates from the Responsive Plus collection of free WordPress templates.
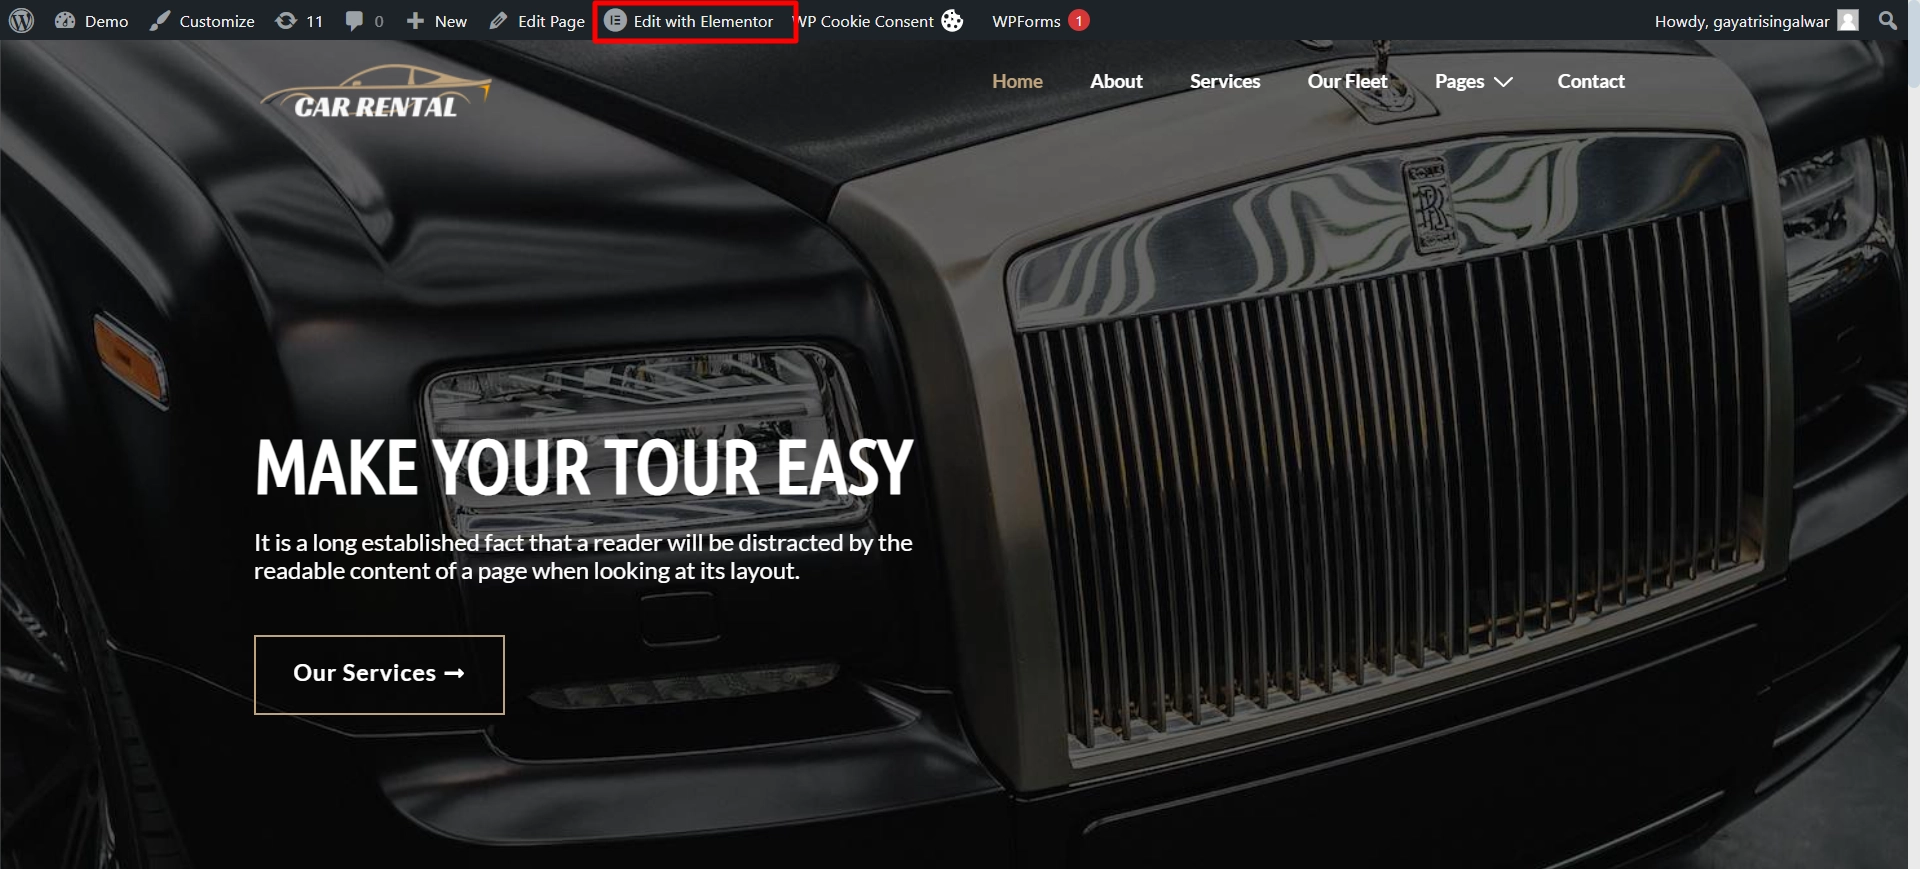
Navigate to the relevant page and select Edit with Elementor.
Use the widget search bar to find the RAE Price List.
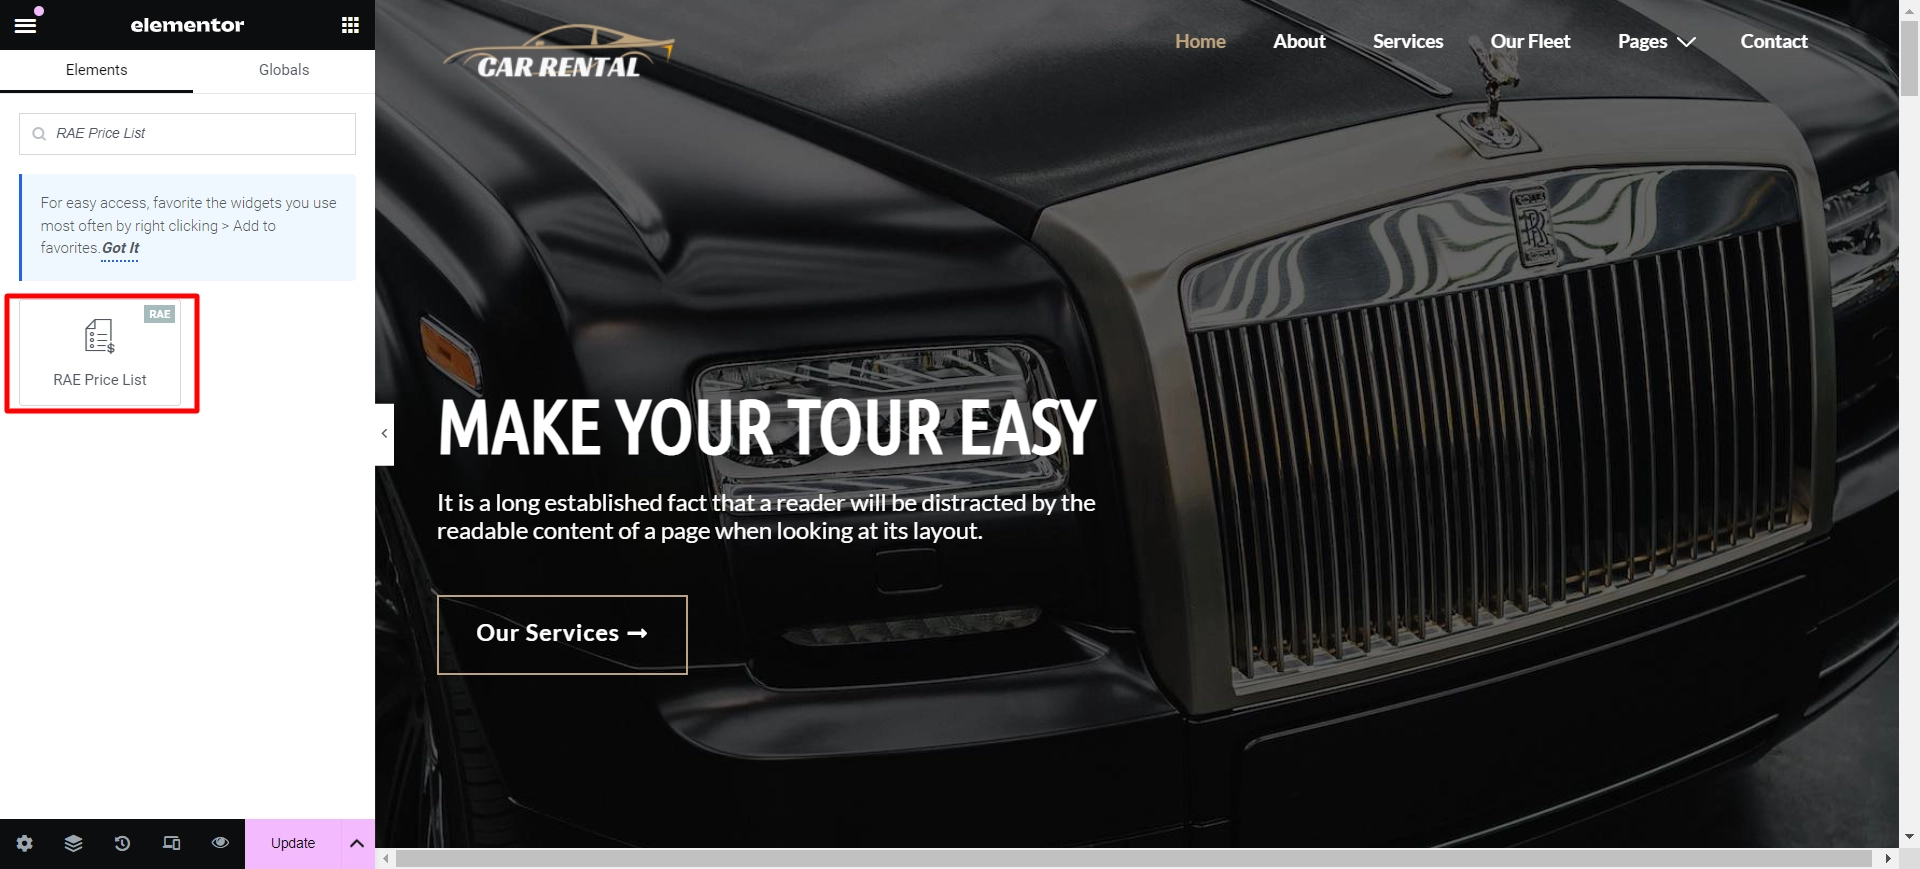
Drag and drop the widget onto the page to seamlessly integrate it into your design.
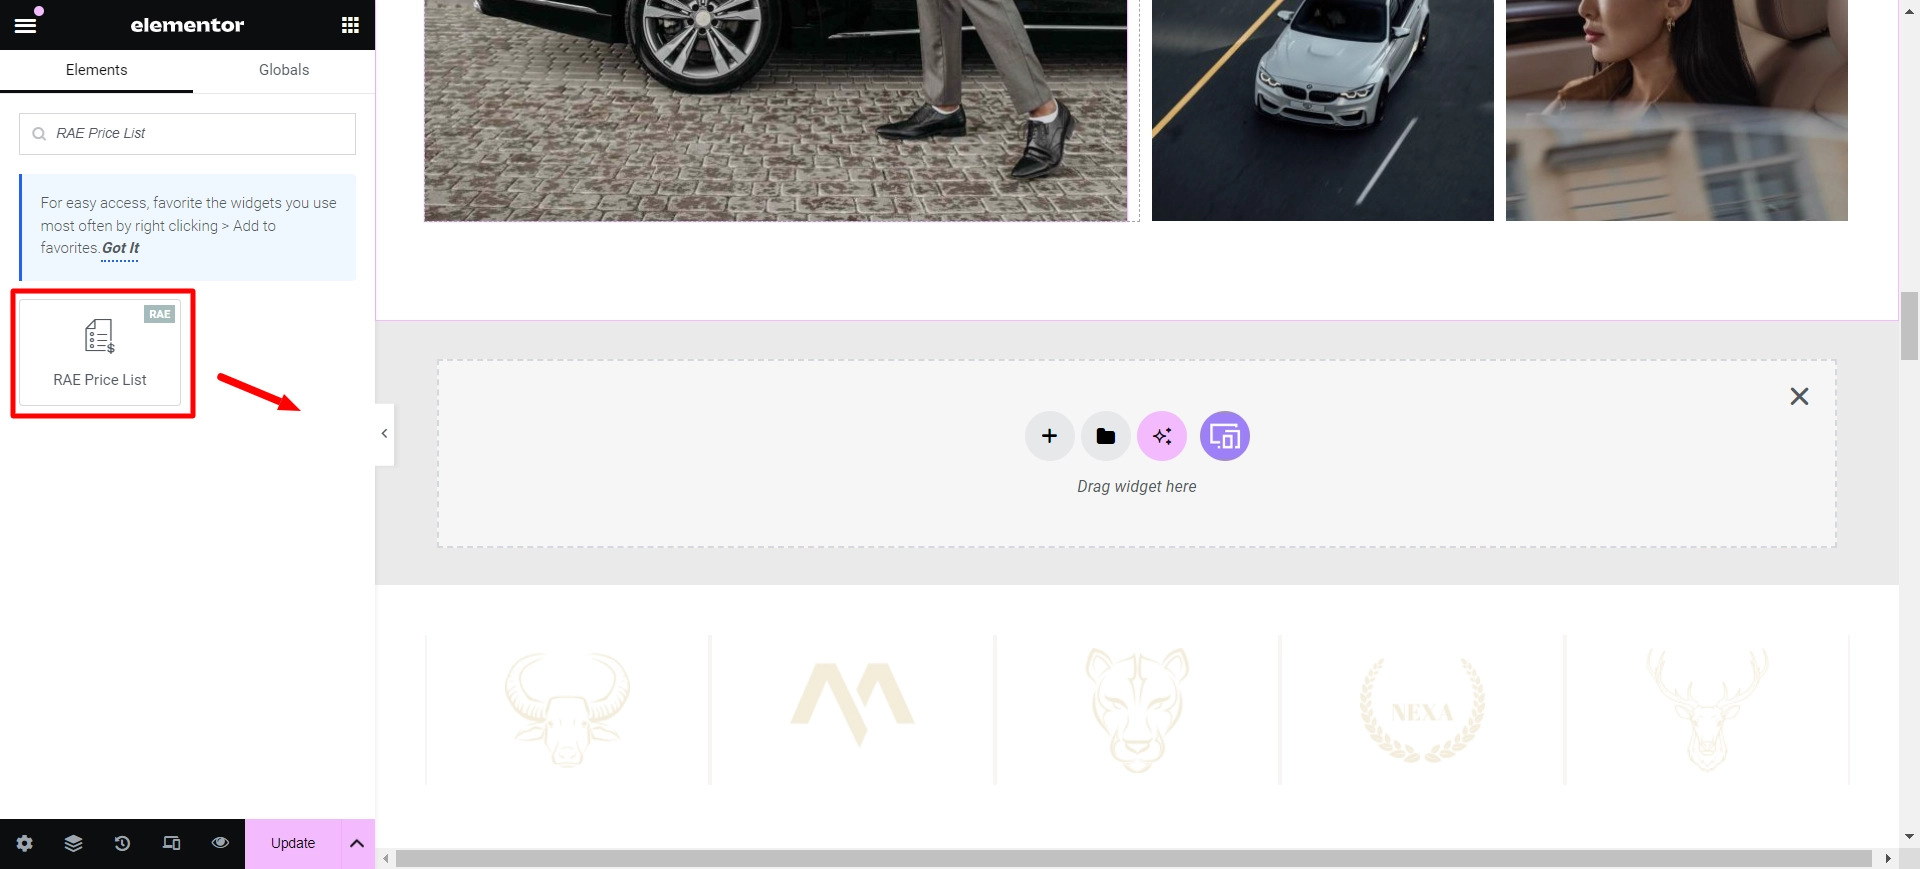
Once placed on the main page, this is how it will look by default.
The free Elementor price list widget is now successfully added, allowing you to customize it.
Step 3: Customizing the Elementor Price List Widget
There are various ways to personalize your widget.
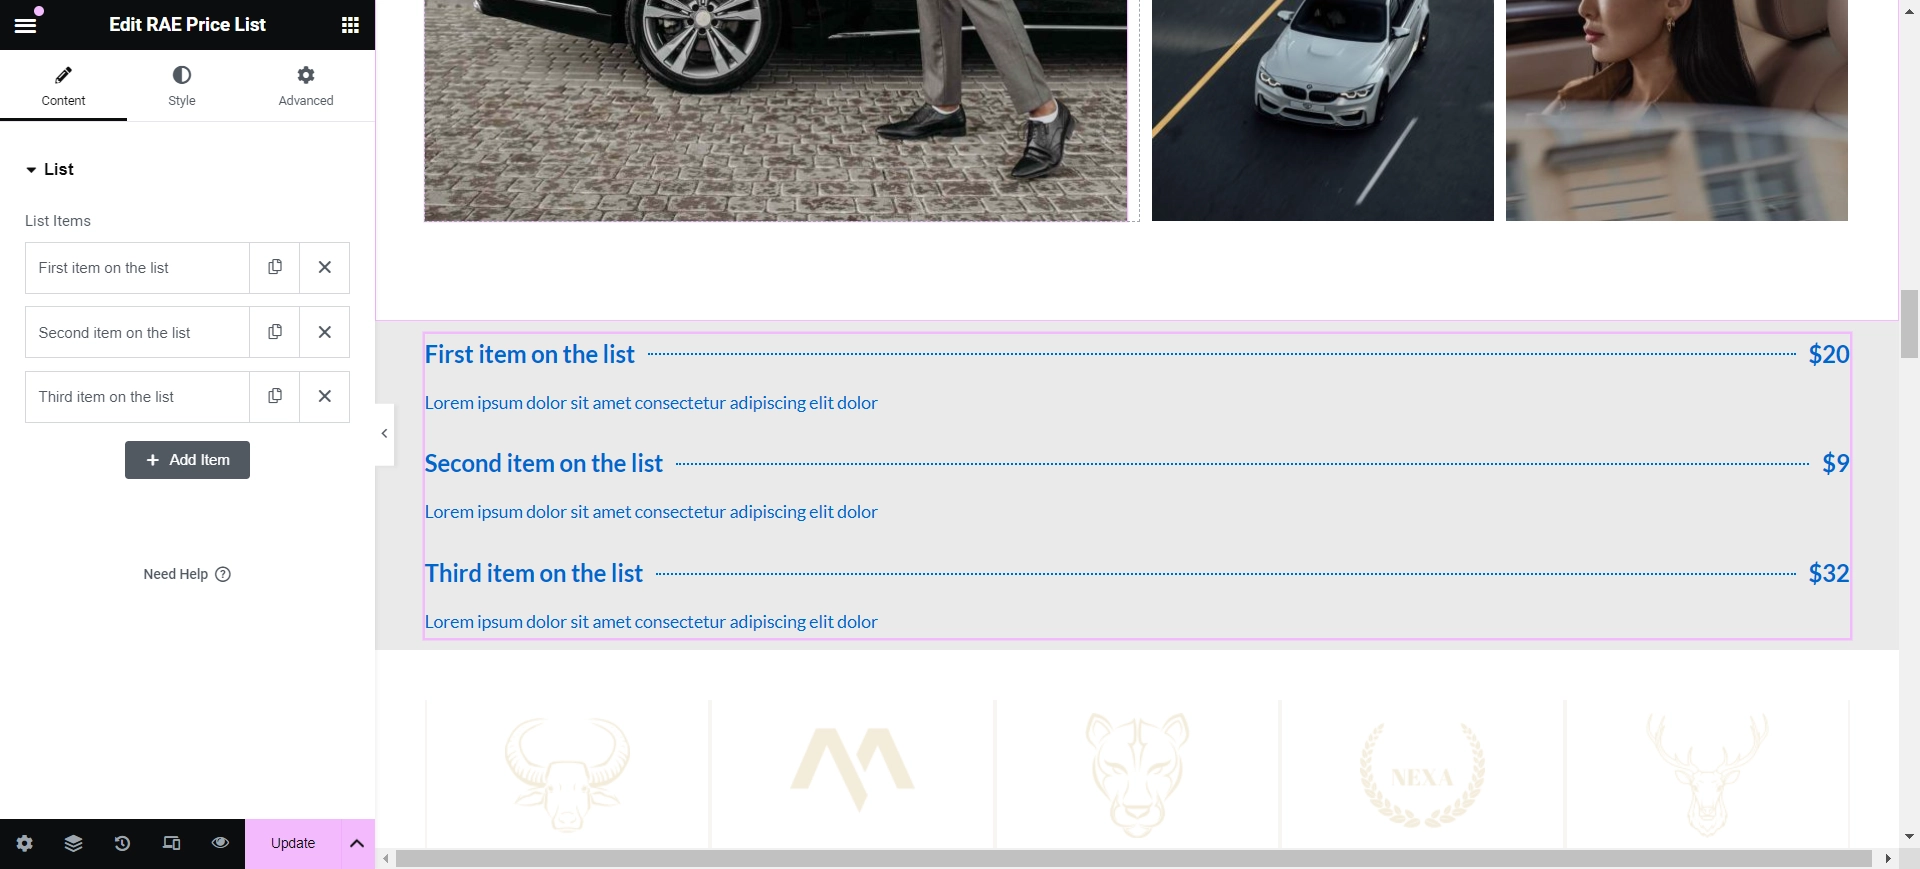
Now, let’s delve into the Content section.
List item shows a list of all the items in the widget. You can rearrange their order by simply dragging and dropping them. To expand the list, press the Add Item button.
By clicking on each item, you can tailor their content and settings, including:
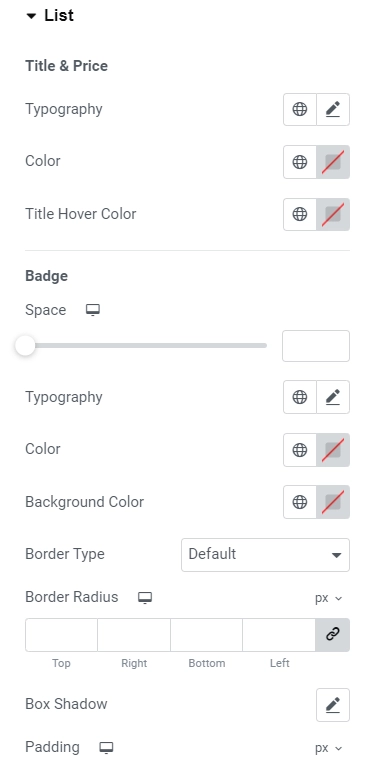
List settings
- Price: Input the item’s price.
- Offering Discount: Toggle the option to show or hide offering a discount.
- Original Price: Specify the original price of the item.
- Title & Description: Customize the title and description of the item.
- Badge: Select the badge type, either Icon or Text.
- Badge Icon: Choose the badge icon from the available options; this setting is only visible if the Badge is set to Icon.
- Badge Text: Enter the badge text; this setting is only visible if the Badge is set to Text.
- Image: Pick an image from the media library.
- Link: Enter the URL for the item’s link.
So, to create our price list, we have made the following edits. As our final output, we have added three items to the pricing list.
As the website deals in car rental, I added the details of the car, such as the name of the car and their rent per hour, to the description.
I have used the badge text for the first product on our list, giving it a special highlight by mentioning the badge text as the sports car.
Further, to make it more authentic, I have added pictures of the car offered by the business.
Step 4: Styling the Elementor Price List Widget
Let’s understand the styling options now.
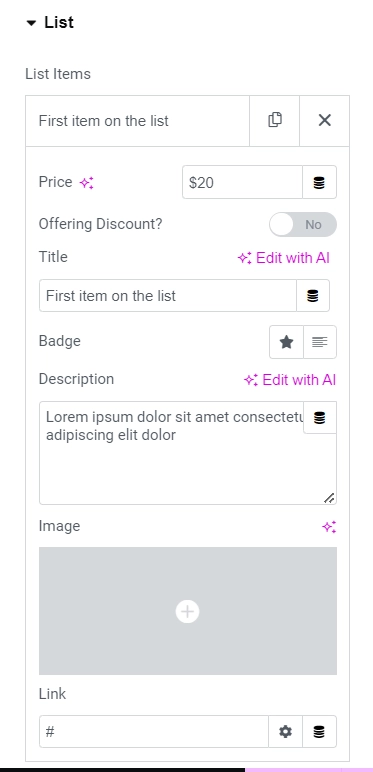
List
Title & price-setting options
- Typography: Set the typography options for the title and price.
- Color: Select a color for the title and price.
- Title Hover Color: Select a color for the title when hovered over.
Badge setting options
- Spacing: Adjust the distance between the badge and the title.
- Typography: Customize the text style for the badge.
- Color: Select a color for the badge text.
- Background Color: Choose a background color for the badge.
- Border Type: Specify the type of border for the badge.
- Border Width: Set the thickness of the badge border.
- Border Color: Pick a color for the badge border.
- Border Radius: Define the curvature of the badge corners.
- Box Shadow: Set the shadow effects for the badge.
- Padding: Adjust the space within the badge.
Next, to style the pricing list price-setting options, I kept the typography as the default with a red color, which, when hovered, will appear as black.
I kept most options default for the badge settings, setting the badge space as ten, default typography, white color, and greyish background. I kept it a default for the border type, color, and radius. You can experiment and style these customizations as you like.
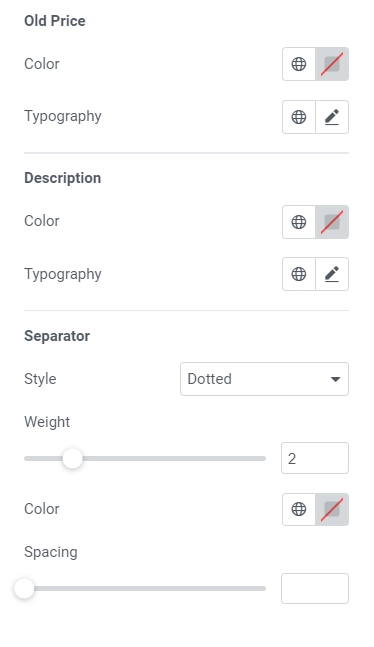
Old price-setting options
- Color: Select a color for the old price.
- Typography: Define the typography options for the old price.
Description setting options
- Color: Select a color for the description.
- Typography: Specify the typography options for the description.
Separator setting options
- Style: You can select the style of the separator between the title and the price from solid, dotted, dashed, double, or none.
- Weight: You have the option to set the weight of the separator.
- Color: Choose a suitable color for the separator.
- Spacing: Adjust the space to the left and right of the separator according to your preferences.
For the settings explained above, we tried keeping its descent; I kept the old price default price visibility option off, so we did not change it.
For the description, I changed the typography default and the color to maroon, which aligns with the title color.
To enhance the pricing list, I changed the separator style to a dashed, slightly increased the weight and separator space, and matched the separator color with the color of the description.
Image

Image setting options
- Image Size: Select the perfect size for your image, whether a thumbnail, full size, or a custom size.
- Border Radius: Define the roundness of the image corners by setting the border radius.
- Spacing: Adjust the space between the image and the surrounding content to achieve the ideal layout.
To make the price list more realistic, the default look of the image was weird, so I changed the image resolution to Responsive 200 and reduced the spacing between the pricing info and the image to 15.
Item
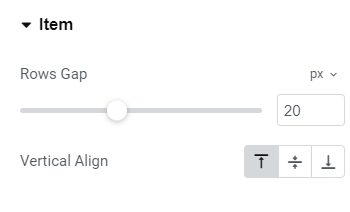
Item setting options
- Rows Gap: Adjust the spacing between each item to enhance the visual appeal.
- Vertical Align: Select from top, bottom, or center alignment options to ensure the content’s proper positioning of the image.
Finally, to give some finishing touch, I increased the row gaps to 35 px, which clarified each item in the list, and aligned the items in the middle.
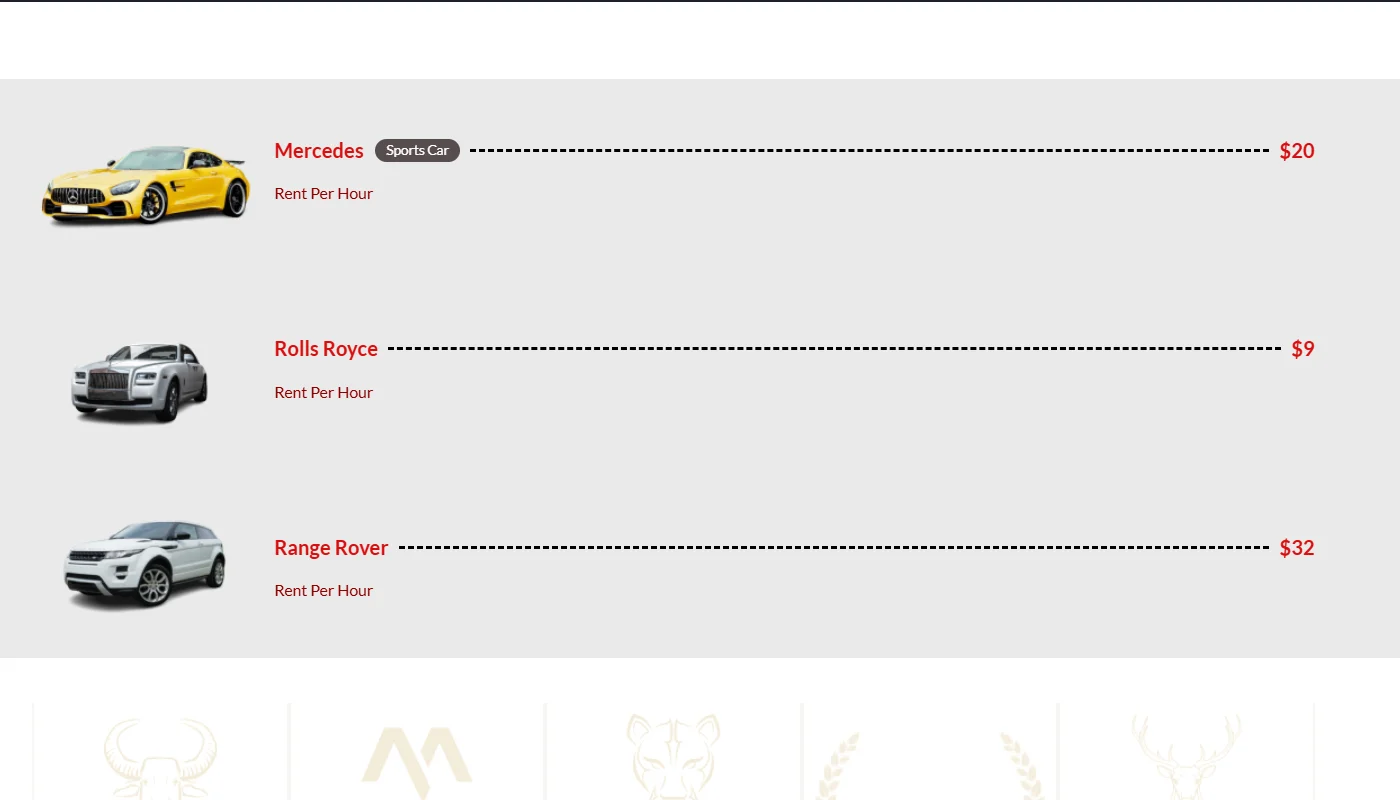
The Final Output
This is how our fully customized free price list widget will look like.
Enhance your website’s user experience with a visually appealing and informative pricing table. Check out the Responsive Pricing Plan widget for easy customization and integration.
FAQ
Install and Activate Responsive Addons for Elementor
Open the page where you want to add price list (Use an Elementor template)
Edit with Elementor
Search for the price list widget
Drag and drop the widget
Customize the widget
Publish the page
The widget price list enables you to produce fully designed catalogs and menus with included pricing.
Absolutely, you can add a price list for free using the Responsive Addons for Elementor plugin by Cyberchimps.
Conclusion
Adding a price list to your Elementor website can enhance your site’s functionality and improve user experience.
By following the steps in this guide, you can effectively present your products or services clearly and organized, helping potential clients understand your offerings and make informed decisions.
This can increase conversions, simplify the buying process, and reduce confusion.
If you found this article helpful, you may also want to check out:
- How To Add Breadcrumbs To Elementor Website
- How To Add Product Rating To Elementor Website
- How to Add Table Of Contents To Your Elementor Website
If you wish to include a price list widget on your site, get the Responsive Addons for Elementor today! You might also want to install the Responsive theme, a versatile website theme that can streamline your website creation process.


