Are you looking to create a team member section to your Elementor website?
Displaying the individual team member behind your business is more than just a design choice. Showcasing your team adds a personal aspect to your brand, instills confidence in the people behind the business, and fosters a sense of sustaining engagement with your audience.
The section dedicated to your team members is not just important; it’s crucial. It can significantly enhance your site’s overall look and feel, providing valuable insights to your clients and customers about the people they’ll interact with.
Including names, photos, positions, and a short description in this element may add credibility and a professional appearance to your website. Developing this fascinating section becomes easy using a team member widget, which can be fashioned according to your brand aesthetics.
That’s right—by adding Elementor team member section with a few simple actions, you can create something that will improve your website.
What is Elementor Team Member Widget?
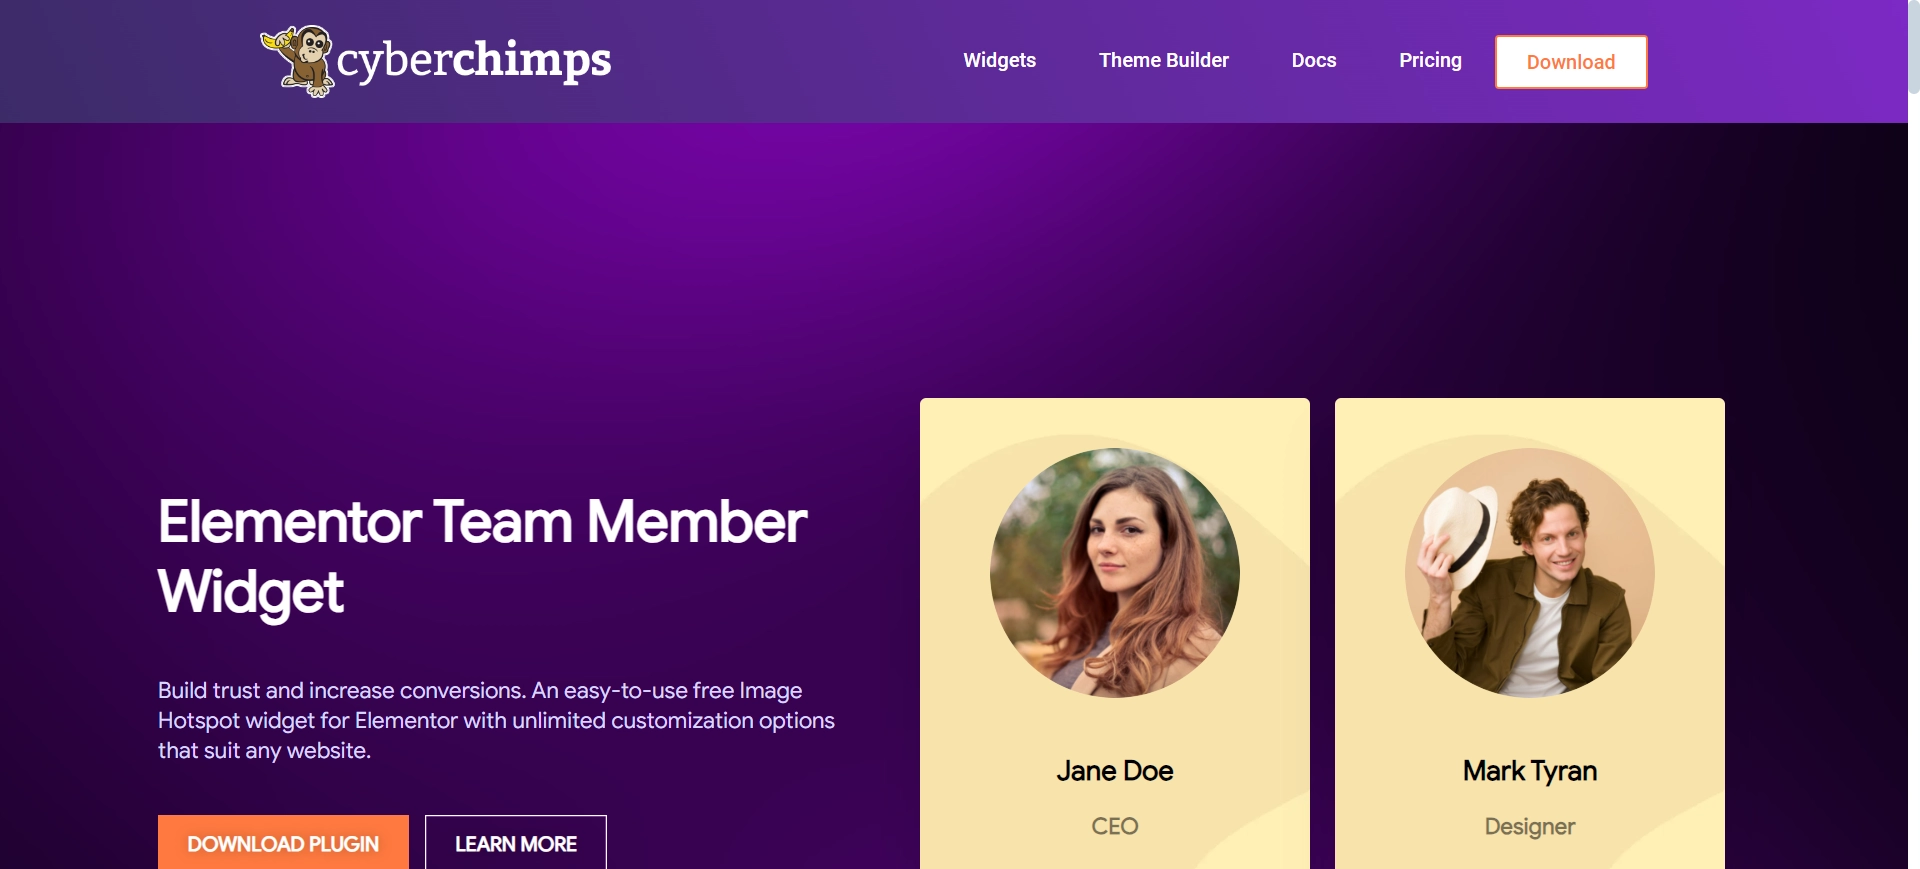
The team member widget lets you easily showcase your team members on your site. This helpful widget creates an exciting and informative section that will give customers information about your team, like names, photos, job titles, and short descriptions.
Its flexible settings let you adjust the positioning, colors, typefaces, and space between elements to maintain a consistent look for your website.
You can also add social media icons for each team member, which will help visitors interact with them on their respective social sites.
The WordPress team member widget offers a simple drag-and-drop system that even those with little coding experience can easily follow.
It is perfect for businesses, agencies, and organizations who wish to present their staff or specific employees professionally and engagingly.
Things You’ll Need for Adding a Free Team Member Section in Elementor
For easy addition of a team member widget to your Elementor website, you’ll need these essential plugins:
Elementor

Elementor is a top-rated WordPress page builder plugin that lets you create and tweak websites without writing code.
Thanks to its easy-to-use drag-and-drop setup, users can move elements and widgets around as they like, improving web pages’ look and feel.
With Elementor, you can build a pro-level website. It has many features and a polished look.
Responsive Addons for Elementor
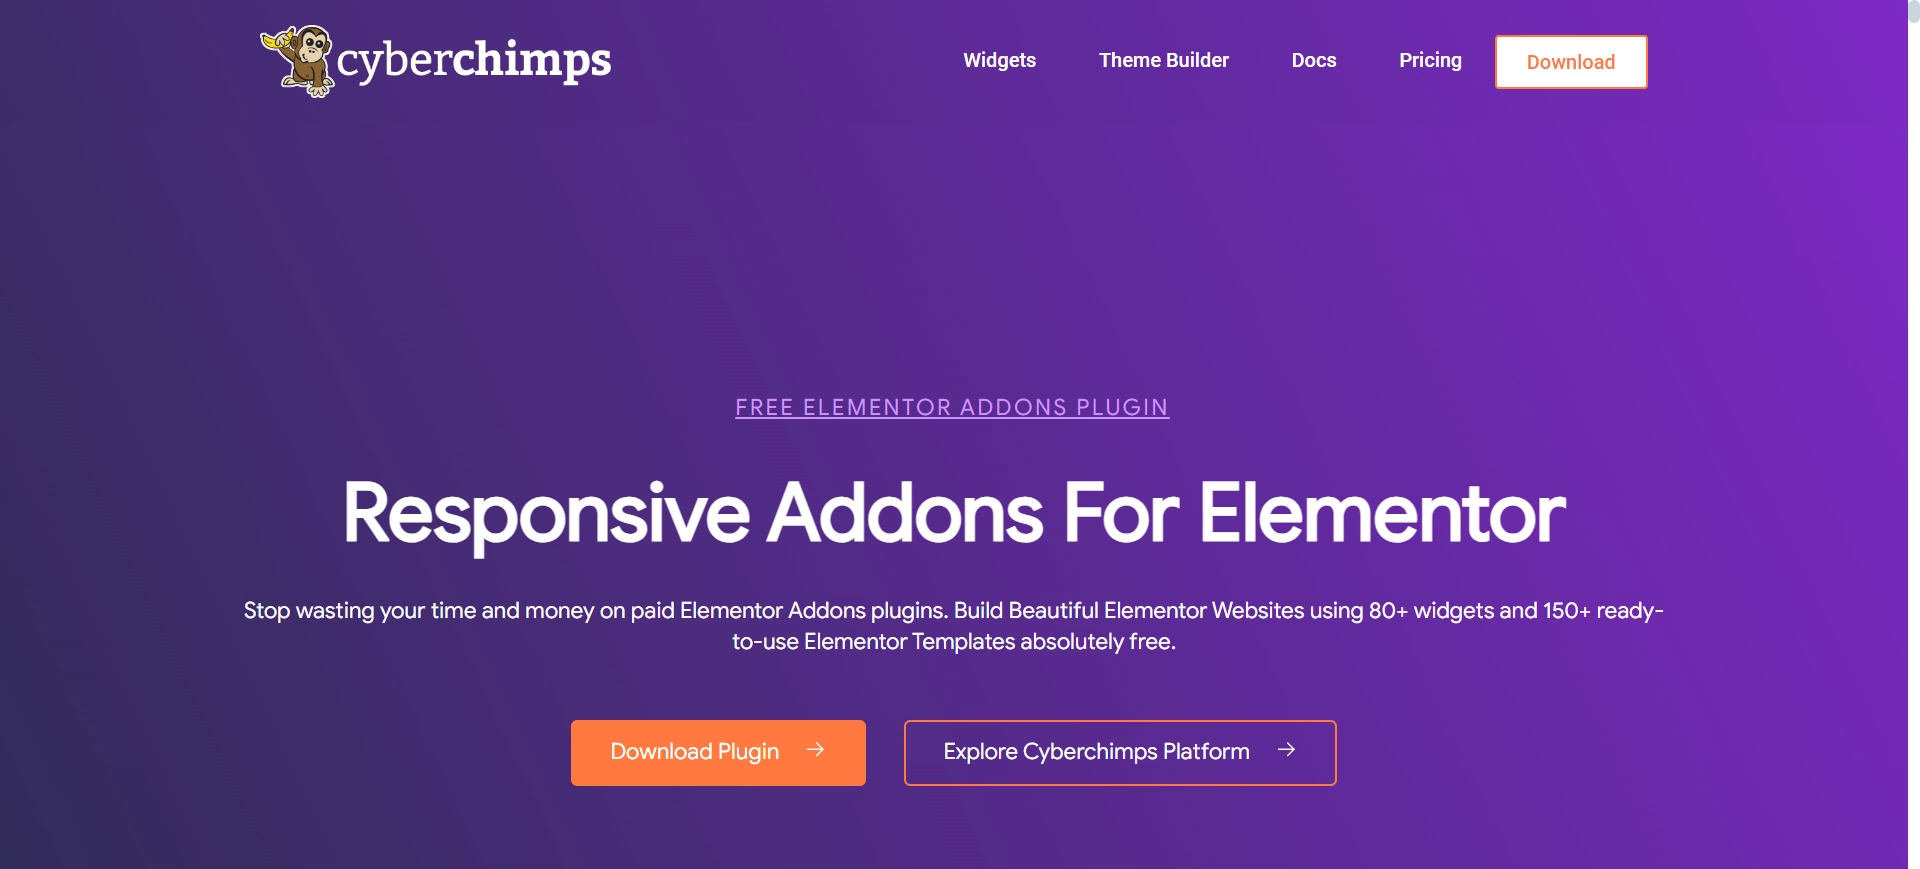
Another great plugin to consider is Responsive Addons for Elementor. It provides 80+ advanced widgets and over 250 ready-made templates at no cost.
Plus, it lets you fine-tune your site in many ways. You can adjust how things look on desktops, phones, and tablets. It also offers widget tweaks and design bits made just for these devices.
Responsive Addons for Elementor significantly impact how users interact with websites.
It’s super helpful for developers and designers who want to build professional, dynamic, and mobile-friendly sites without spending too much time or effort.
How to Create Team Member Section Using Elementor
[Note: To add a free team member widget, a website template must be built with the Elementor page builder].
Cyberchimps offers plenty of free Elementor templates you can use to build your website instantly.
The Responsive Addons for Elementor plugin can significantly boost your website design capabilities. It provides a wide range of advanced and customizable widgets that integrate seamlessly with Elementor.
Now, let’s add Elementor team member section with Responsive Addons for Elementor.
Step 1: Installing and Activating Responsive Addons for Elementor
Head to the WordPress dashboard and navigate to Plugins > Add New from the menu to get started.

Next, use the search bar to find the Responsive Addons for Elementor plugin. Next, click on Install Now.
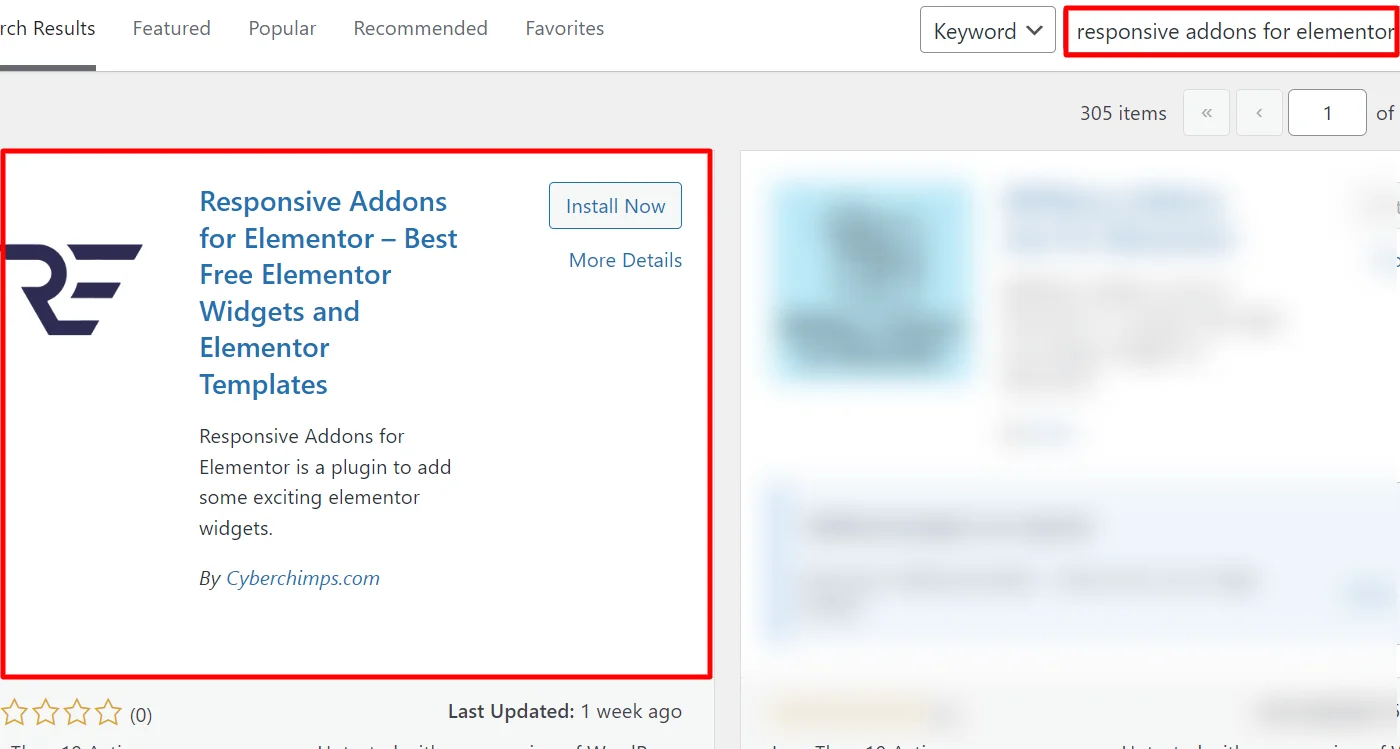
Upon successful download, click on Activate to activate the plugin.
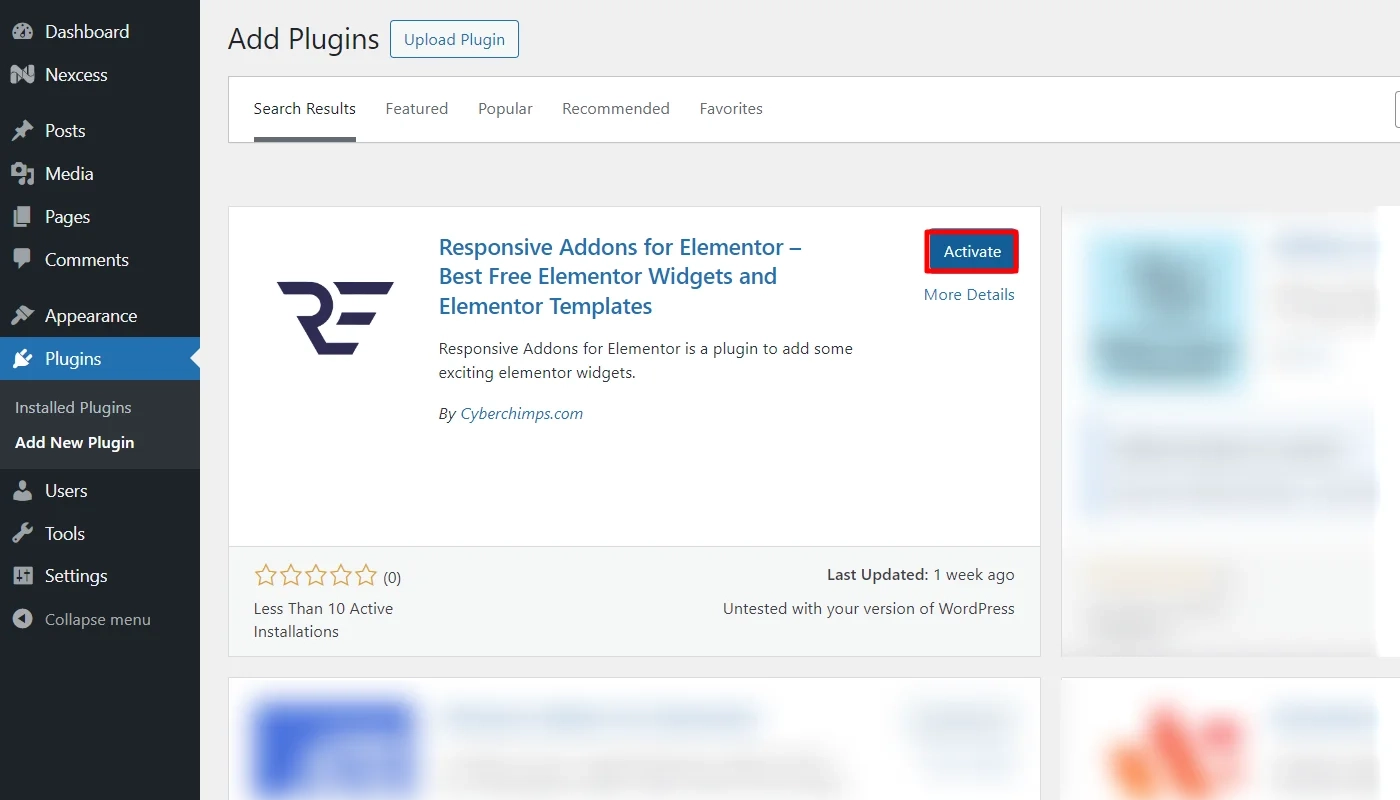
Congratulations! You have now seamlessly added the Responsive Addons for Elementor plugin to your WordPress site.
Step 2: Adding Responsive Addons for Elementor Team Member Widget
To add a free team member widget, we will be using a pre-designed Business Conference WordPress Template.
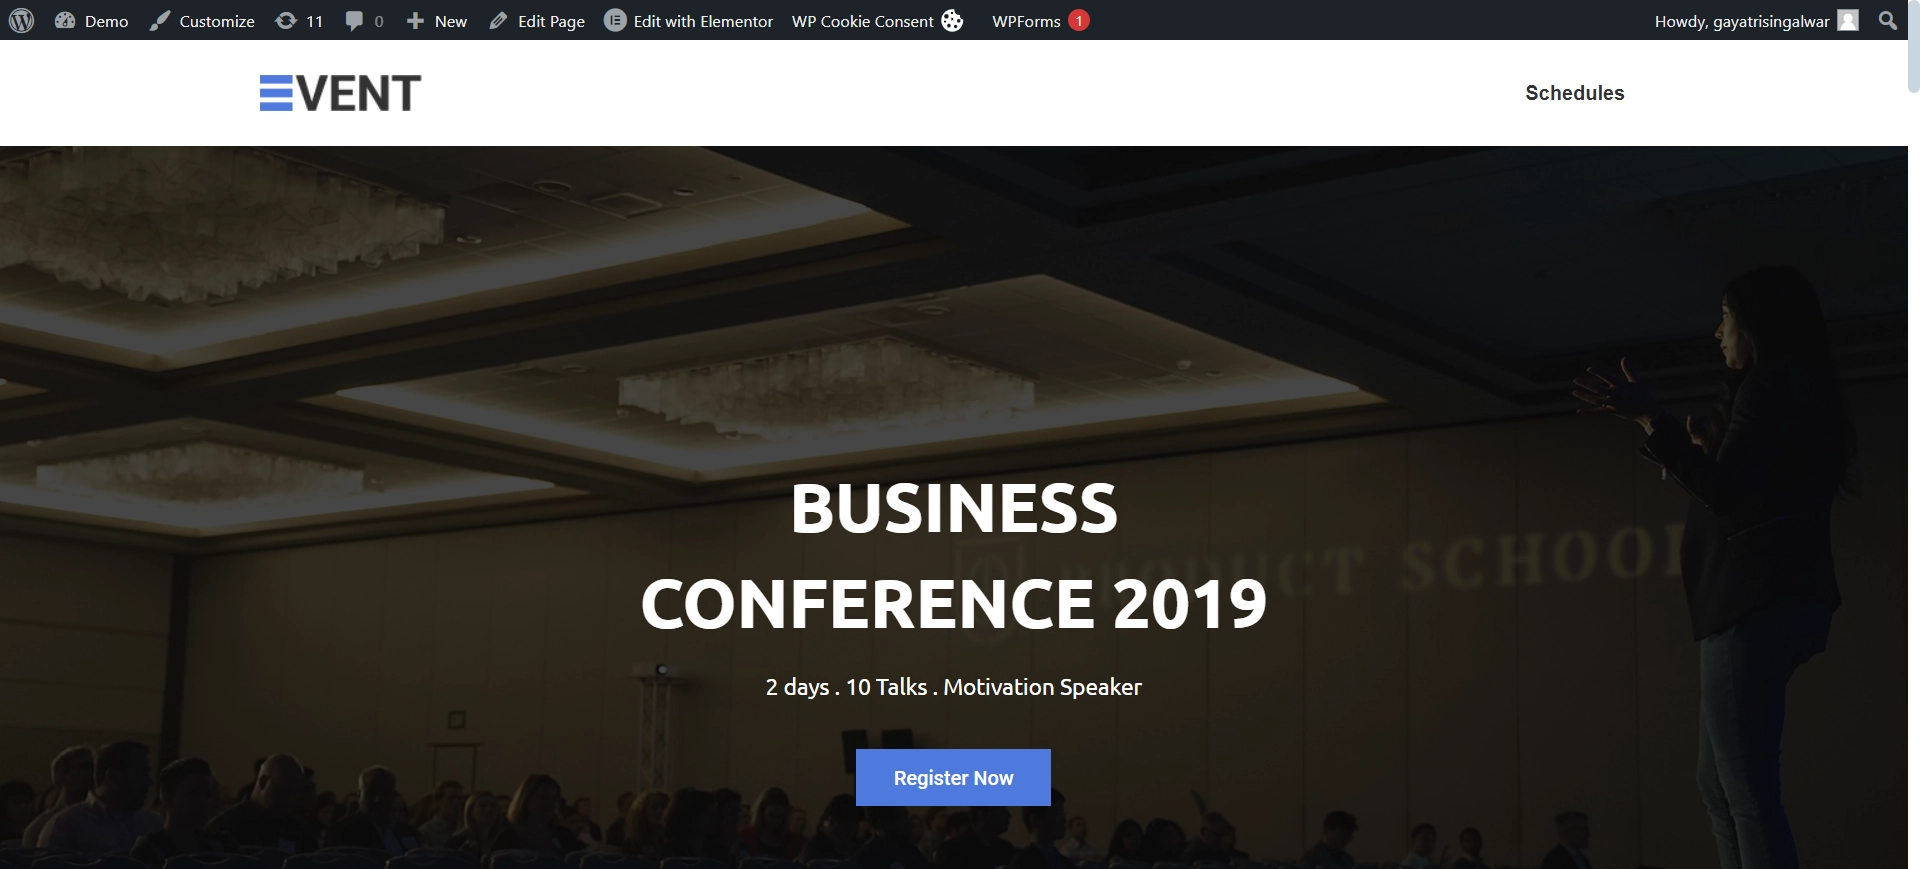
You can also choose a template from the Responsive Plus collection of free WordPress templates.
Go to the relevant page and click on Edit with Elementor.
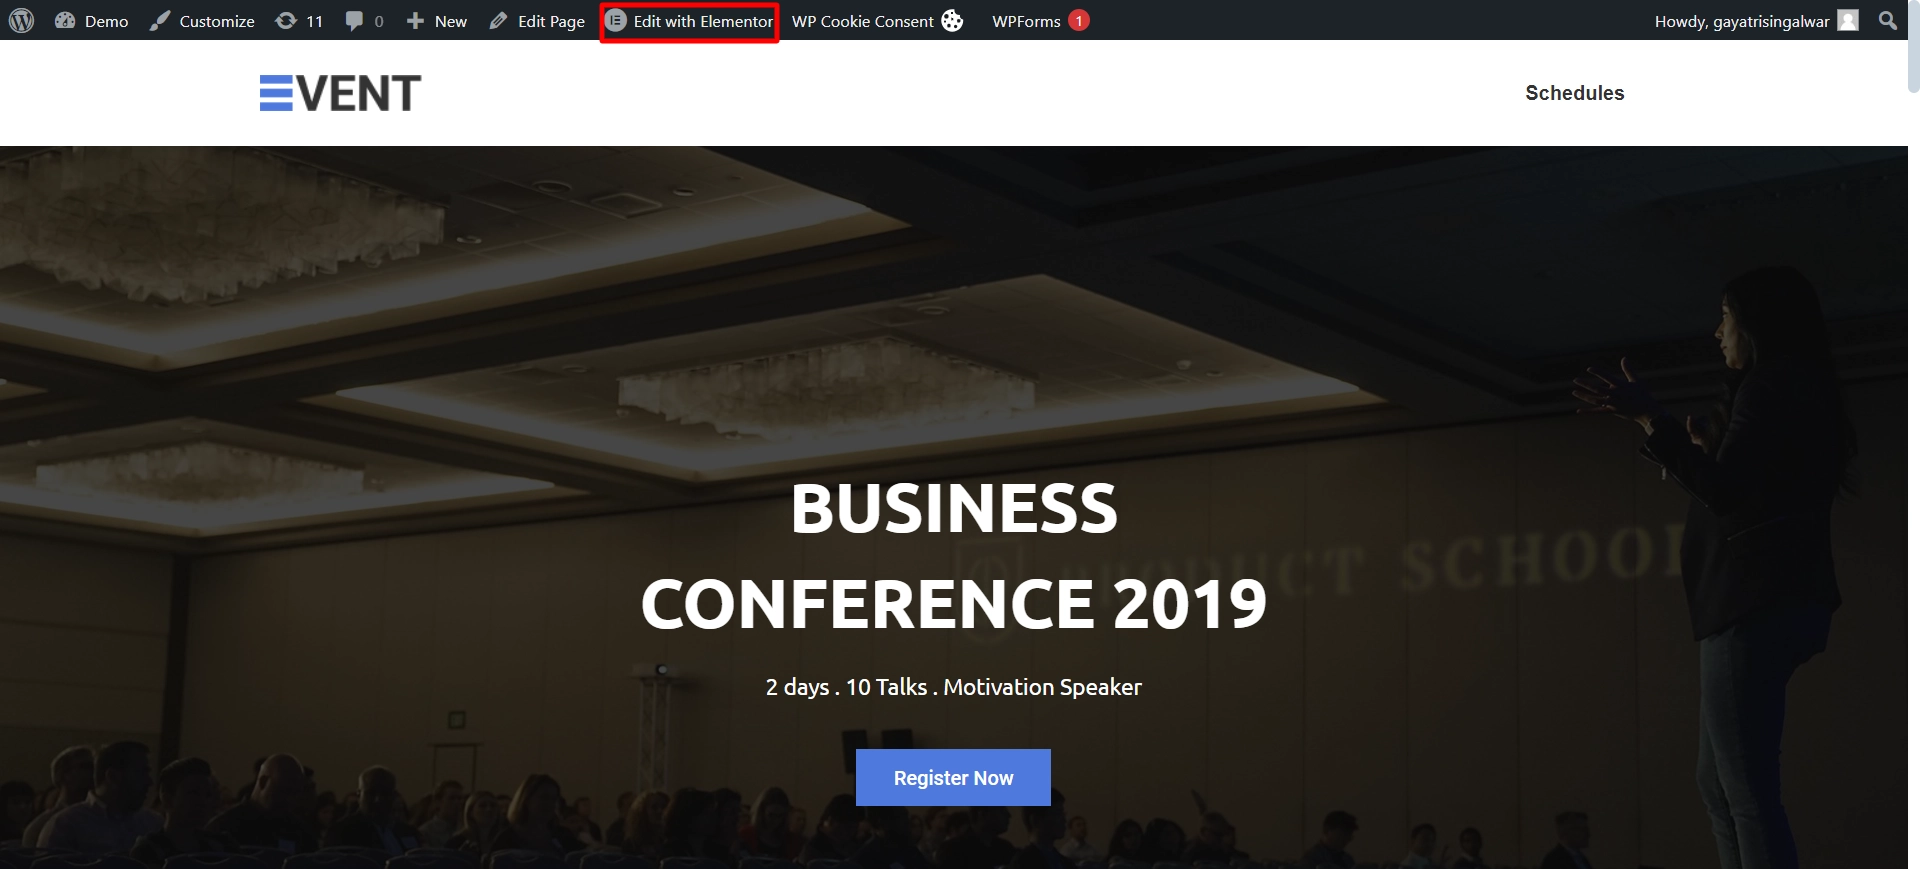
Use the widget search bar to find the RAE Team Member widget.

Drag and drop the widget onto the page to seamlessly integrate it into your design.
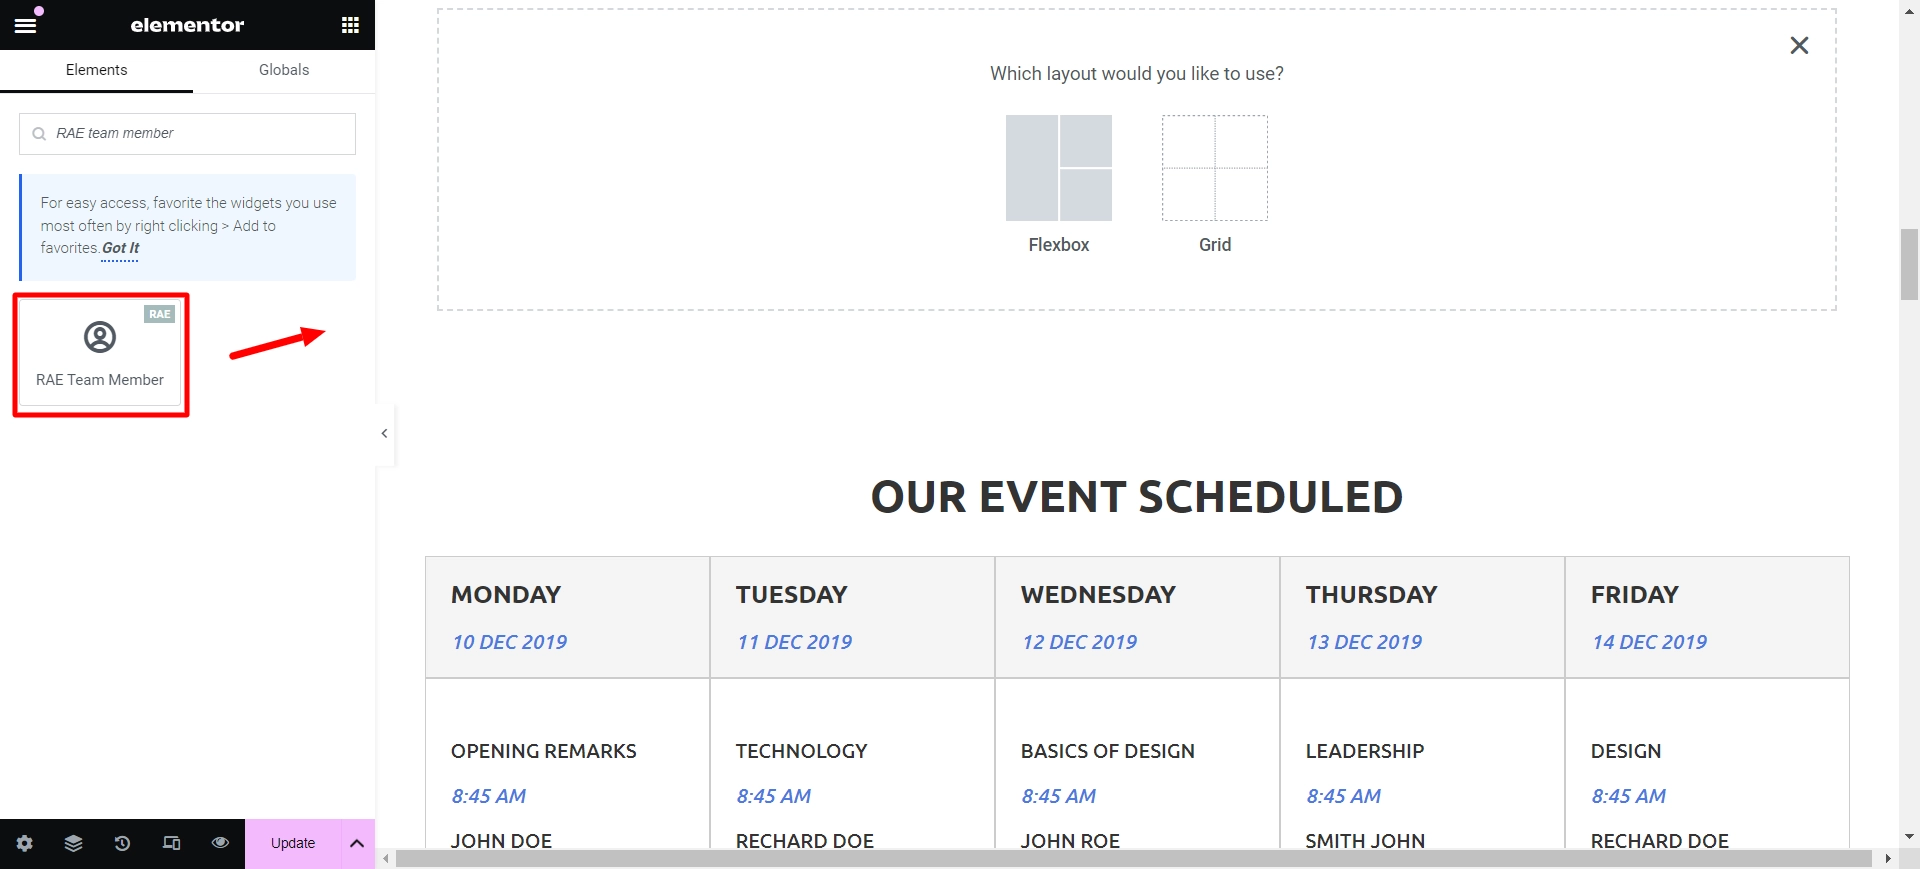
Once placed on the main page, the free Elementor team member widget will be successfully added, and this is how it will look by default.
We are all set to customize our team member widget.
Step 3: Customizing RAE Team Member Widget
Let’s understand the customization setting of the team member widget.
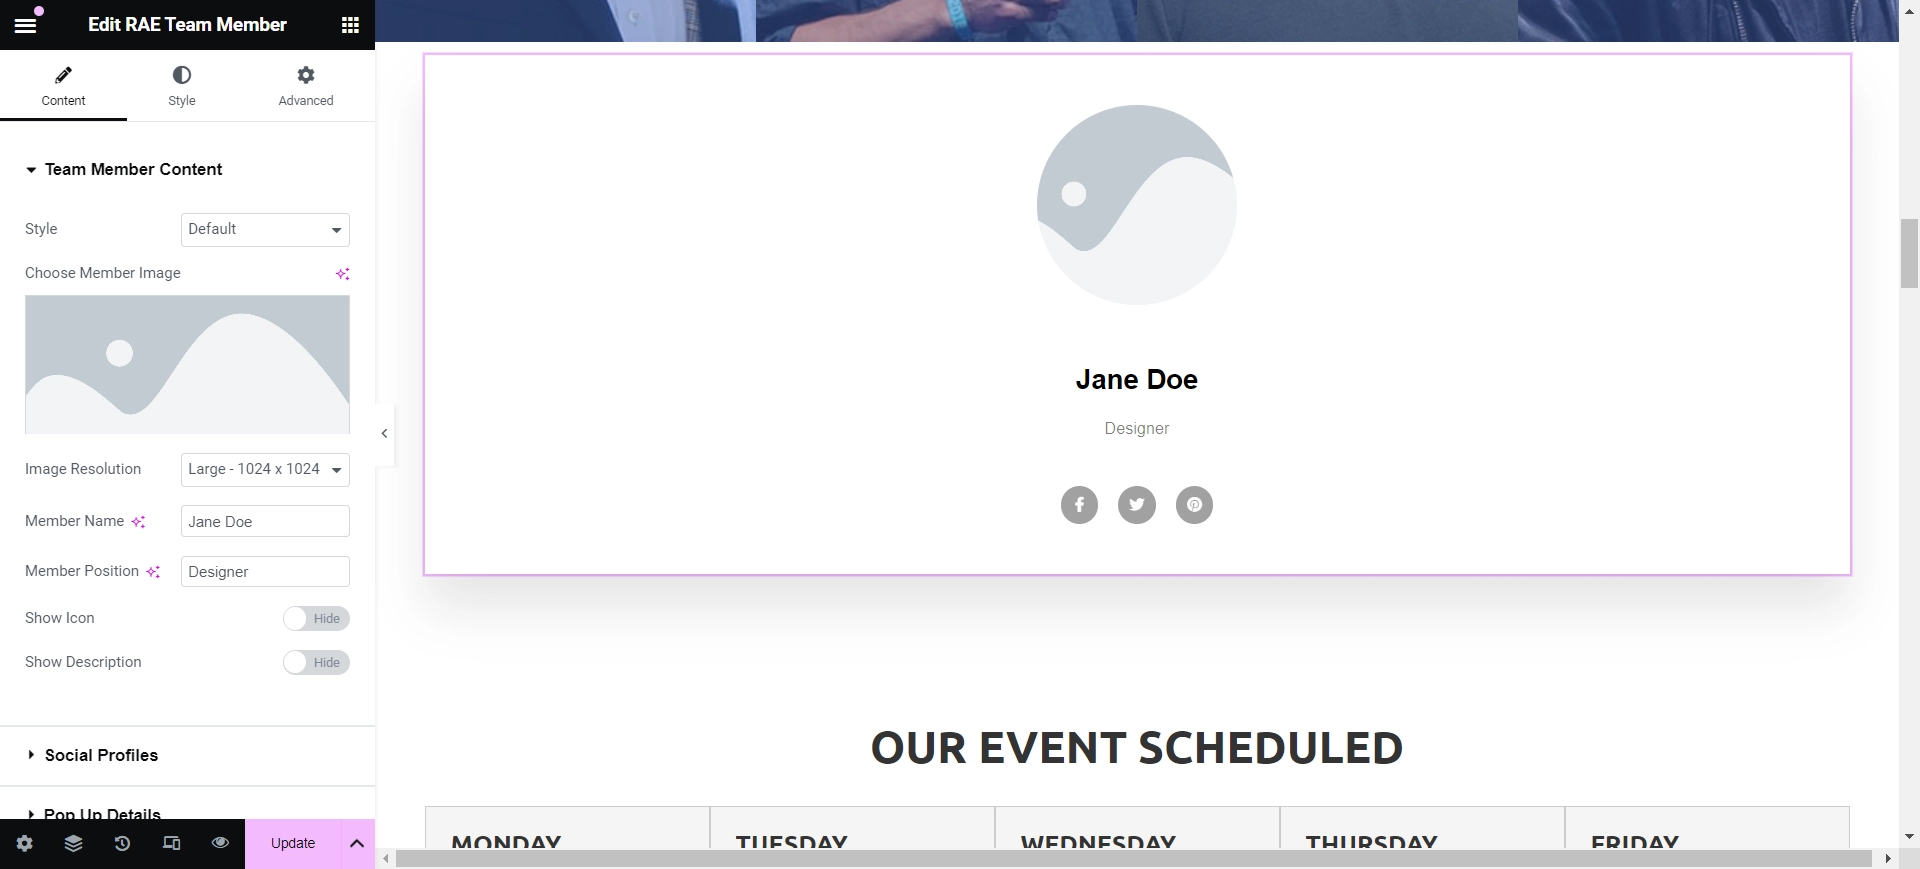
Team Member Content

Content Settings
- Style: Choose from predefined styles for your team member widget.
- Choose Member Image: Select an image for the team member.
- Image Size: Set the image size as predefined or customize it.
- Member Name: Add the name of your team member.
- Member Position: Add the designation of your team member.
- Show Icon: Hide/show the icon for the team member.
- Show Description: Hide/show the description of the team member.
Social Profiles

Social Profile Settings
- Display Social Profiles: This feature provides the ability to display or conceal the social profile icons.
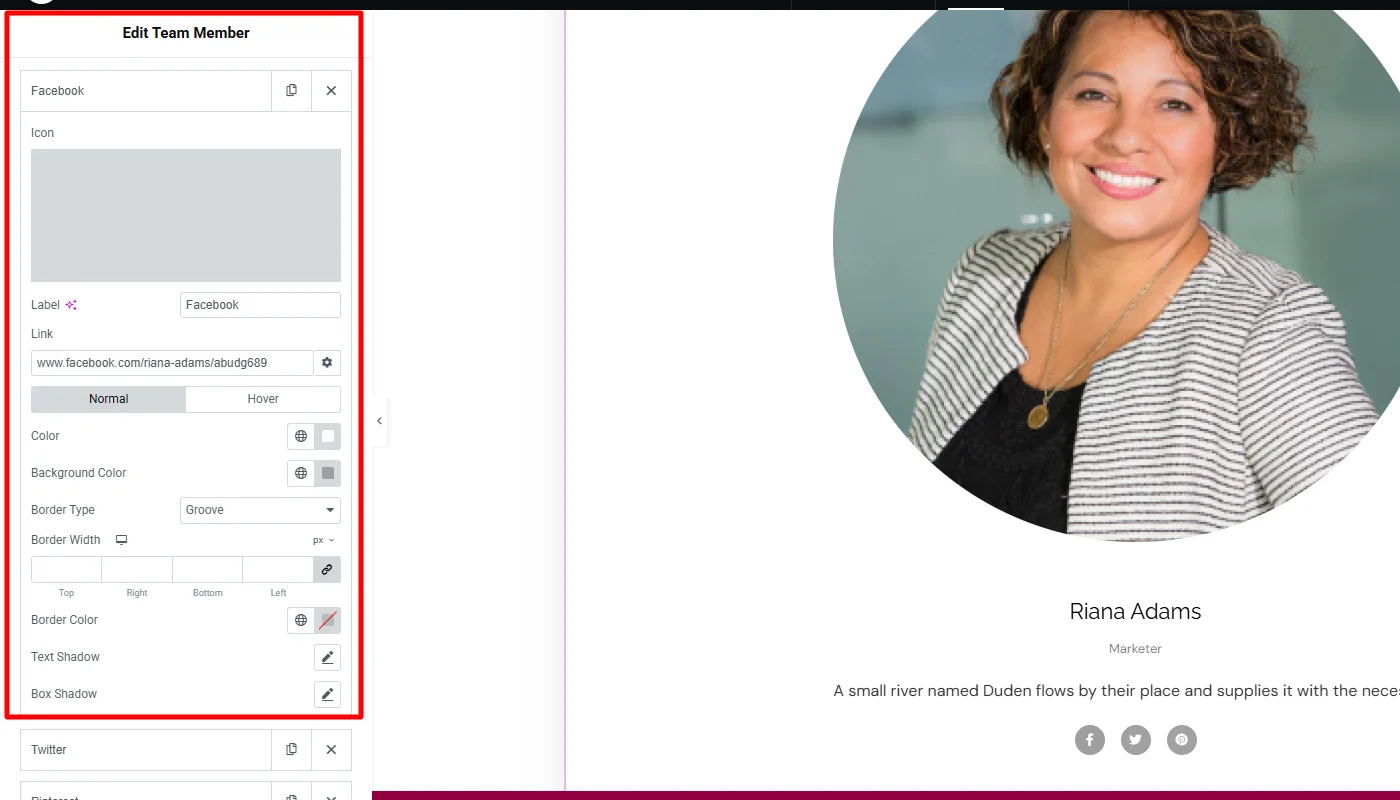
- Add Icons: This option enables you to customize the styles for various social profiles and add links to the icons.
- Icon – Select the icon.
- Label – You can add a label to the icon.
- Link – Add the link to your social profile.
- Color – Sets the color of the text.
- Background Color – This allows you to set the background color.
- Border Type – Select the border from the dropdown menu.
- Text Shadow – You can add the text-shadow.
- Box Shadow – This lets you add the box shadow.
Pop Up Details

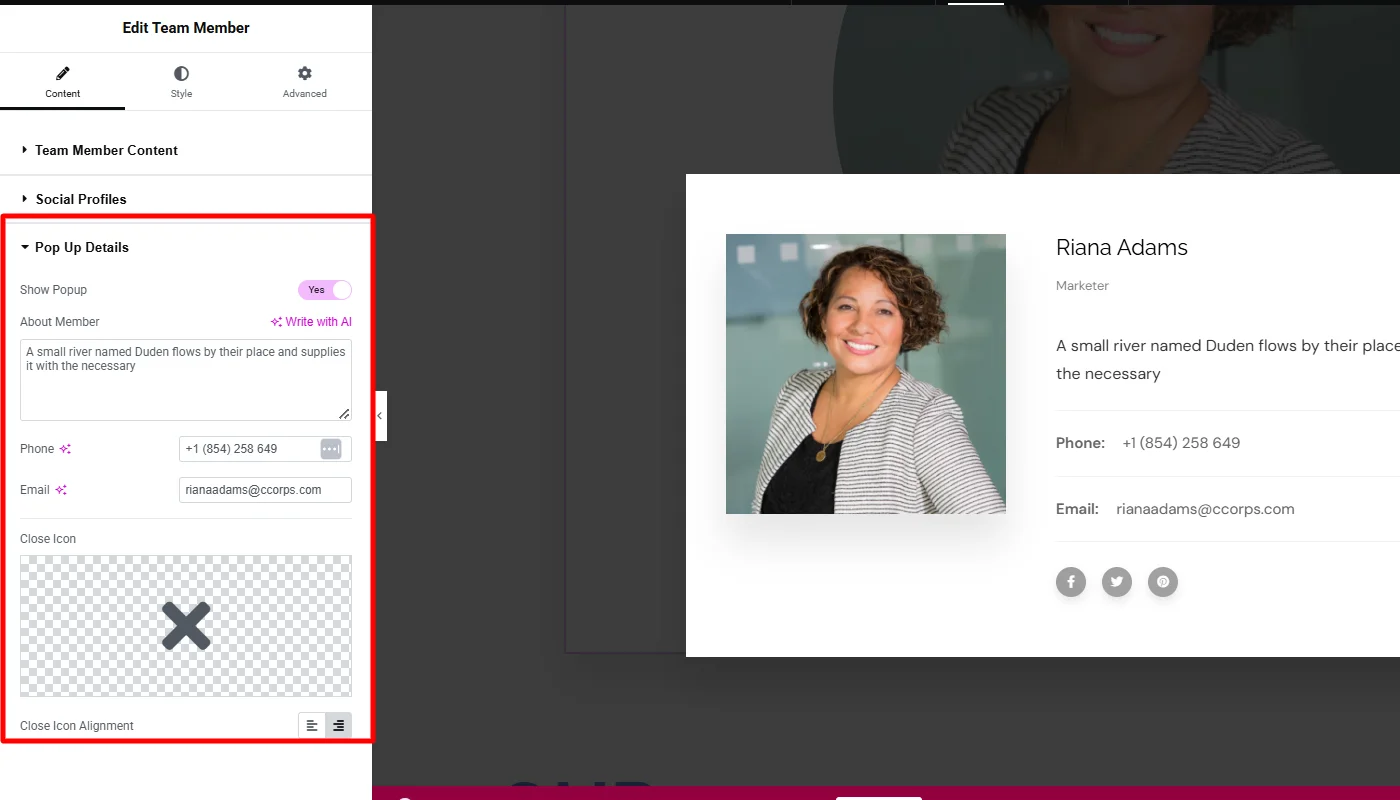
Pop Up Details Settings
- Show Popup: This option allows you to toggle the visibility of the popup that displays information about a team member.
- About Member: Use this option to input text displayed about a team member in the popup.
- Phone: You can enter a phone number to be displayed in the popup about a team member.
- Email: Enter an email address to be displayed in the popup about a team member.
- Close Icon: Select the preferred icon to close the popup.
- Close Icon Alignment: Choose between left or right alignment for the close icon in the popup.
Step 4: Styling the RAE Team Member Widget
Now, let’s move towards styling our widget.
Content

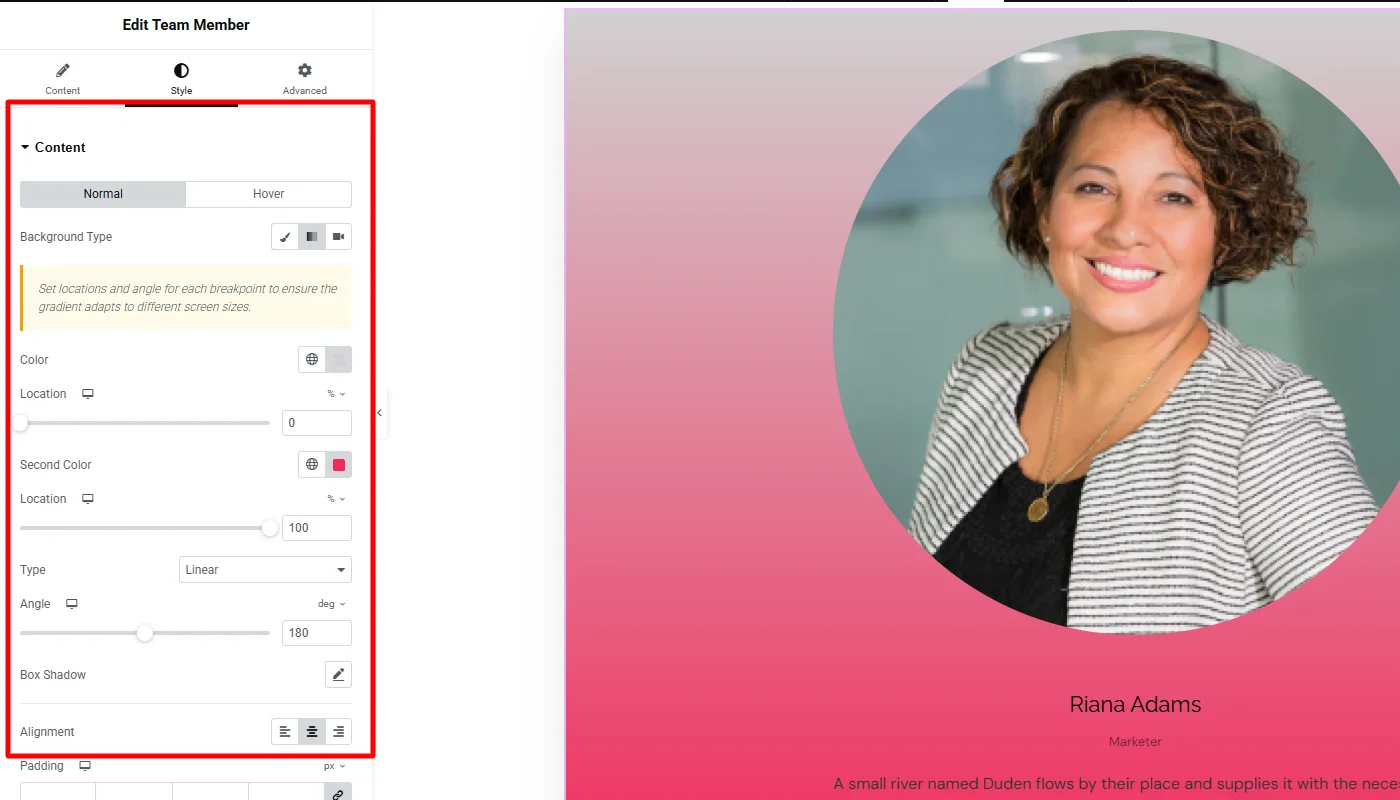
Content Settings
- Background Type & Box Shadow: Choose a background type (color or image) and add a box shadow to the widget content.
- Alignment: Set the alignment of the contents to center, left, or right.
- Padding: Adjust the overall padding of the widget.
- Content Padding: Adjust the overall padding of the content within the widget.
- Border Style: Set the type of border style for the image. If a border style is selected, you can specify the border width, border color, and border hover color.
Image
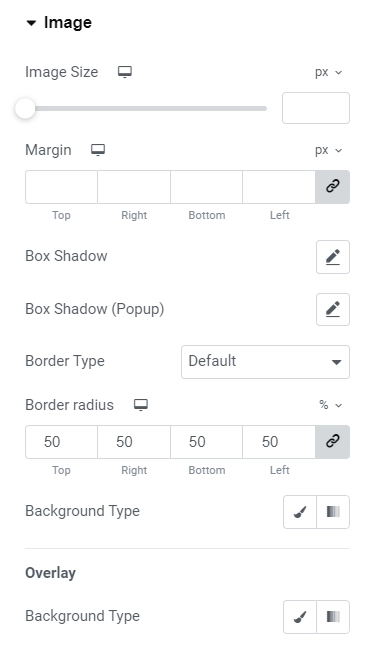
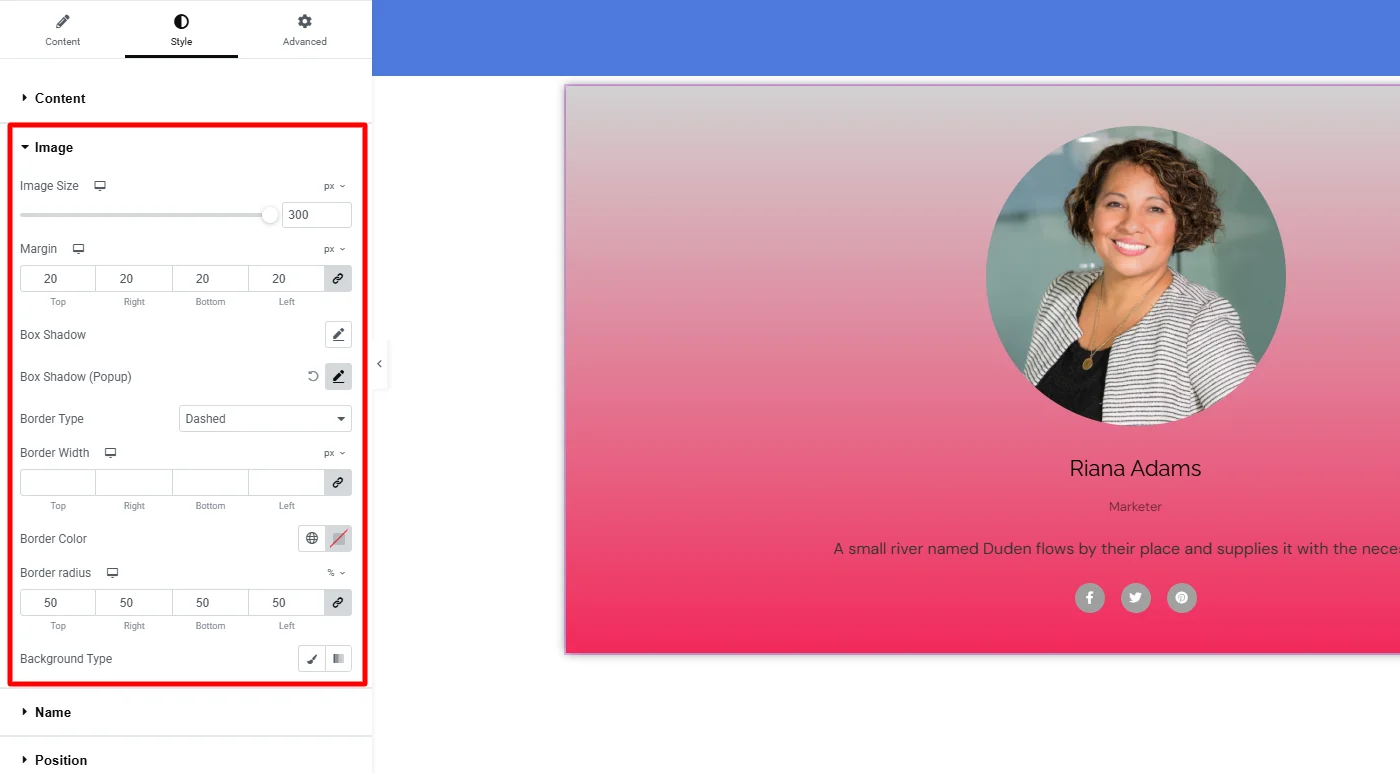
Image Settings
- Image Size: You can easily adjust the image size to fit your needs.
- Margin: Adjust the margin around the image to control its placement on the page.
- Box Shadow: Add a box shadow to the image to give it a subtle depth and dimension.
- Border Type: Customize the border style, width, and color to make your image stand out.
- Background Type: Choose a background type, such as a color, to enhance the appearance of your image.
Name

Name Settings
- Typography: Let you customize the typography of the name.
- Color: This lets you customize the color of the name
- Margin bottom: You can adjust the margin-bottom in px or em.
Position
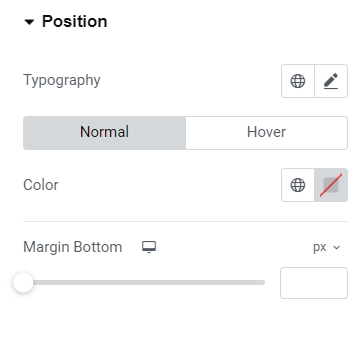
Position Settings
- Typography: When customizing the typography, you can adjust the appearance of the name.
- Color: Customize the color to change the name’s color.
- Margin Bottom: Additionally, you can modify the margin-bottom in pixels or ems.
Description

Description Settings
- Typography: For typography, you have the flexibility to adjust the appearance of the description.
- Color: you can customize it to change the description’s appearance to your preference.
- Margin Bottom: To achieve the desired spacing, you can modify the margin-bottom in pixels or ems.
Social Profiles

Social Profiles Settings
- Display: Choose between display block and inline block.
- Decoration: You can add line below, over or through your social media icons.
- Border Radius: Set the border radius of social icons.
- Padding & Margin: Adjust the padding and margin of social icons.
- Icon Size and Typography: Customize the icon size and typography.
- Use Height and Width: Enable or disable the toggle to update the height and width.
Modal Controls

Modal Controls Settings
- Background: Customize the modal’s background type to create the desired look for the name, position, and description.
- Typography & Color: You can modify the typography and color to suit your preferences.
- Margin Bottom: Additionally, you can adjust the margin-bottom using pixels or ems to achieve the spacing you want for all elements.
Close Icons
Close Icons Settings
- Icon Color: You can style your icon with the color of your choice.
- Icon BG Color: Allows you to change the icon’s background color.
- Border Type: Let you choose the border type from the dropdown menu.
- Border Radius &Box Shadow: You can add border radius and box shadow to the icon, enhancing its visual appeal.
- Font Size: Adjust the font size of the icon to ensure it fits seamlessly with your design.
- Padding: This lets you define the icon’s padding for a neat and organized appearance.
Live Customizations and Output
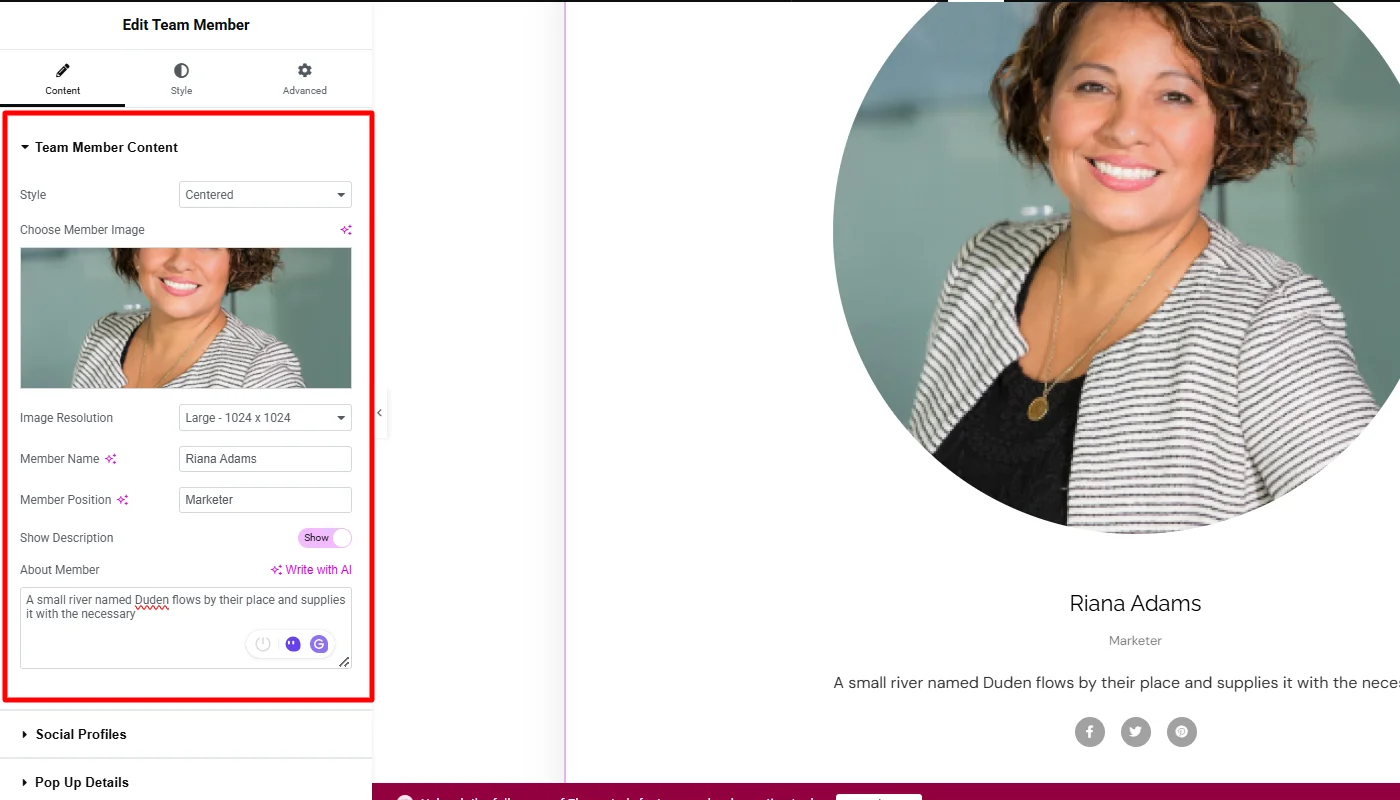
Once you have explored all the settings, let’s look at how to edit the text. I want to use the team member widget on this page.
Once you have dropped the widget to the page it will look something like this.
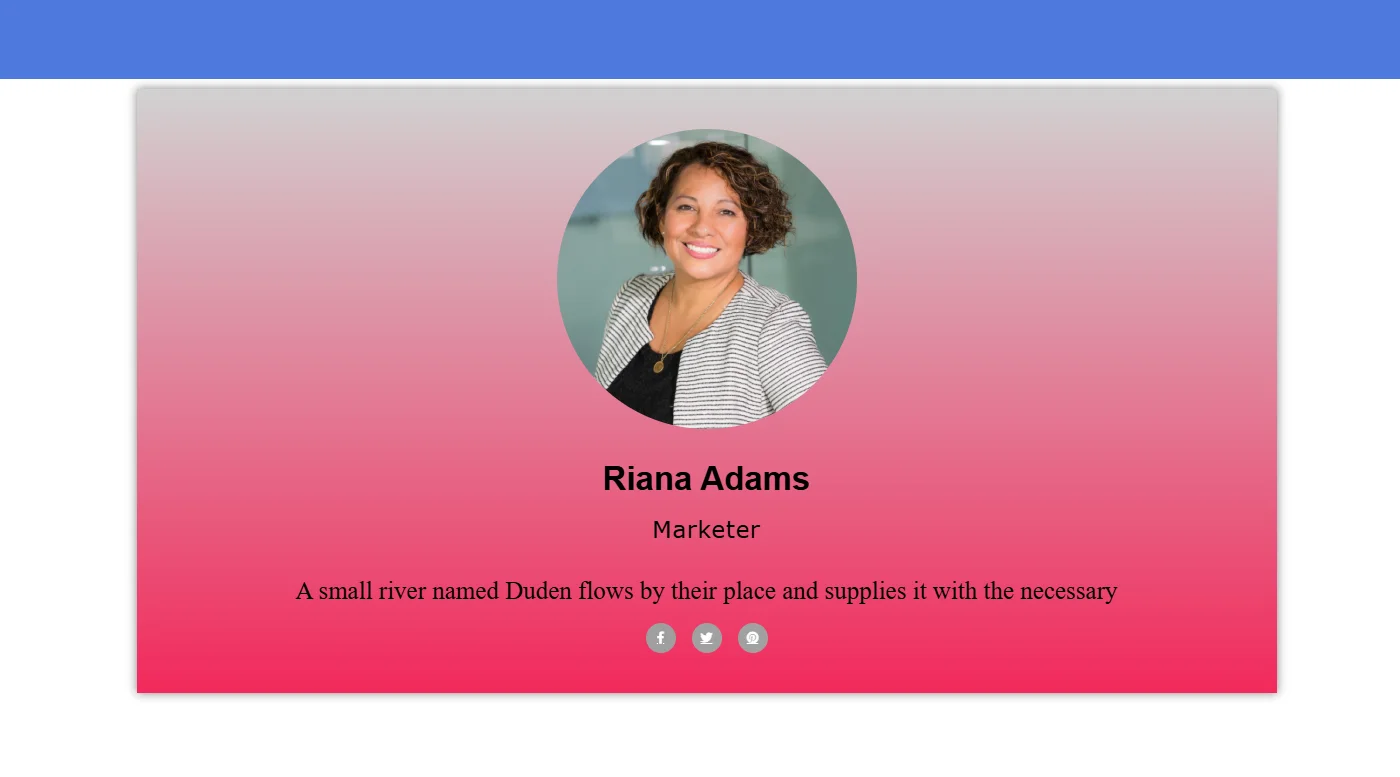
To begin with, I have selected the “Centered” style and added an image with the default large resolution of 1074 x 1024.
In addition, I have changed the default member name and position. To make it look more real, I have toggled the show description button, adding a short description.
After customizing the team members’ details, I have made the necessary changes in the social profiles section.
I did not make many changes here, as it looked fine in its default settings. I kept the icons the same and added the links to each social handle.
Further, for other settings, I mostly kept the settings the same; you can experiment and make further changes according to your needs.
Next, the widget also allows you to create a digital visiting card for your team member as. Well, when you click on the widget, a popup will appear. To edit the details I have simply added a few basic details of the team members in pop-up details.
After customizing the widget’s content, I moved to styling. The widget offers various styling options. I styled the content with minimal changes, giving it a linear gradient color look aligned in the center.
Similarly, to style the image, I kept the changes minimal, resizing the image to 300 and adding a 20 margin around it.
The styling options for content, including name, position, and description, offer the same settings to change in typography and margin.
I made a few changes in each typography to make it all look differentiated, as the
texts for all the personal information looked similar and very basic. After the changes, the final appearance looked as below.
FAQ
Install and Activate Responsive Addons for Elementor
Open the page where you want to add team member (Use an Elementor template)
Edit with Elementor
Search for the team member widget
Drag and drop the widget
Customize the widget
Publish the page.
The widget for REA Team Member allows you to display your team member’s information, including image, name, job title, description, and social links, in an attractive user interface.
Yes, you can add a team member at no cost to your Elementor website using Responsive Addoms for Elementor.
Conclusion
Setting up a team members area on your Elementor website is a simple yet effective way to boost your site’s professional look and build a personal bond with your audience.
The Responsive Addons for Elementor plugin lets you create an eye-catching and adjustable team member section that spotlights the individuals who make up your company.
If you found this article helpful, you may also want to check out:
- How to Add a Content Switcher To Your Elementor Website
- How To Add Product Rating To Elementor Website
- How To Add Progress Bar to Your Elementor Website
Looking to add a team member section to your website? Consider getting the Responsive Addons for Elementor today! You may also find it helpful to use the Responsive theme, a flexible website theme designed to simplify the website creation process.


