Are you looking to add a content ticker to your Elementor website?
An engaging, dynamic website captures visitors’ attention and keeps them updated with the latest news, announcements, or featured content.
One effective way to enhance your website’s design and user experience is to integrate interactive elements that are visually appealing and practical.
Whether it involves showcasing new blog posts, advertising events, or providing real-time news updates, these interactive features help deliver information quickly and efficiently.
Prominently and seamlessly presenting important details can enhance user engagement, facilitate communication, and improve your website’s overall visual appeal.
In this post, we will learn how to add a content ticker widget to keep your audience updated with your latest launches, products, or offers.
What is Elementor Content Ticker Widget?
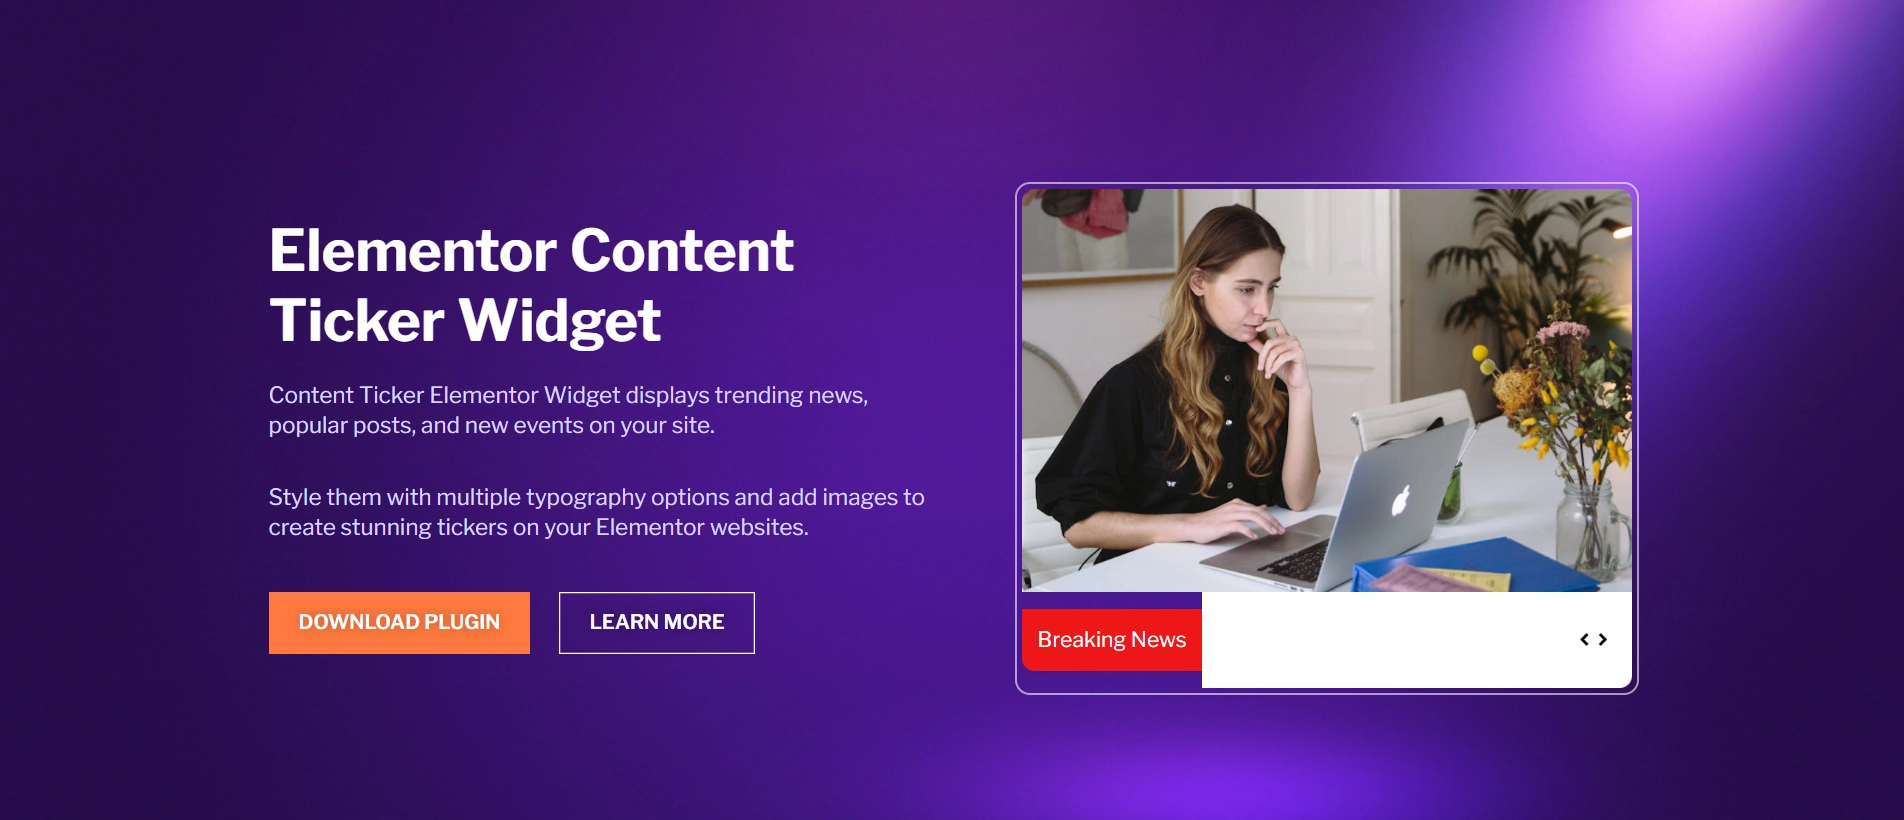
The content ticker widget is a robust tool for incorporating dynamic scrolling content into your website.
This widget empowers you to display vital updates, news highlights, promotions, or featured content in a sophisticated, scrolling manner, ensuring that your visitors are well-informed while maintaining a contemporary and professional appearance.
Its user-friendly nature and customization possibilities set the content ticker widget apart.
The widget is perfect for news websites, blogs, or platforms that want to showcase live updates or promotional messages.
The content ticker’s fully responsive design guarantees a seamless experience on all devices, thereby improving the functionality and user interaction of your Elementor-powered website.
Things You’ll Need for Adding Content Ticker in Elementor
For the easy addition of a WordPress content ticker widget to your Elementor website, you’ll need these essential plugins:
Elementor
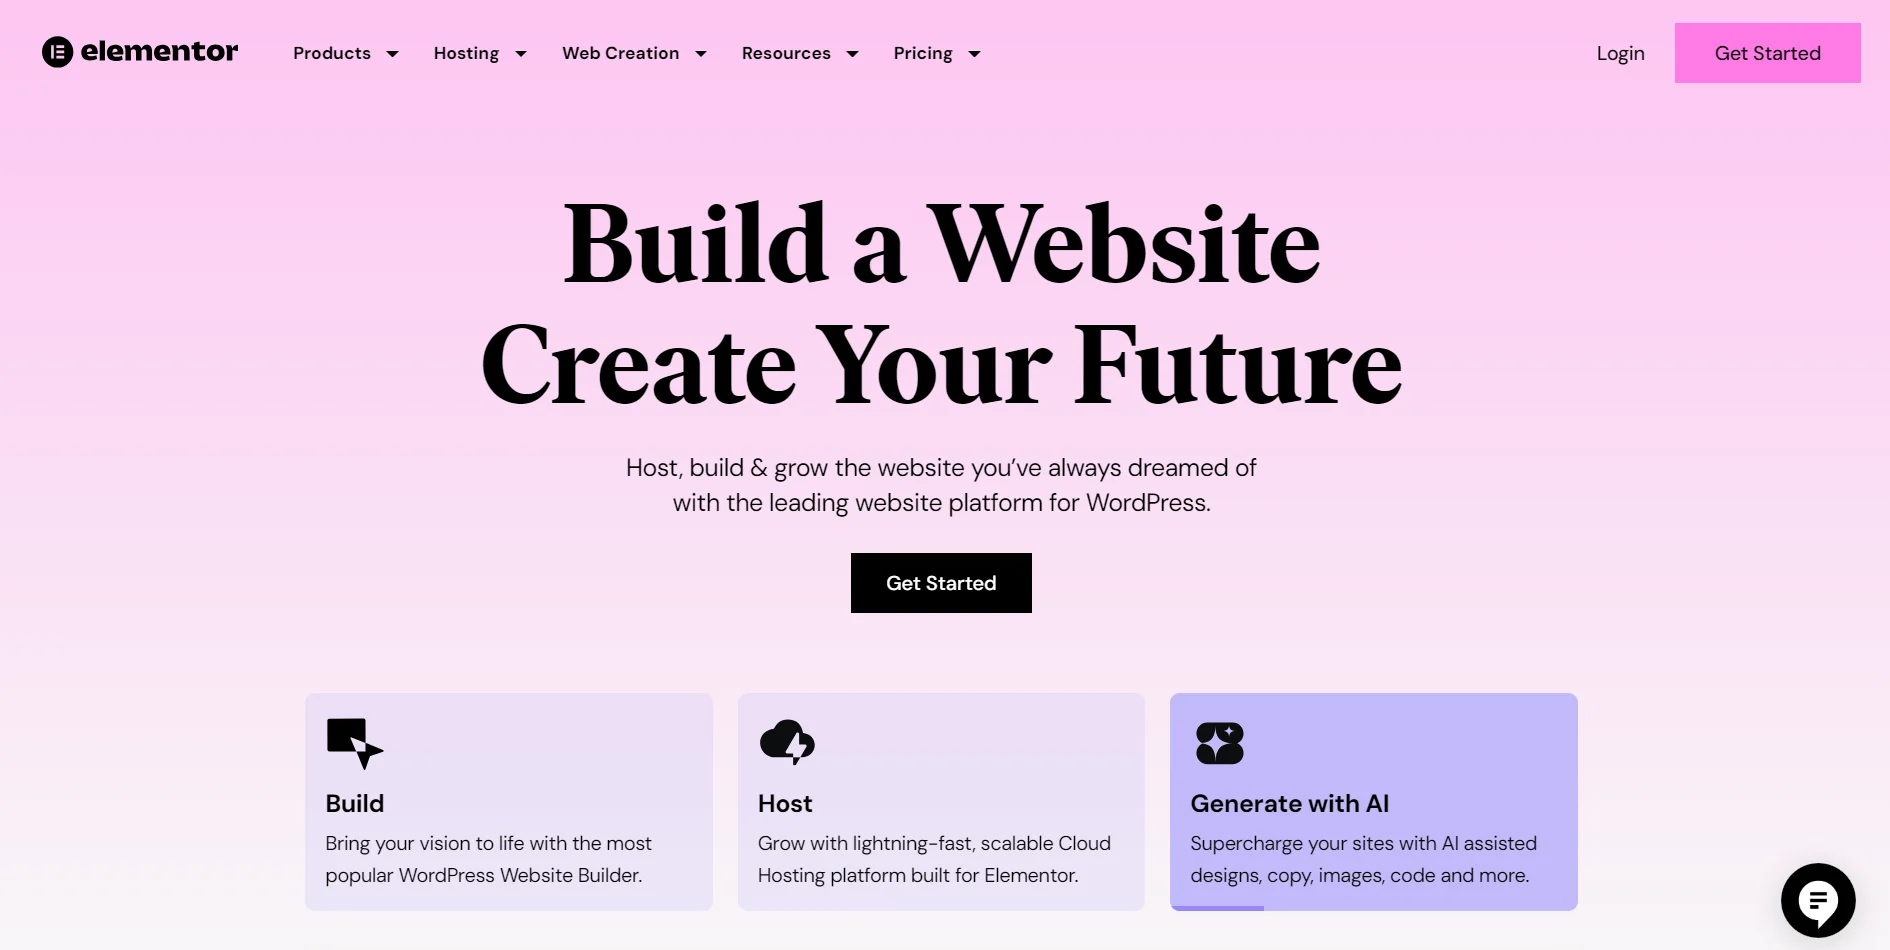
Elementor is a highly-rated WordPress plugin that enables users to design and customize websites without writing code.
Thanks to its simple drag-and-drop interface, users can rearrange elements and widgets, enhancing web pages’ visual appeal and functionality.
Utilizing Elementor, you can create a professional-grade website with its numerous features and refined appearance.
Responsive Addons for Elementor
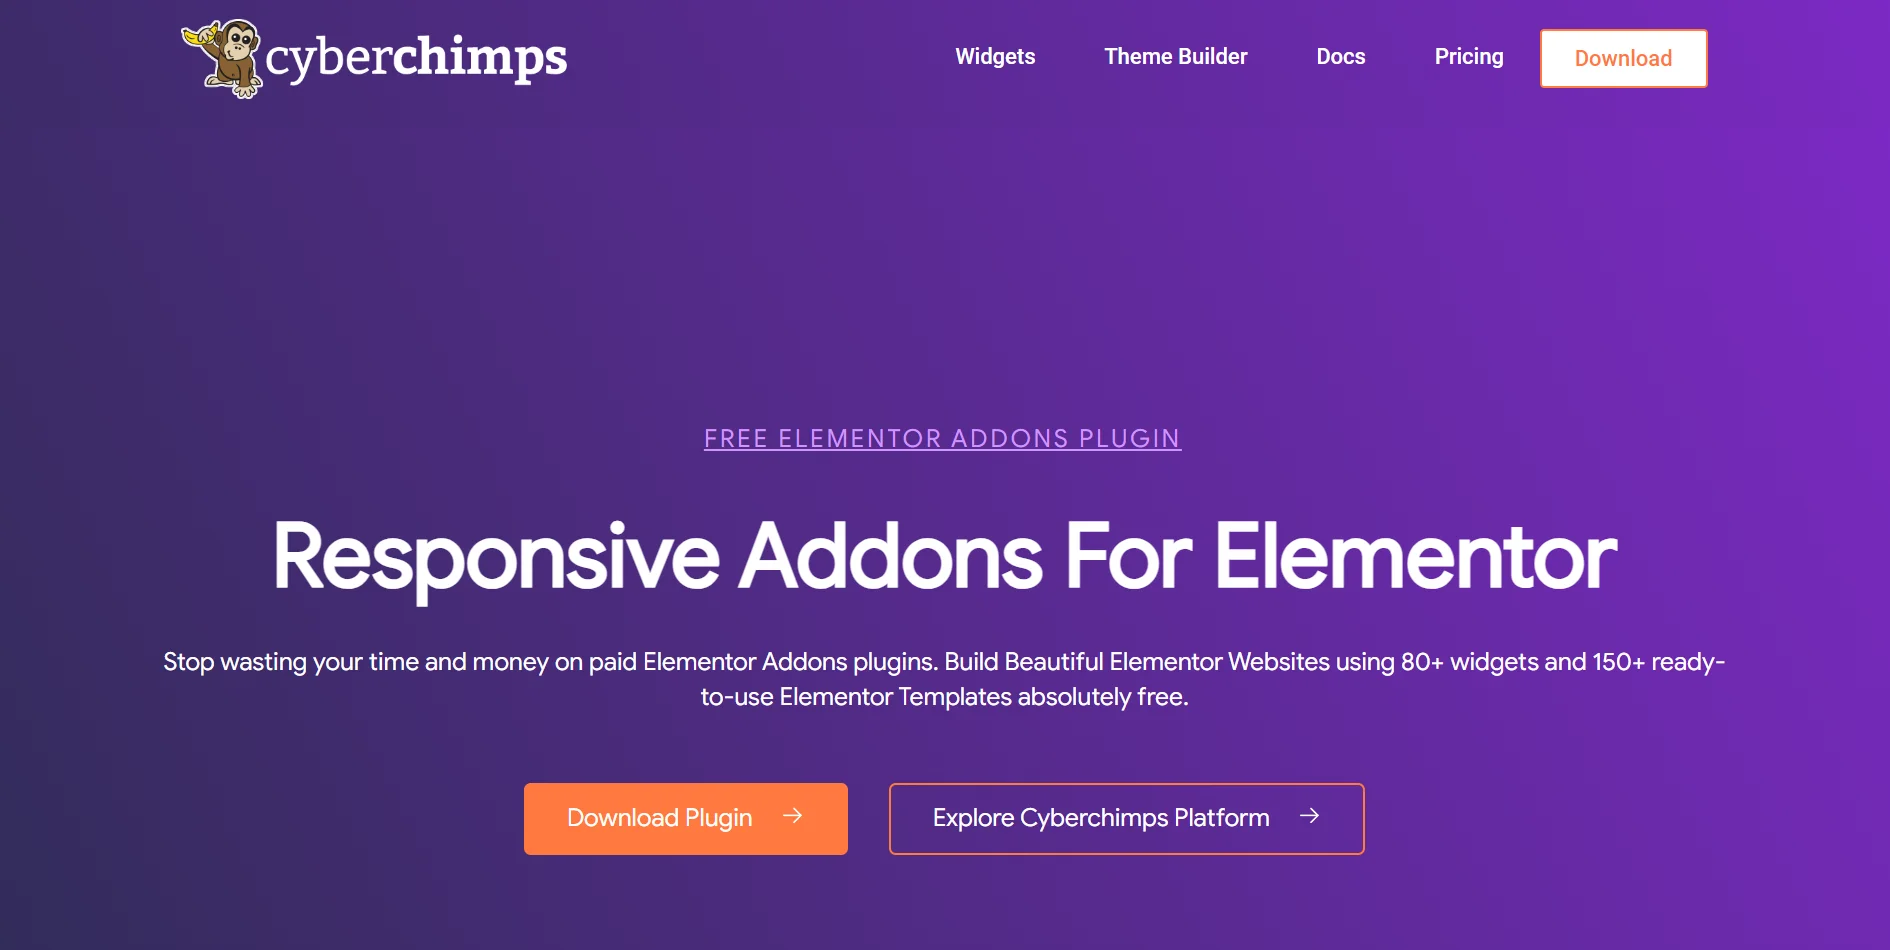
Another great plugin to consider is Responsive Addons for Elementor. It provides 80+ advanced widgets and over 250 ready-made templates at no cost.
Plus, it lets you fine-tune your site in many ways. You can adjust how things look on desktops, phones, and tablets. It also offers widget tweaks and design bits made just for these devices.
Responsive Addons for Elementor significantly impact how users interact with websites.
It’s super helpful for developers and designers who want to build professional, dynamic, and mobile-friendly sites without spending too much time or effort.
How to Add Content Ticker in Elementor
[Note: To add a free content ticker widget, a website template must be built with the Elementor page builder].
Cyberchimps offers plenty of free Elementor templates to build your website instantly.
The Responsive Addons for Elementor plugin can significantly boost your website design capabilities. It provides a wide range of advanced and customizable widgets that integrate seamlessly with Elementor.
Now, let’s add the Elementor content ticker with Responsive Addons for Elementor.
Step 1: Installing and Activating Responsive Addons for Elementor
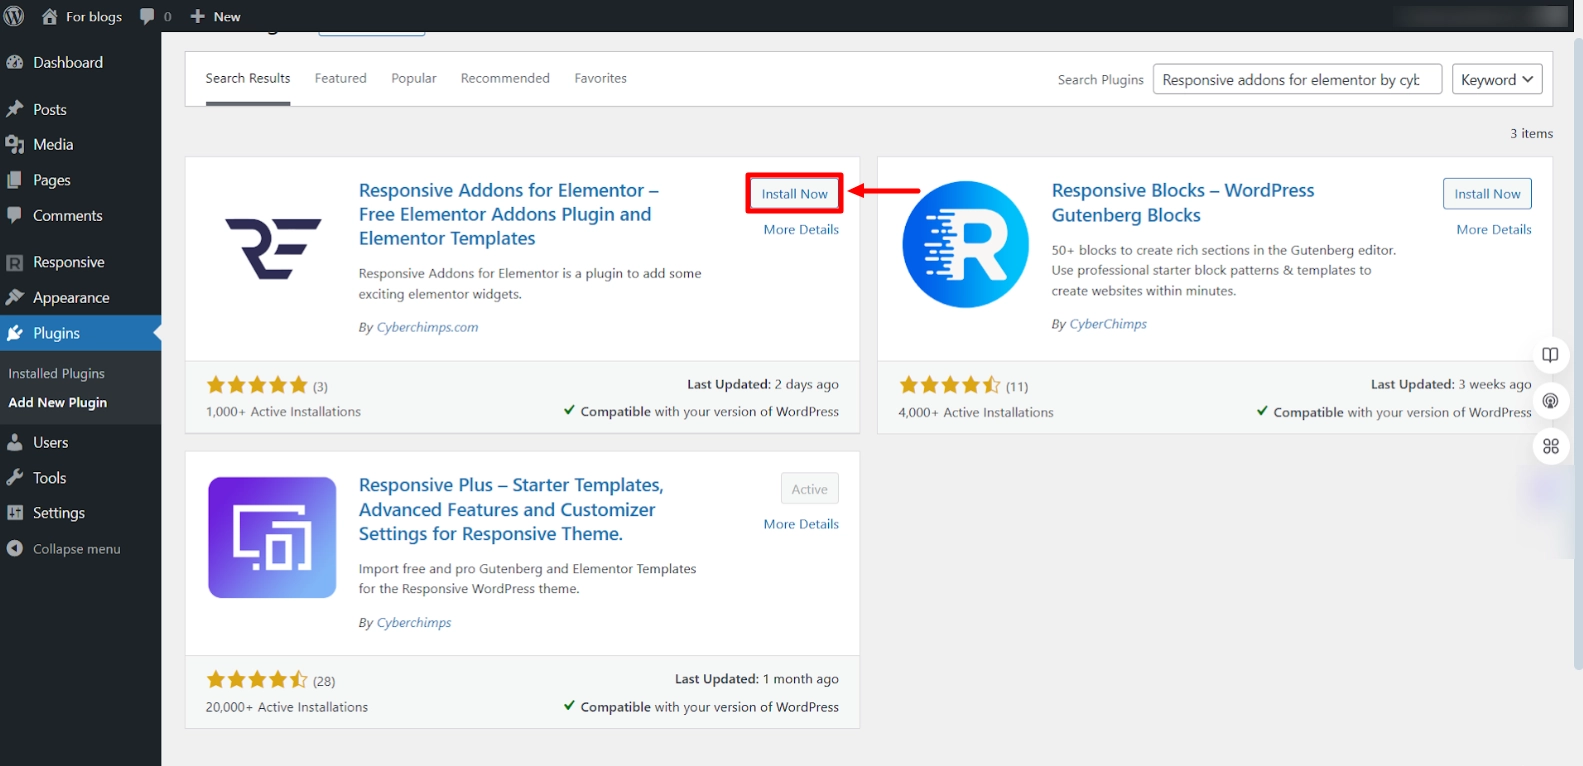
To install Responsive Addons for Elementor, go to the WordPress dashboard and select Plugins > Add New from the menu to begin.

Then, search for Responsive Addons for Elementor. Next, select Install Now.
Once the plugin is installed, select the Activate button.
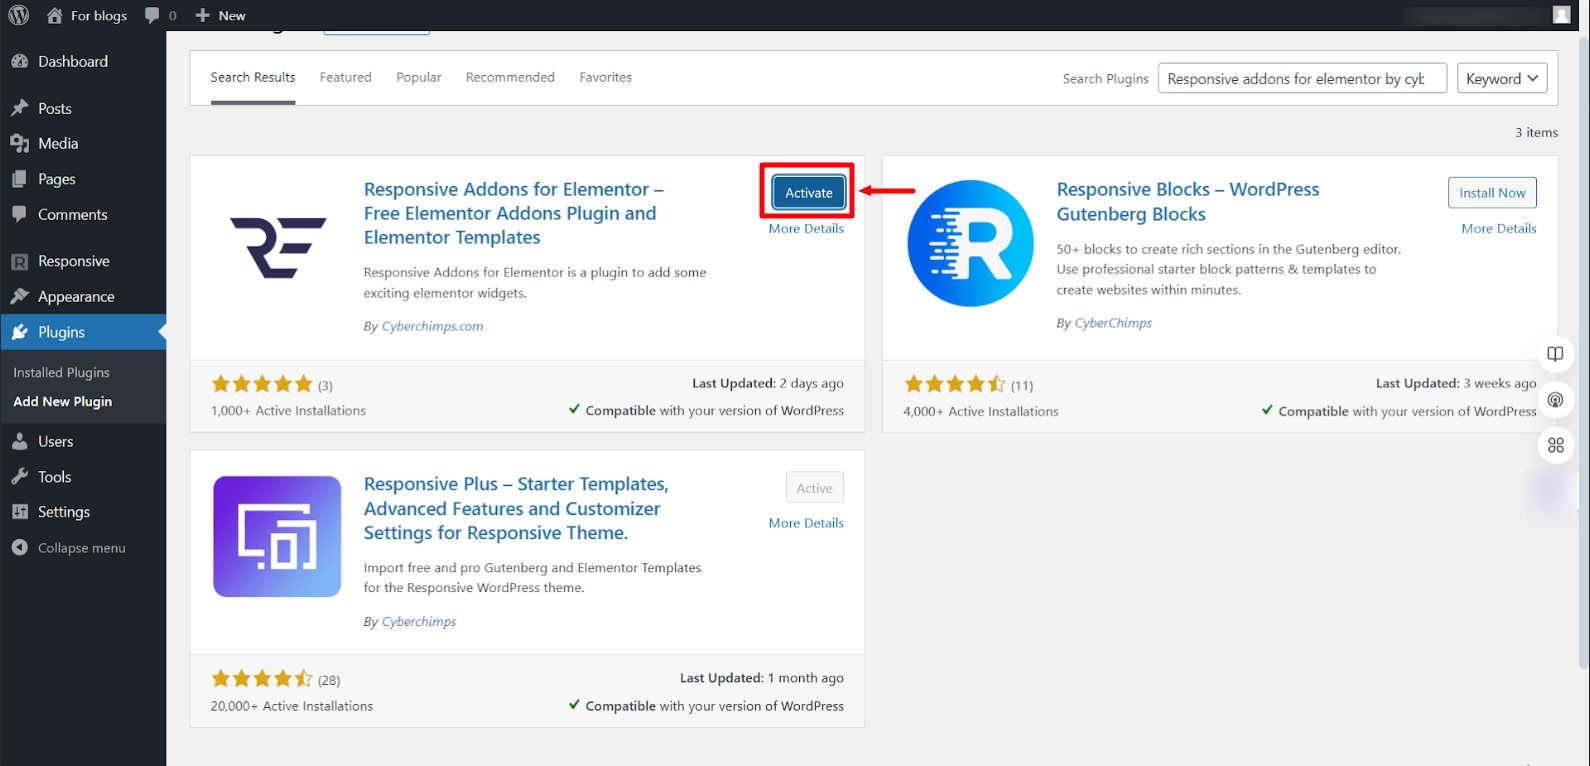
Well done! You have seamlessly integrated the Responsive Addons for Elementor plugin into your WordPress site.
Step 2: Adding Responsive Addons for Elementor Content Ticker Widget
Now, let’s move toward adding the content ticker widget to your Elementor website.
We will use a pre-made Music School WordPress Template to add a free content ticker to WordPress.
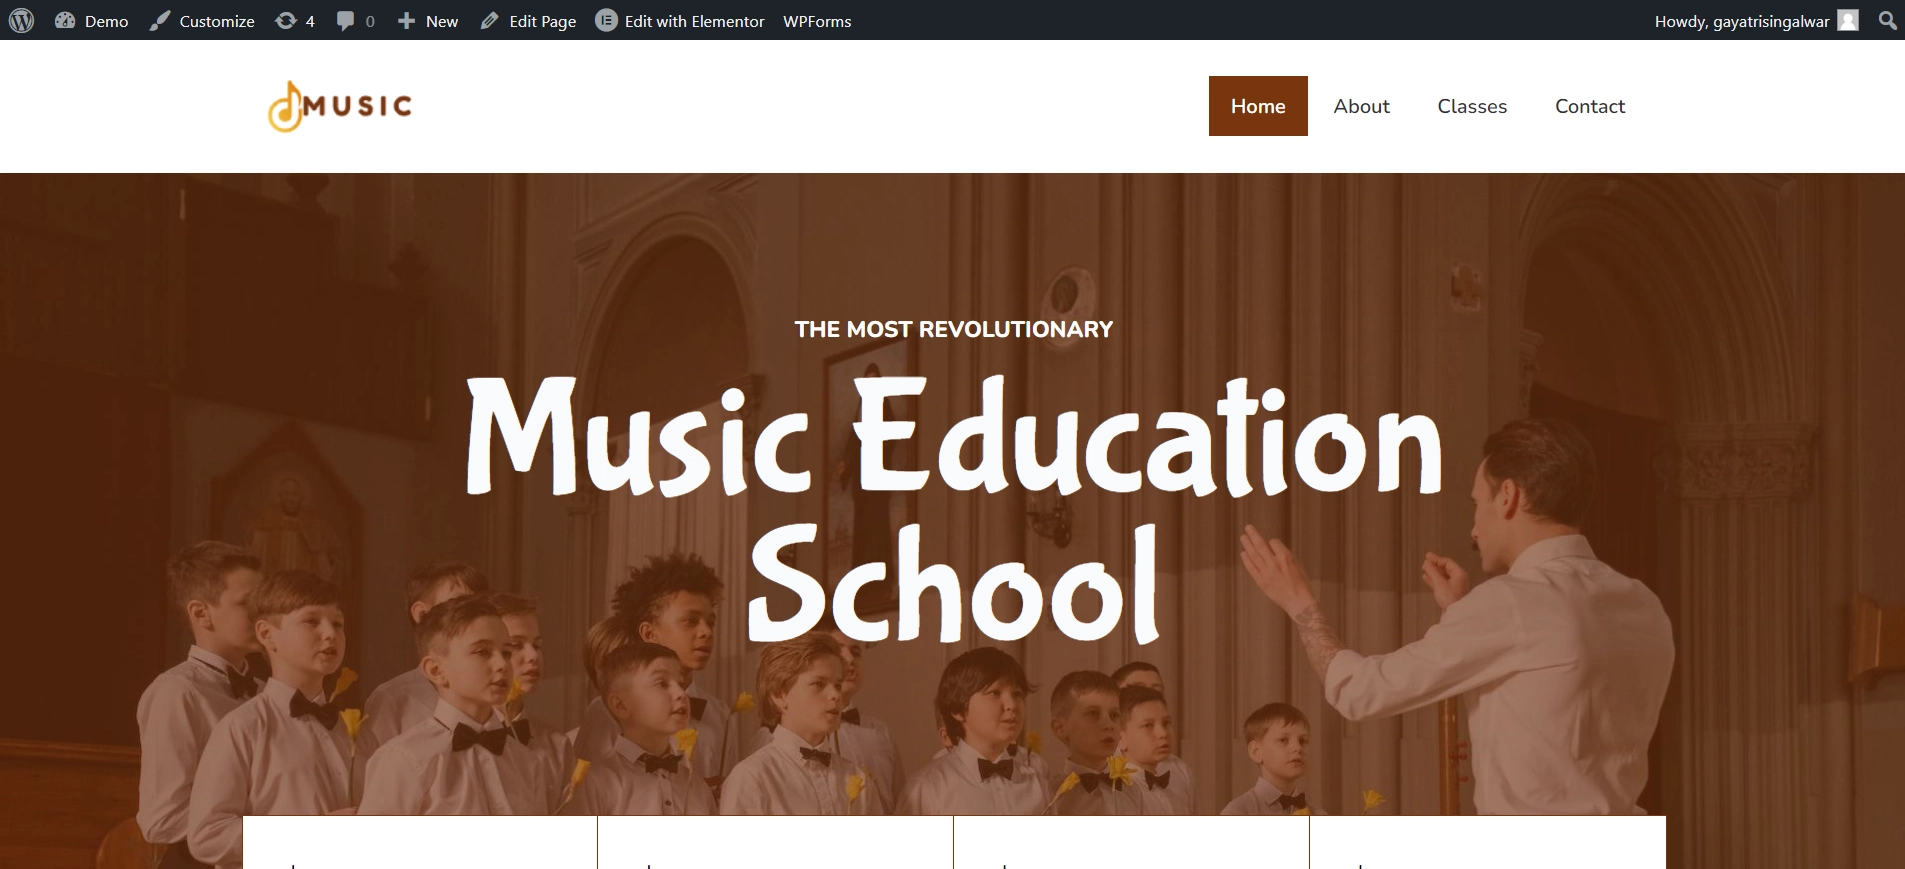
You can choose from various templates available in the free WordPress templates collection by Responsive Plus.
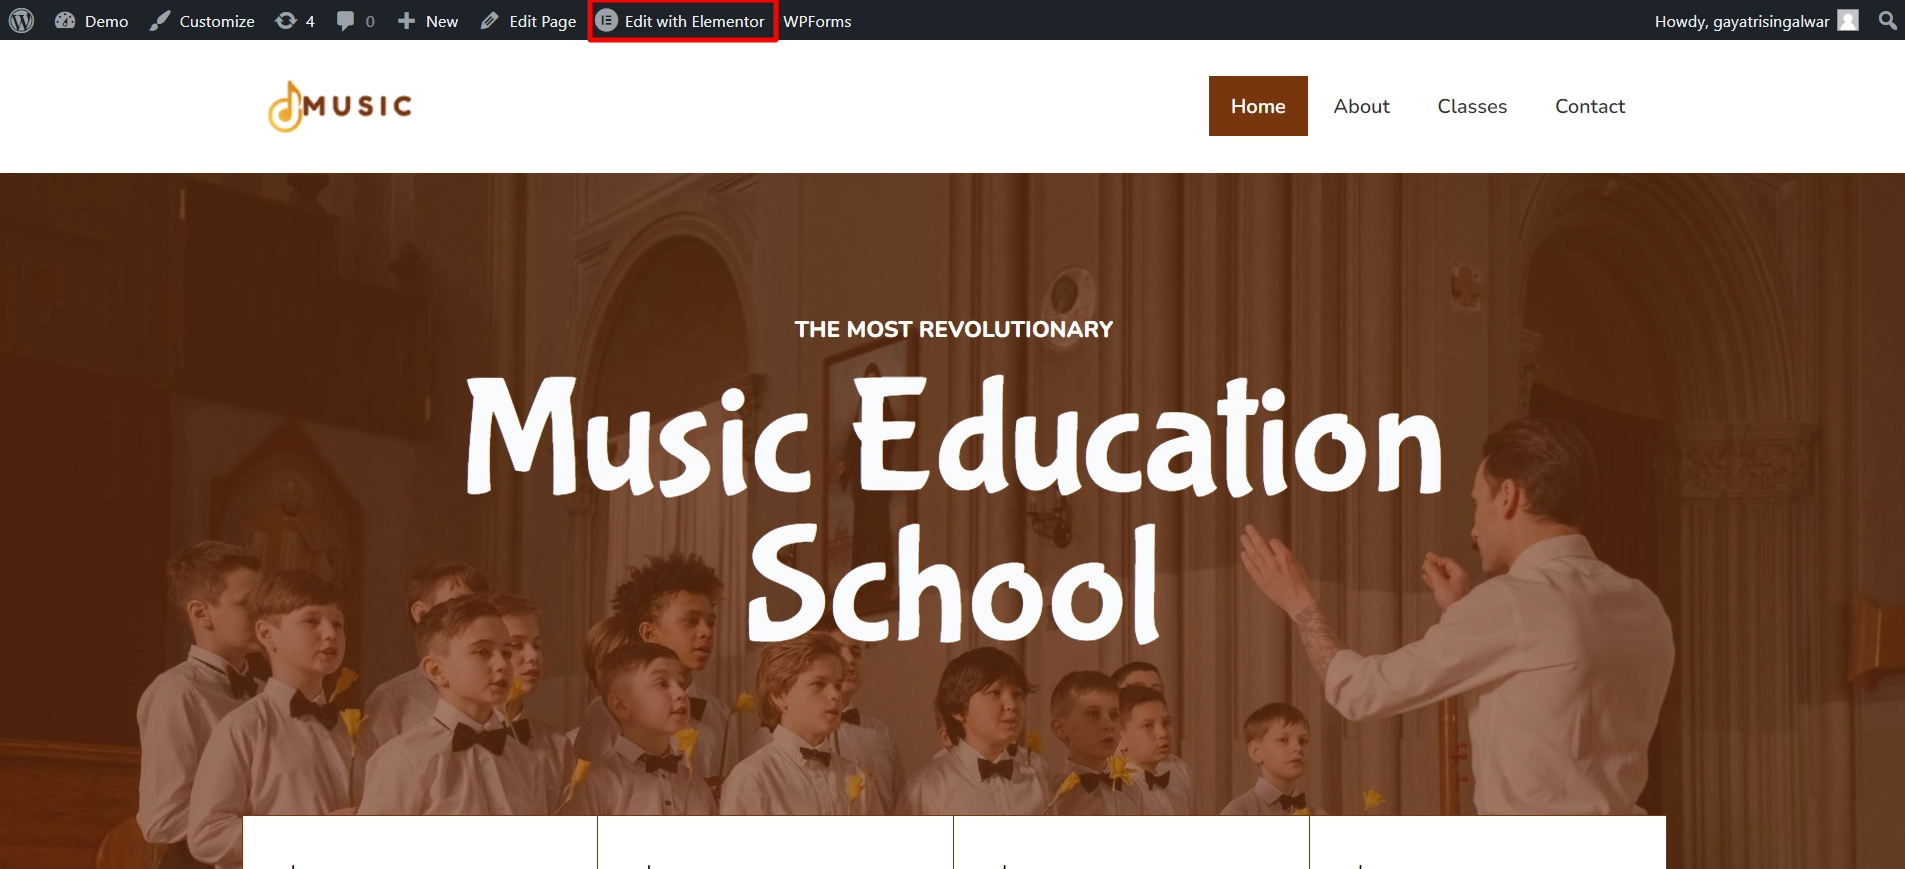
Now, go to the relevant page and click on Edit with Elementor.
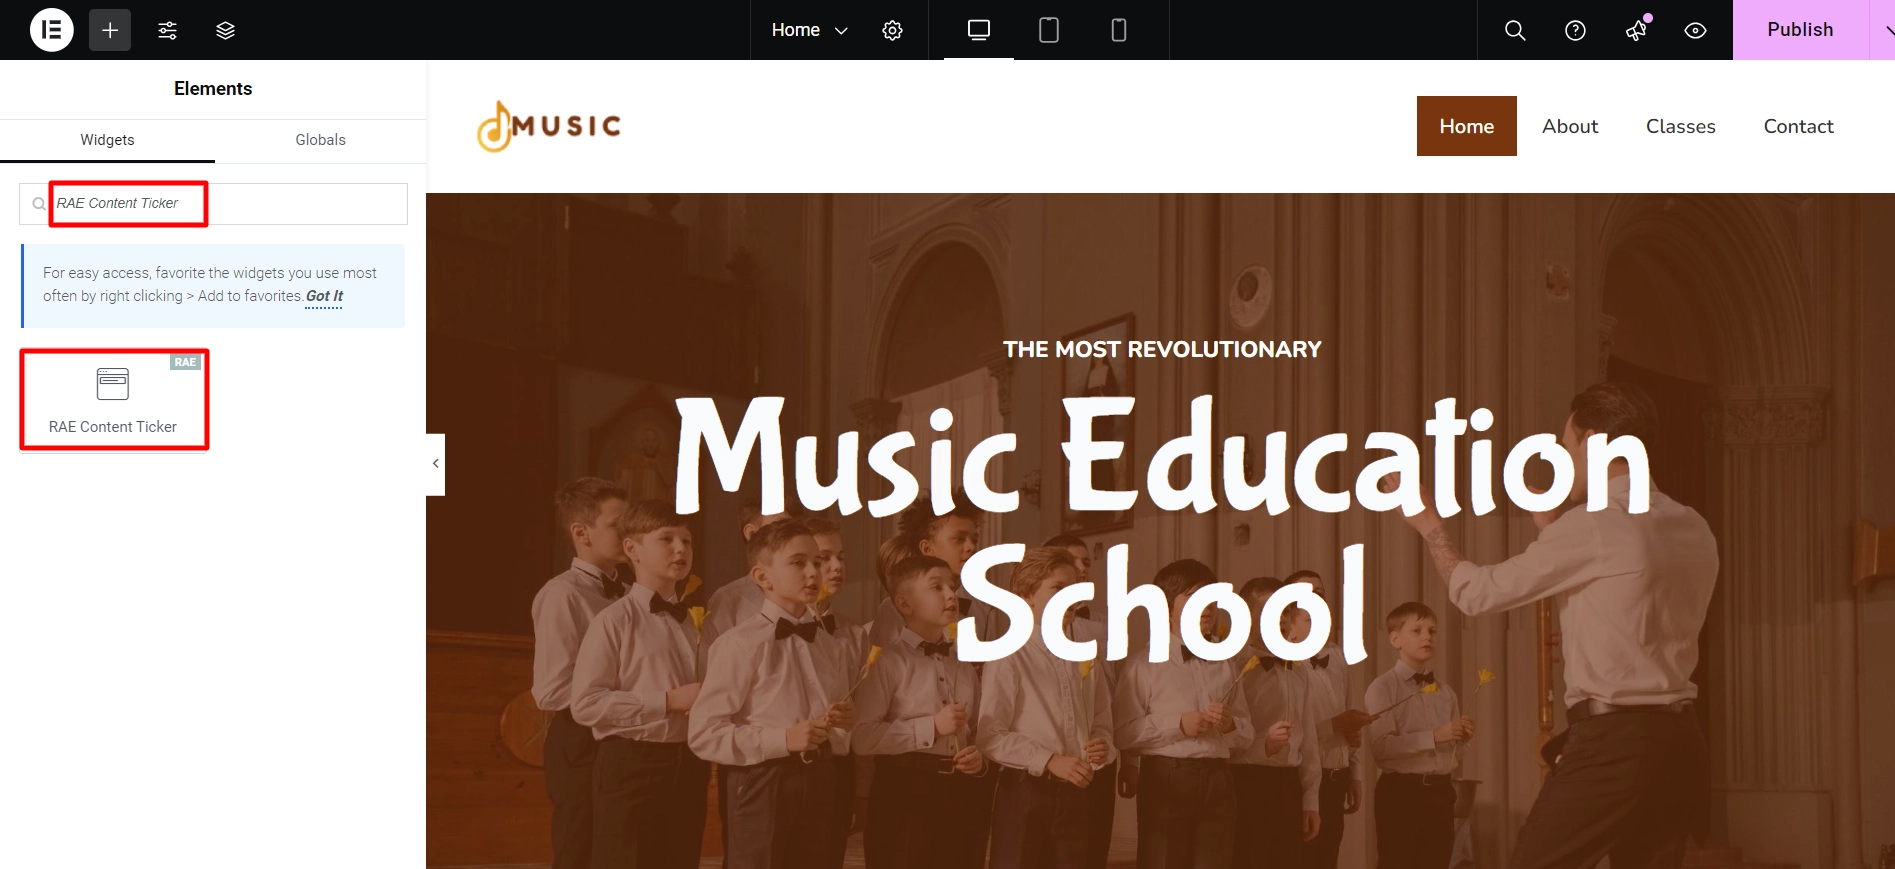
In the search field, enter RAE Content Ticker.
After that, drag the widget onto the page and drop it to integrate it into your design seamlessly.
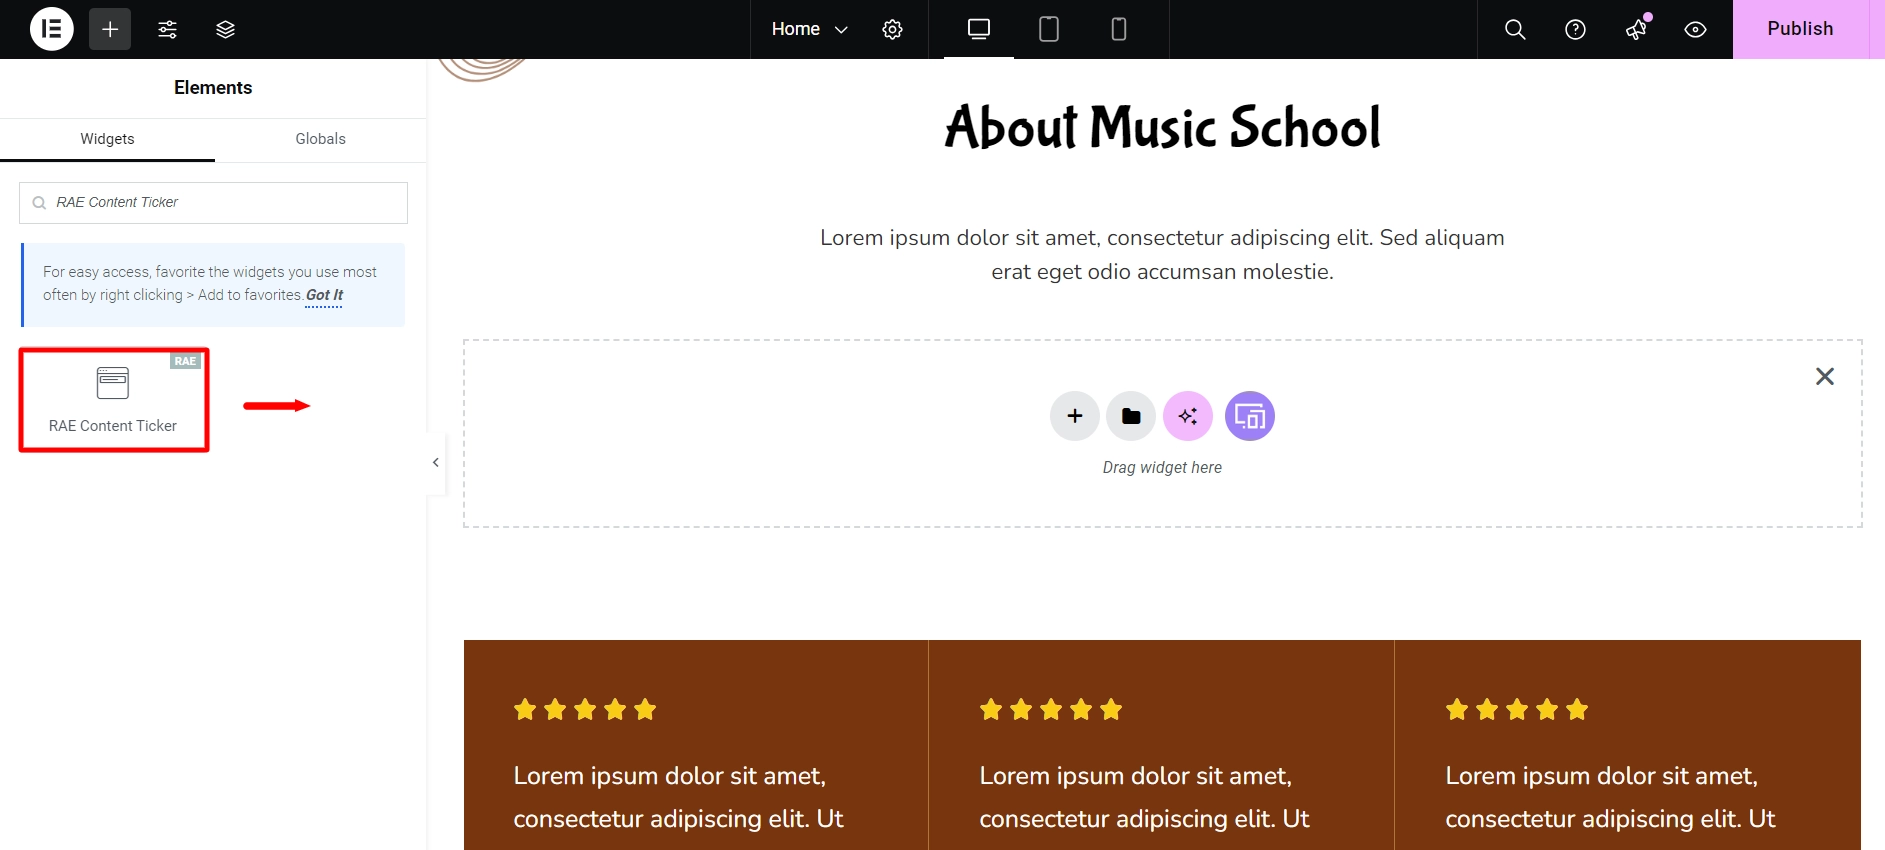
You can see its default appearance once you’ve placed it on the desired page.
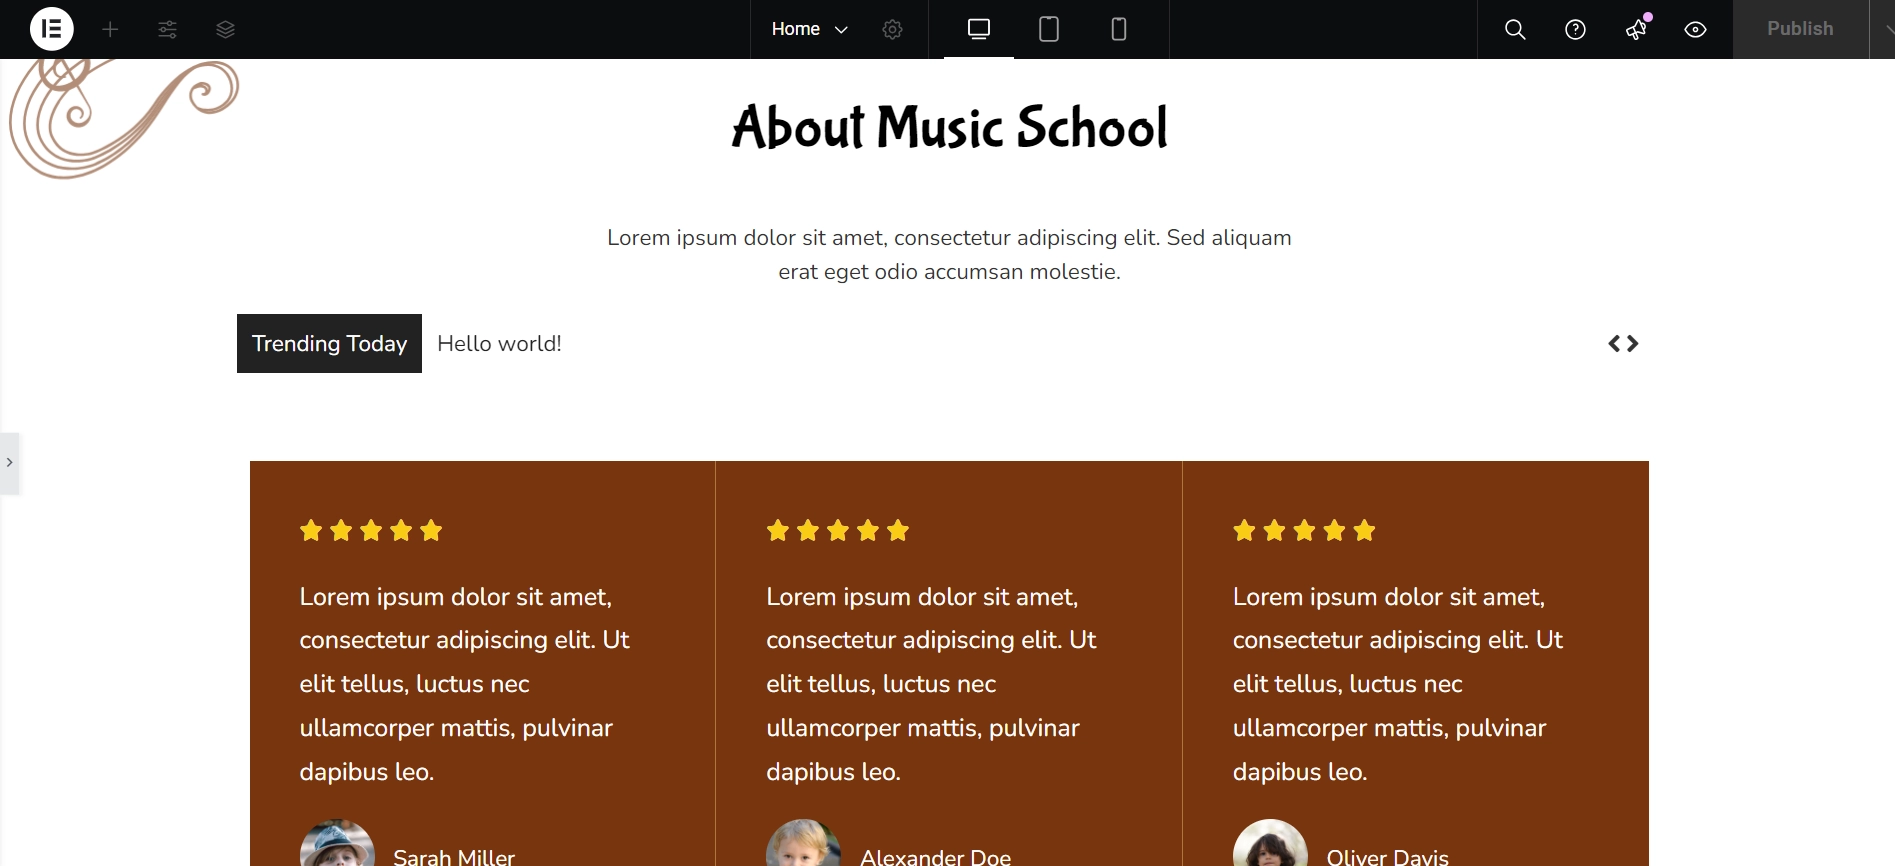
You’ve just added the free Elementor content ticker widget, allowing you to customize it to your liking.
Step 3: Customizing the Elementor Content Ticker Widget
You can customize your widget in various ways.
Now, we’ll take a look at the content section.
Ticker Settings
Ticker Settings
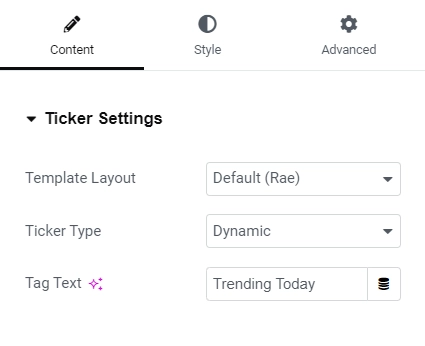
- Template Layout: The default layout is chosen.
- Ticker Type: From the dropdown menu, select a ‘Ticker Type’, either ‘Dynamic’ or ‘Custom,’ and customize the ‘Ticker’ accordingly.
- Tag Text: You can personalize the headline of your Content Ticker by editing the ‘Tag Text’ field.
To enhance the engagement and usability of our example blog website, we have customized the Content Ticker settings:
We have selected the Dynamic ticker type. This means the ticker will automatically pull and display the latest posts, ensuring that visitors always see fresh and relevant content without manual updates.
To make the ticker more eye-catching and informative, we have personalized the Tag Text field with “Trending Today.” This label instantly informs users that the displayed posts are currently trending, encouraging them to explore more.
Dynamic Content Settings

Dynamic Content Settings
- Source: You can choose the source from which your content will be generated. You can select from Posts and Pages or manually choose the content source.
- Author, Categories, Tags, Formats: You can display only specific posts based on authors, categories, tags, and formats.
- Exclude: You can also exclude certain posts or pages from being displayed.
- Posts Per Page: You can set the number of contents you want to display on your Content Ticker by specifying the number of posts per page.
- Offset: You can specify an offset value to customize the starting point of the content display.
- Order By & Order: You can sort the content by modifying the ‘Order’ and ‘Order By’ options to meet your preferences.
We have customized the Dynamic Content settings of the Content Ticker Widget to ensure an engaging and structured content display:
We have chosen Posts as the content source, allowing the ticker to fetch the latest blog posts dynamically.
The ticker will display 4 posts at a time, ensuring a balanced and visually appealing rotation of content.
We have kept the offset value at 0, meaning the ticker starts displaying posts from the very first entry without skipping any.
To maintain relevance and freshness, we have set the Order By option to Date and the Order to Descending. This ensures that the most recent posts appear first in the ticker.
Animation Settings
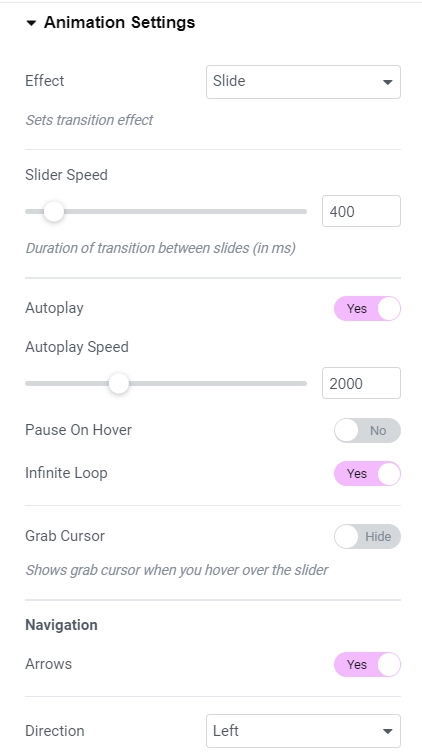
Animation Settings
- Effect: Customize how the content is displayed (default is set to ‘Slide’ effect).
- Slider Speed: Adjust the duration of transition between slides.
- Autoplay: Enable or disable the autoplay feature.
- Autoplay Speed: Adjust the autoplay speed using the slider (in milliseconds).
- Pause on hover: Enable or disable pause on hover.
- Infinite Loop: Enable or disable the infinite loop feature.
- Grab Cursor: Enable or disable the grab cursor feature.
- Navigation Arrows: Enable or disable the navigation
- Direction: Change the direction of the effect using the dropdown menu at the bottom.
Here are some exciting customizations we’ve made to boost both the functionality and visual appeal:
We’ve retained the default Slide effect, ensuring seamless transitions between content elements for a visually appealing scrolling effect.
To maintain a balanced pace, we’ve set the transition duration between slides to 400 milliseconds, ensuring the content doesn’t move too fast or too slow.
The autoplay feature has been enabled, so the content ticker starts scrolling automatically without requiring user interaction.
To ensure optimal readability, the autoplay speed has been set to 2000 milliseconds (2 seconds), allowing users enough time to absorb each piece of content.
For a consistent scrolling experience, we’ve disabled the Pause on Hover feature, ensuring the content continues to slide even when hovered over.
To keep the content ticker flowing continuously, we’ve enabled the Infinite Loop feature. This ensures that when the content reaches the end, it seamlessly starts over from the beginning.
We’ve enabled Navigation Arrows to give users more control, allowing them to manually navigate through the content when needed.
The scrolling direction has been set to Left, creating a smooth, leftward movement of the content for a natural reading flow.
Step 3: Styling the Elementor Content Ticker Widget
Let’s style our widget now.
Ticker Content
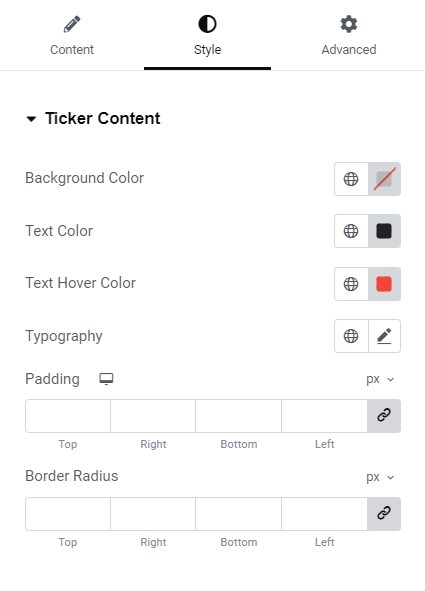
Ticker Content Settings
- Background Color: Choose the background color using the color picker
- Text Color: Select the text color for your ticker content
- Text Hover Color: Choose the text color for your ticker content when hovering
- Typography: Use the font option panel to customize the font family, weight, transform, style, decoration, line height, and letter spacing
- Padding: Set the padding value in the preferred unit (px, em, or %)
- Border Radius: Define the border radius using the chosen unit (px, em, or %)
We’ve made a few adjustments to the Ticker Content Settings to ensure a clean and professional look:
We have set the text color to black to maintain a classic and easily readable appearance.
When hovered over, the text changes to brown, adding a subtle yet stylish interactive effect.
We kept the default typography settings, as they align well with the overall design and readability of the website.
Tag Style

Tag Style Settings
- Background Color: Use the color picker to select the background color.
- Text Color: Use the color picker to choose the color of the text.
- Typography: Click the pencil icon to access the font options panel, where you can select the font family, weight, transform, style, decoration, line height, and letter spacing.
- Padding: Input your desired value in the provided fields using px, em, or %.
- Margin: Input your desired value in the provided fields using px, em, or %.
- Border Radius: Input your desired value in the provided fields using px, em, or %.
We have some minute changes in the tag style settings:
We have set the background color to black, creating a sleek and modern look that blends well with the overall design of the website.
The text color has been changed to white, ensuring high contrast and easy readability against the dark background.
Arrows
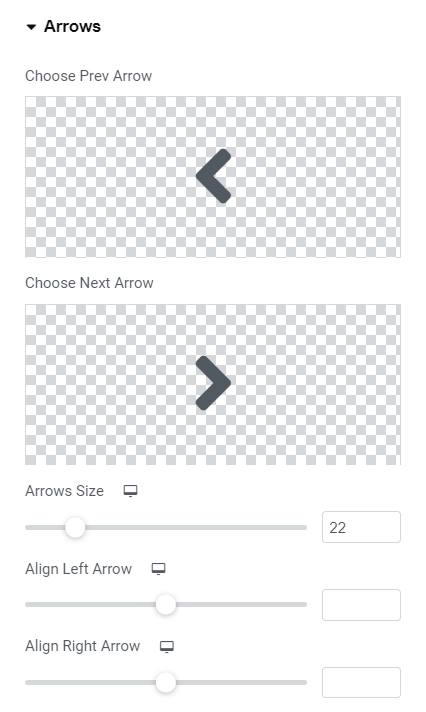
Arrows Settings
- Choose Prev/Next Arrow: Upload your own icons or select from the library for the prev and next arrows.
- Arrows Size: Use the slider to adjust the size of the arrows.
- Align Left Arrow: You can align your left arrow with this slider
- Align Right Arrow: Let’s you align your right arrow with this slider.
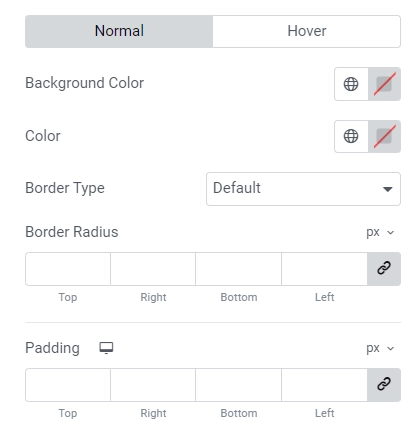
- Normal/Hover Appearance: Select the appearance of the arrows for normal and hover states.
- Background Color: Use the color picker to choose the background color.
- Arrow Color: Use the color picker to choose the color of the arrows.
- Border Type: Select between solid, double, dotted, dashed, or grooved from the dropdown menu.
- Border Radius: Enter a value in pixels, em, or % for the border-radius.
- Padding: Enter a value in pixels, em, or % for the padding.
The Final Output
Here’s how our final customized widget will look like:

FAQ
Install and Activate Responsive Addons for Elementor
Open the page where you want to add content ticker (Use an Elementor template)
Edit with Elementor
Search for the content ticker widget
Drag and drop the widget
Customize the widget
Publish the page.
Responsive Addons for Elementor (RAE) Content Ticker enables you to create visually stunning tickers and allows you to showcase dynamic or custom content as your headlines.
You can add a content ticker widget for free using Responsive Addons for Elementor plugin.
Conclusion
Adding a content ticker to your Elementor website can significantly enhance its visual appeal and user engagement.
By providing a dynamic scrolling feature, you can efficiently display essential updates, promotions, or featured content in a sleek, professional manner.
The Responsive Addons for Elementor plugin makes adding and customizing a content ticker for free easy, ensuring your site remains responsive and user-friendly across all devices.
If you found this article helpful, you may also want to check out:
- How to Add Elementor Logo Carousel To Your Website
- How to Add Post Carousel to Your Elementor Website
- How to Add Audio Player To Your Elementor Website
- How to Add Advanced Tabs To Elementor Website
If you wish to include a content ticker widget on your site, get the Responsive Addons for Elementor today! You might also want to install the Responsive theme, a versatile website theme that can streamline your website creation process.