Wondering how to make a non-profit website using WordPress?
Creating an NGO website from scratch takes time and money. However, with WordPress, you can do it easily without hiring a developer.
Now, the question is – How to create a non-profit website?
Well, you can quickly get your site up and running using a good WordPress theme and ready-made charity templates.
In this article, we’ll guide you step-by-step on how to create a nonprofit website in WordPress.
Let’s get started.
- Essential Requirements for Building a WordPress Non-Profit Website
- Benefits of Building a Nonprofit Website
- How To Create a WordPress Non-Profit Website
- 1. Choose a Web Hosting Provider and Get A Domain Name
- 2. WordPress Installation with Bluehost
- 3. Selecting a WordPress Theme
- 4. Installing Cyberchimps Responsive Theme
- 5. Installing Responsive Plus Plugin
- 6. Create a Nonprofit Website
- 7. Customize the Template using Elementor
- 8. Launch Your Nonprofit Website
- FAQ
- Conclusion
Essential Requirements for Building a WordPress Non-Profit Website
Building your website in WordPress is easy. However, there are certain essentials you need to know.
Let’s look at them one by one.
1. Domain and Hosting
Setting up your site’s domain and hosting is the first step in website-building. A domain name is your website’s address, so you must think of a clear, short, and easily memorizable domain for users.
As you create a charity website, using .org is best advised. Don’t use hyphens or numbers in your domain name.
There are many hosting providers available, such as Kinsta or Bluehost. Choose a hosting provider that offers 24/7 support and helps your website run fast and smoothly.
2. WordPress Theme
A WordPress theme helps you to customize your website by offering various header, footer, logo, layout options and more.
With a good theme you can control your entire website’s visual design, layout, and functionality.
Also, selecting a theme that’s compatible with page builders, such as Elementor, helps in quick and easy customization.
There are thousands of themes that are available in the WordPress repository. One such theme that really stands out is the Responsive theme by CyberChimps.
3. WordPress Plugins
WordPress plugins are add-ons or extensions you can install in WordPress. It adds new features or enhances existing functionality without needing to write code.
To make you understand, think of a WordPress website like a smartphone, and plugins are the addon apps you install so that you can do more with your phone.
You can install plugins from the WordPress dashboard. There are many free plugins as well as premium plugins available in WordPress.
Following are a few WordPress plugin details to boost your site’s functionality:
- SEO Plugins: You can use SEO plugins such as Yoast SEO to boost your site’s visibility in search results.
- Backup Plugins: To protect your website, you can use UpdraftPlus.
- Plugins for Security: You can use Wordfence for security.
- Donation Plugins: GiveWP or Charitable plugins help you gather money online.
- Essential Plugins for Website Enhancment: Responsive Plus and Responsive Addons for Elementor
These plugins help you to build a fast, SEO compatible, non-profit website.,
Benefits of Building a Nonprofit Website
Building a nonprofit website is excellent if you’re someone who is running an NGO or wants to start an NGO.
Here are some benefits of create a nonprofit website.
1. Empowering Lives in Need
A nonprofit website helps people who are in need. You must build a strong website to attract as many people as possible. As you know, a strong online presence is vital for any charity website in this digital era.
If you create your website in WordPress, it will help you in terms of cost, and you will have complete control of your website. You can make changes as per your needs and requirements.
2. Raise Awareness About Your Cause
Your website serves as the online face of your organization. It is essential to make a strong first impression. Your main goal should be to communicate your mission and the purpose behind your nonprofit site to people when they visit.
A well-designed site looks appealing and educates visitors visually. With WordPress and the right combination of themes and plugins, building an impactful site is made more manageable, and it can help you connect with supporters and drive your mission forward.
3. Build Trustworthy website
People often trust a website that is transparent to them. You can make people believe in your website by posting financial reports, impact numbers, and success stories.
You can even add a blog or new updates to your site. Doing this will assure donors that their money makes a difference and is used for the right cause.
4. Encourage Volunteer Sign-Ups
A well-organized nonprofit website does more than tell your story. It enables you to build a base of supporters. The best way to do this is to make it simple for people to volunteer.
You can automate onboarding by incorporating a volunteer sign-up form on your site. You can easily manage and create these forms with WPForms or Formidable Forms plugins. They will automatically receive a thank-you or confirmation email after completing.
5. Cost-Effective
Building your website using WordPress is very affordable because the platform costs nothing. You do not have to spend on costly custom design or development. WordPress has tons of free plugins and themes, which help you make your website look professional at no cost.
By further reading, you will learn how to create a website for nonprofit organization in WordPress.
How To Create a WordPress Non-Profit Website
At first look, creating a charity website with WordPress might seem complicated, but we’ll help you.
You can use tools and features without knowing how to code and easily build your website.
WordPress provides you with all the functionality and features that you need while building the website.
The following are the steps you can follow to make a charity website in WordPress.
1. Choose a Web Hosting Provider and Get A Domain Name
Before starting the website, one of the primary steps is to have a domain name (website address) and a reliable hosting plan. You can select a WordPress-friendly hosting provider like Bluehost or Kinsta.
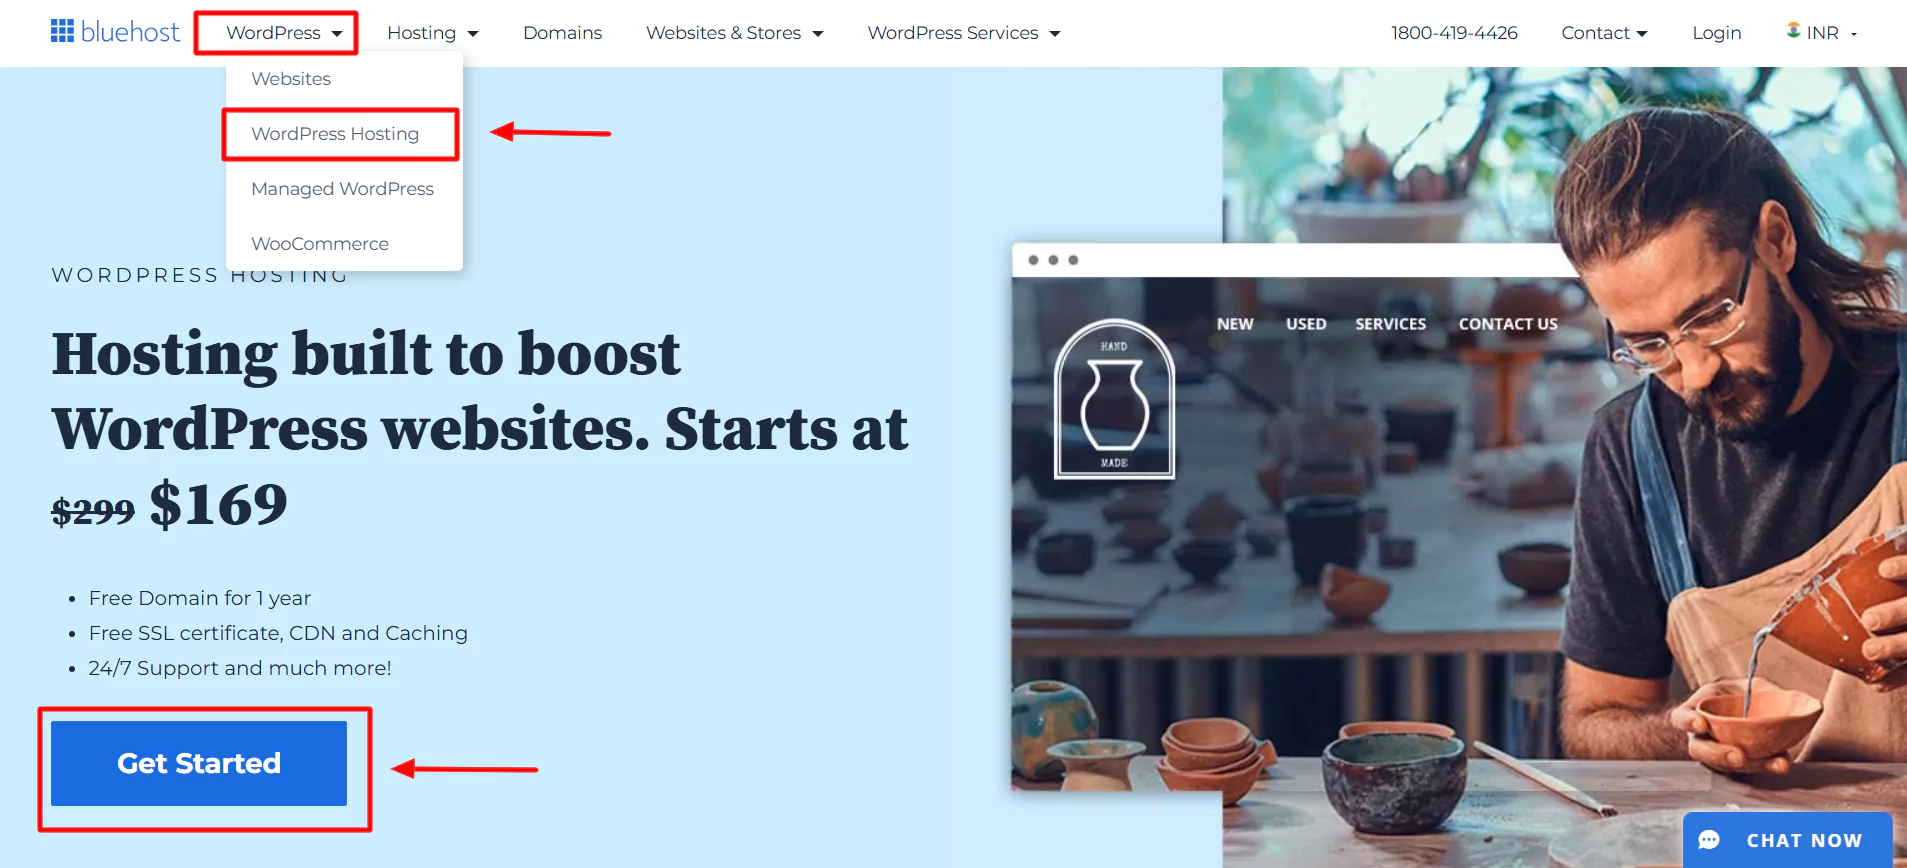
For this tutorial, I’m using Bluehost as my hosting provider.
If you want to do the same, you can visit the Bluehost website and start the process by clicking the Get Started button.
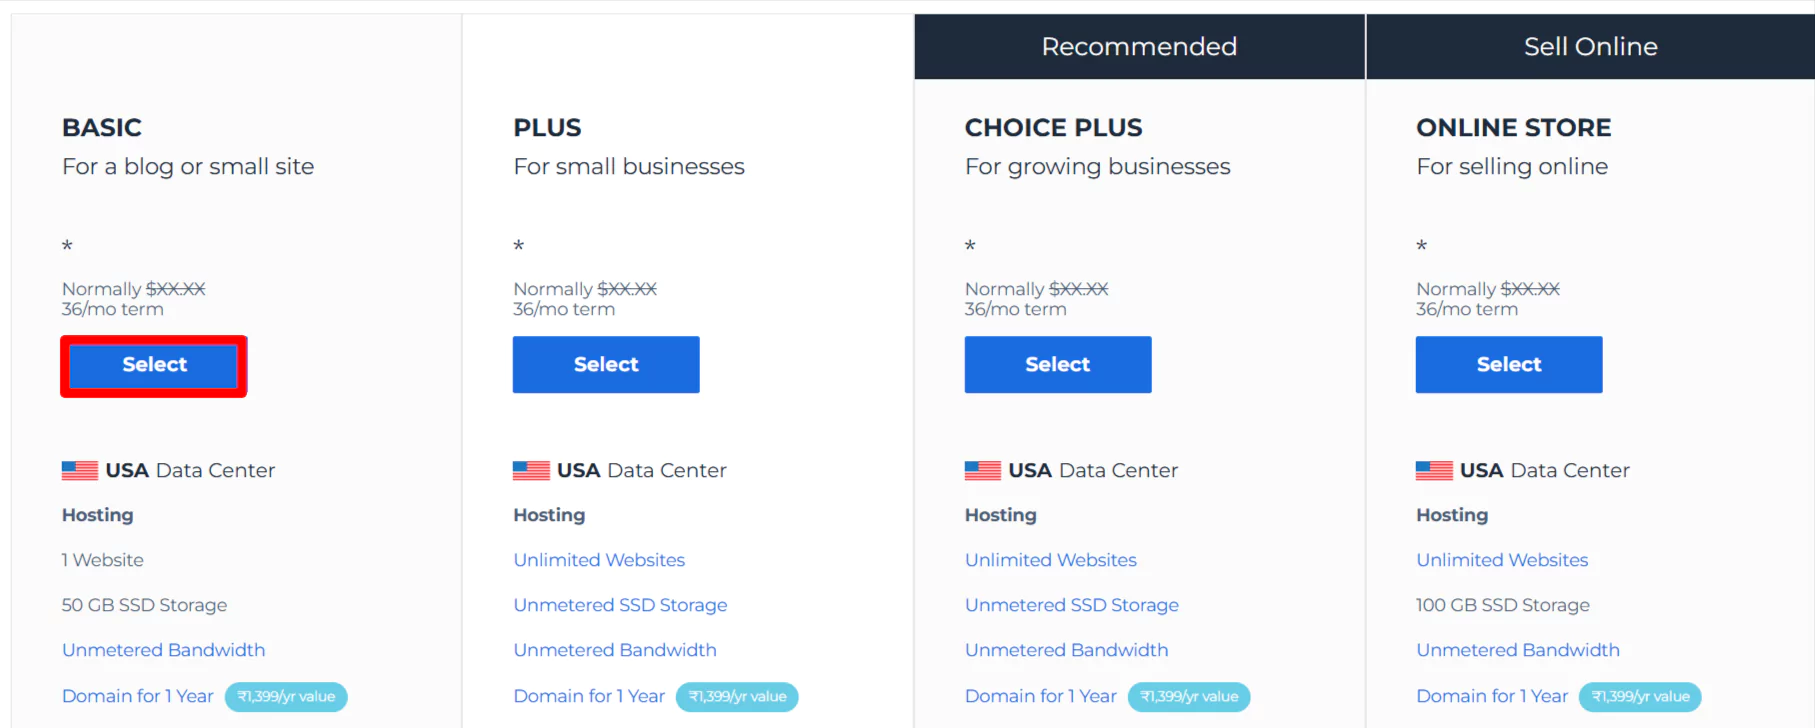
After clicking Get Started button, a pricing plan page will appear. Select the plan that fits your needs.
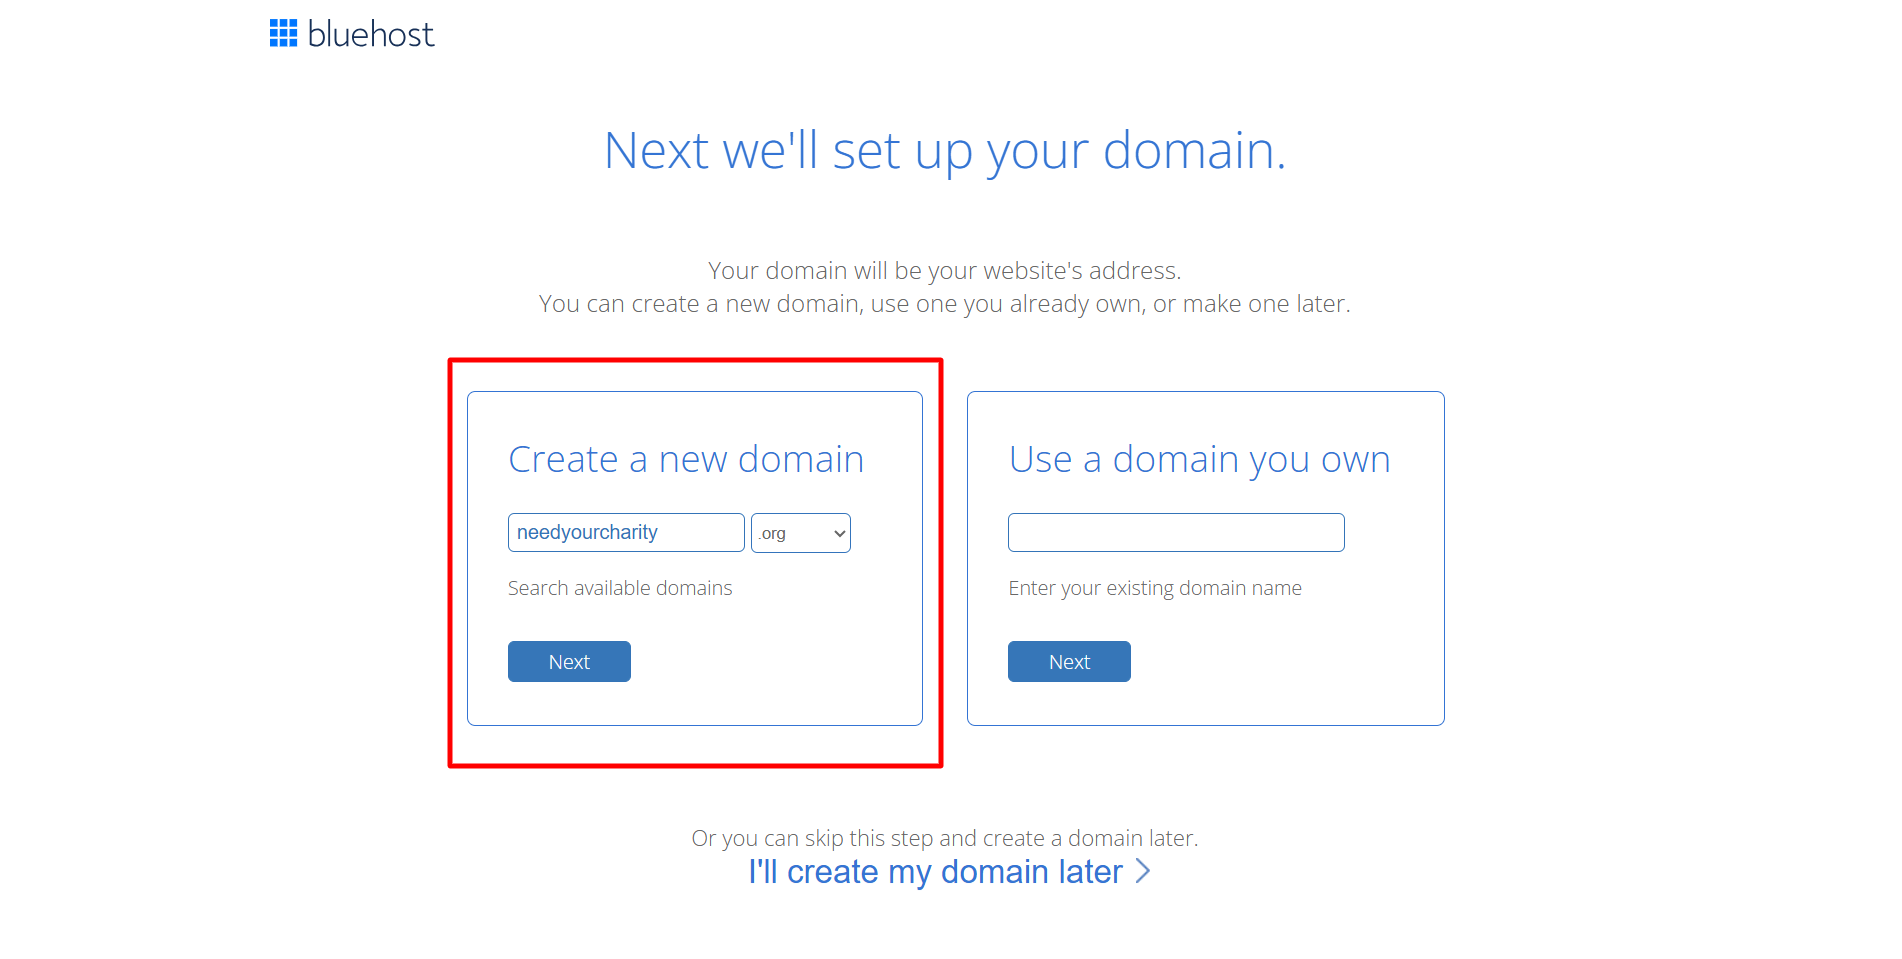
We recommend selecting the Basic plan, as this plan is flexible and better for mid-size businesses. Once you have chosen the plan, enter the domain name you want.
Now, you can create a new domain name for your website and use .org .
Click on Next.
Fill in all the required fields and submit your payment.
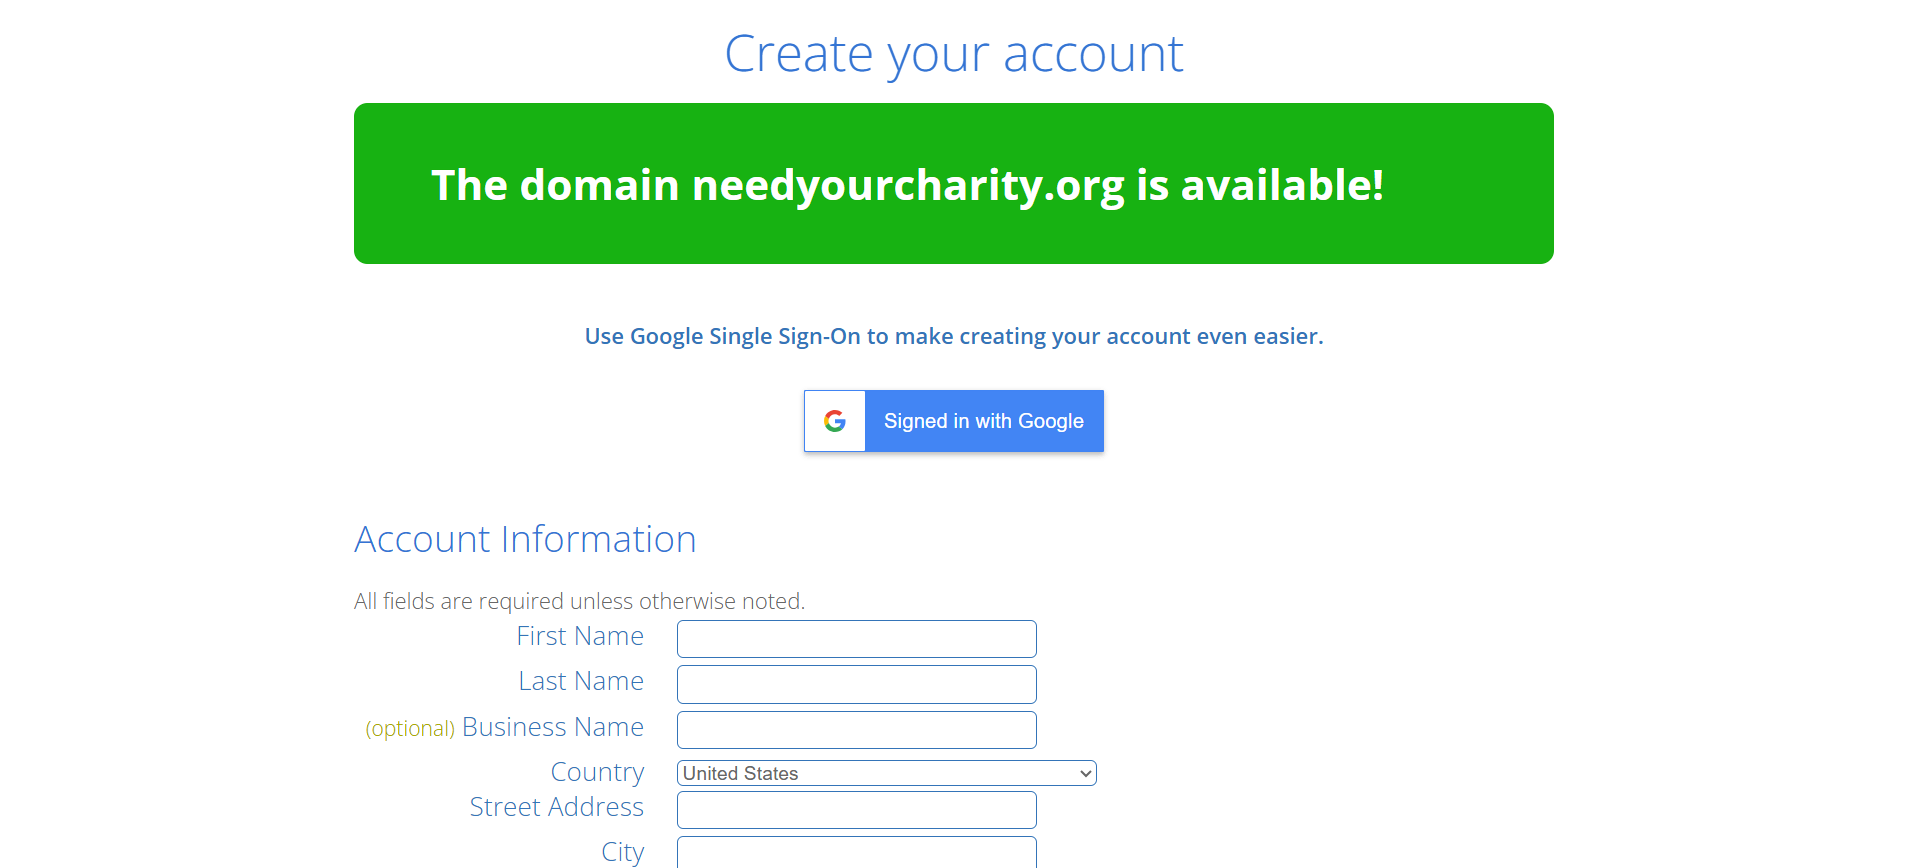
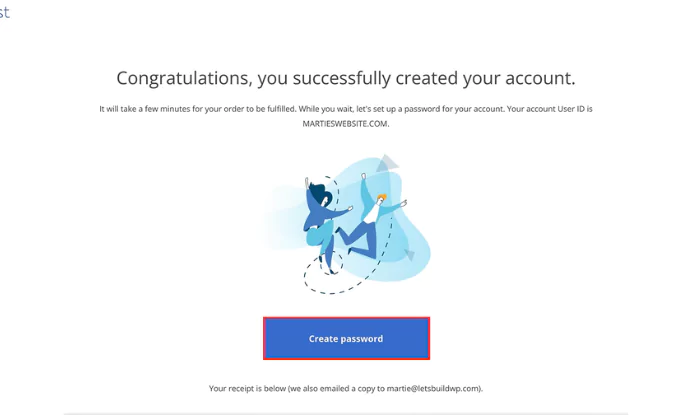
After completing the payment, you can create an account with Bluehost.
Click on Create password.
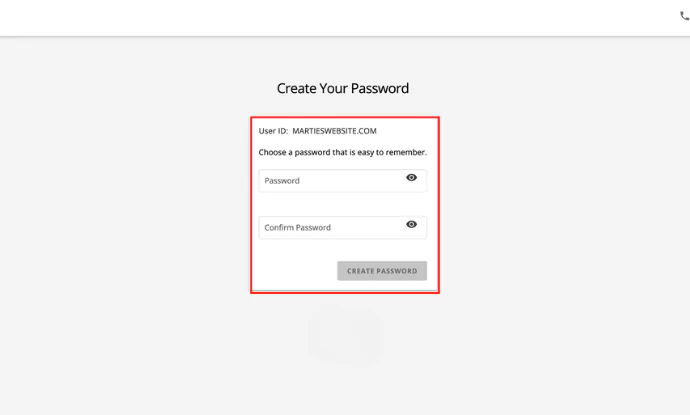
Enter your password, and you’re all done setting up Bluehost. Next, let’s look at how to download WordPress.
2. WordPress Installation with Bluehost
Once done with web hosting and the domain name, the next step is to install WordPress.
WordPress is easy to install with web hosts like Bluehost or Kinsta. These hosts provide one-click WordPress installation, making the process effortless.
For instance, if you have Bluehost, use the following steps to install WordPress:
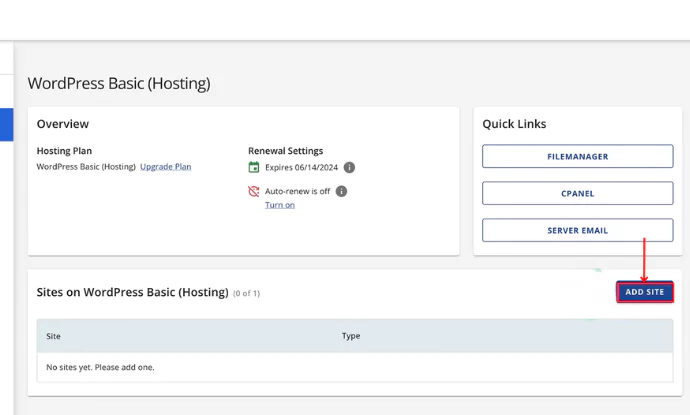
Select WordPress Hosting.
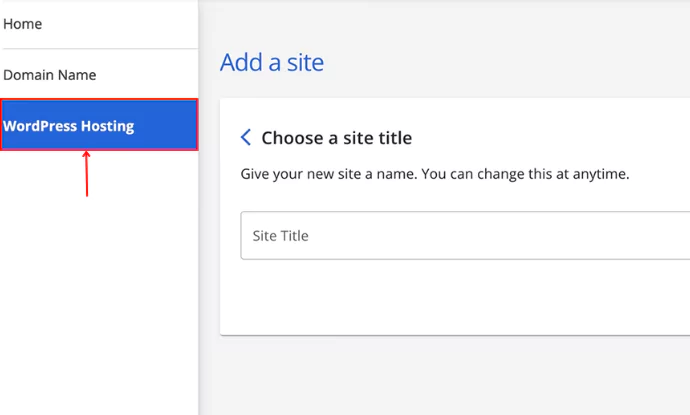
Click on Add Site.
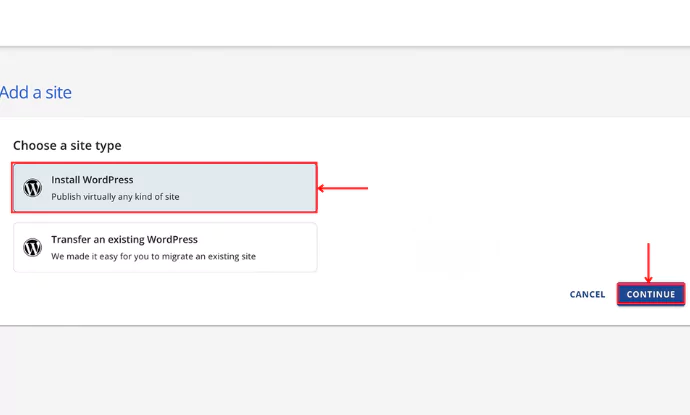
Click on Install WordPress > Continue.
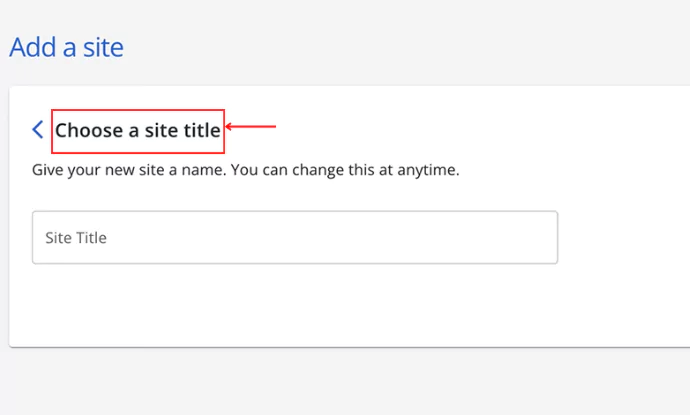
Give a name to your site.
Enter the domain name that you wish to be addressed as and click Continue.
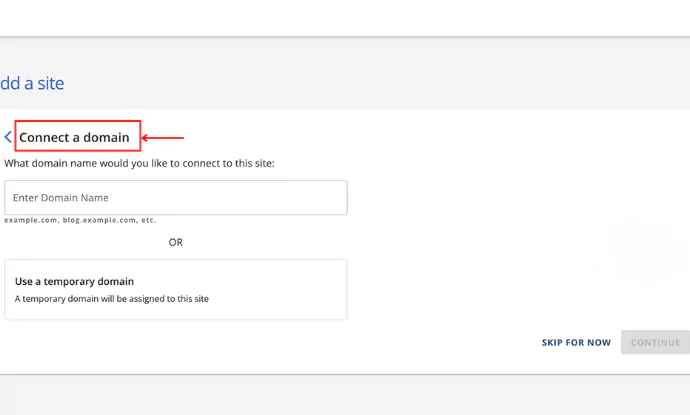
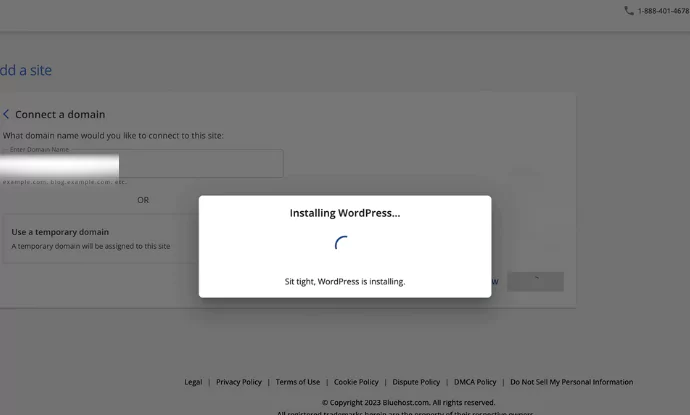
Once you click on continue, WordPress gets installed.
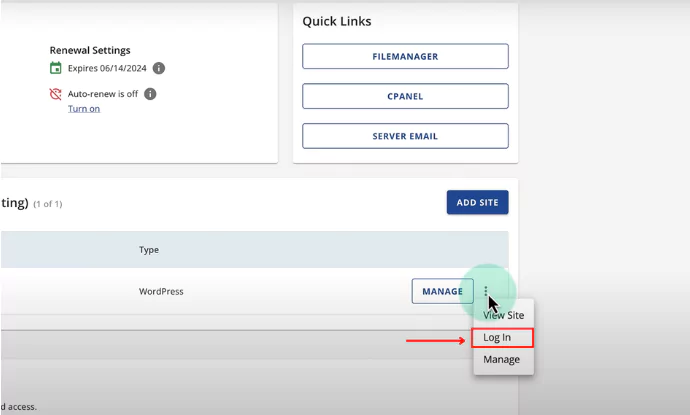
Click on Log in.
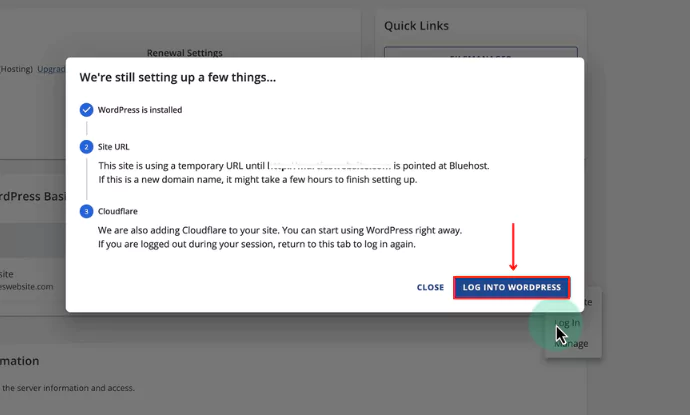
Click on LOG INTO WORDPRESS.
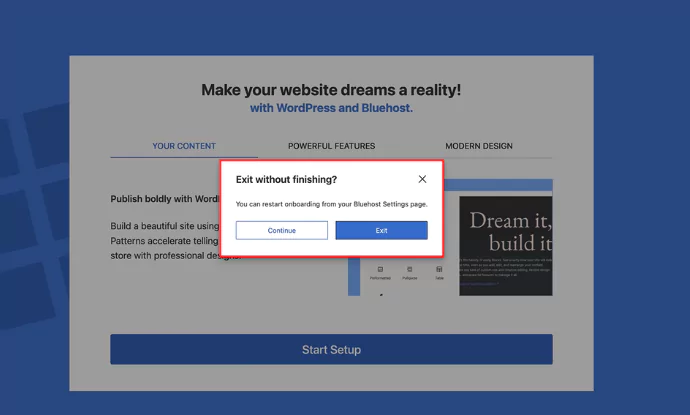
Exit to WordPress, click on that.
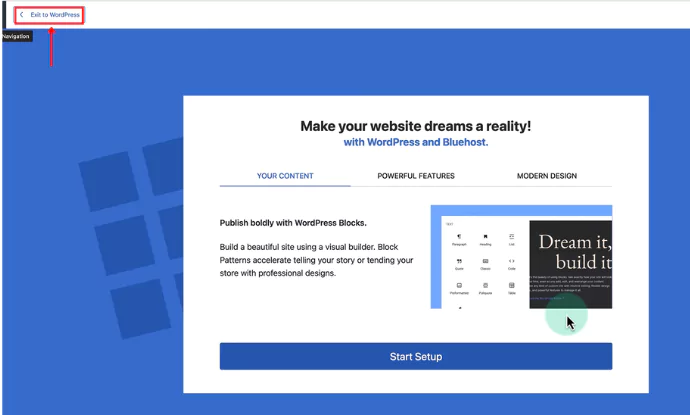
Exit, and you will be redirected to the WordPress dashboard.
3. Selecting a WordPress Theme
Selecting the right WordPress theme is essential, as it makes your work less complicated.
We recommend you choose the Cyberchimps Responsive theme.
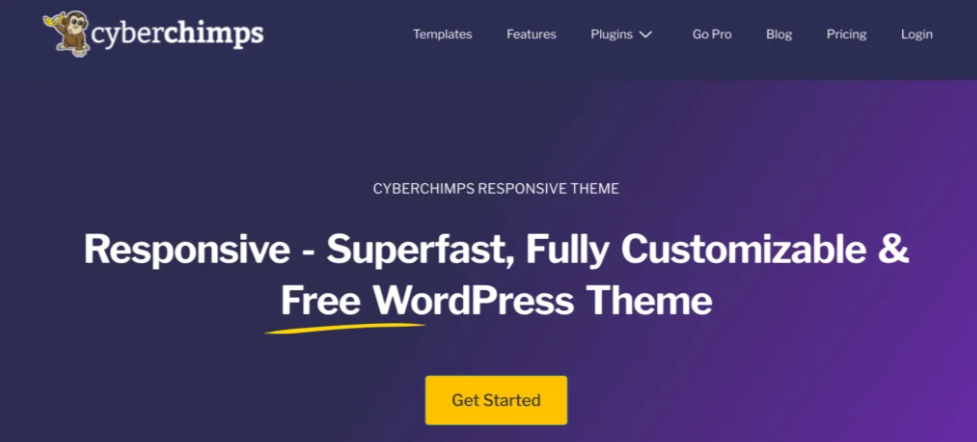
It’s easy to edit and fully customizable, and any non-coder can easily use this theme without much difficulty.
Here’s why you should go for it:
- Ready-to-use Templates: Cyberchimp’s Responsive theme provides a wide range of professional and free templates. You can easily drag and drop without knowing any design skills.
- Mobile-Responsive Design: Website made using this theme looks good on all devices like tablets, phones, or desktops.
- Works Seamlessly with Elementor: You can create stunning pages without touching any code with its drag-and-drop feature.
- Active Support and Updates: You get reliable support and frequent updates for your theme that keep your site secure and up-to-date.
4. Installing Cyberchimps Responsive Theme
Here is how you can install the Cyberchimps Responsive theme.
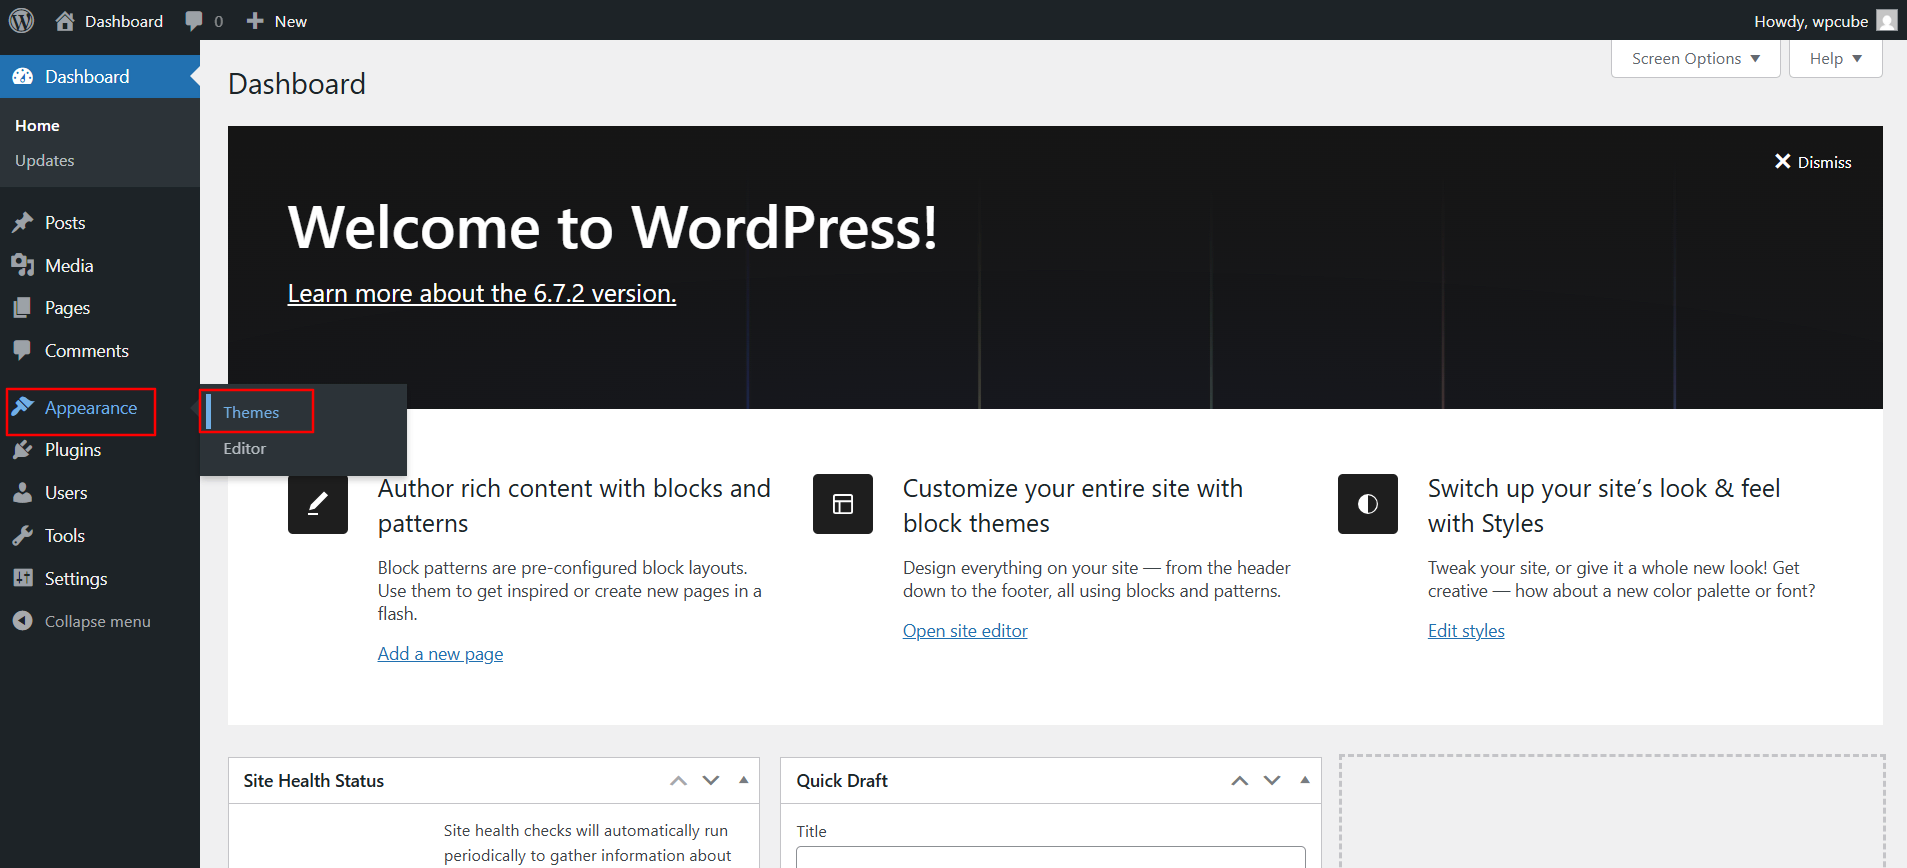
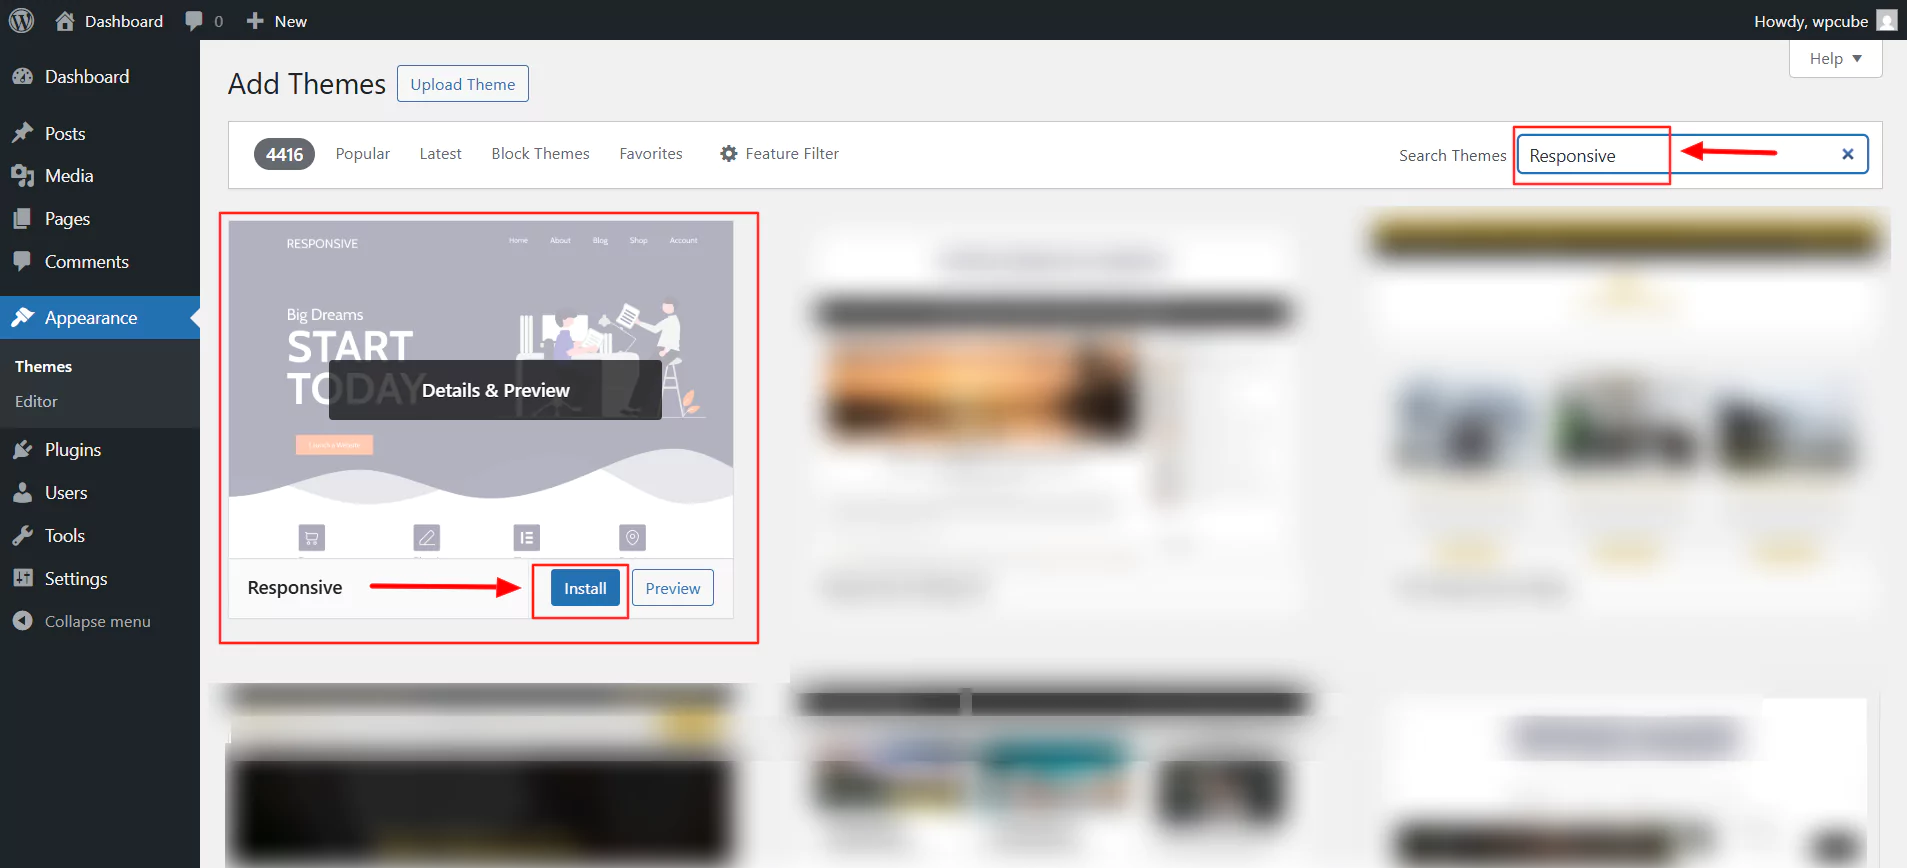
From your admin dashboard, navigate to Appearance > Themes.
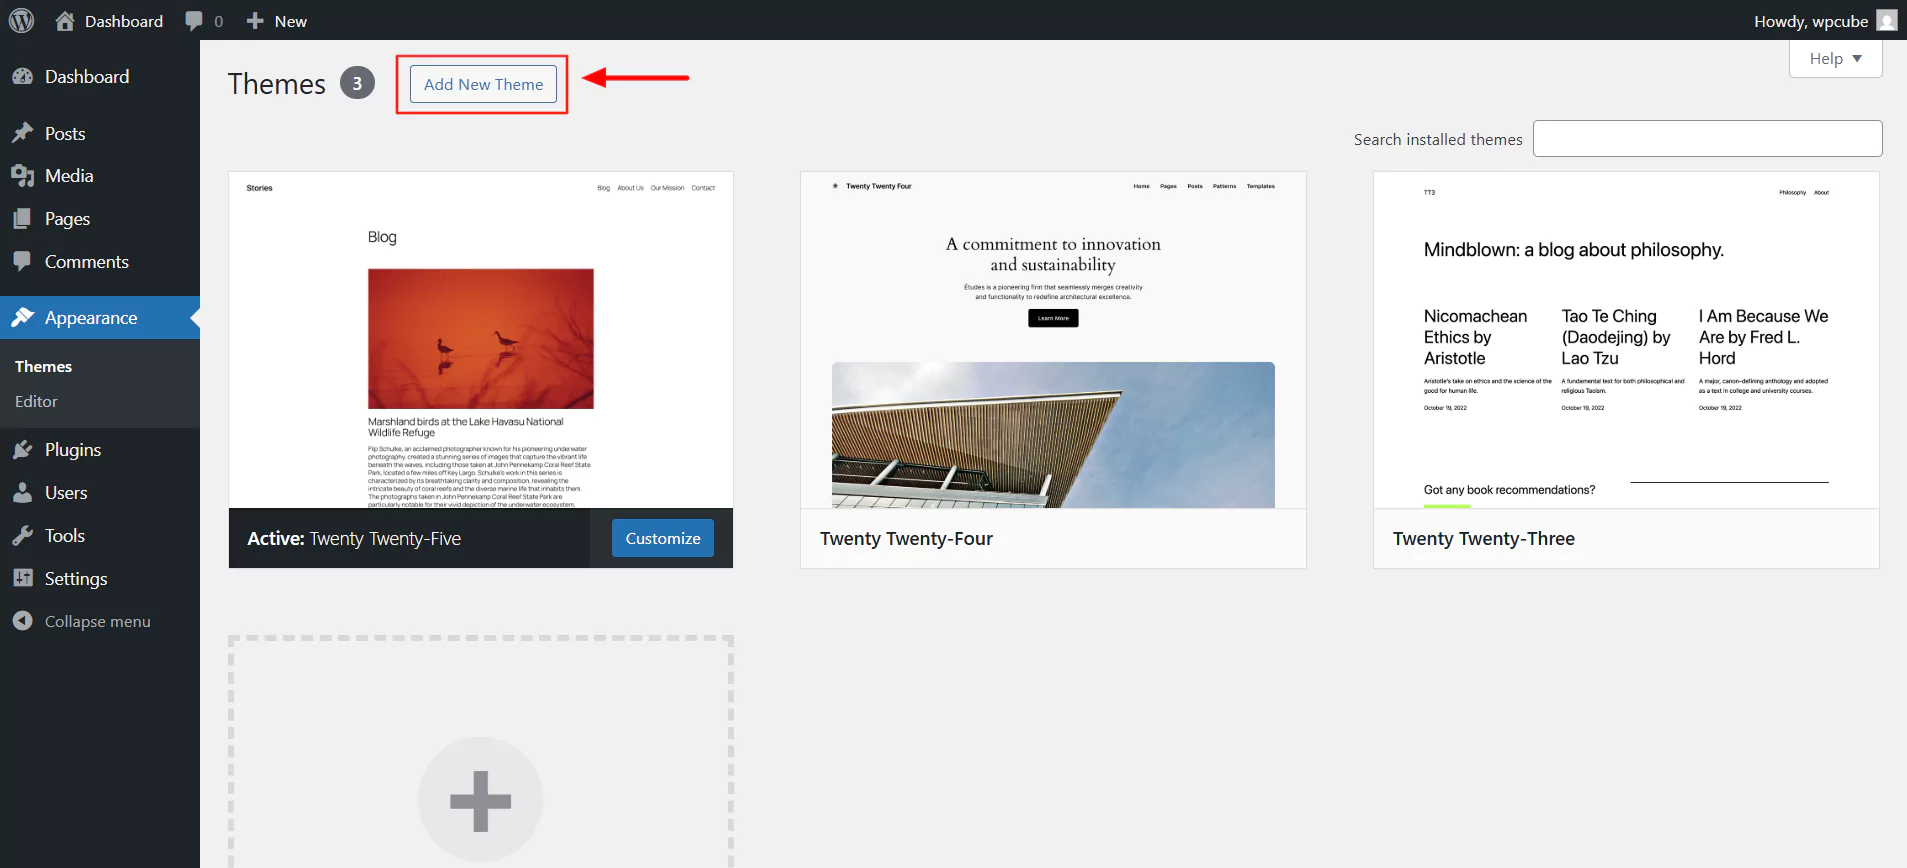
Click the Add New Theme button at the top.
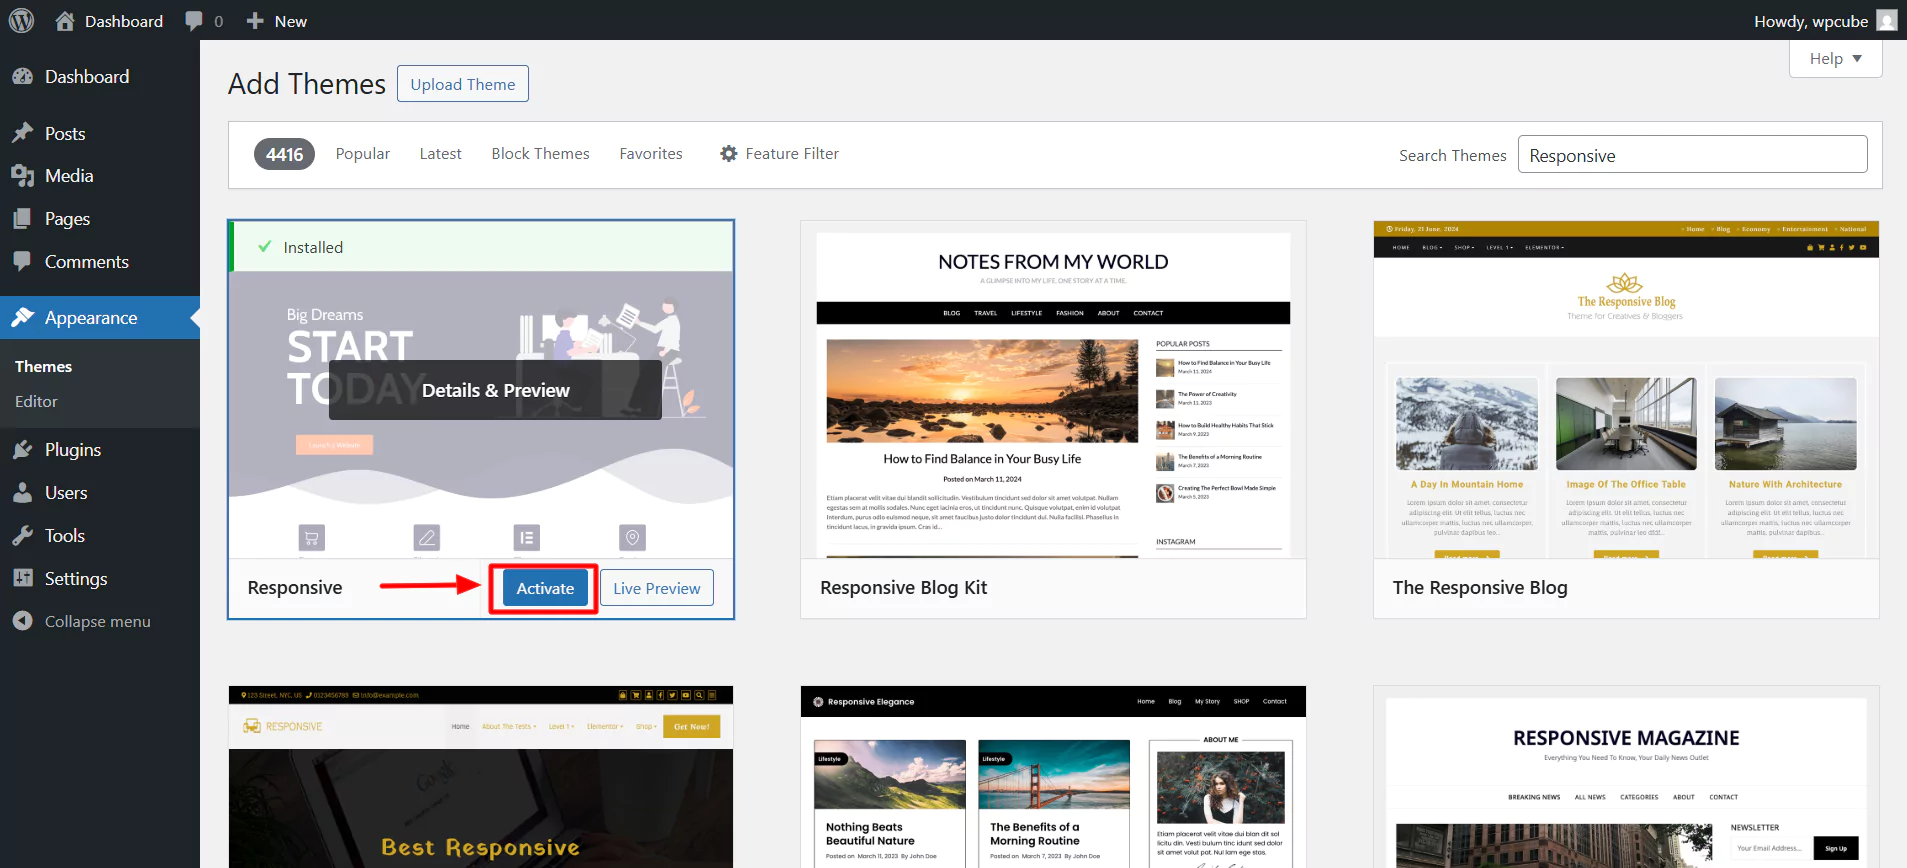
In the search bar, type Responsive and click on Install.
Next, click on Activate.
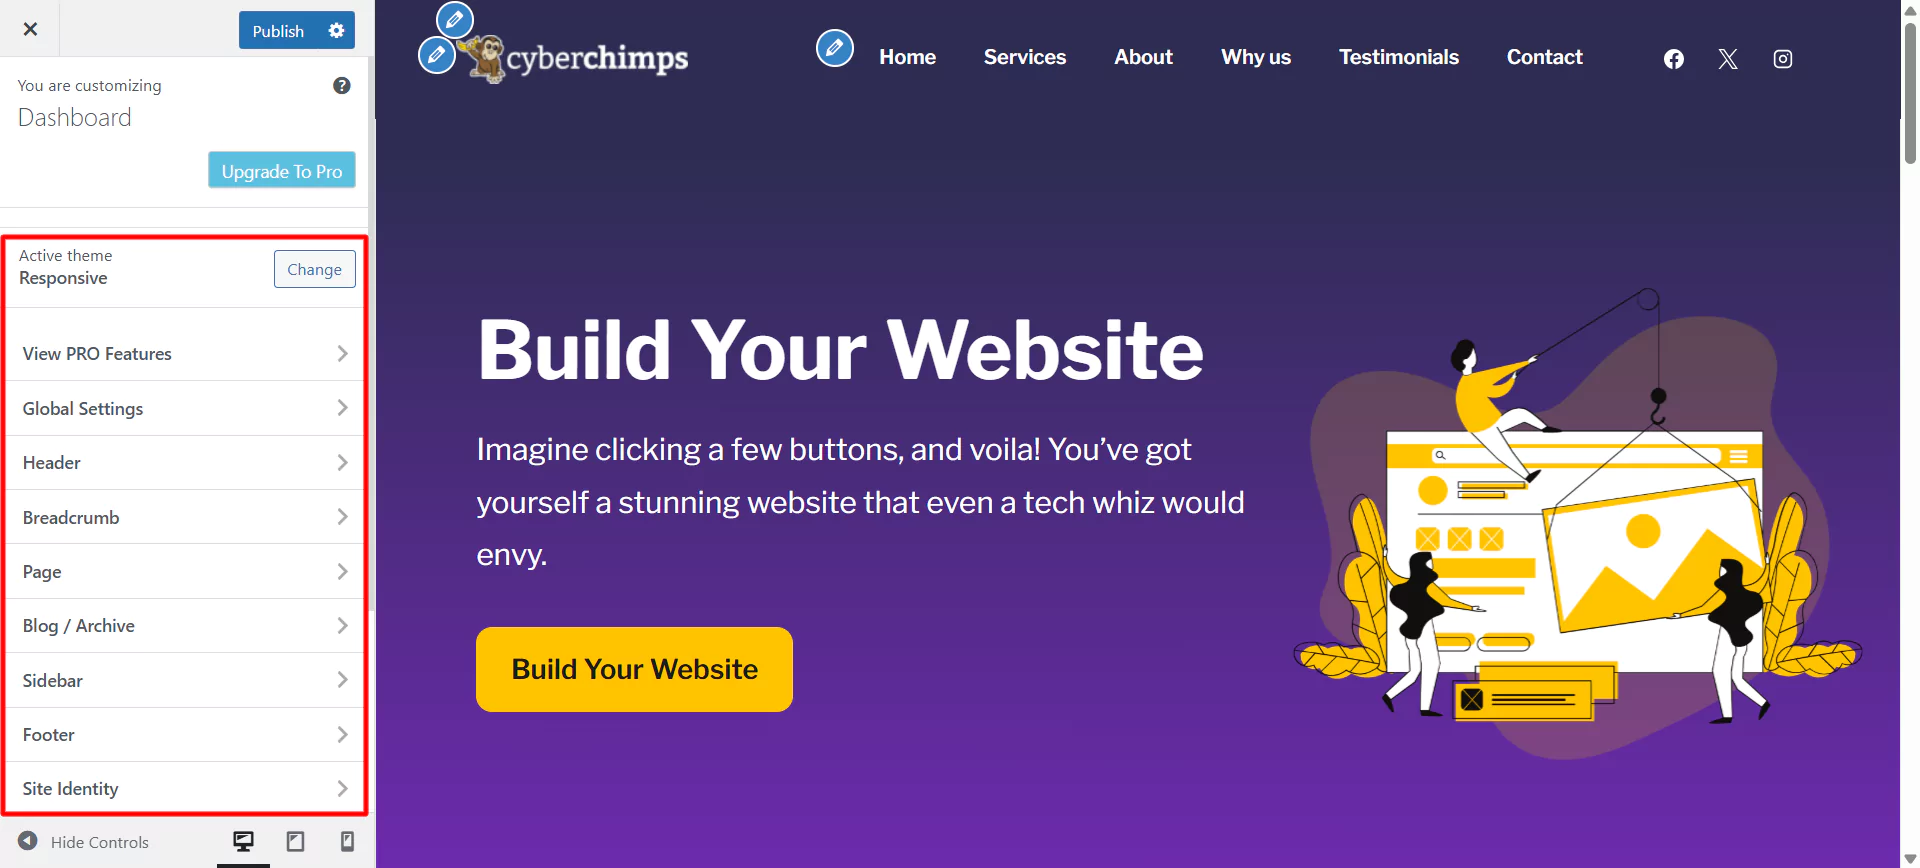
Click on Appearance > Customize.
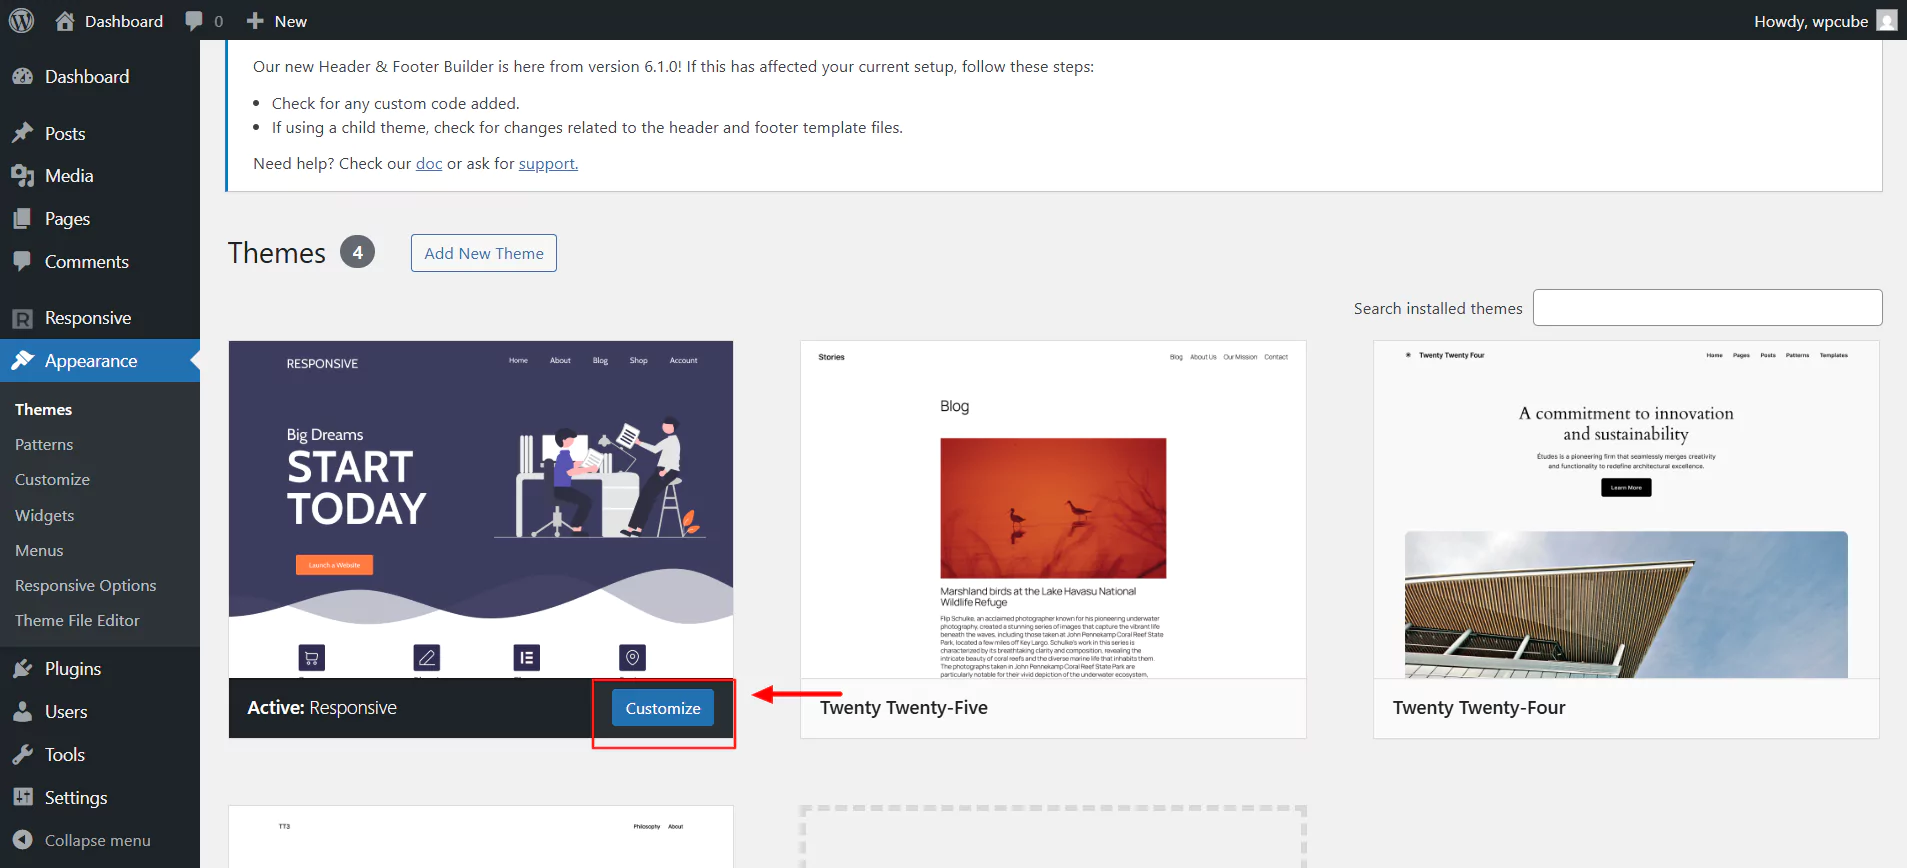
Once activated, you can now customize the website according to your needs.
5. Installing Responsive Plus Plugin
The Responsive Plus—Starter Templates plugin by Cyberchimps is a WordPress plugin that offers more than 250 fully customizable templates. To create any website, choose a template from the collection and click import. This one-click process enables you to make as many websites as you want.
Installing the Responsive Plus Plugin is simple.
Click on Install and Activate to install the Responsive Plus plugin.
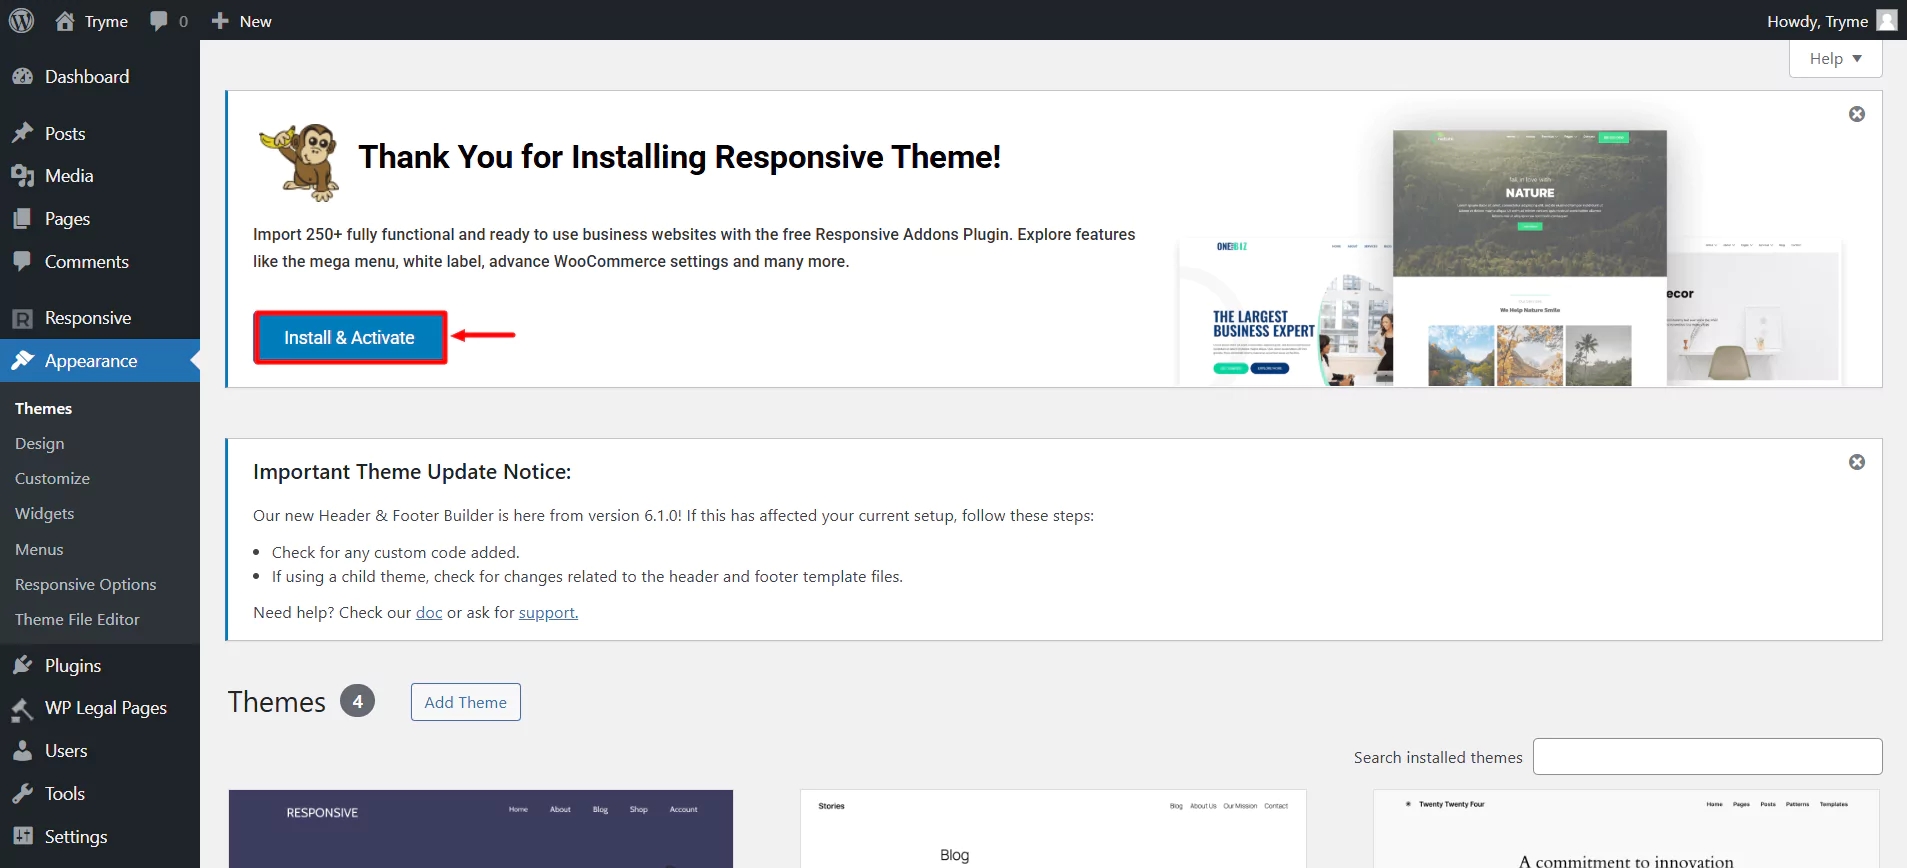
Once you’ve activated it, it’s time to choose a template and create a website.
6. Create a Nonprofit Website
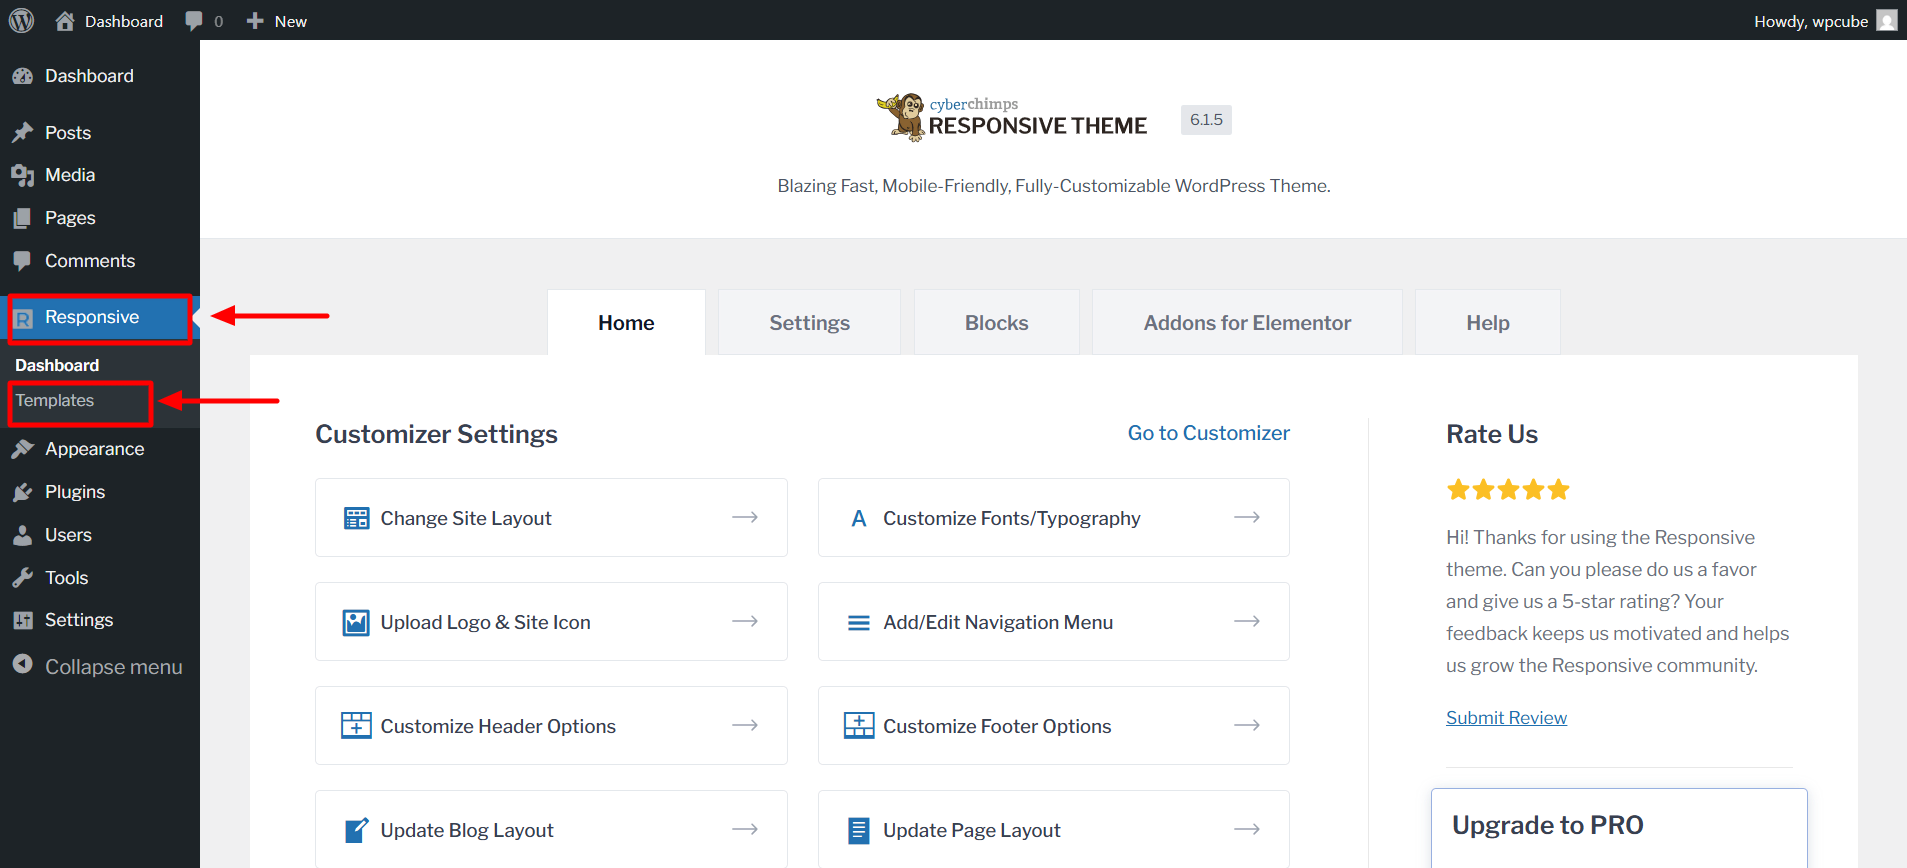
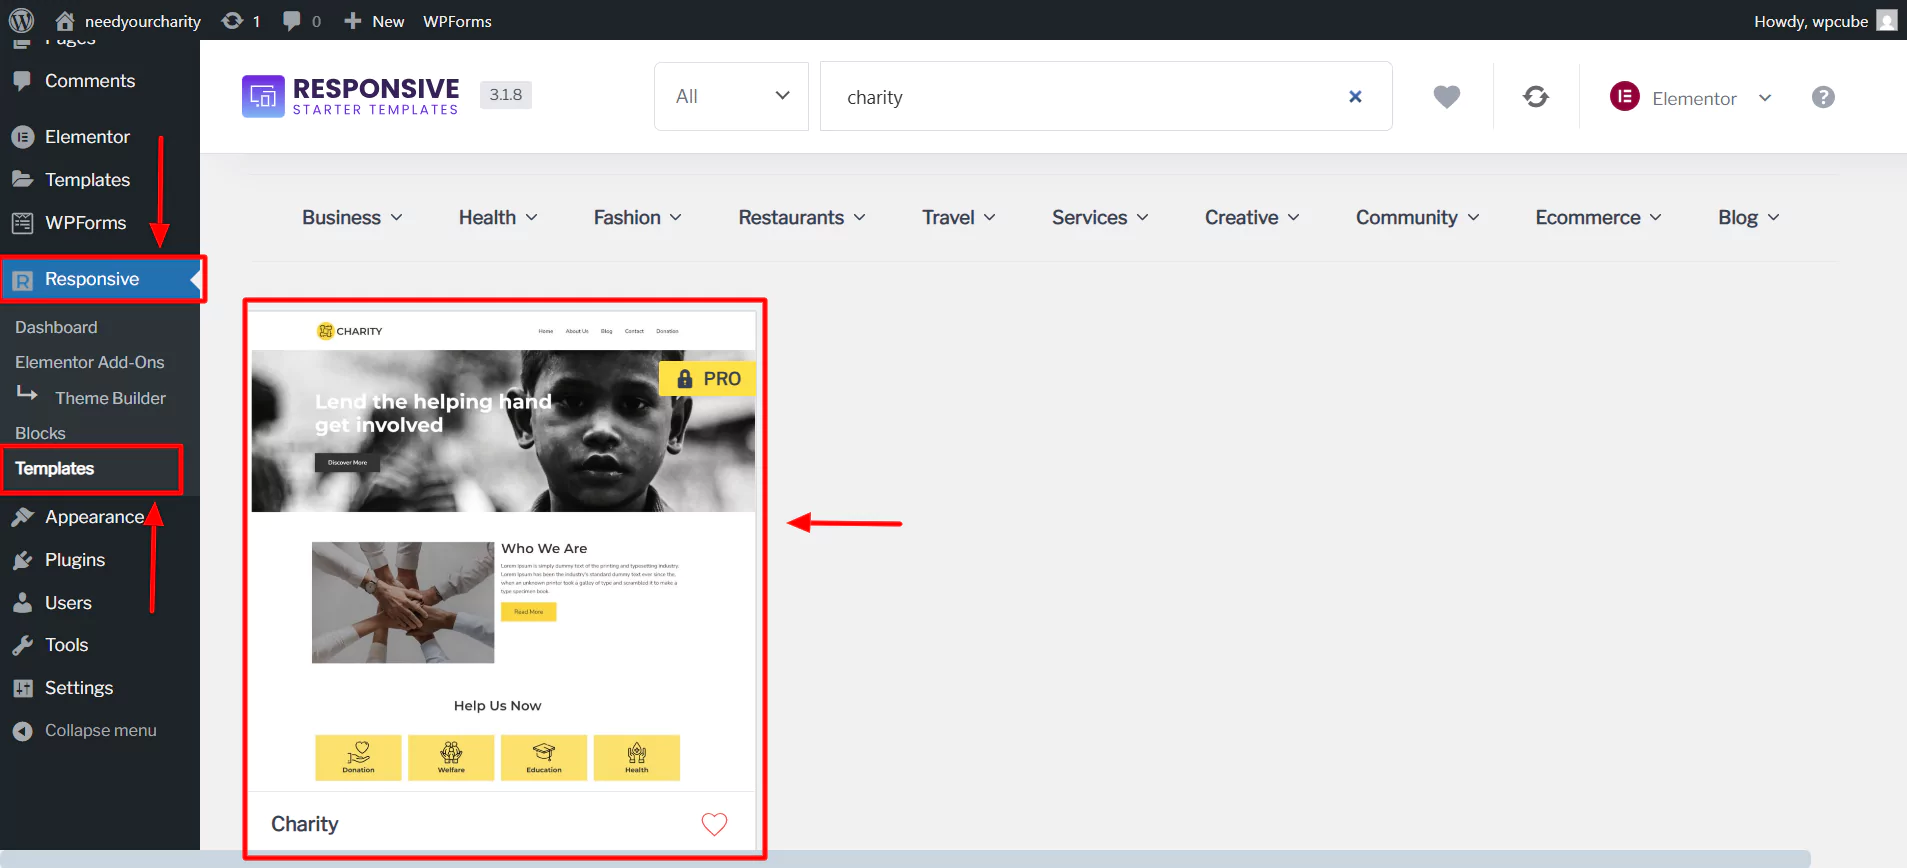
From the dashboard, navigate to the Responsive menu and click on Templates.
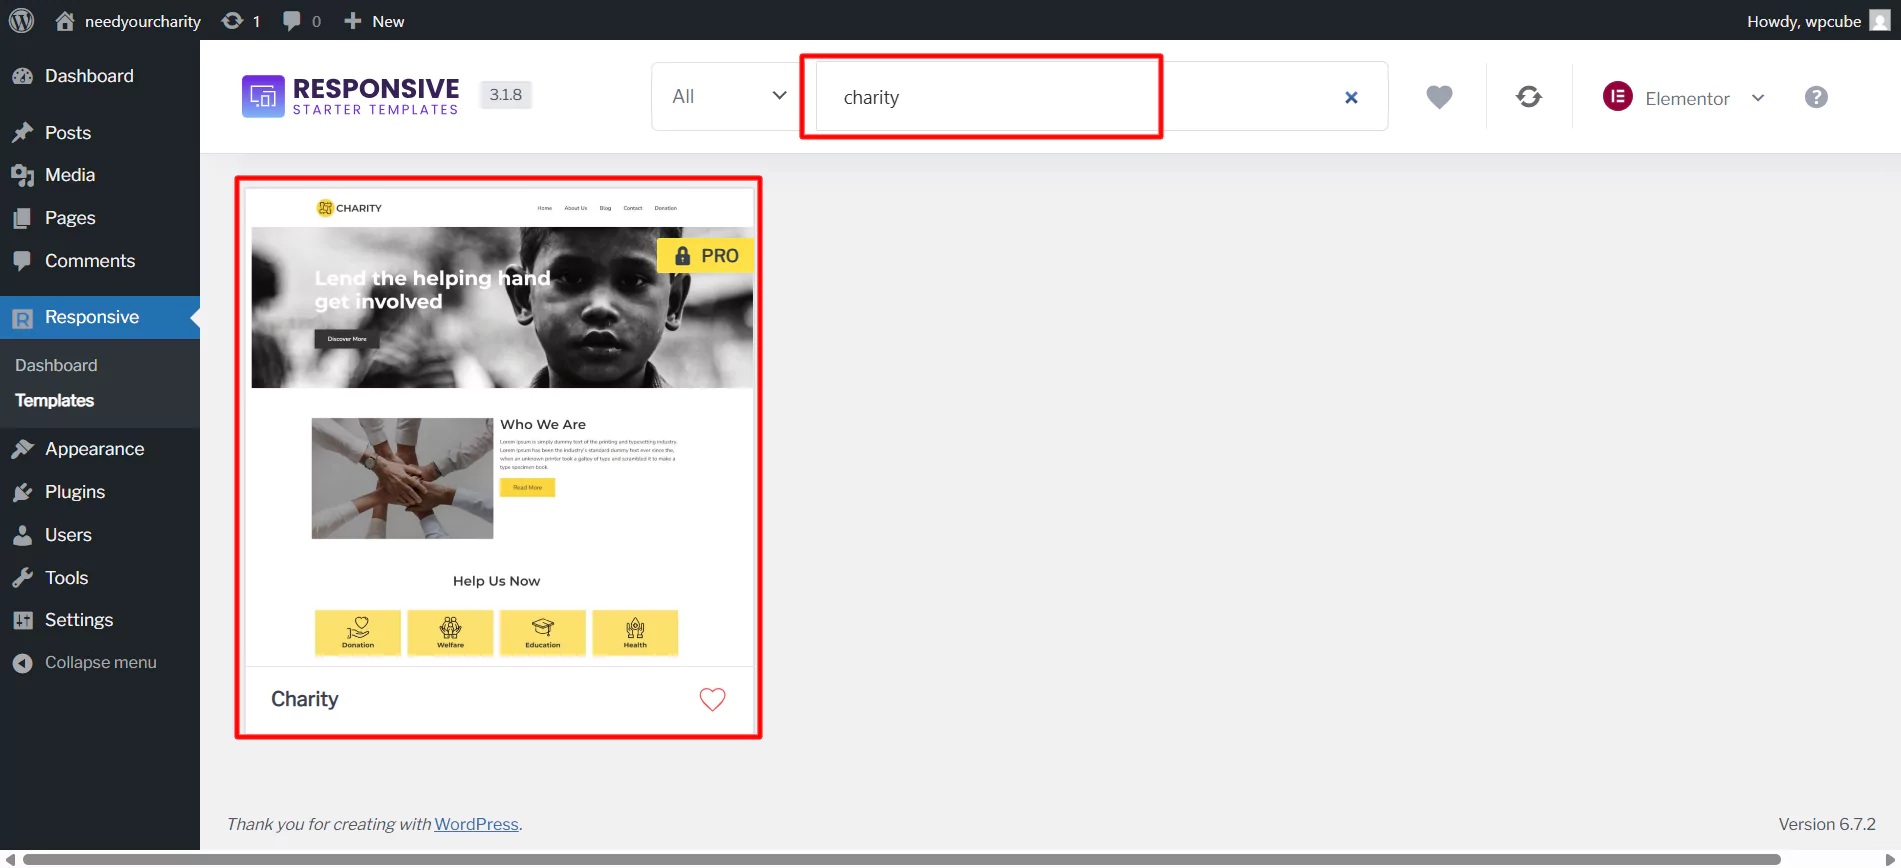
In the search bar, type Charity.
Next, click on the Import Site button.
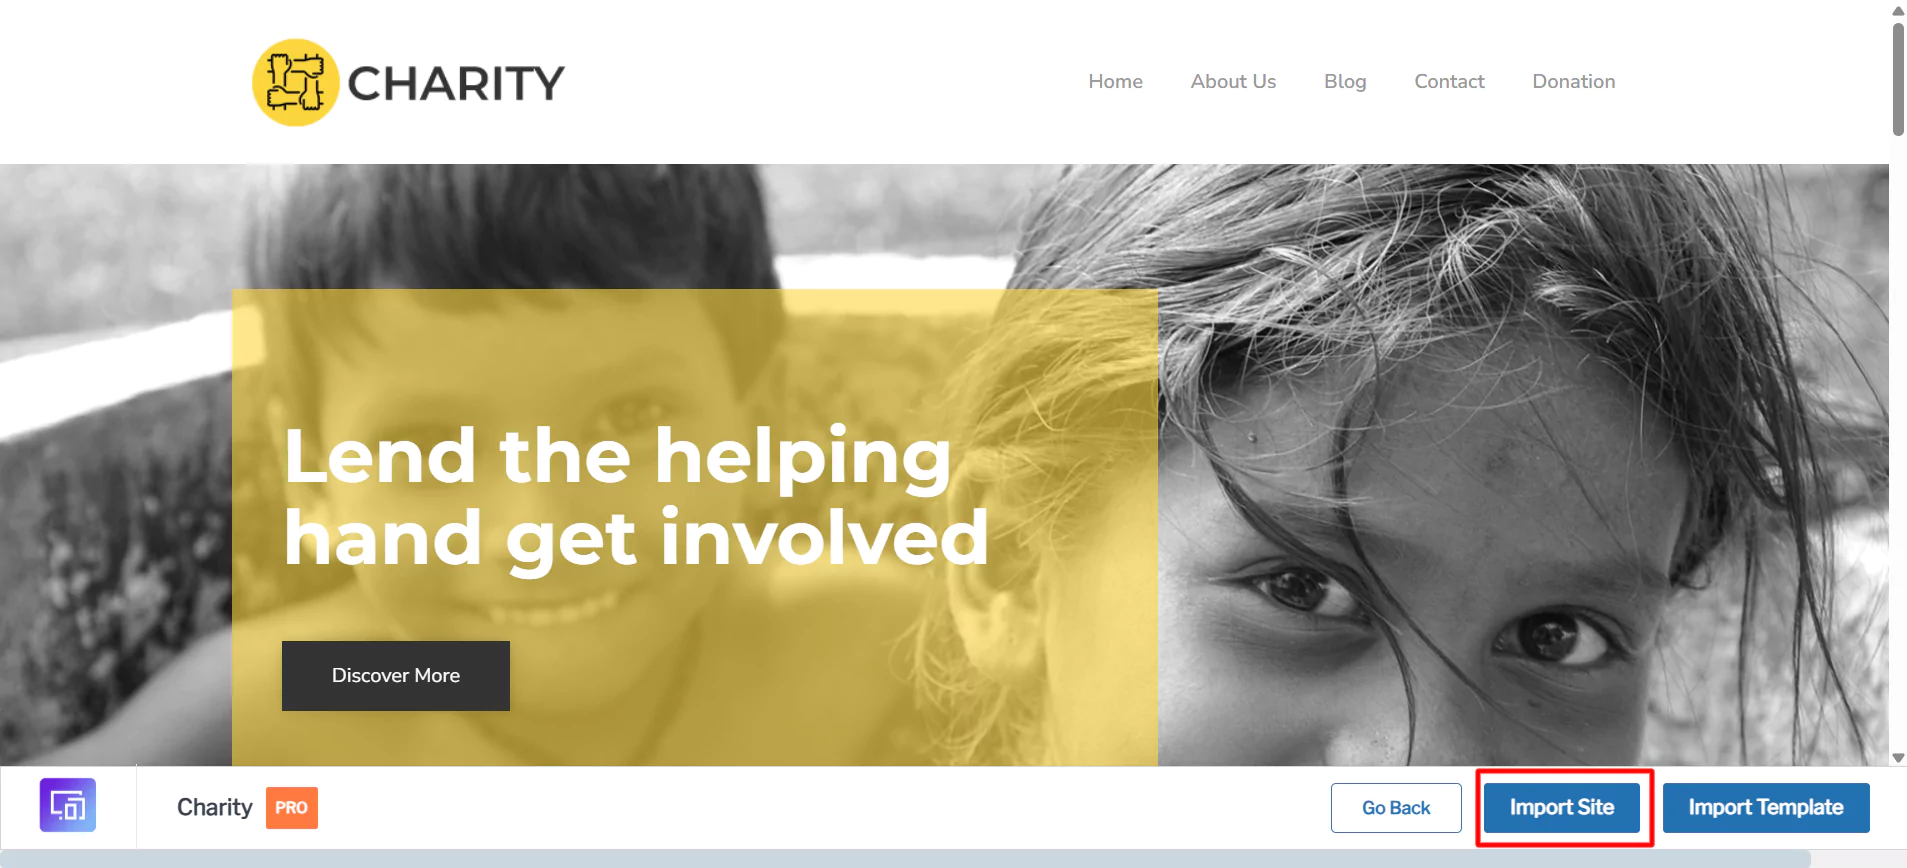
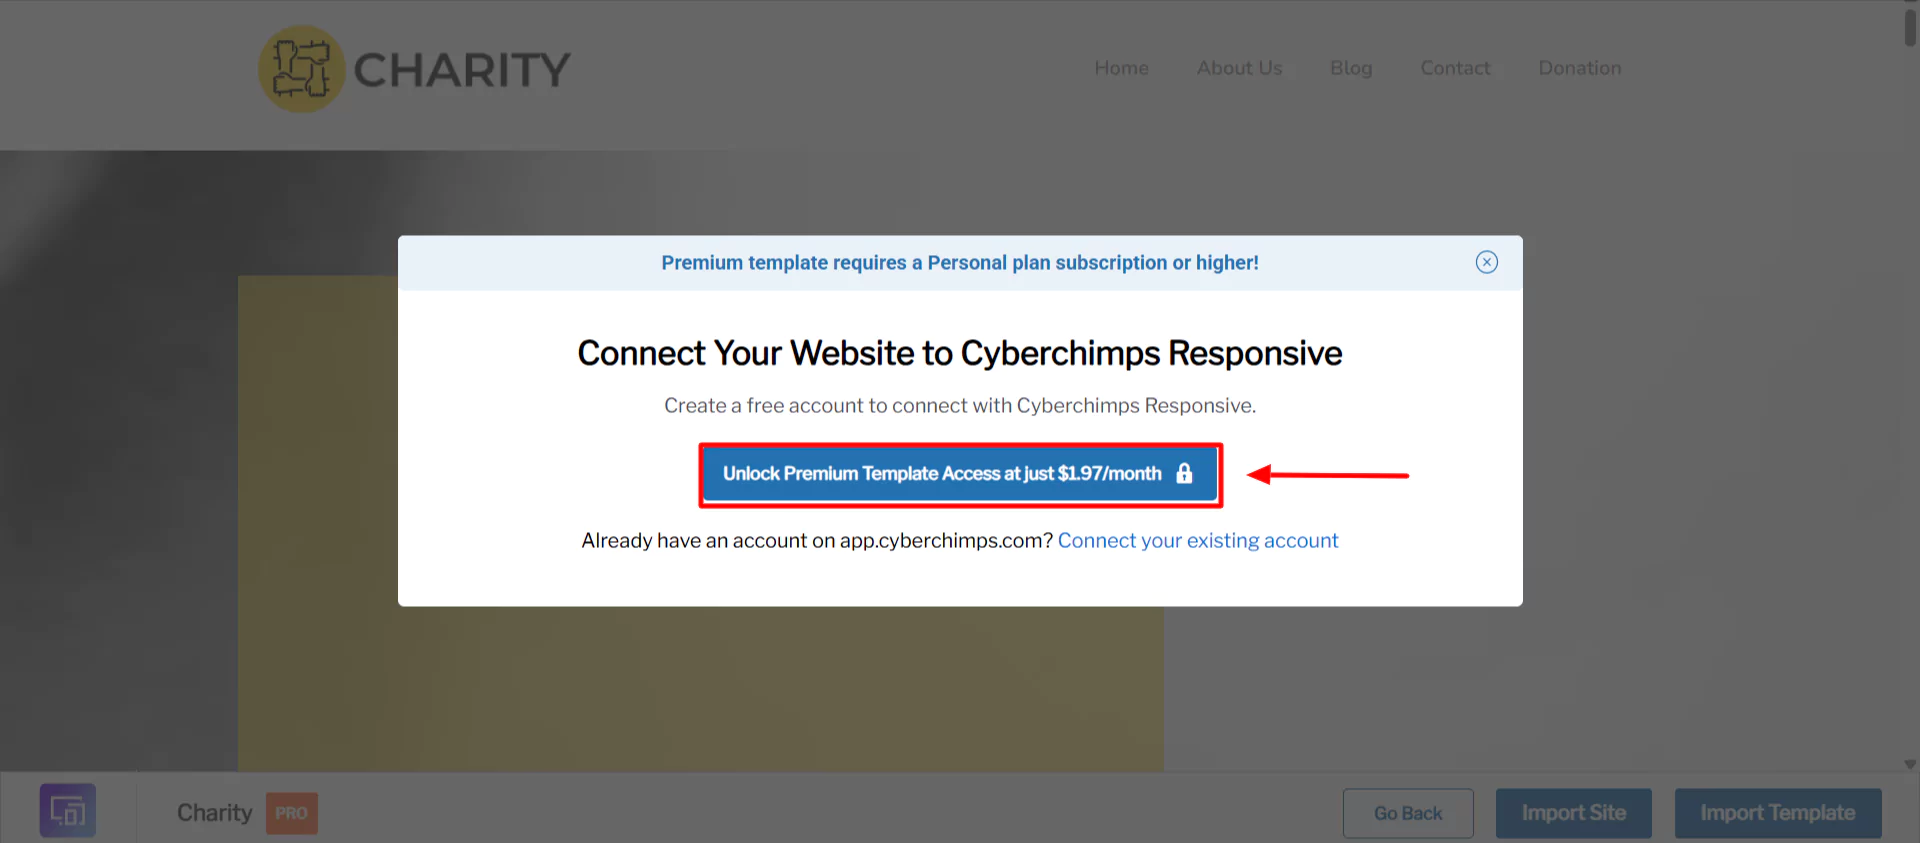
Since charity is a premium template you’ll need to purchase the Responsive theme’s paid version. But imagine getting all the templates along with two additional premium plugins at a very low cost. This can be a great addition to your WordPress website.
Now, connect your website to CyberChimps Responsive.
Note: Also there are many other free templates available for importing. You can check them out here – Free WordPress themes.
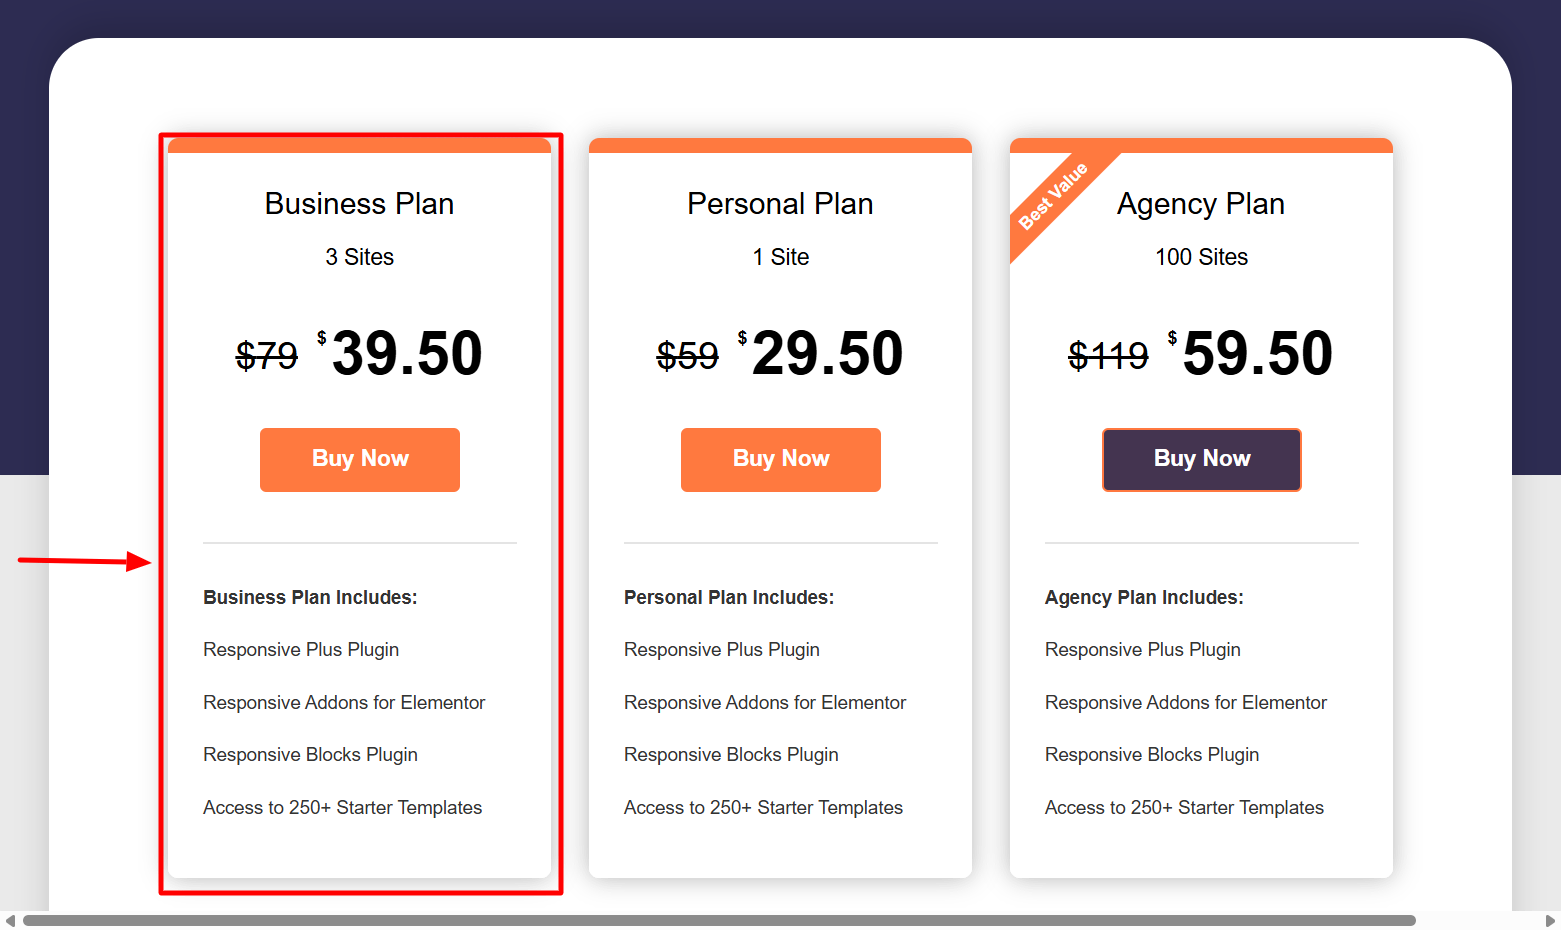
Select the Business plan as this plan provides you with three sites and is best for business.
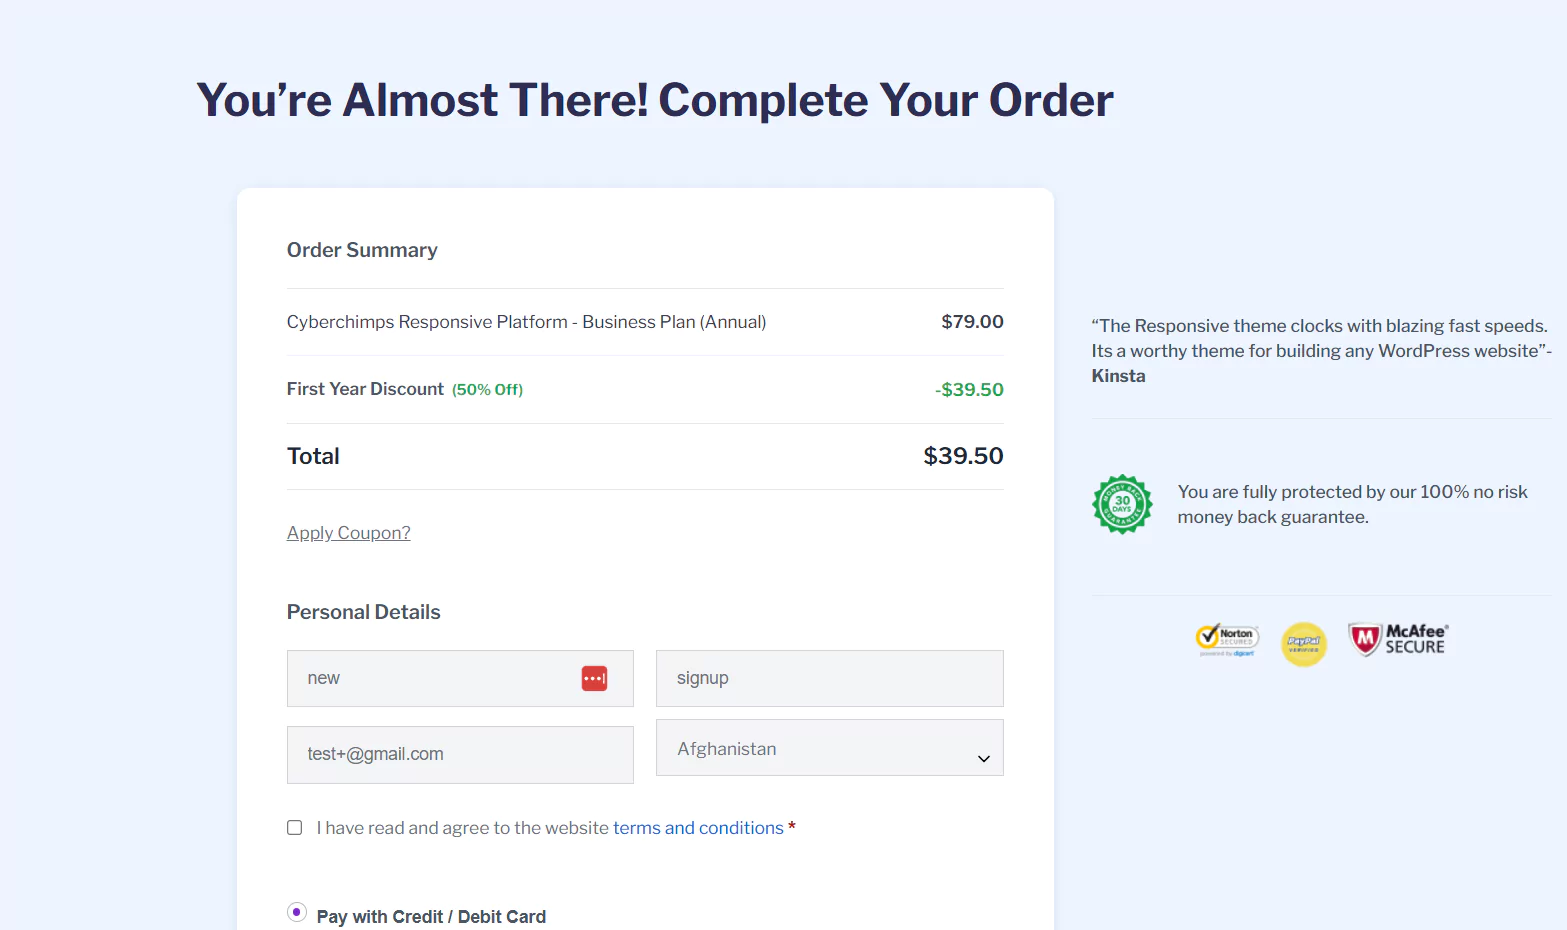
After choosing the plan, fill in the required details and process the payment.
Click on Responsive > Templates, search for the Charity template.
Now you can easily import the site.

Select Subscribe and Start importing.
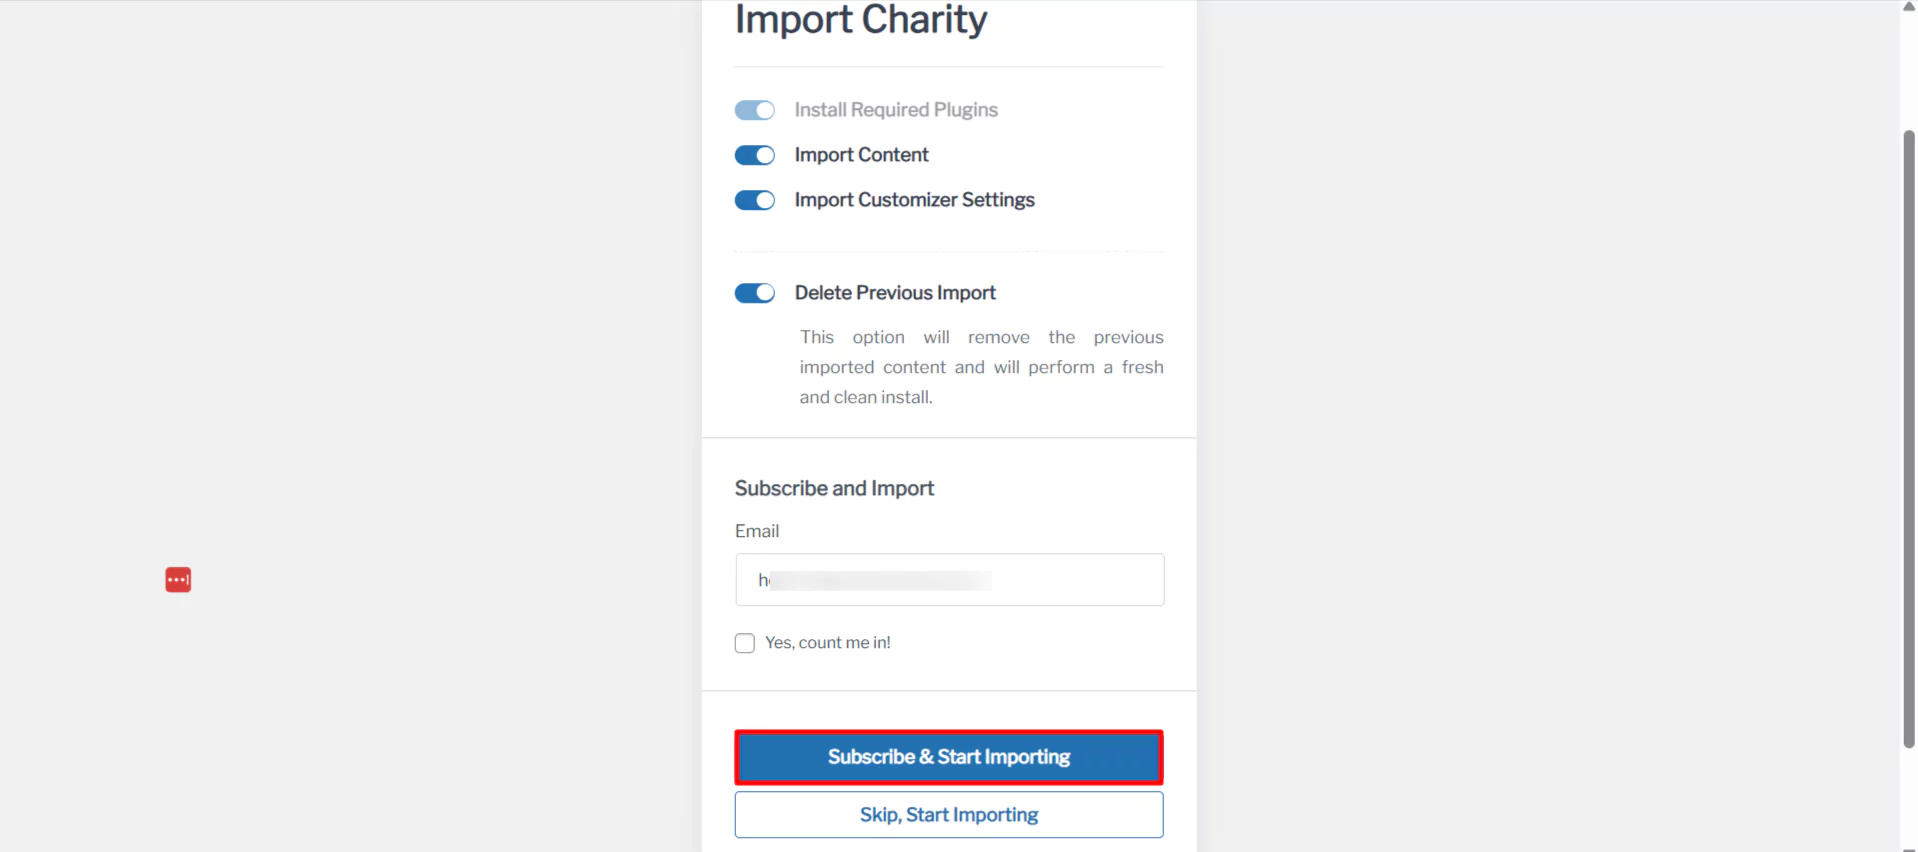
Your website will start building.
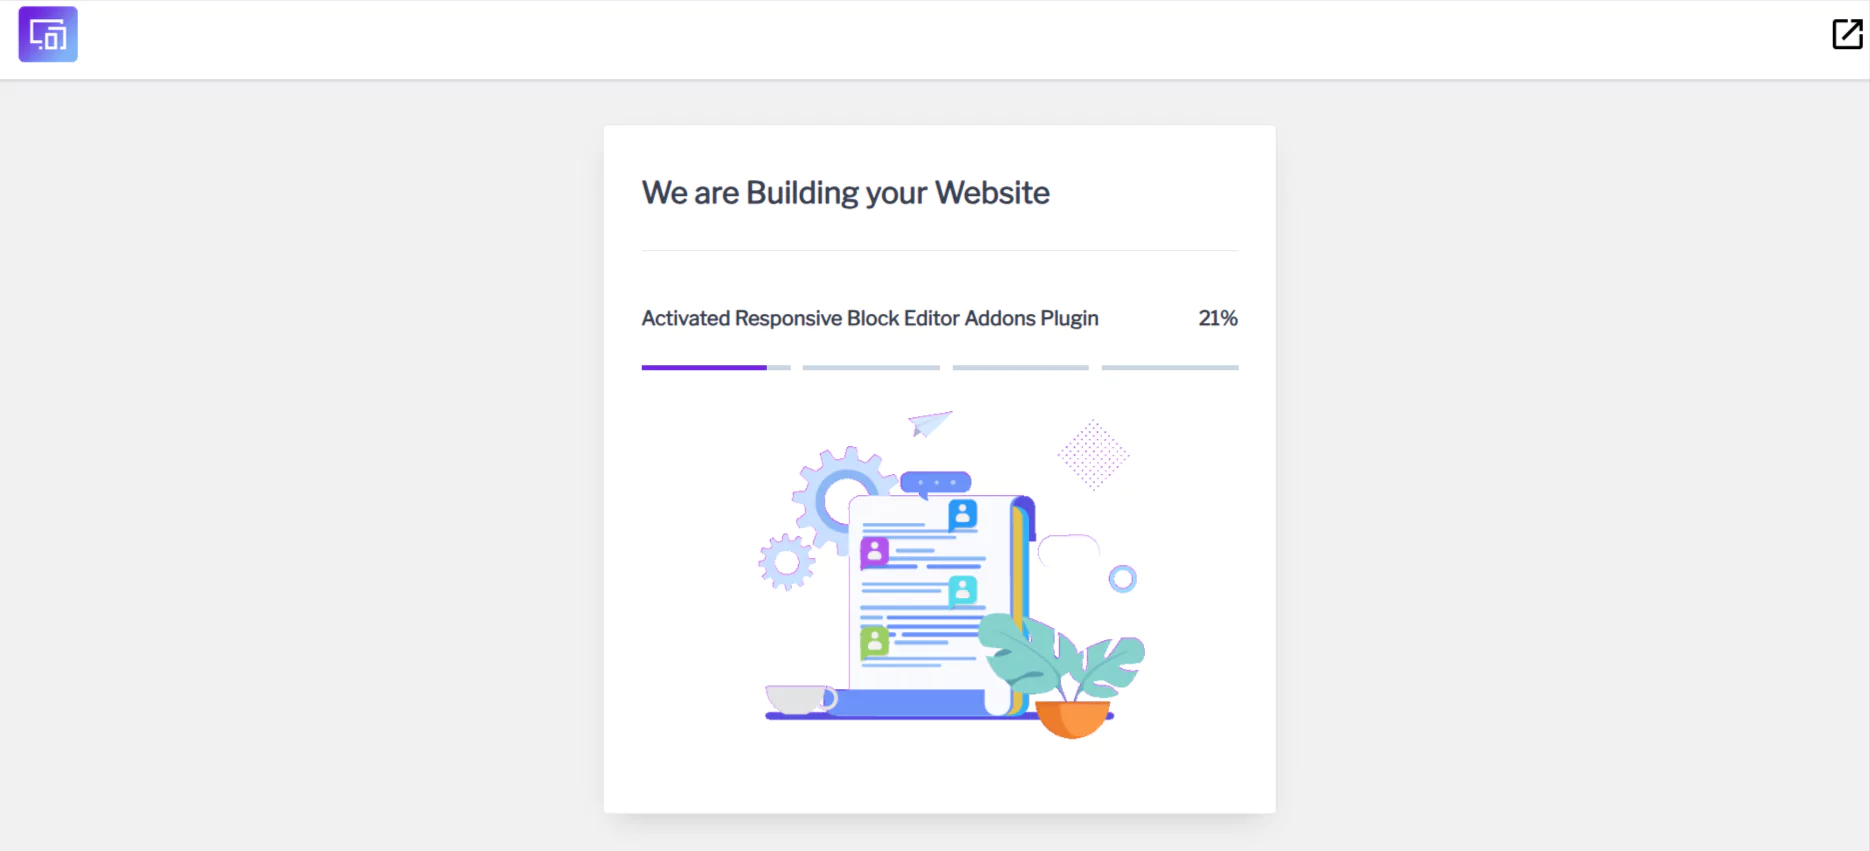
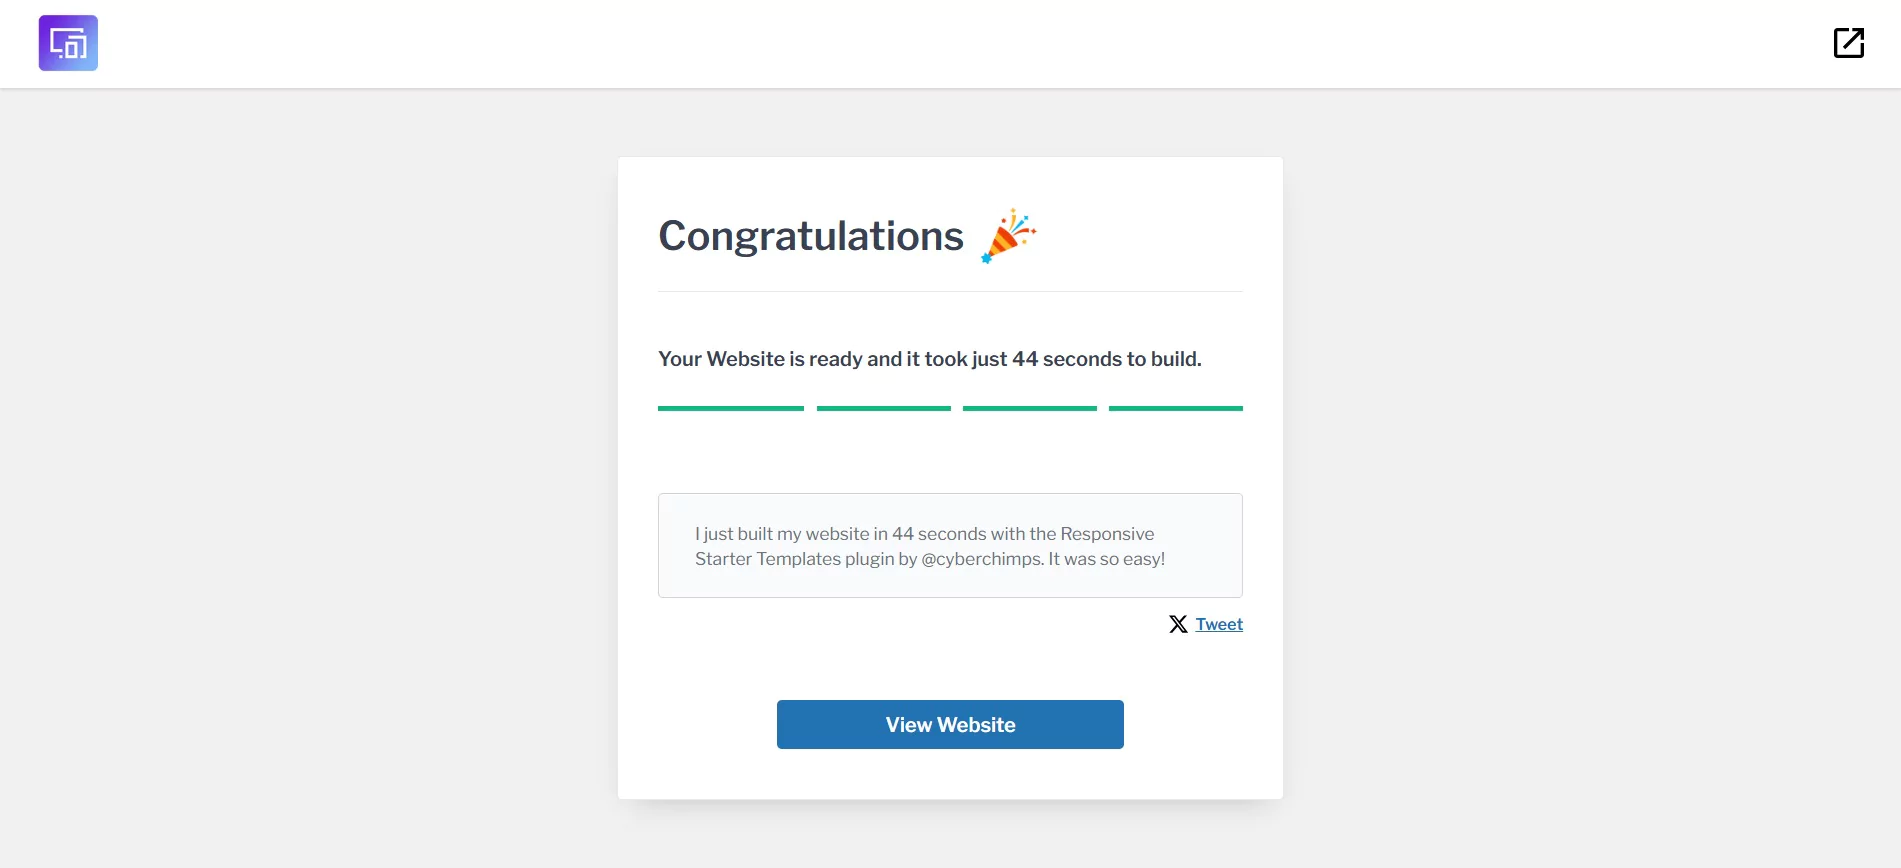
You will see your site is ready within a few seconds, and you can now visit your Website.
As you can see, your site will look something like this.
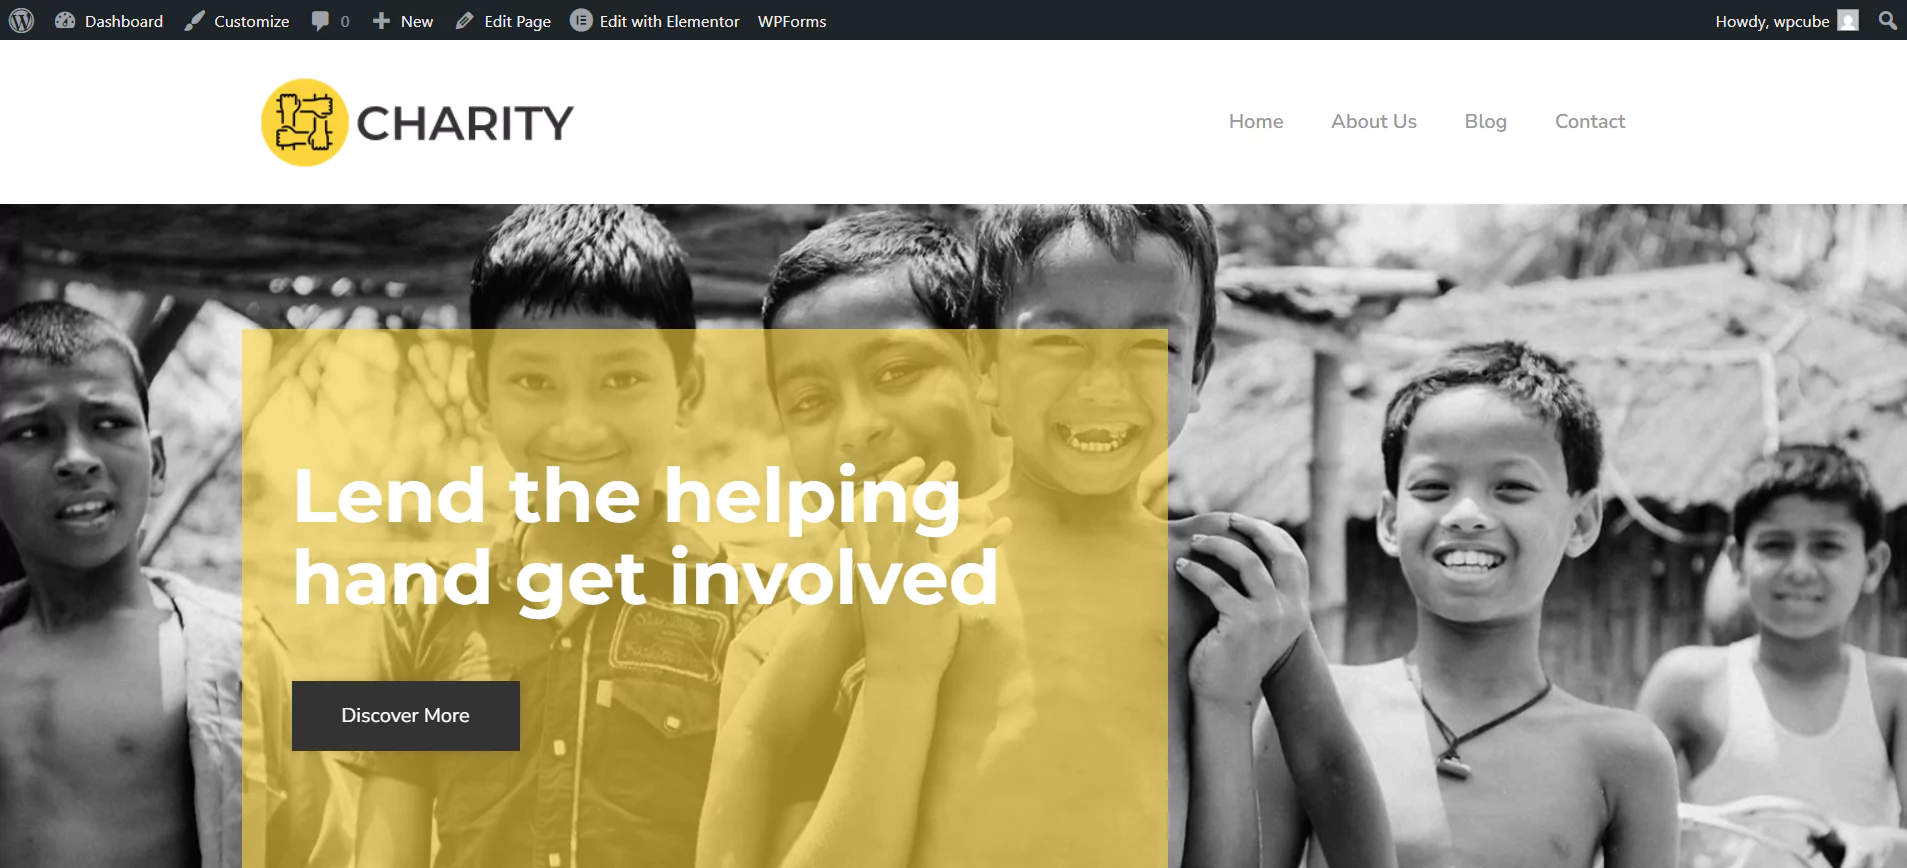
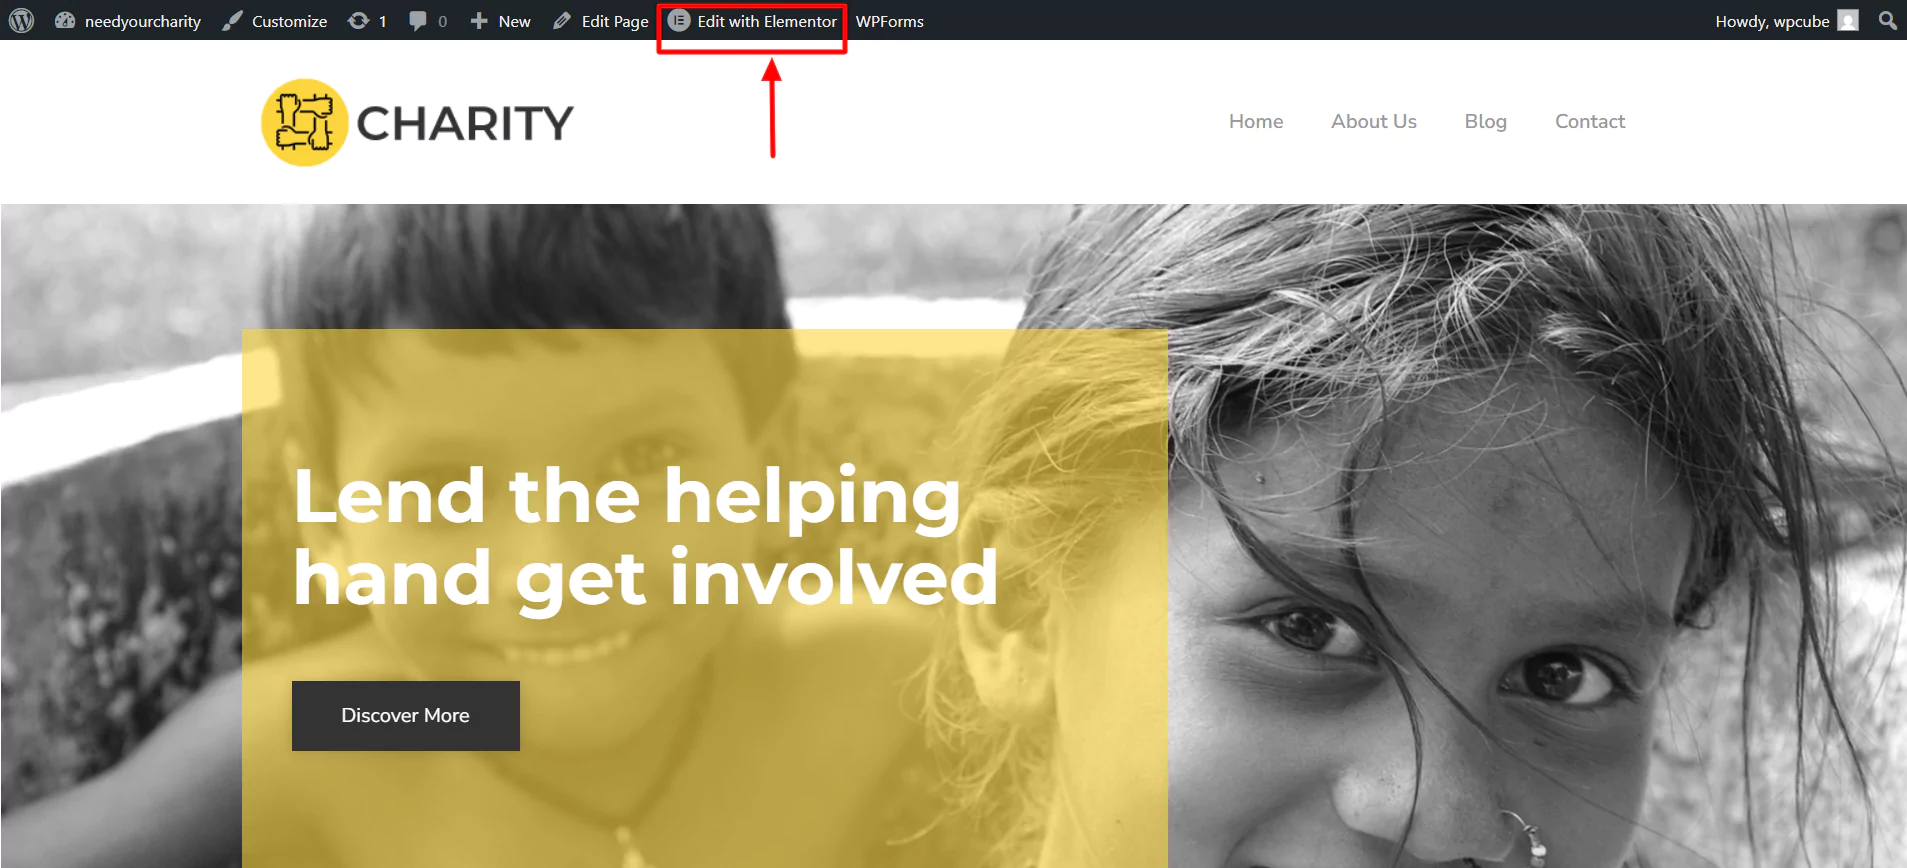
7. Customize the Template using Elementor
Now that we have successfully imported the site, you can click on Edit with Elementor to customize your nonprofit website.
Now, you can use widgets to make changes to your template.
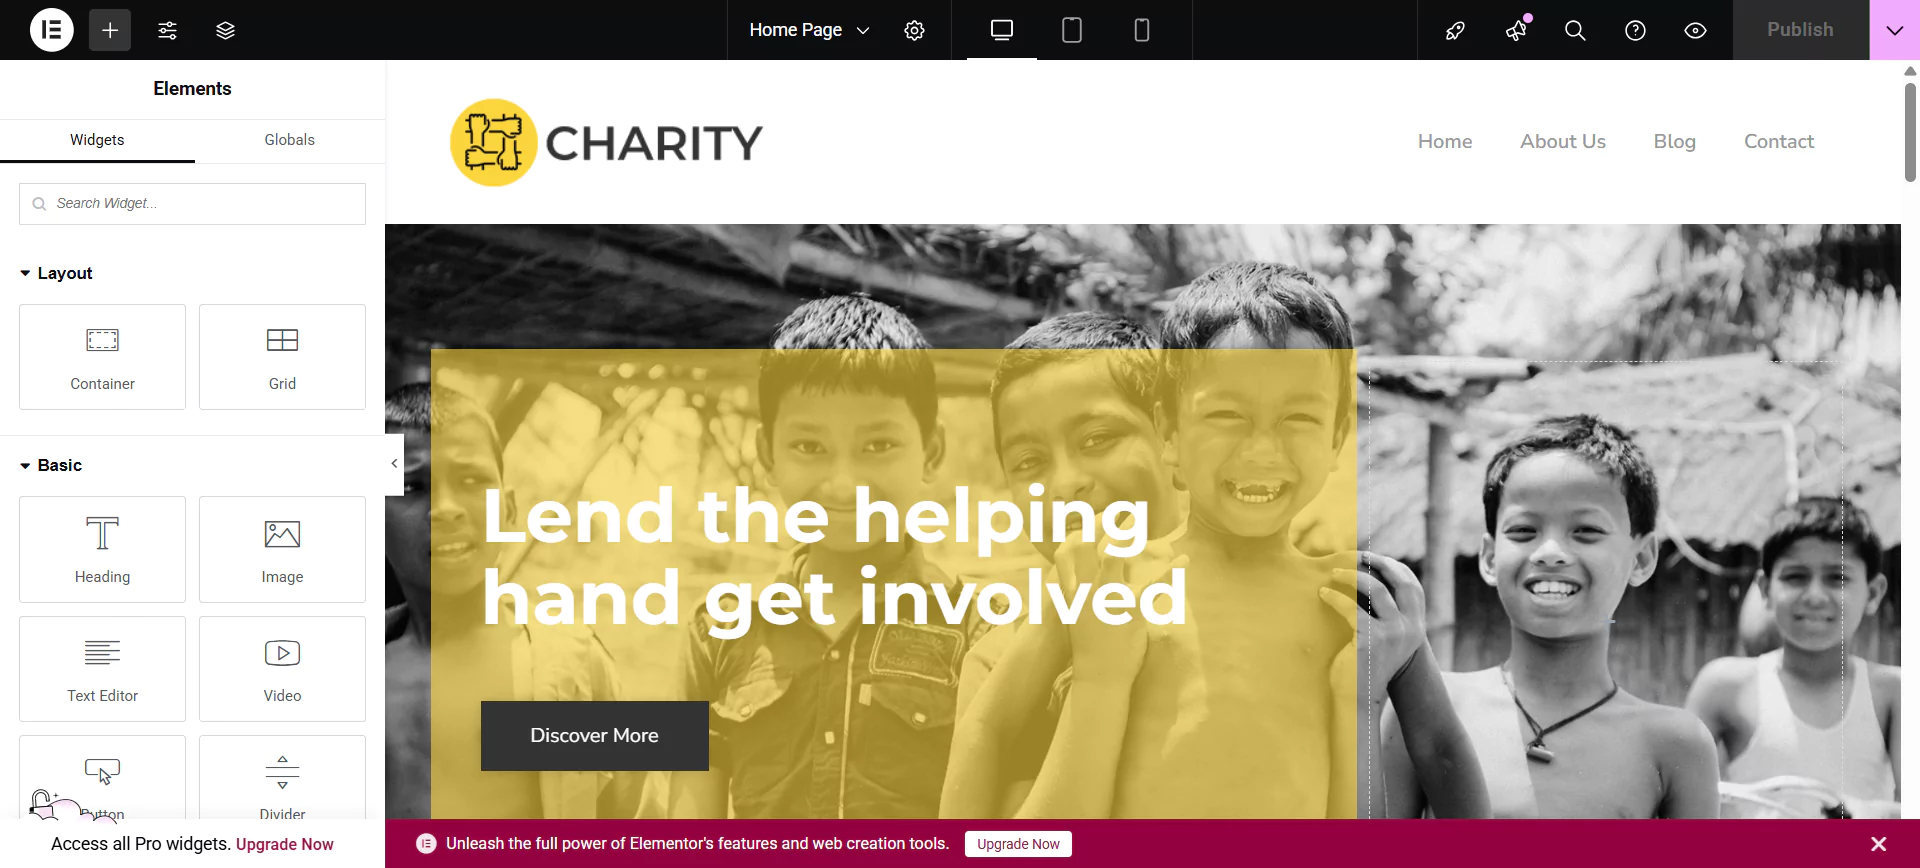
You can drag and drop these widgets to the main editor. Here we’re going to add a banner to the site.

Add images, headings, and text to the banner.

You can customize the banner in a way that you want.

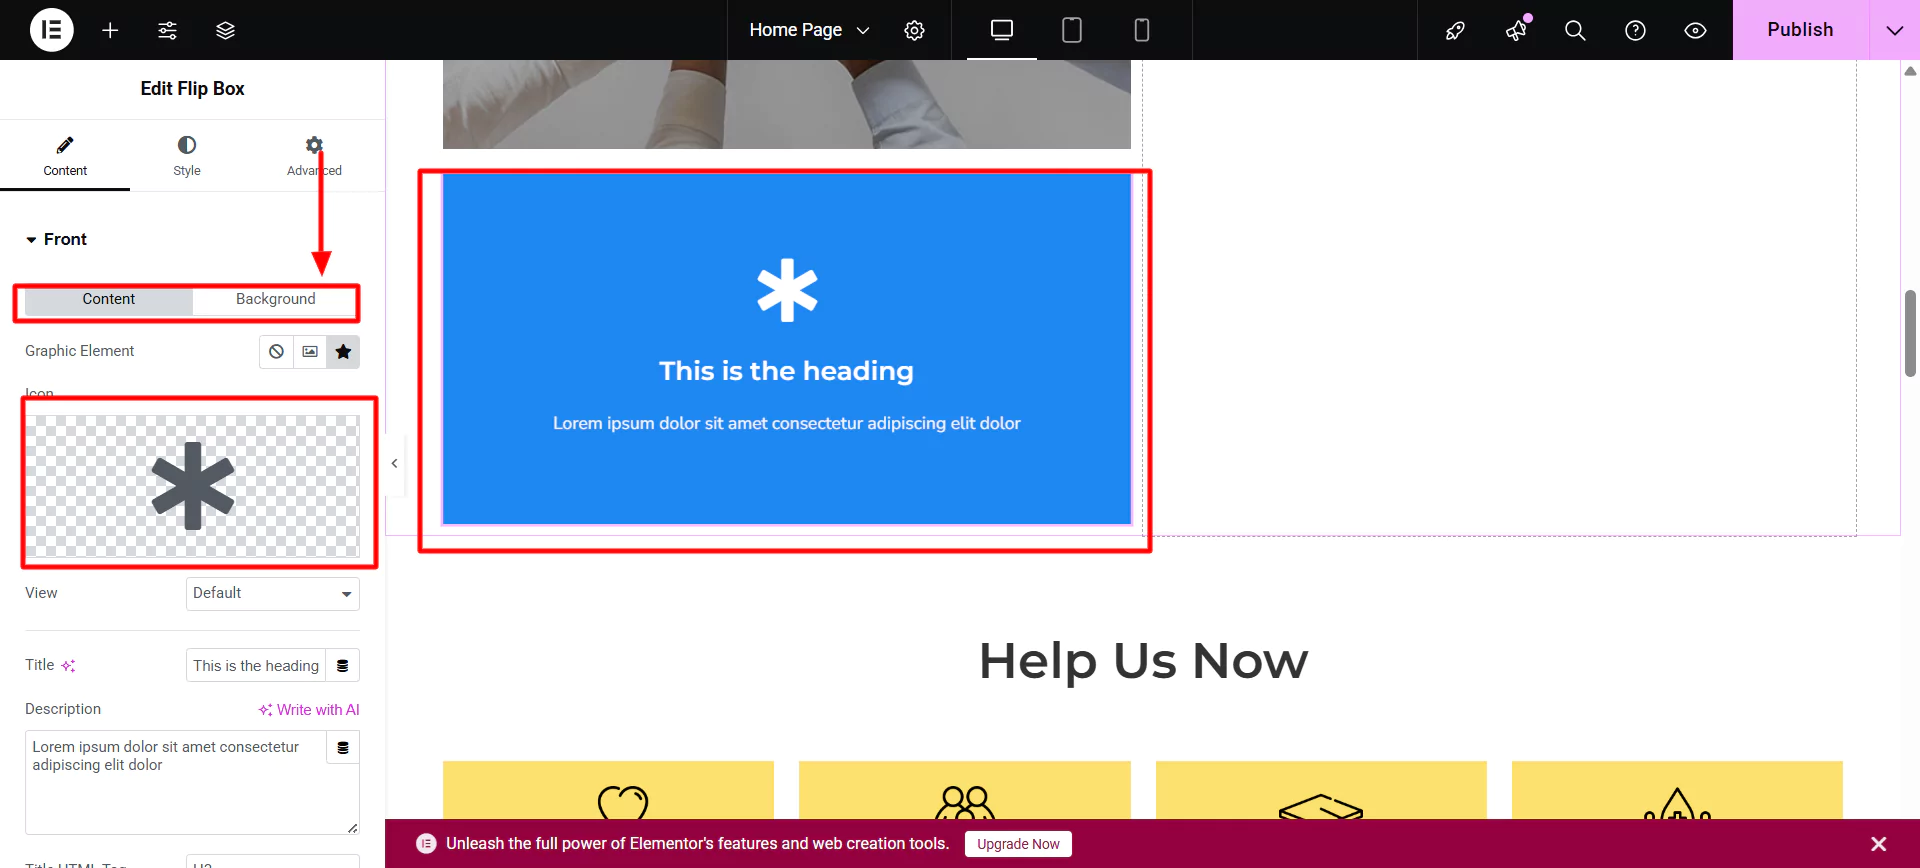
You can add a flip box to the site.
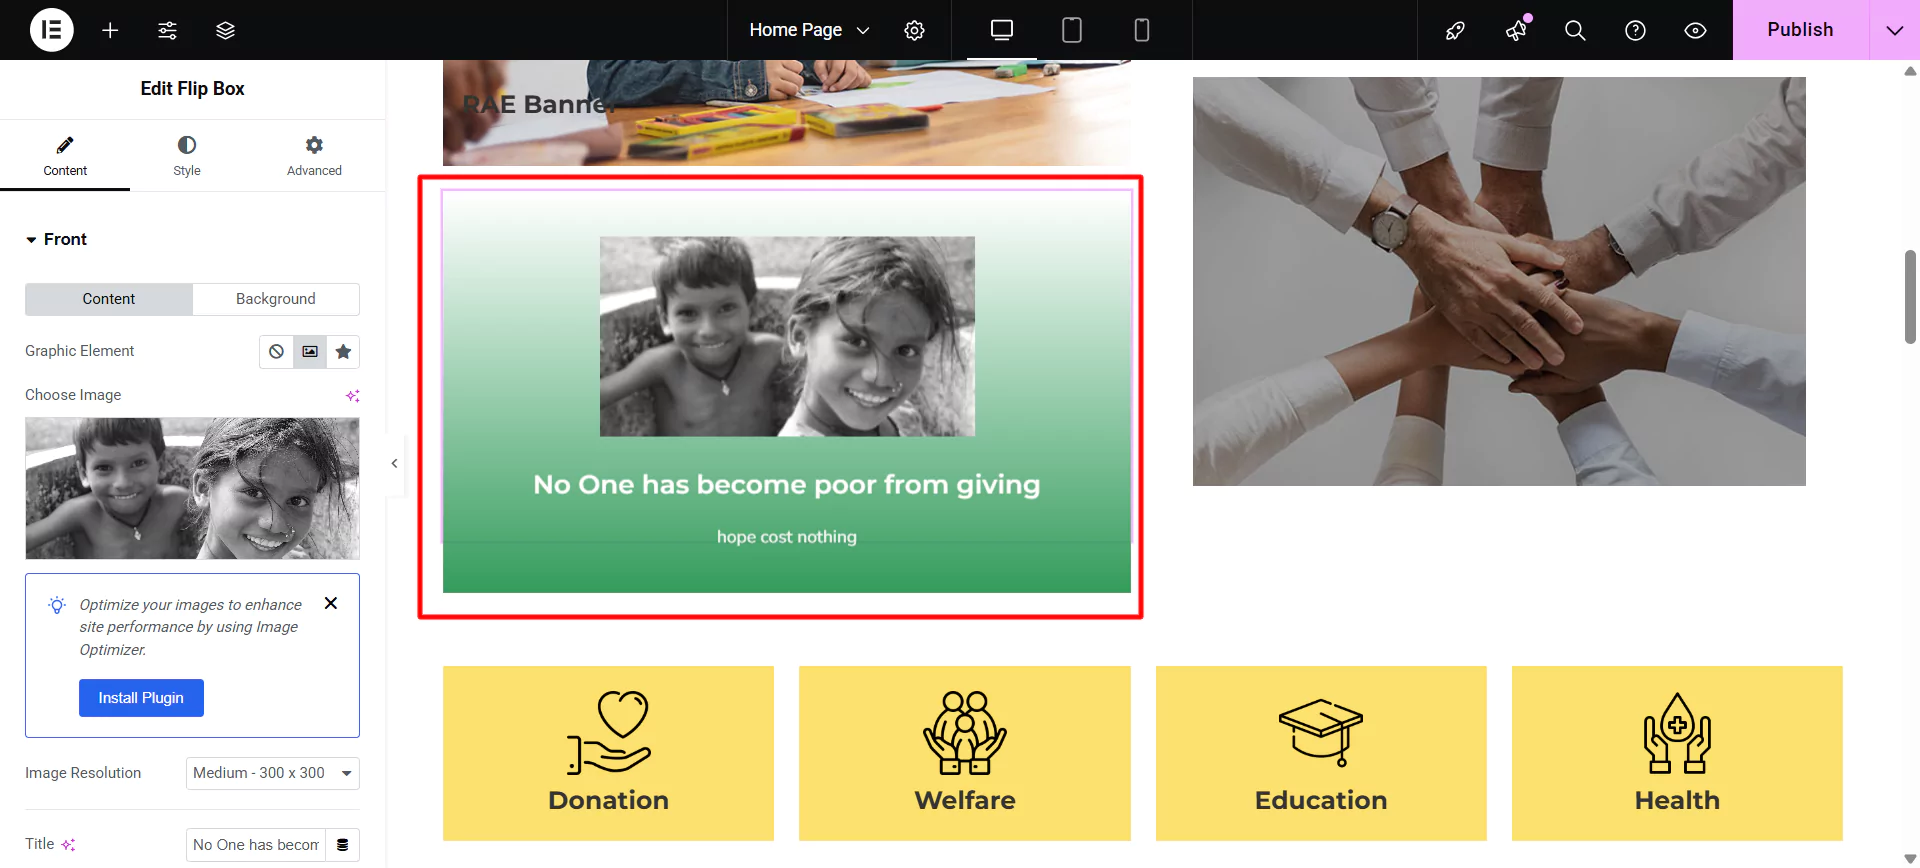
Search for the flip box, drag and drop the widget where you want, and add text, image, and icon background color.
Try different WordPress elements and make your website the way you want.
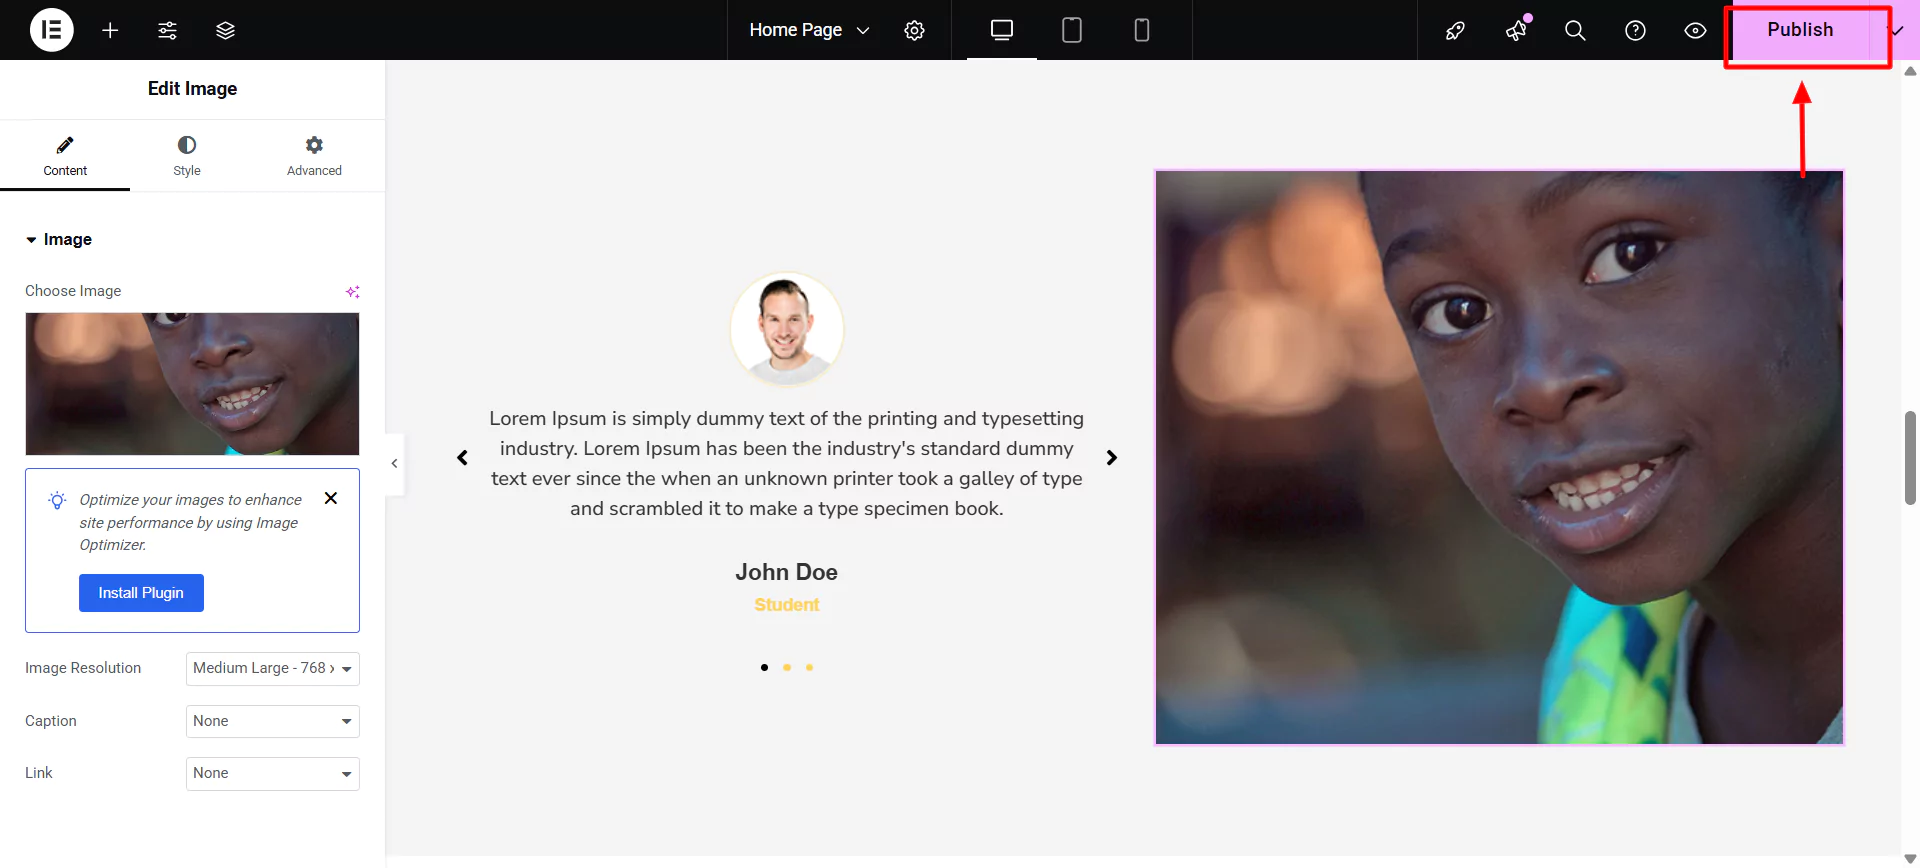
8. Launch Your Nonprofit Website
After customizing the website and making it fully functional, you can launch it by clicking on Publish.
FAQ
No technical skills are required to use WordPress. WordPress is easy to use, and anyone without coding experience can use it. With plugins like Responsive Plus, which offers 250+ templates, it becomes easy to create any kind of website.
Building a nonprofit website costs very little. WordPress itself is free. You only need to pay for hosting and a domain name (some hosts offer free domains for the first year). The Responsive Theme also has a free version that you can use.
A nonprofit website should include the following essential pages:
1. Interactive and attractive Homepage
2. About/Mission
3. Donate Page
4. Volunteer Sign-up
5. Events or Campaigns
6. Contact Page
7. Blog or News section
Yes! You can use donation plugins like GiveWP or Charitable to securely collect one-time or recurring donations via credit card, PayPal, and more.
Install a donation plugin, create a donation form, and then embed it on your homepage, sidebar, or a dedicated donation page using shortcodes or blocks.
Your website remains secure as long as it has an SSL certificate (often free from most hosts) and you use secure donation plugins. Time-to-time updates are available for WordPress and plugins, so keep them up-to-date.
Conclusion
WordPress is the perfect platform to get started if you want to create a charity website free.
Making a website in WordPress is easy and cheap. While creating the website, you get plenty of tools to ease your task.
Tools like the Responsive Theme and Responsive Addons for Elementor can help build your non profit website.
Websites like this help people raise money for a good cause. Your website can make people aware of your mission, connect with a larger audience, recruit volunteers, and promote events.
Whether you’re just starting or are ready to grow your cause, a well-designed website is one of the most effective ways to support a nonprofit’s goals.
Let’s start and make an online impact today.
If you like this article, check out our step-by-step guides on:
- How to Create a Magazine Website with WordPress- An Easy Guide
- How to Create a Landing Page with Elementor in WordPress
- How to Create a Music WordPress Website
- How to Create a Travel Agency Website
Grab the Responsive theme today!


