Are you looking to add icon box on your WordPress website?
Icon Box is an Elementor widget that allows you to create visually appealing icons with hover effects. It can be used to showcase important information or to highlight specific options within your website.
This widget offers advanced customization options, such as icon size, position, control color, background color, etc, making it easy to create a unique and attention-grabbing design for your website.
Additionally, it’s free and can be easily integrated into any Elementor website.
In this guide, we’ll walk you through the steps to easily add an icon box to your WordPress website.
Tools to Create Icon Box
Ensure you have installed these plugins to create an Elementor icon box for your WordPress website:
Elementor Page Builder
First, you’ll need the Elementor Page Builder, which allows you to create attractive pages using a simple drag-and-drop interface. Installing Elementor is the first step!
Responsive Addons for Elementor
Next, you’ll need Responsive Addons for Elementor plugin, a WordPress plugin that offers over 80 widgets. With this collection you also get a dedicated free icon box widget.
Using this widget, your Icon box for elementor website will appear flawless and operate seamlessly across all devices, from desktops to smartphones.
wordpress themeAdditionally, you get access to 150+ WordPress website templates that offer pre-made sites to help you build a stunning Elementor website.
How to Add an Icon Box to Your Elementor Website
Follow these steps to add Icon Box to your Elementor WordPress website:
Step 1: Install and Activate Responsive Addons for Elementor
Navigate through your WordPress Admin dashboard and go to Plugins > Add New Plugin.
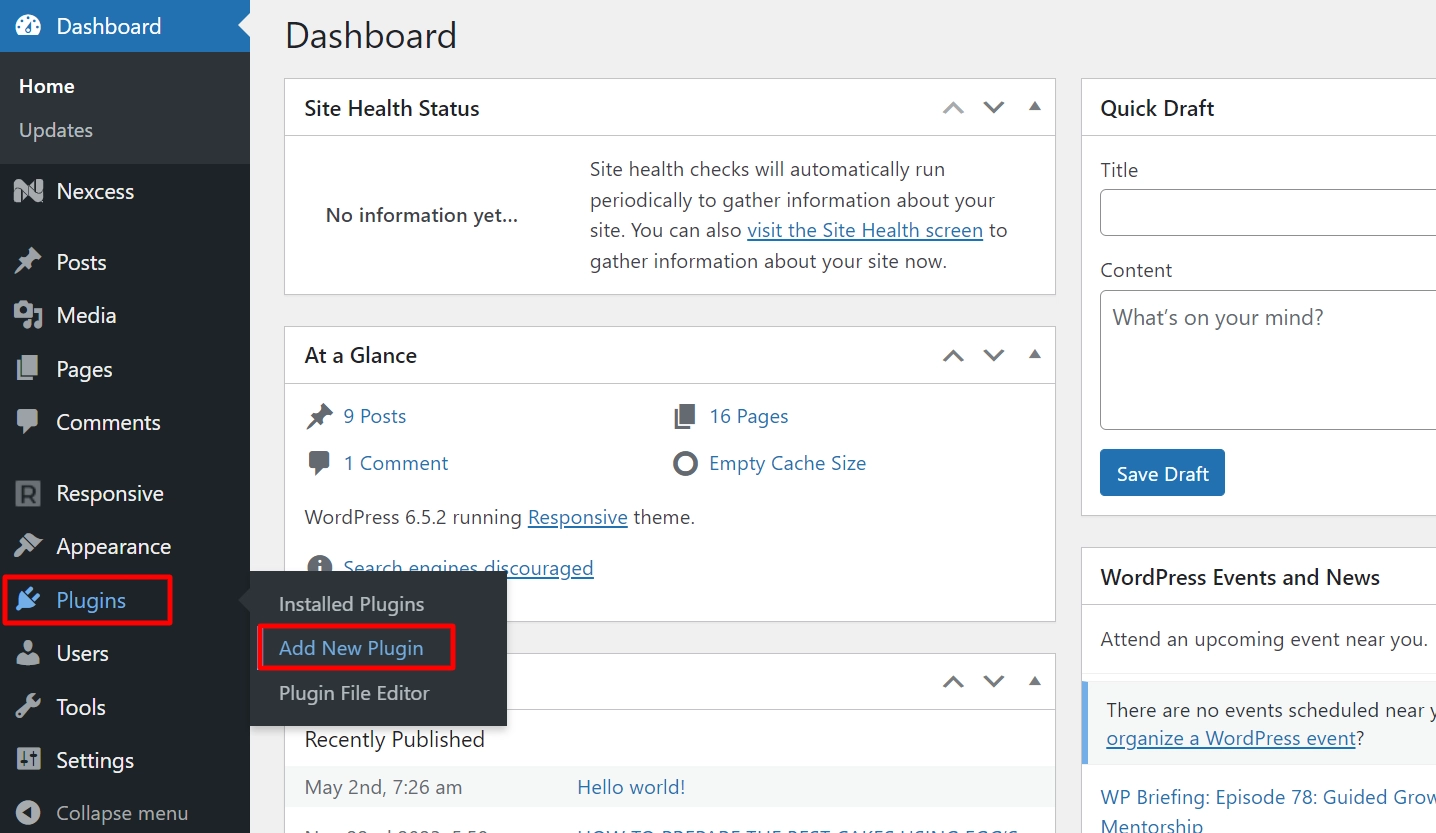
Go to the search bar and search for Responsive Addons for Elementor.
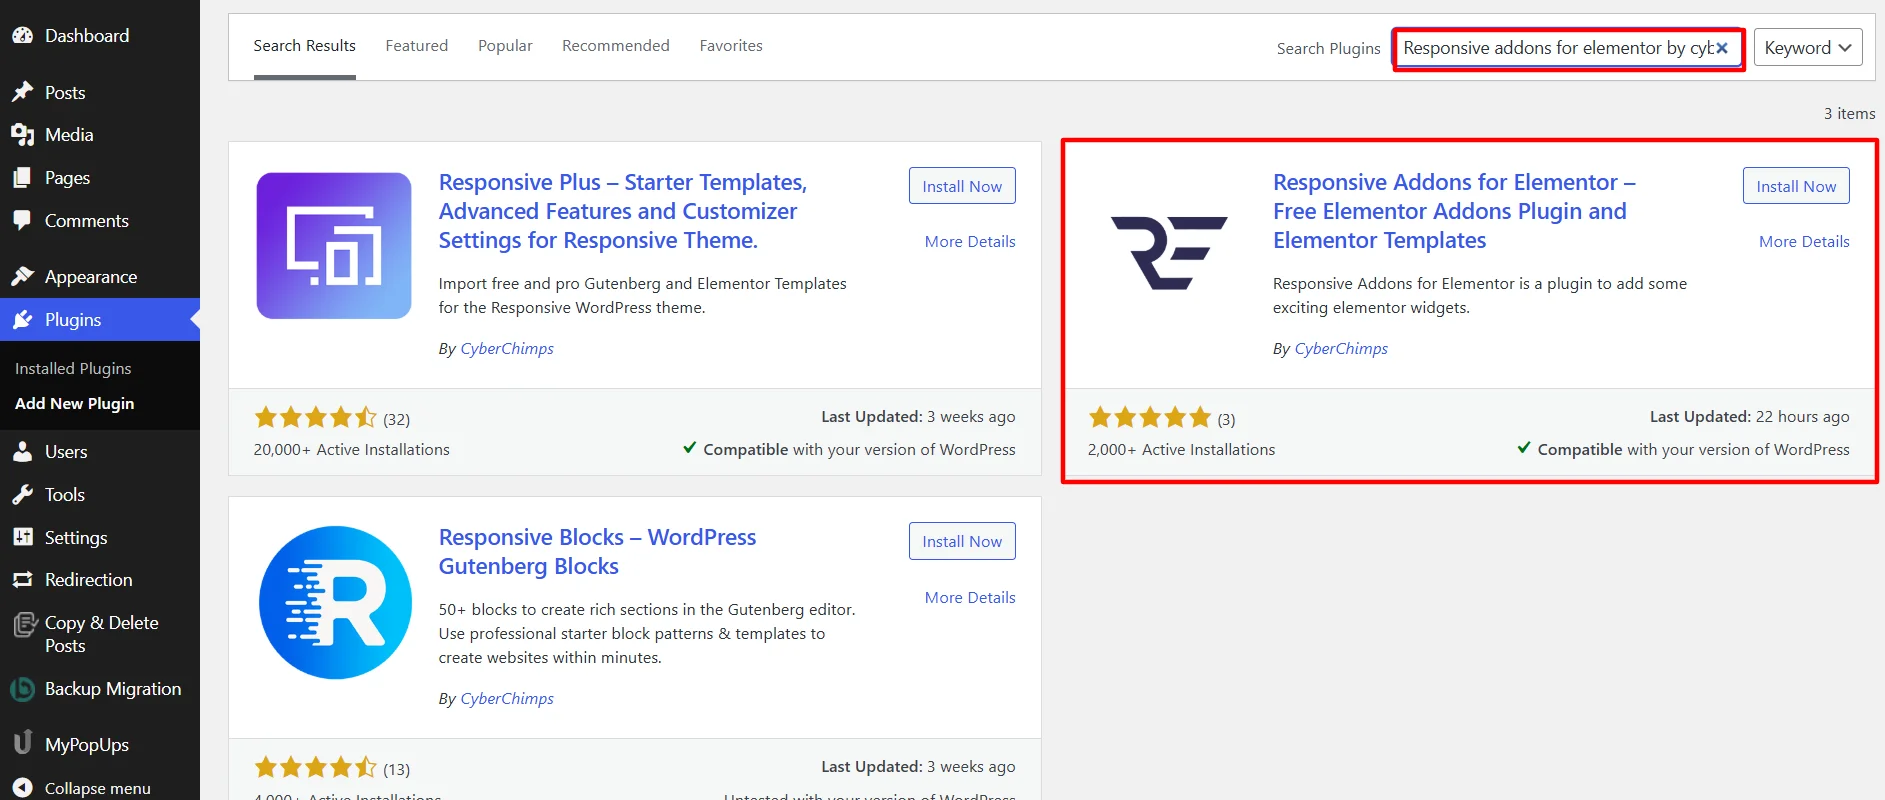
Next, click on Install Now and download the plugin.
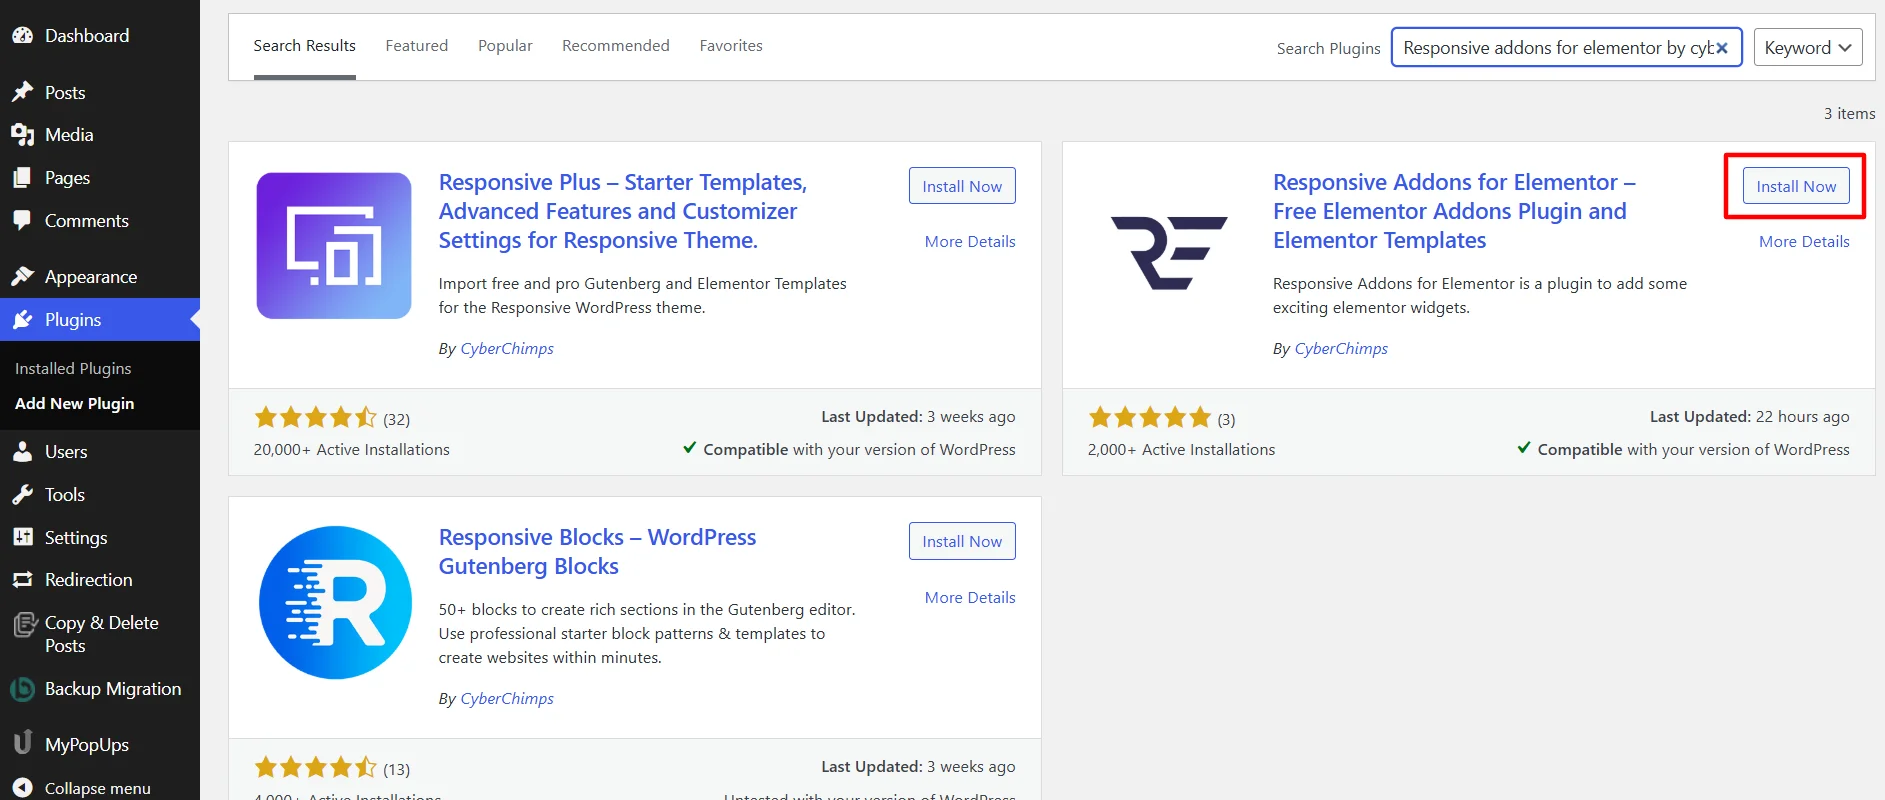
Click on Activate to activate the plugin.

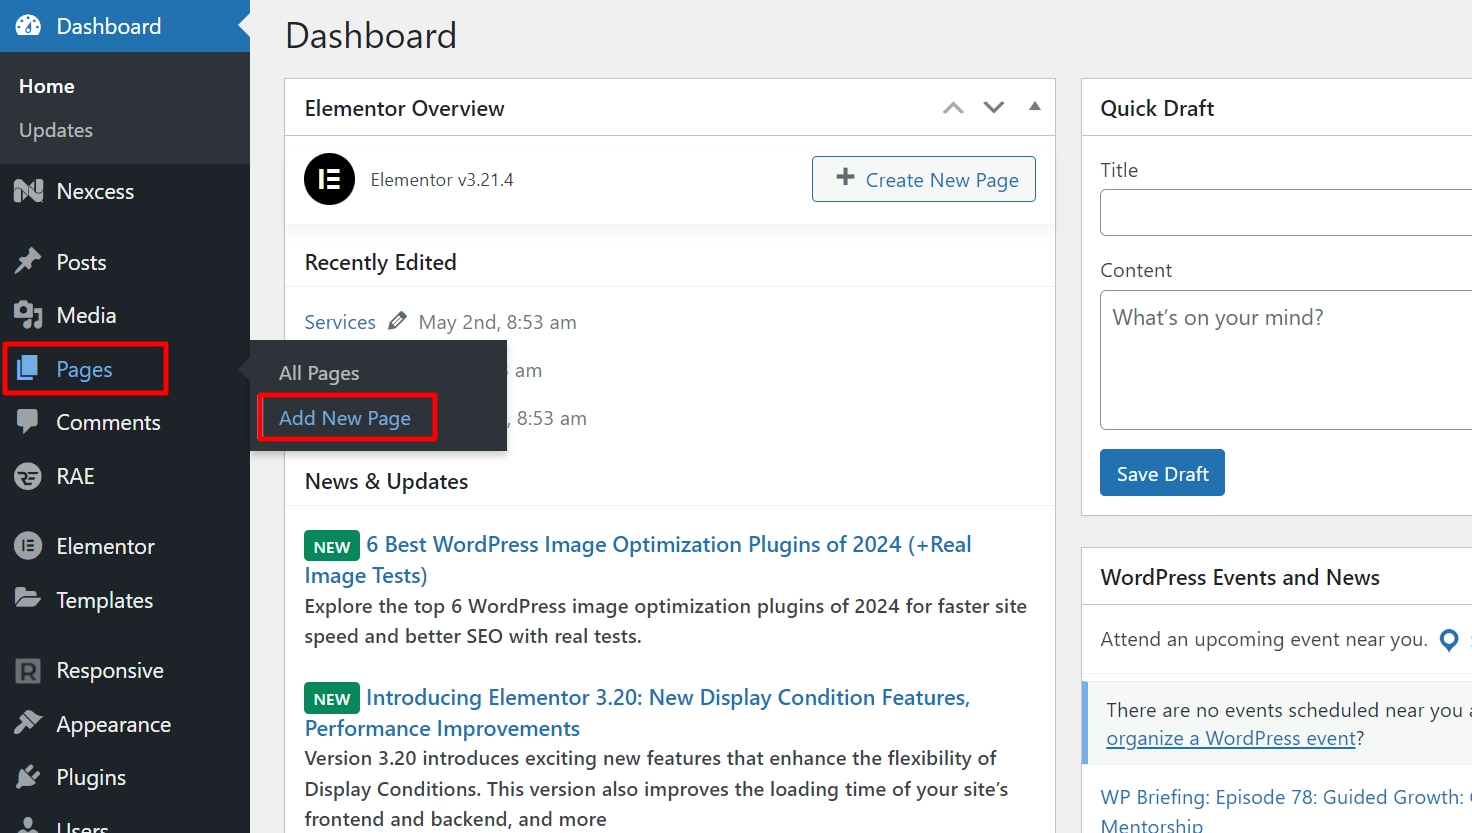
Open the page where you want to add the widget. To do that, go to Pages > Add New Page.
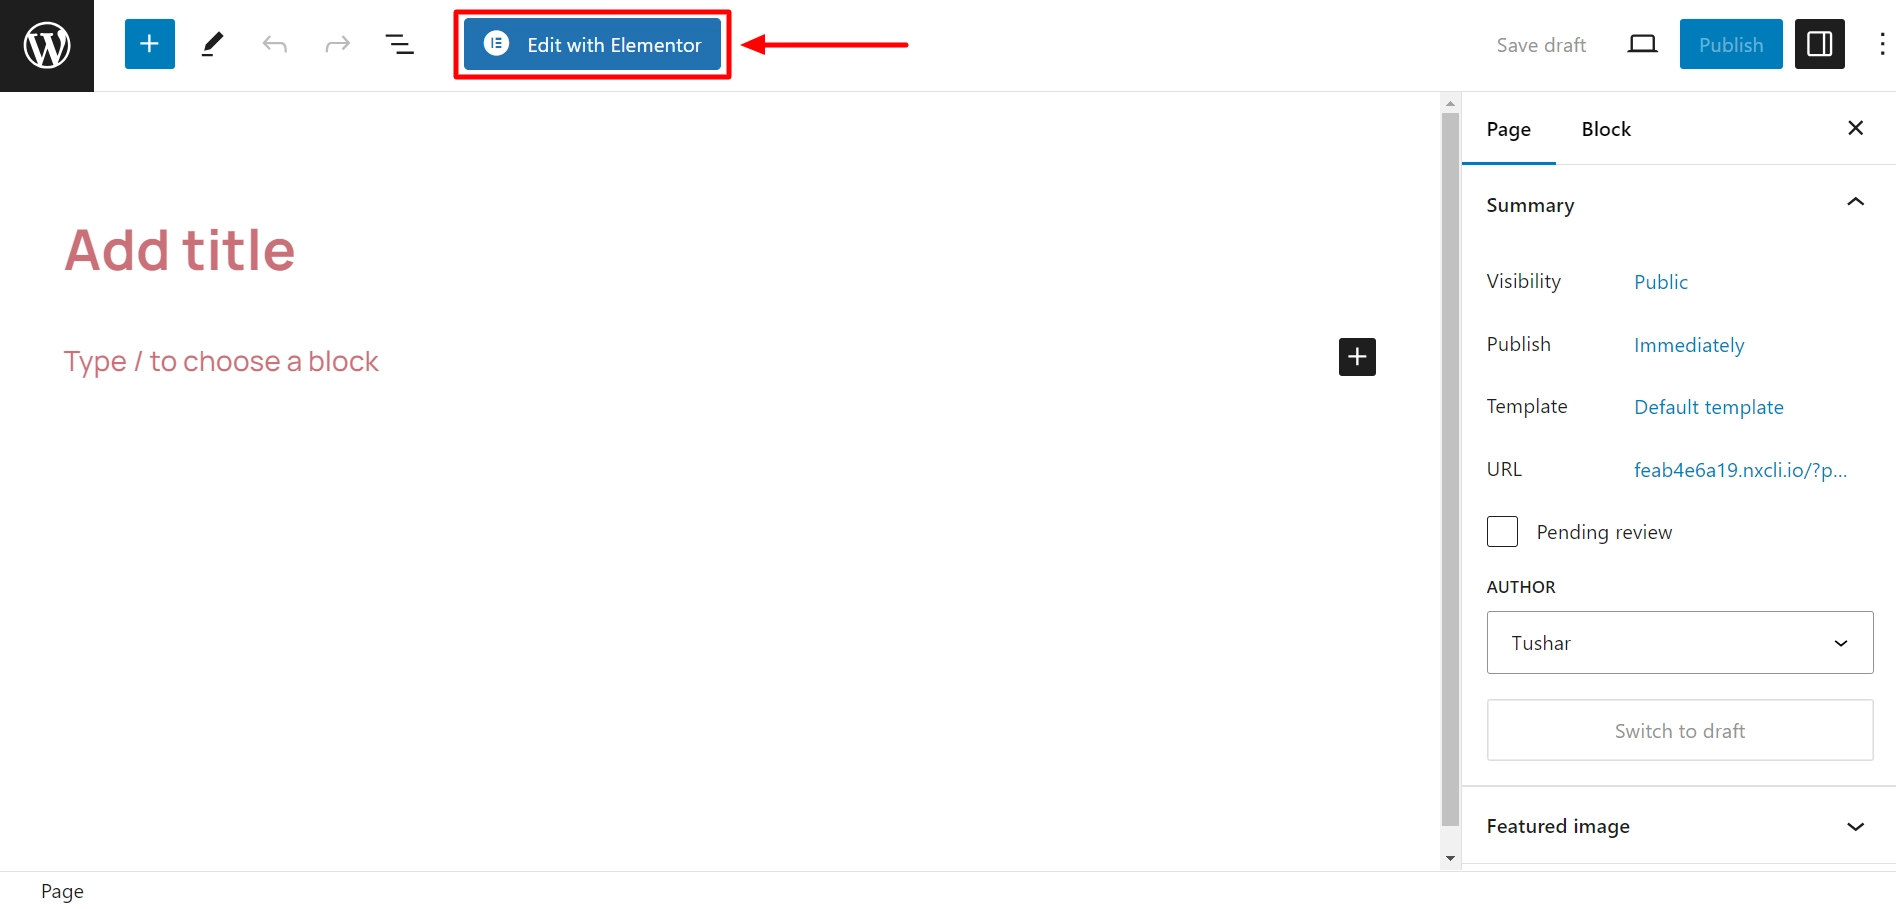
Next, click on Edit with Elementor.
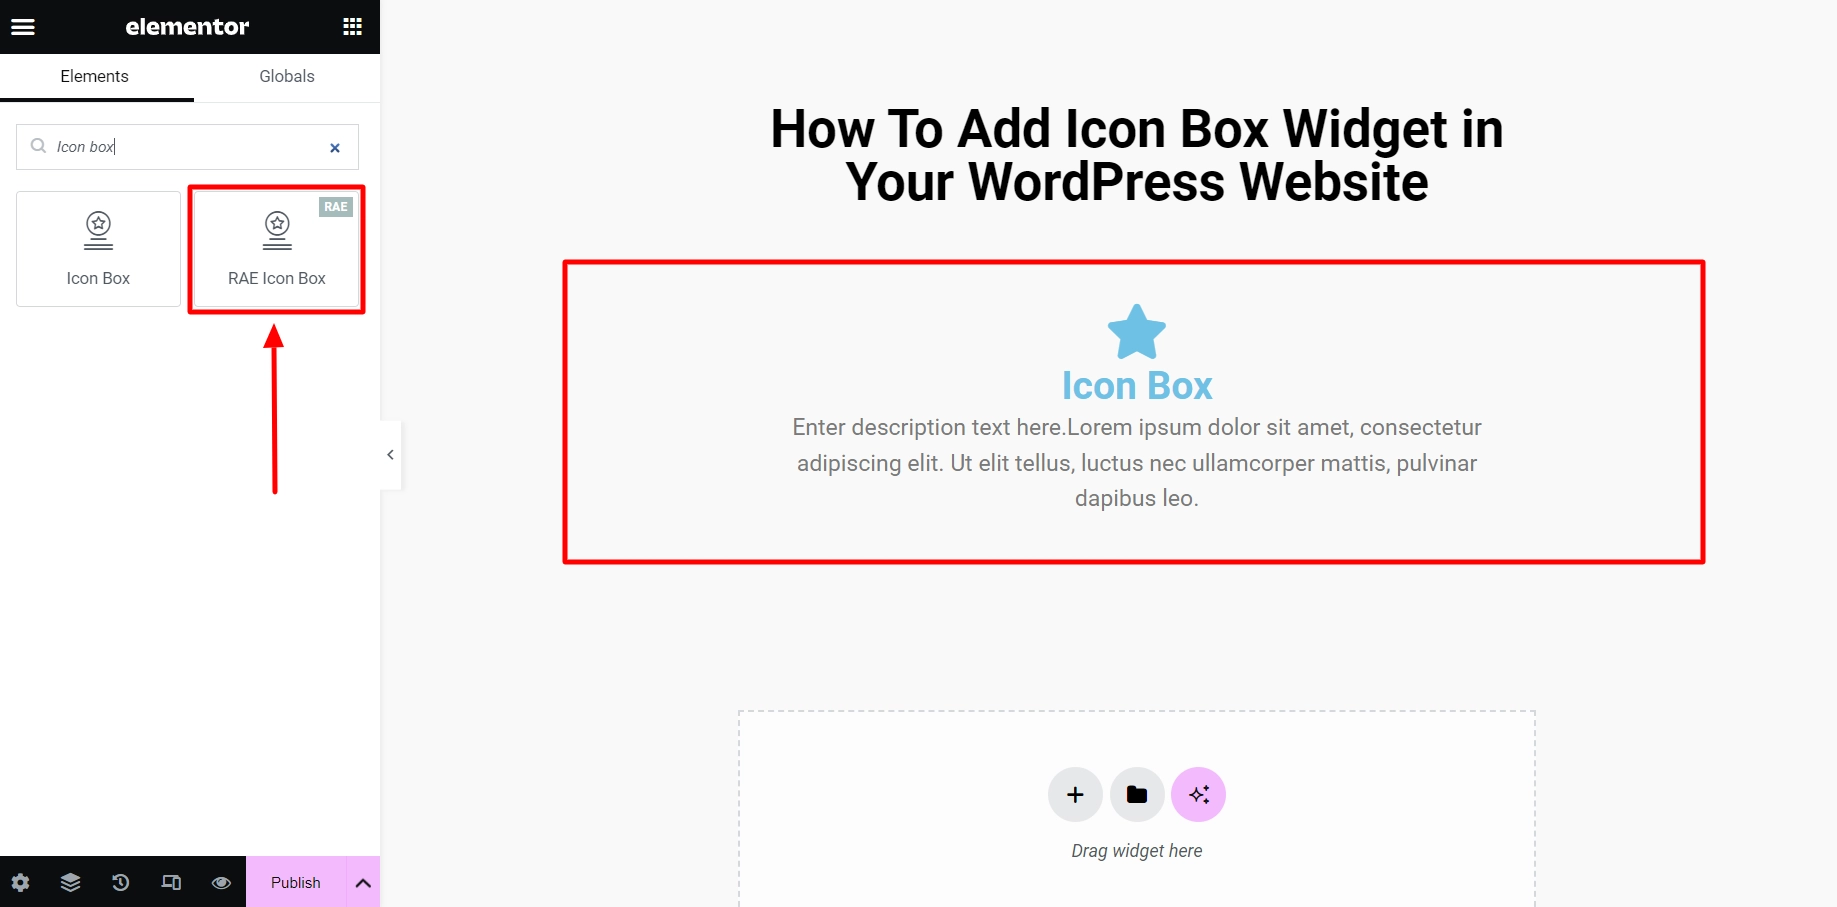
Search for Icon box. Next, drag and drop the RAE Icon Box widget to your desired location on the editor. By default, it will look like this:
Step 2: Customizing the Icon Box Widget
This widget allows you to customize various elements:
Content Settings in Elementor Icon Box
This section focuses on the text elements within the widget.
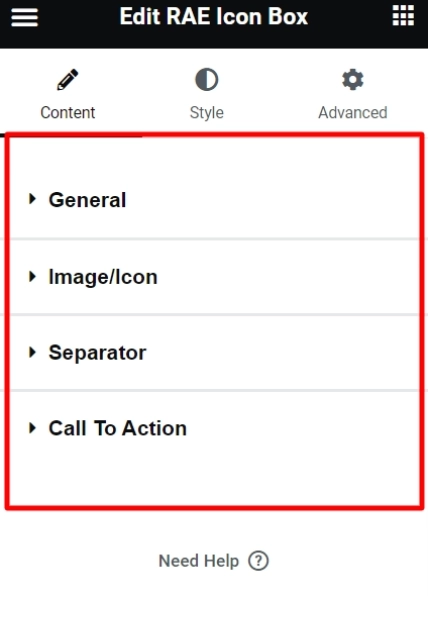
- General: Contains the widget’s general settings. Here, you can add the icon box’s title and description.
- Image/Icon: Allows you to choose and customize the icon in your box. You can select from built-in icons, upload your own image, or choose an SVG icon. Additionally, you can control the icon’s dimensions as well.
- Separator: Lets you add a visual separator between the icon and the text content.
- Call To Action (CTA): This option lets you set up a call-to-action button within your icon box. You can customize the button text, link it to a specific webpage, and add an icon to the button.
Style Options of Icon Box Widget
This section lets you personalize your icon box’s overall look and feel.
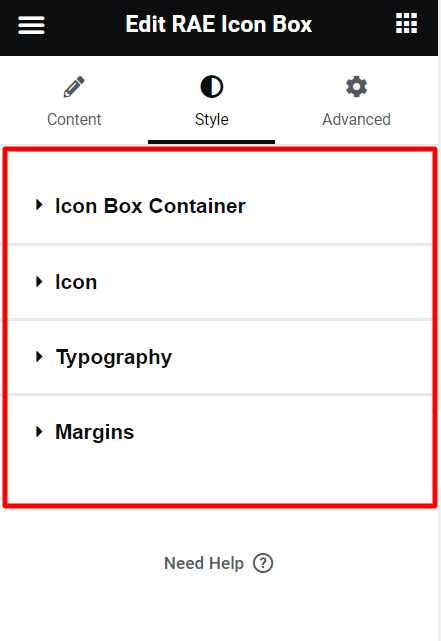
- Icon Box Container: Provides options to control the overall container that holds your icon box elements. You can adjust its alignment, padding, and background and even add a shadow effect for the entire box.
- Icon: Offers more granular control over the icon itself, allowing you to define its color, adjust its size and position precisely, and potentially add additional styling options beyond what’s available in the “Image/Icon” section.
- Typography: Lets you customize the fonts, styles, and colors for the title, description, and CTA Button text.
- CTA Button: Offers more in-depth control over the appearance and style of your button. You can customize its background color, text color, border style, and shadow and even adjust its padding.
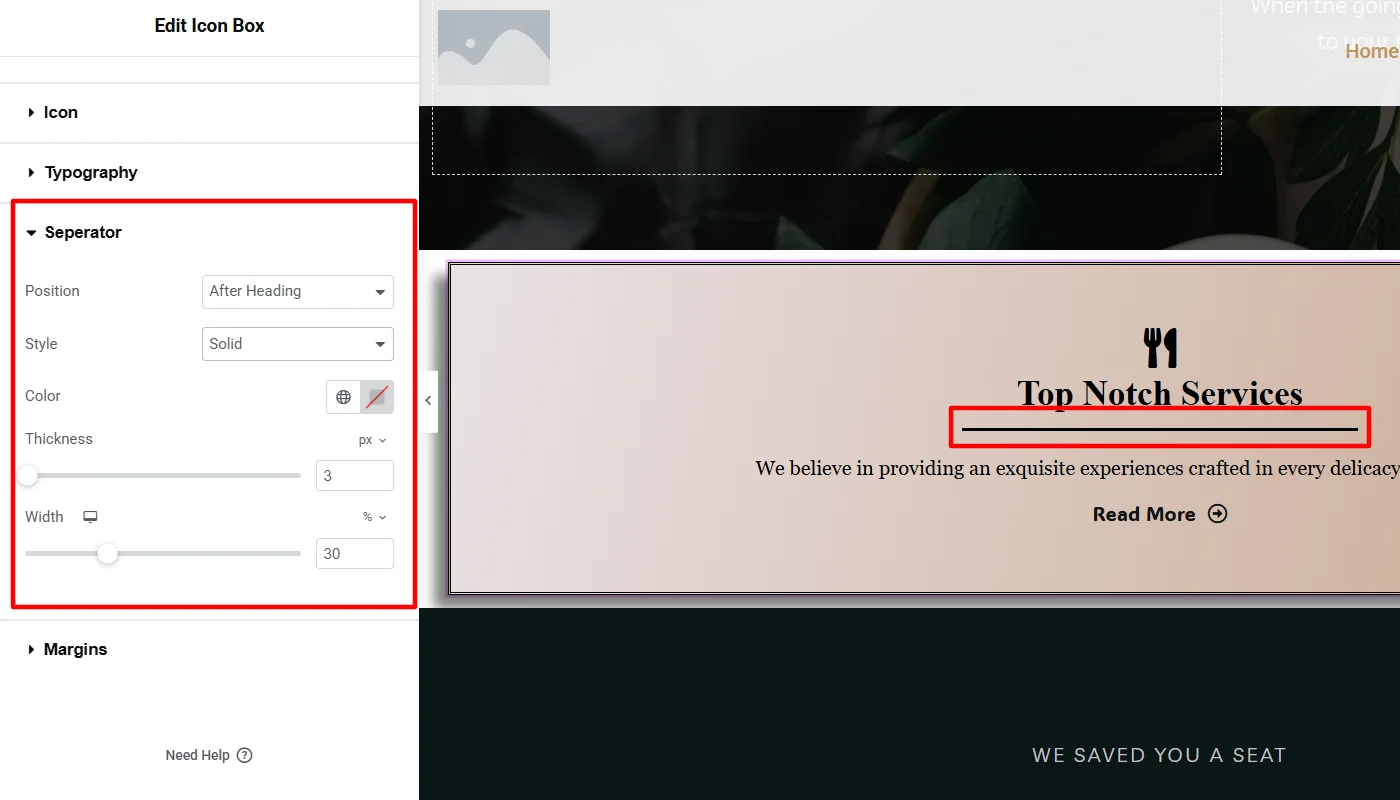
- Separator: Allows you to customize the separator. You can change its position, style, color, thickness, and width.
- Margins: Allows you to define the spacing around the widget. You can set the title, description, separator, and CTA margin to control its placement within your website layout.
How To Use The Icon Box Widgets?
Now that you know the customization and styling options available to you with the Elementor Icon Box widget. Let’s understand how to use them to add functionality to your website.
For the tutorial, I explained how I used the widget to integrate the icon box feature into my dummy website. You can also follow the same steps or tweak settings according to your needs.
Customizing Icon Box Widget?
To customize the widget I began with customizing with editing its general content settings, where in I set a dummy title and description for the widget.
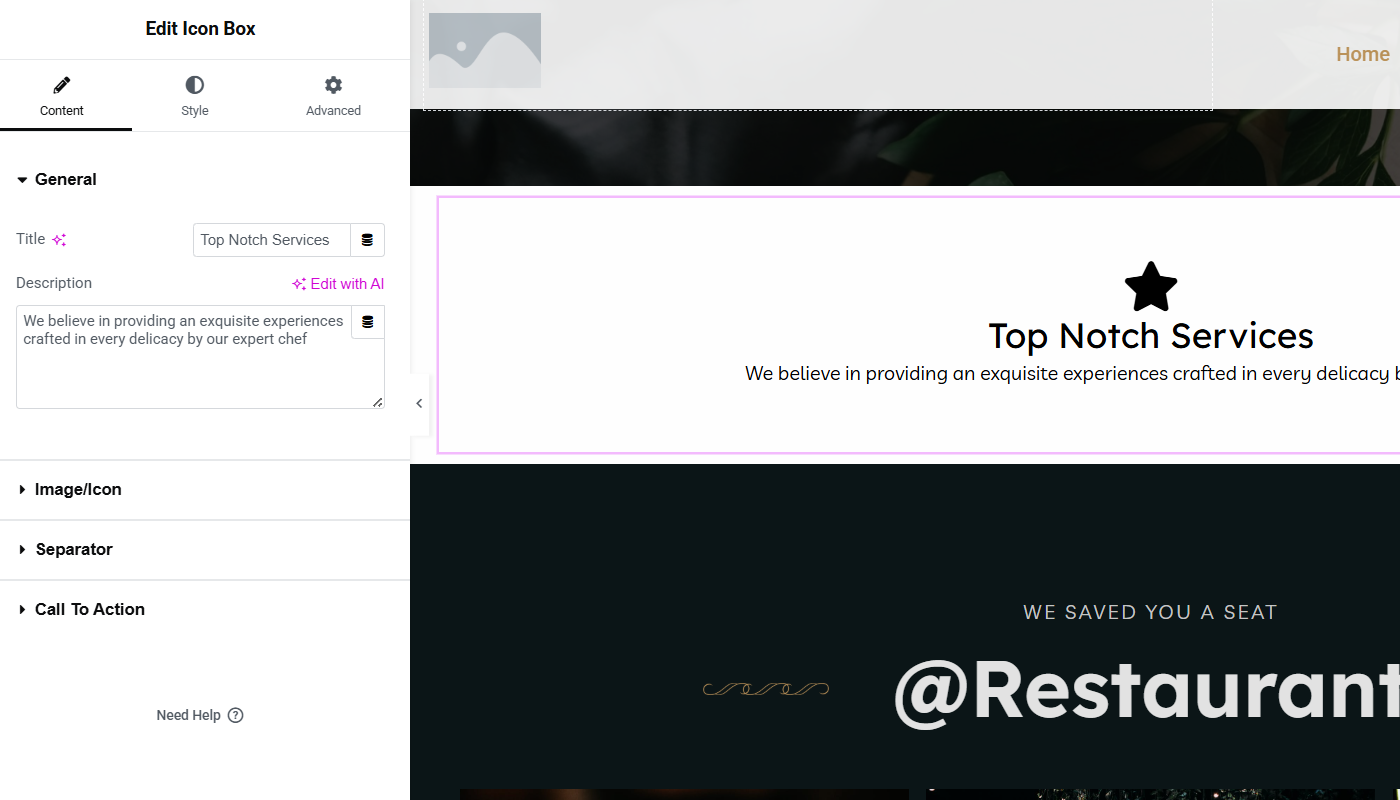
I also changed the icon to suit the description.
Further, to make the icon box text clear, I added a separator between the heading and description.
I also added a call-to-action button text where users can click and read more. Moreover, I added an icon after the CTA text.
Styling the Icon Box Widget?
After the content customizations, I directly jumped into styling the widget’s appearance.
For the overall icon box container,I kept the content centrally aligned and added a gradient background with a box shadow. I also added a border around the container.
To style the icon box icon, I used a suitable icon size positioned as default – above the heading with a normal icon style and black icon color.
For the typodgraphy styling, I changed the font family, weight, and style of the heading, description, and CTA button.
To style the separator and margin, I kept the settings as default and positioned after the heading.
Final Appearance of Icon Box Widget?
After all these edits, the widget looked like this:
FAQ
Install the Responsive Addons for Elementor plugin and navigate to the page where you want to add the widget. Click on the Edit with Elementor button. Simply drag and drop the RAE icon box widget and customize to your needs.
Yes, you can upload your icons or choose from icon libraries available within the plugin you’re using.
Yes, you can easily add an icon box to your WordPress website for free using Responsive Addons for Elementor.
Aim for clarity. Icon boxes are great for highlighting key points, but too many can overwhelm visitors. Stick to 3-5 boxes to communicate the message effectively.
To add a free icon box to Elementor, use the Responsive Addons for Elementor plugin. It offers 80+ free widgets which include the icon box widget. You can add these widgets anywhere on your Elementor site completely for free.
Conclusion
With icon boxes, you can break up text, capture attention, and improve user engagement on your WordPress website.
They make it easier for people visiting your website to notice important information.
This comprehensive guide outlines the step-by-step process of utilizing the Responsive Addons for Elementor plugin to craft visually appealing and informative icon boxes.
By integrating these elements, you’ll be able to effectively convey your message and ensure a memorable experience for your site’s visitors.
Once you add these boxes to your website, you can share your message clearly and leave a strong impression on your visitors, making your website more engaging and exciting.
If you liked this article, don’t forget to give these a read as well:
- How To Create A Countdown Timer For Your WordPress Website
- How To Create An Image Gallery In WordPress
- How To Add Elementor Pricing Table In WordPress
Are you ready to add an icon box to your website? Grab the Responsive Addons for Elementor now! Additionaly for building a fast website, you can also check out the Responsive theme now!


