
Are you looking to offer your website users an engaging and interactive user experience? Adding multi-buttons on your website could be the solution you’re seeking.
Multi-buttons are versatile tools that can be used in various ways. You can showcase different calls to action, highlight various products or services, or allow users to navigate to specific pages with a single click.
Using an Elementor multi-button widget can be an effective and easy solution to add this functionality to your website.
In this article, we’ll explore the simple purpose of multi-buttons and guide you through the step-by-step process of adding the widget to your website.
So let’s get started!
What is the Elementor Multi-Buttons Widget?

The Elementor Multi-Buttons widget is a powerful tool for easily creating and customizing multiple buttons on your website.
It is particularly important for enhancing your site’s user experience and engagement. The widget lets you display a group of buttons, each with its unique link, text, and styling.
Why You Should Add Multi Buttons to WordPress Website
One of the primary benefits of the Multi-Buttons widget is its ability to highlight different calls to action on your website. By displaying a set of visually appealing and attention-grabbing buttons, you can encourage your visitors to take various actions.
Additionally, the enhanced customization and control over the widget can significantly improve engagement and drive better results for your website.
Furthermore, the multi-button widget can be leveraged to showcase your product or service offerings effectively.
Moreover, this widget can improve the navigation on your Elementor-powered website. By providing users with quick access to key pages, you can streamline their browsing experience and simplify finding the content they’re looking for, ultimately increasing engagement and reducing bounce rates.
Things You’ll Need to Add Free Multi-Buttons in WordPress

Now that we’ve explored the importance of the Elementor Multi-Buttons feature, let’s explore the specifics of adding free multi-buttons to your website.
To get started, you’ll need a few key things. Firstly, you’ll need the Elementor page builder plugin.
Elementor is a powerful WordPress plugin that provides an intuitive drag-and-drop interface for designing and customizing website pages.
The Elementor page builder plugin also offers a vast library of widgets that lets you easily add features and functionality to your website. While the essential Elementor plugin includes the Multi-Buttons widget, it requires a Pro version that offers additional features and customization options.

If you are looking for a multi-button widget that offers more styling and customization options, we recommend using the Responsive Addons for Elementor plugin and Elementor.
It is a free advanced Elementor add-ons plugin offered by Cyberchimps. It provides a library of 80+ free widgets that help you enhance the functionality and customization options.
You can also read the Responsive Addons for Elementor Review to learn more about the plugin.
However, the plugin is built on the Elementor environment; hence, to use it efficiently, you will also need the Elementor page builder plugin.
Let’s understand how to add the multi-button widget using the Responsive Addons for Elementor. In the tutorial, we have used both these plugins together to show how you can add fully fledged multi-buttons to any page on your site.
How to Add Multi-Buttons To Your Elementor Site
To add multi-button widget to your WordPress website, follow the following steps:
Step 1: Install and Activate Responsive Addons for Elementor
Navigate through your WordPress Admin dashboard and go to Plugins > Add New Plugin.

Go to the search bar and search for responsive addons for elementor.
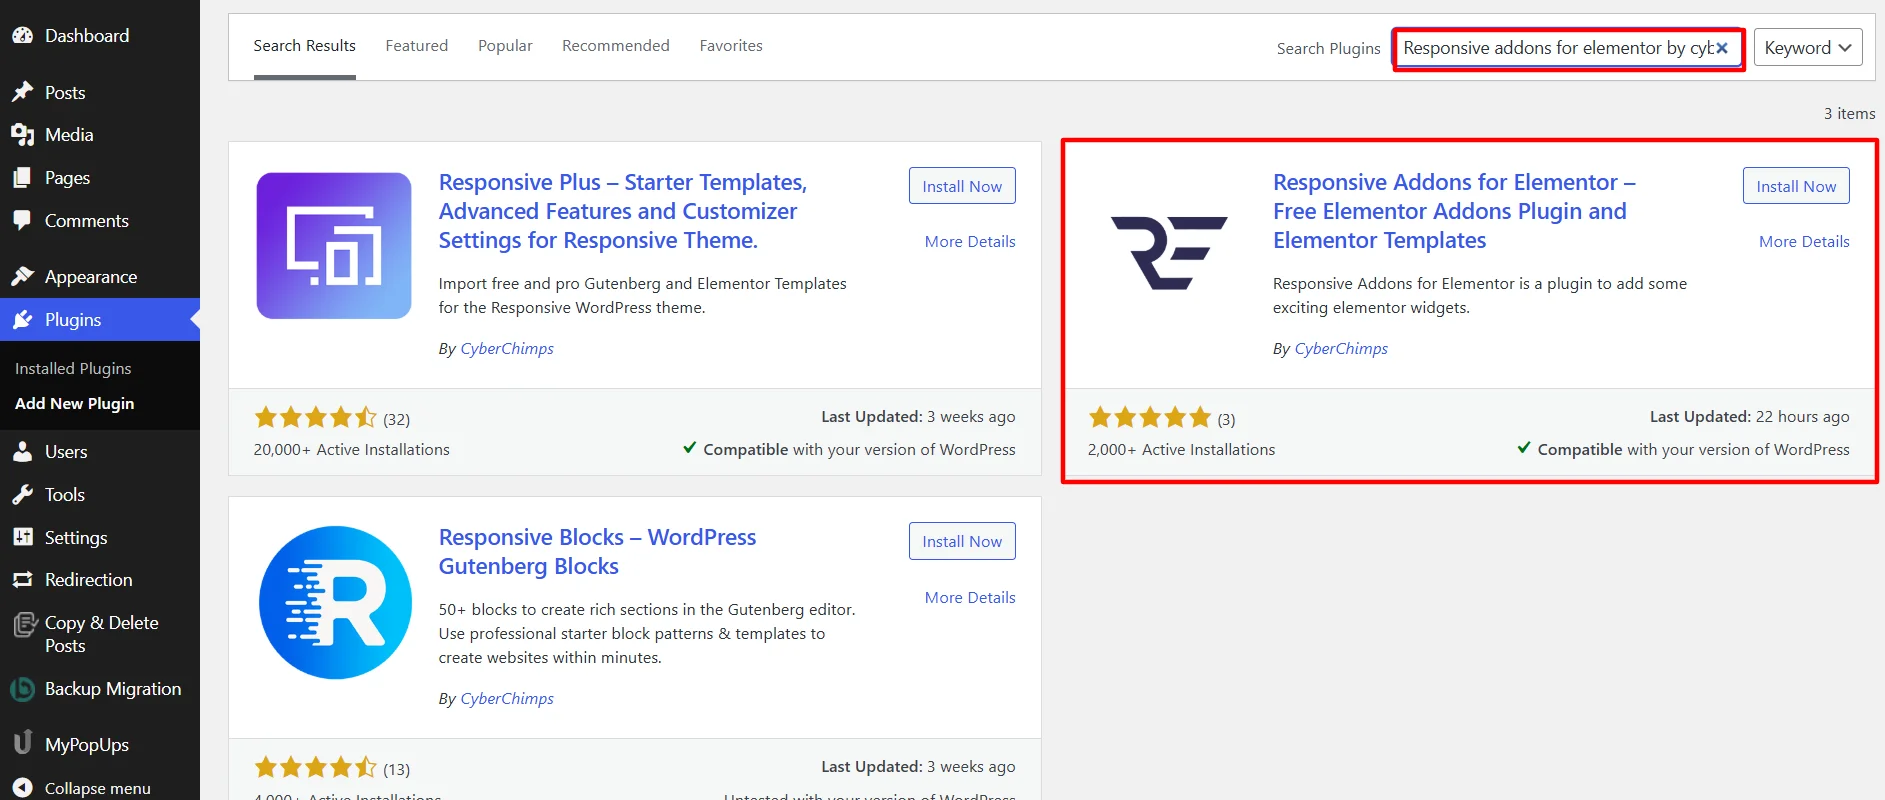
Next, click on the Install Now button.
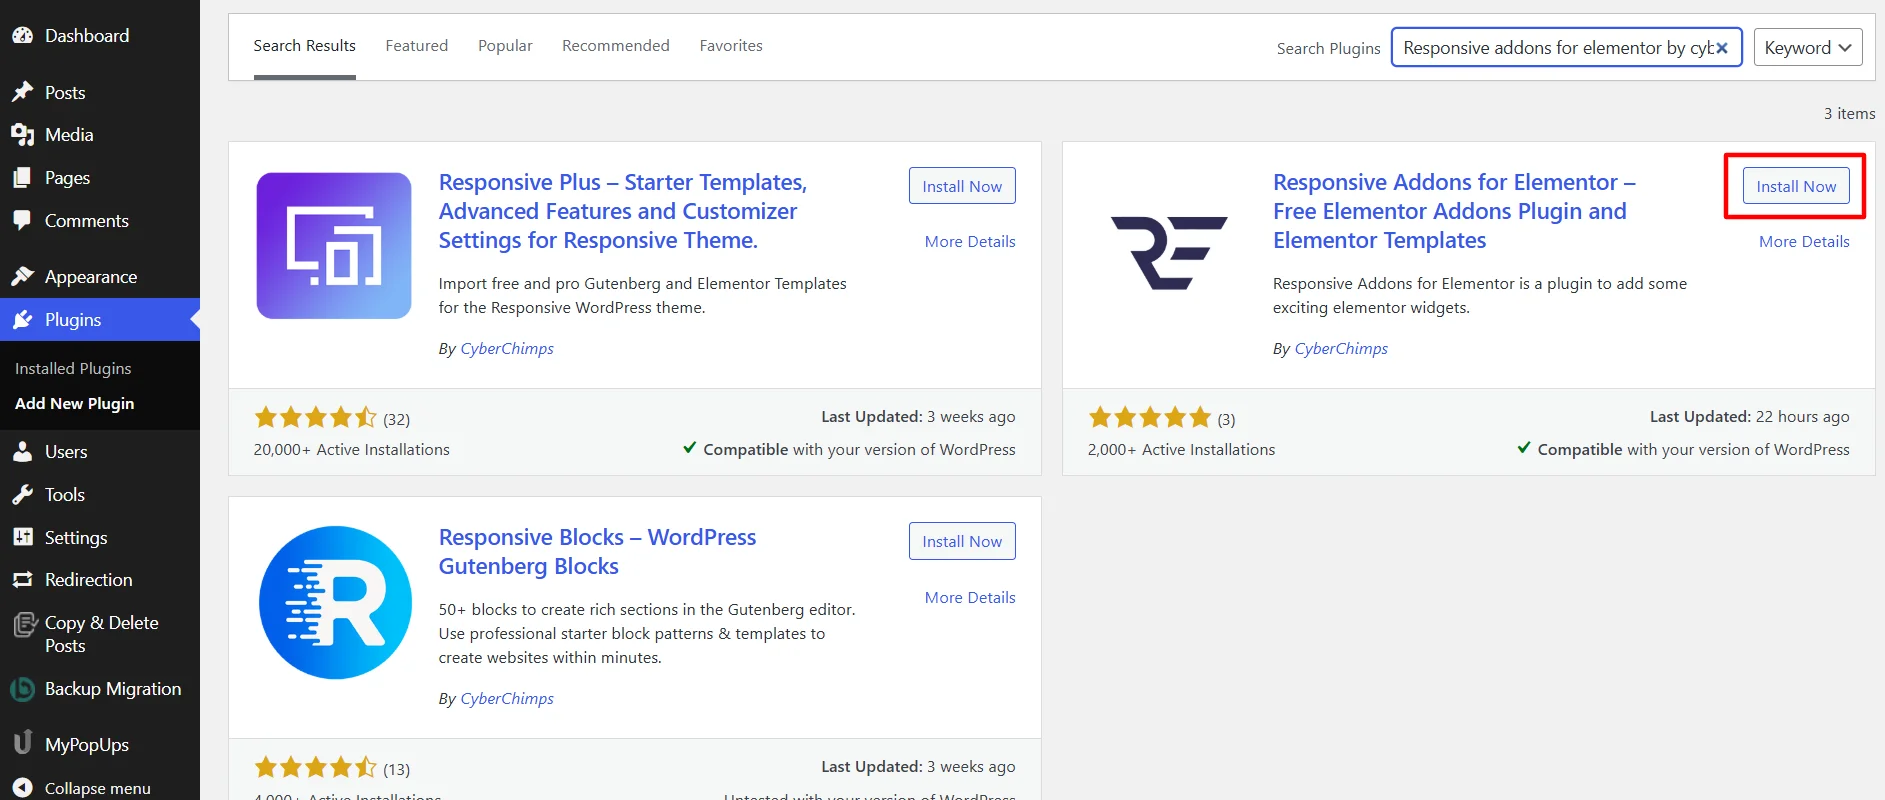
Click on the Activate button to activate the plugin.

Step 2: Adding Elementor Multi-Buttons Widget to Elementor Site
Once you have added the plugin, open the page where you want to add the Search bar.
[For this tutorial, we will use the Corporate Lawyer WordPress Website Template. For more templates, check out the 150+ Elementor templates offered by the Responsive Addons plugin]

Once you’ve selected the page, click on Edit with Elementor.

Search for the Multi Buttons in the widget search bar.

Next, drag and drop the RAE Multi Buttons widget.

Once you’ve added the widget, you can customize it using the following steps.
Step 3: Customizing Multi Buttons
The Multi-Buttons widget offers various options to customize the look which are as follows:
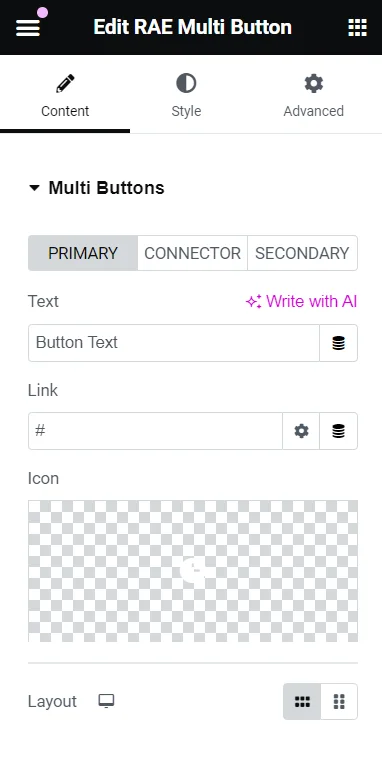
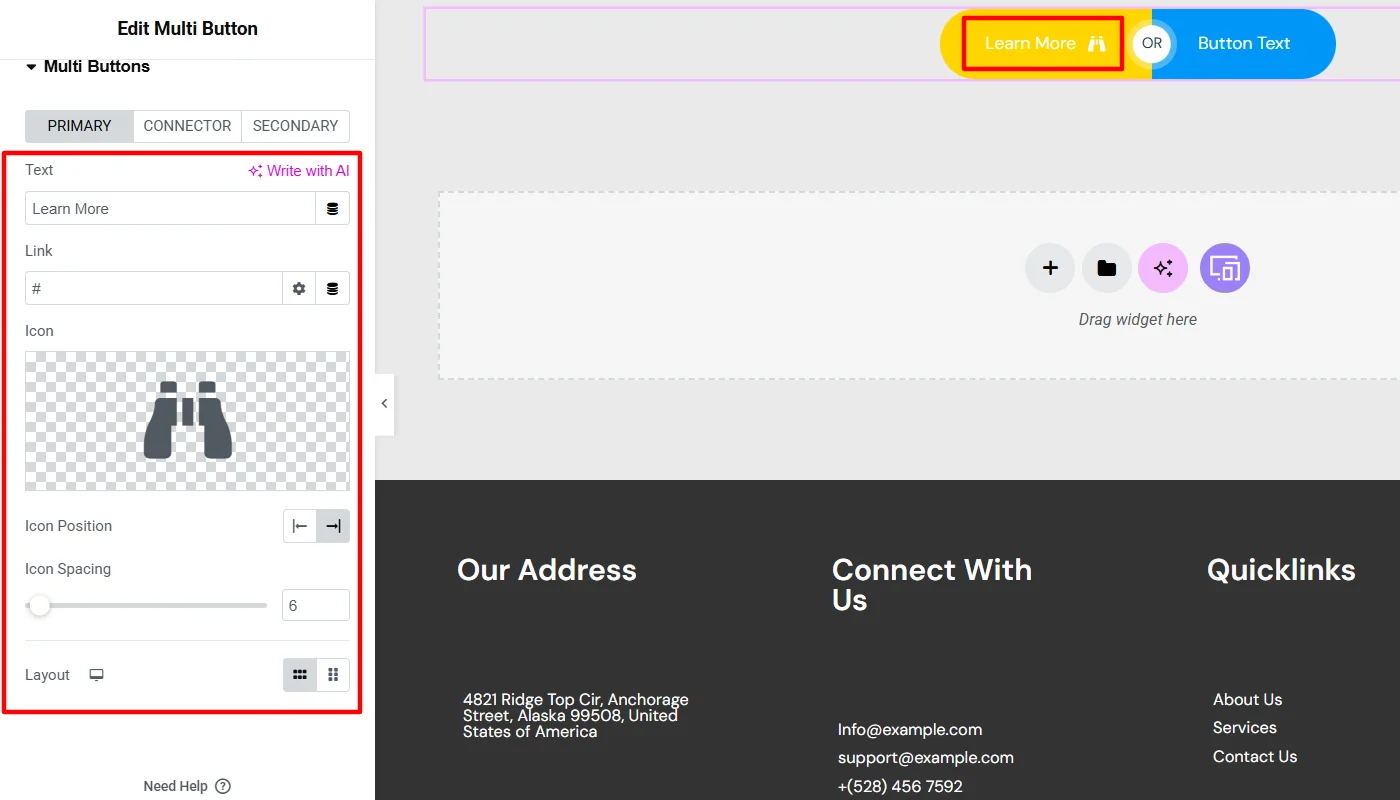
- Text – This allows you to add text to the button.
- Link – This allows you to add the link for the button.
- Icon – Allows you to add an icon to the button content.
- Icon Position – This setting allows you to choose the icon’s position before or after the button text. It is available if the icon has been set to an icon.
- Icon Spacing – This lets you set the icon spacing between the icon and the button text. This setting is available if the icon has been set to an icon.
Step 4: Styling Multi-Buttons
The Multi-Buttons widget offers you a variety of styling option that allows you to style:

Common
- Padding – This allows you to set the padding for both buttons.
- Spacing Between Buttons – This allows you to set the gap between the two buttons.
- Typography – This allows you to set the typography settings for both buttons.
- Box Shadow – This lets the user set the box-shadow settings for both buttons.
- Alignment – This allows you to choose the alignment of the pair of buttons.

Primary Button
- Padding – This allows you to set the padding of the primary button.
- Border – Allows you to select the border type.
- Border Width – This allows you to set the border width of the respective button. This setting is available if the Border is not set to None.
- Border Color – This lets you set the border color of the respective button. This setting is available if the Border is not set to None.
- Border Radius – This allows you to set the border-radius value of the respective button.
- Box Shadow – This helps you set the box-shadow settings for the respective button.
Normal State
- Text Color – Allows you to set the color of the respective button for the normal state.
- Background Color – Enable you to set the background color of the respective button for the hover state.
Hover State
- Text Color – This allows you to set the color of the respective button for the hover state.
- Background Color – This allows you to set the background color of the respective button for the hover state.
- Border Color – This allows you to set the border color of the respective button for the hover state.

Connector
- Text Color – This allows you to set the text color of the Connector.
- Background Color – This allows you to set the background color of the Connector.
- Typography – This enables you to set the typography settings of the Connector.
- Box Shadow – Allows you to set the box-shadow settings of the Connector.
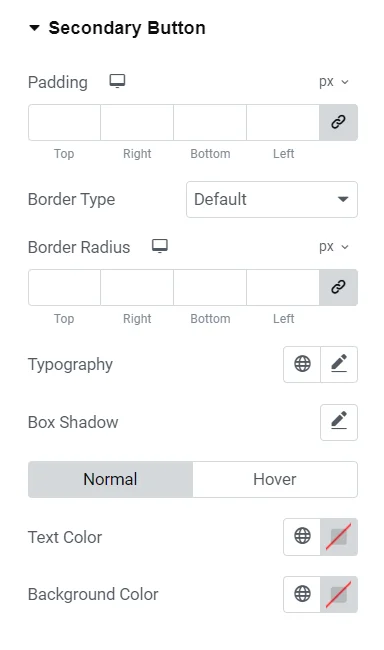
Secondary Button
- Padding – This allows you to set the padding of the primary button.
- Border – Allows you to select the border type.
- Border Width – This allows you to set the border width of the respective button. This setting is available if the Border is not set to None.
- Border Color – This lets you set the border color of the respective button. This setting is available if the Border is not set to None.
- Border Radius – This allows you to set the border-radius value of the respective button.
- Box Shadow – This helps you to set the box-shadow settings of the respective button.
Normal State
- Text Color – Allows you to set the color of the respective button for the normal state.
- Background Color – Enable you to set the background color of the respective button for the hover state.
Hover State
- Text Color – This allows you to set the color of the respective button for the hover state.
- Background Color – This allows you to set the background color of the respective button for the hover state.
- Border Color – Allows you to set the border color of the respective button for the hover state.
How to Use the Multi-Button Widget?
Now that you know the steps for adding and installing the multi-button widget, let’s understand how I styled it to add to my dummy website. You can follow the same steps or make alterations as per your requirements.
Content Customizations of Multi-Button
For the primary button, I added a simple “Learn More” text and a relevant icon, changing the icon position after the text. I kept the remaining settings on default.
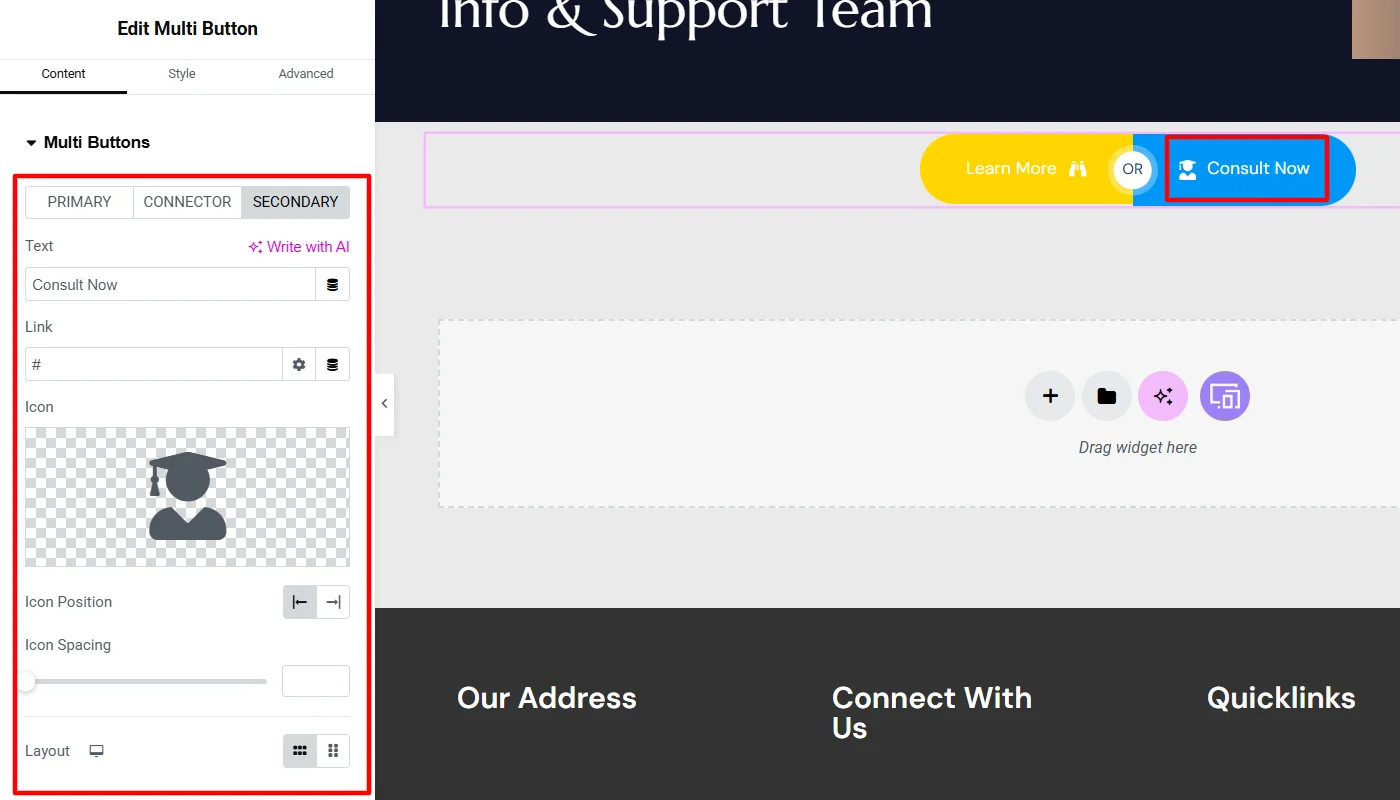
Like the primary button, I added a “Consult Now” text box with an icon for the secondary button. However, for this, I kept the icon position before the text and kept the remaining settings as default.
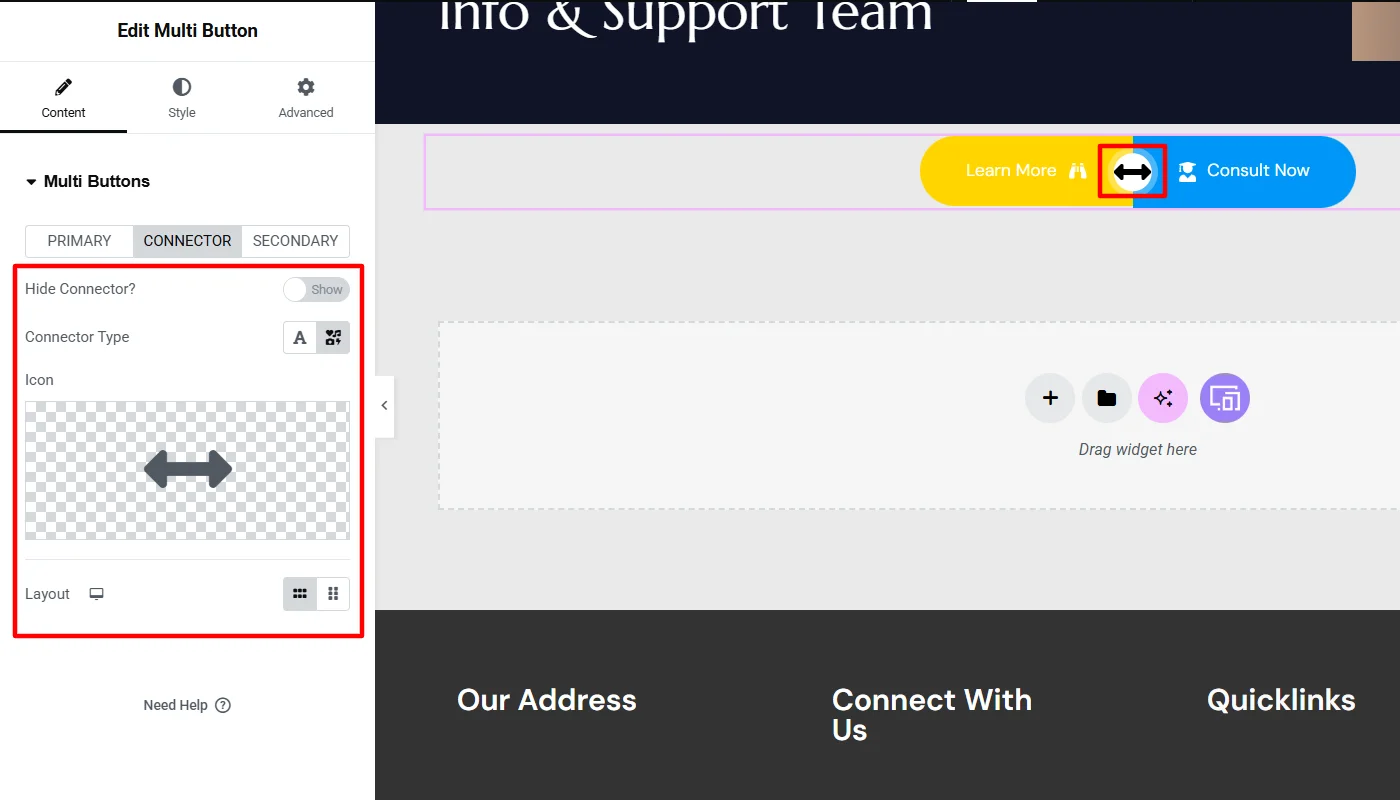
To customize the content for the connector, I just changed the connector type from the default text connector to an icon connector. Also, I added an icon and kept the remaining settings the same.
Styling Customizations of Multi-Button
After making the mentioned changes in content, I moved to style the multi-button.
To begin with, I begin with styling the common customizations wherein:
- I kept the padding as default,
- Slightly adjusted the spacing between buttons
- I reworked the button typography, changed the font family and weight, and adjusted the line height.
- I also added shades with the box shadow vertically and horizontally.
- Remaining, I left the alignment as default.

I did not make many changes to the specific primary button styling. I only made a few alterations in the button text and background color in normal and hover states.
Remaining, I found common styling changes appear better and left other settings to default.

Similarly, for the secondary button styling, I kept most settings default and changed the button text and background color in normal and hover states.

To style the connector, I only added a plain white background color and left all settings as in default.

Final Appearance of Multi Button Widget
After all these customizations, the multi-button widget appeared as below:
You can follow the steps and similarly add this widget to your website.
FAQ
To easily add multi buttons to your website, you can use the multi buttons widget offered by Responsive Addons for Elementor.
The Elementor Multi-Buttons widget is a powerful tool for easily creating and customizing multiple buttons on your website.
Yes, you can easily add a multi-button for free in Elementor using the Responsive Addons for Elementor plugin.
Conclusion
The Elementor Multi-Buttons feature is a powerful and versatile tool that can significantly enhance the user experience on your Elementor-powered website.
By leveraging this functionality, you can create a group of customizable buttons that serve various purposes, from highlighting different calls to action to improving navigation and showcasing your products or services.
To easily add the widget to your website, we recommend using the Responsive Addons for Elementor plugin.
If you liked this article, you may also consider reading:
- How To Add Breadcrumbs To Elementor Website
- How To Add Product Rating To Elementor Website
- How to Add Audio Player To Your Elementor Website
Want to add multi buttons to your site? Grab the Responsive Addons for Elementor now! Additionally, you can fasten your website building process by choosing the Responsive theme.


