Wondering how to create an image gallery on your website?
This article will help you out!
Adding an image gallery to your website can greatly enhance the user experience. It not only helps you showcase your products and services but also improves website SEO, boosts engagement, and establishes a brand identity.
This article will walk you through the required essentials needed to create an image gallery on your WordPress website.
So let’s get started.
- What is an WordPress Image Gallery?
- How to Create Image Gallery in WordPress Using Responsive Addons for Elementor
- Adding WordPress Image Gallery Using Elementor Page Builder
- FAQ
- Conclusion
What is an WordPress Image Gallery?
Before we dive into the technical aspects covering how to create an image gallery, let us understand what is an image gallery.
Basically, an image gallery on a website is a dedicated section that allows users to view and interact with a collection of images in an organized and visually appealing manner.
A well-designed gallery allows visitors to easily browse through and interact with your website. In addition, it also facilitates social sharing of your content.
By incorporating an image gallery on your website, you can capture your audience’s attention and provide an engaging experience.
Well, now that you know the basics of an image gallery and why you need one on your website, let’s understand the methods of creating one on your WordPress website.
There are various ways to create an image gallery on your website. This article will explore two easy ways to create an image gallery on your website.
How to Create Image Gallery in WordPress Using Responsive Addons for Elementor
Responsive Addons for Elementor is a powerful WordPress plugin offered by Cyberchimps. It provides a suite of 80+ free widgets that help you enhance the functionality and customization options within the Elementor page builder.
In addition, the plugin also offers 150+ WordPress website templates that help you instantly build a website.
The Responsive Addons for Elementor offers a variety of advanced widgets which also include a specialized Elementor image gallery widget. It provides a wide range of customization settings, allowing you to fine-tune the appearance and behavior of your image galleries to align with your website’s branding and design.
To create an advanced free image gallery, the Responsive Addons for Elementor plugin follow the following steps:
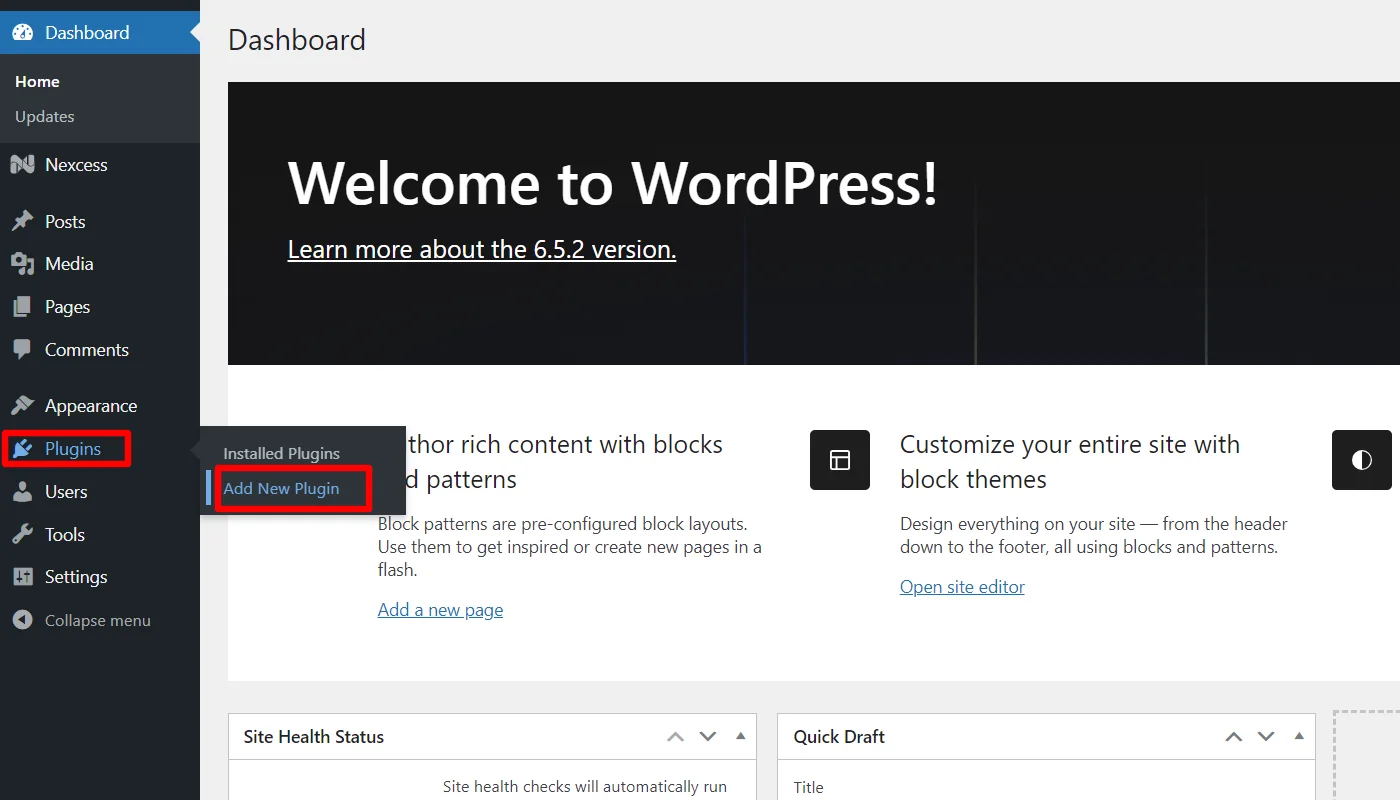
Step 1: Install and Activate Responsive Addons for Elementor
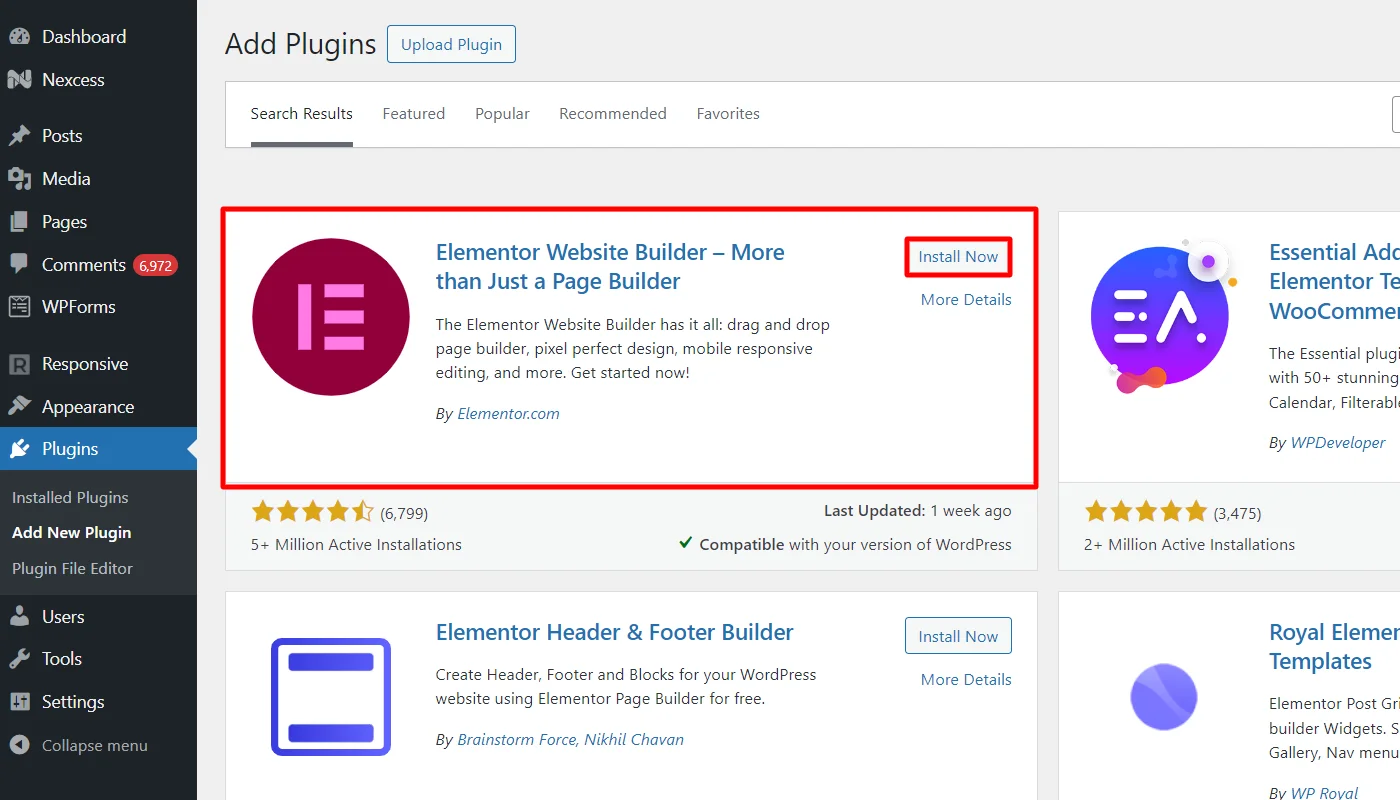
Navigate through your WordPress Admin dashboard and go to Plugins > Add New Plugin.
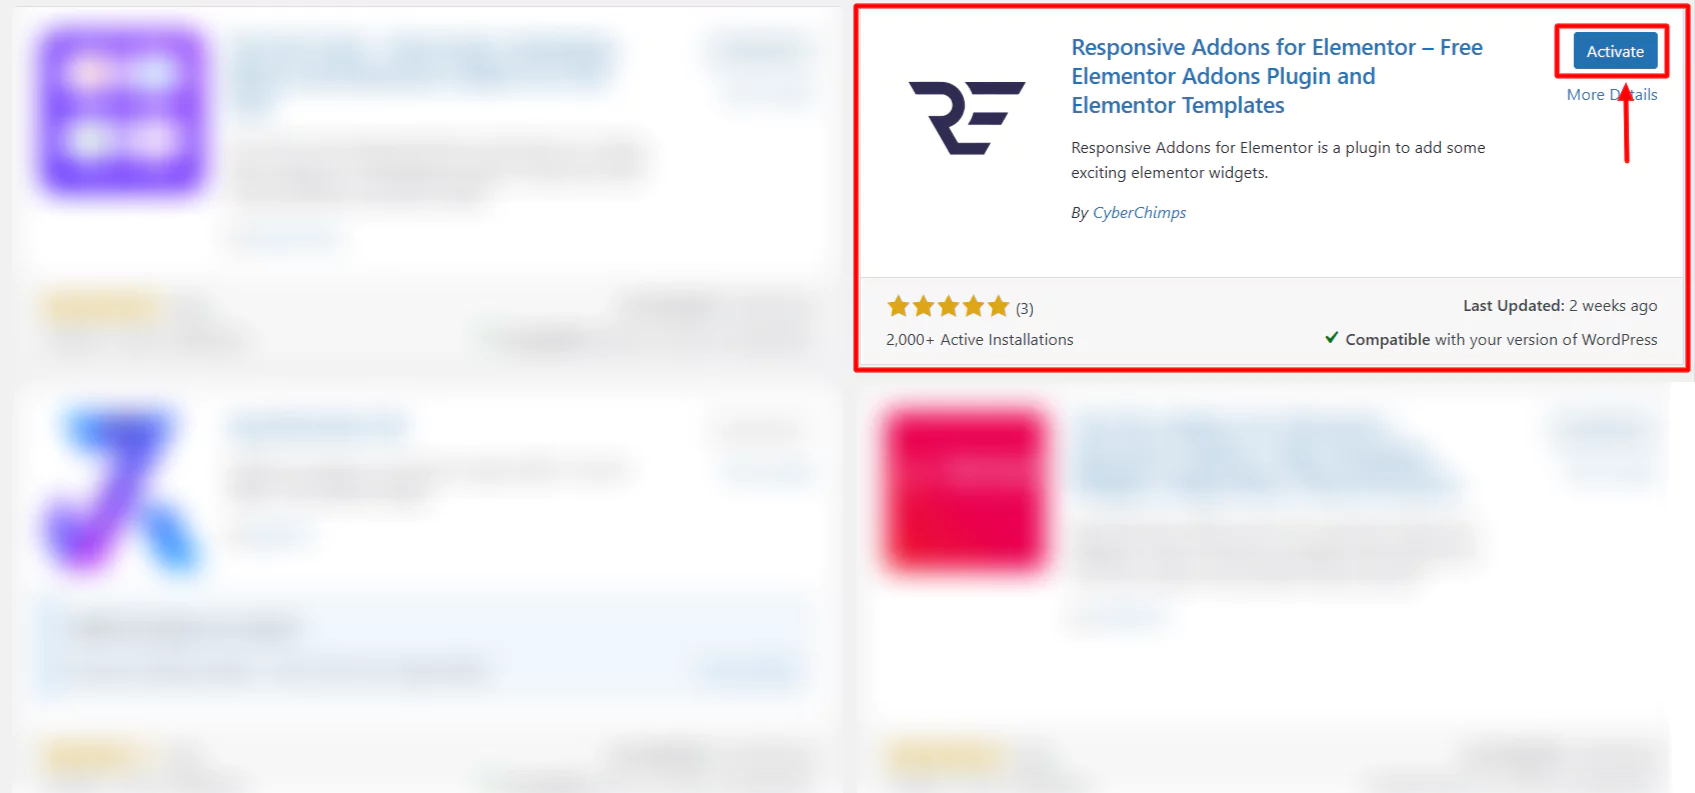
Go to search plugin and search responsive addons for elementor.
Next, click on Install Now and download the plugin.
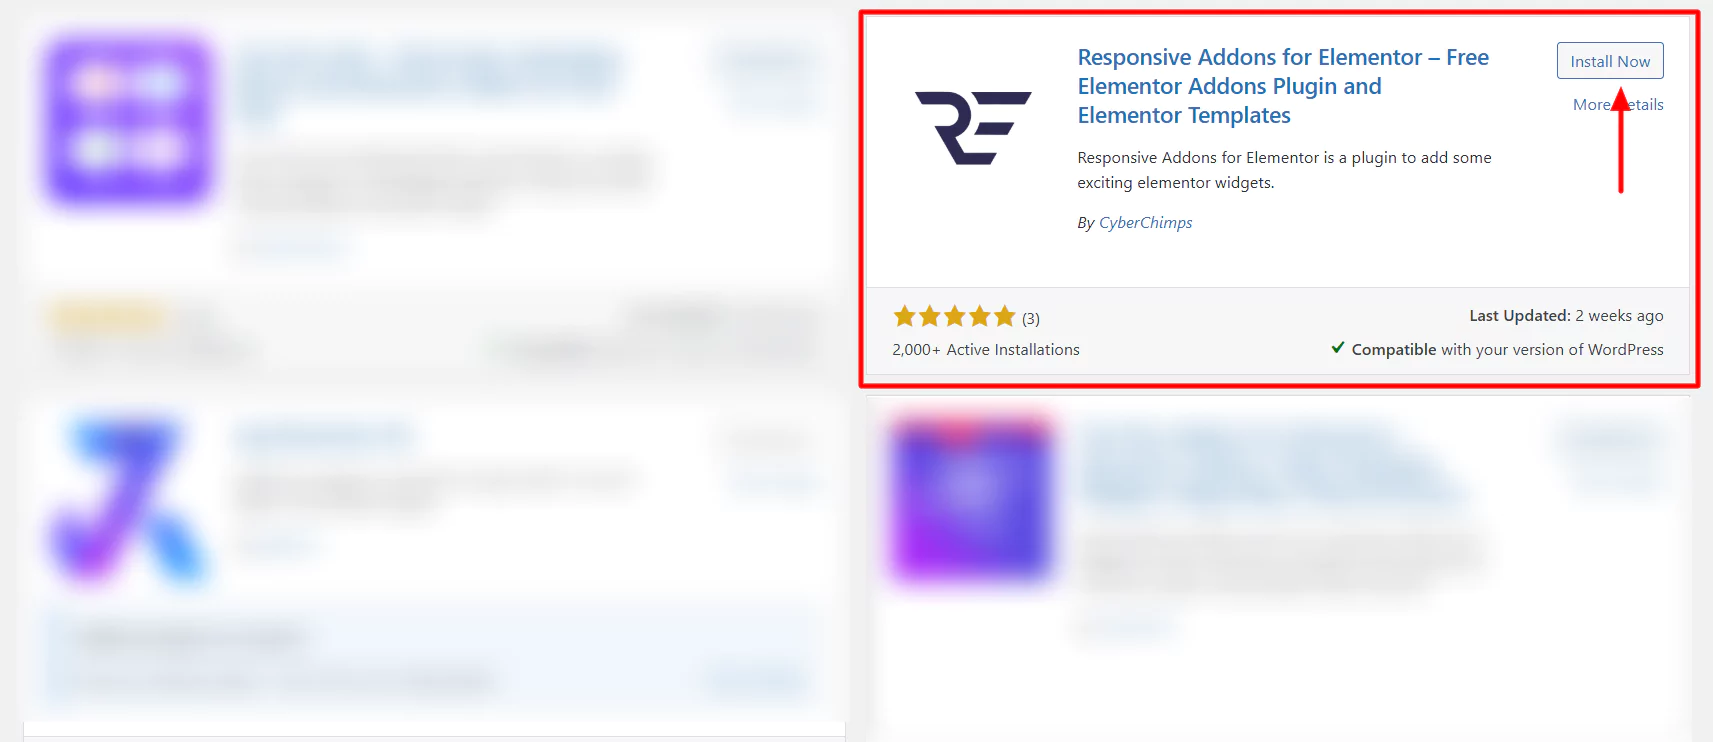
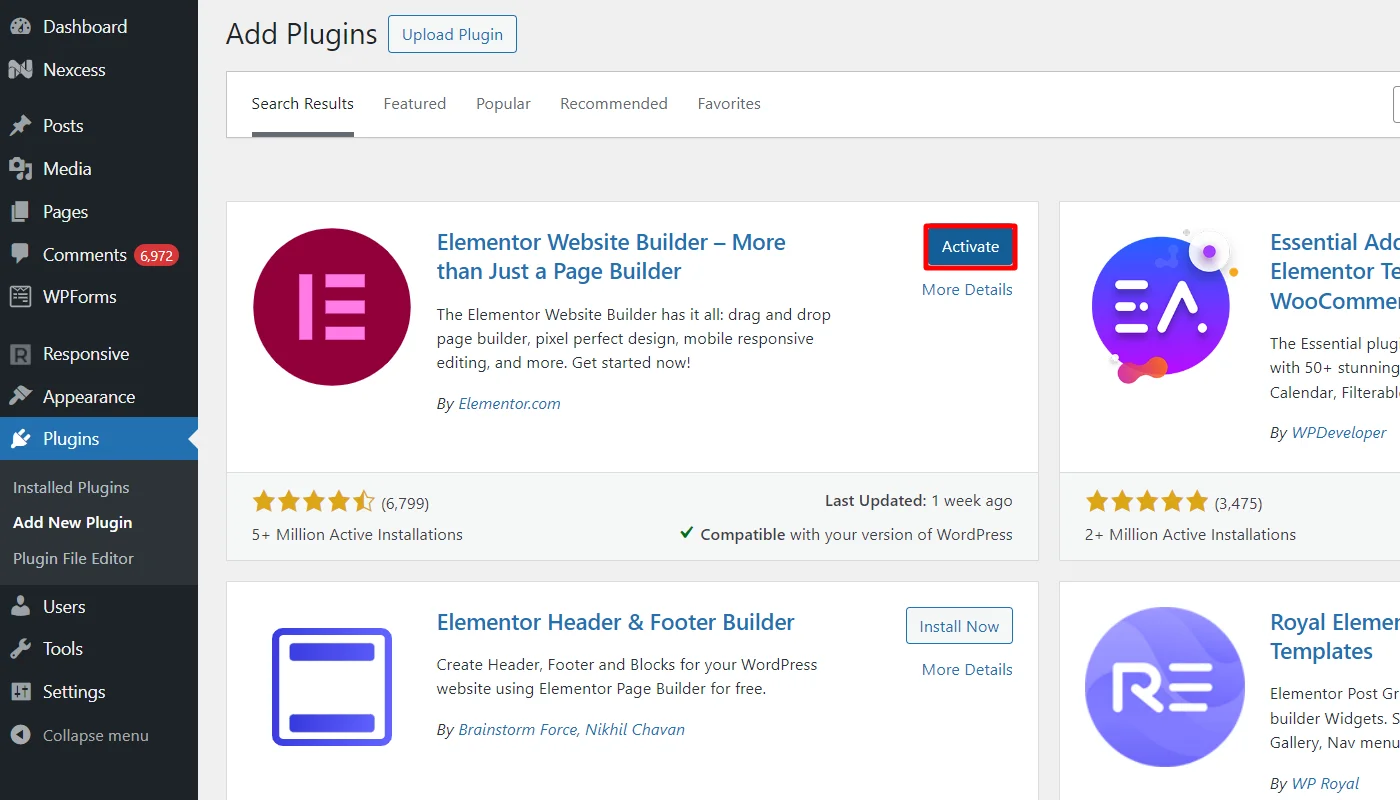
Click on Activate to activate the plugin.
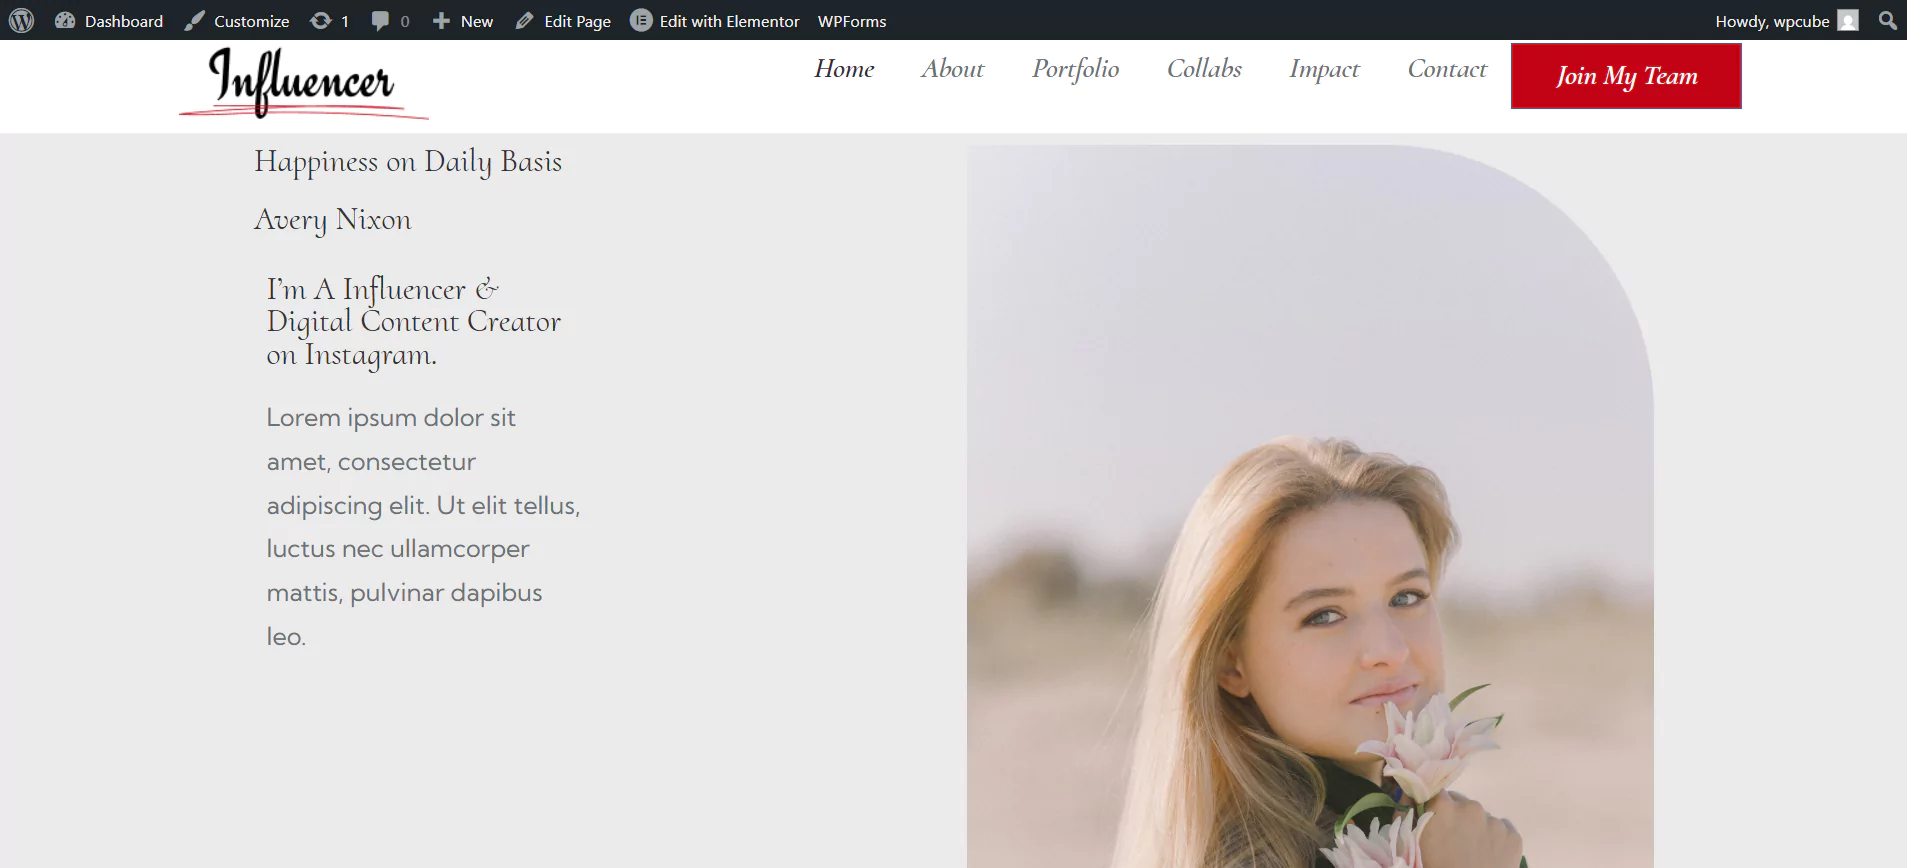
Open the page where you want to add the image gallery
Step 2: Adding Elementor Image Gallery Widget to Elementor Site
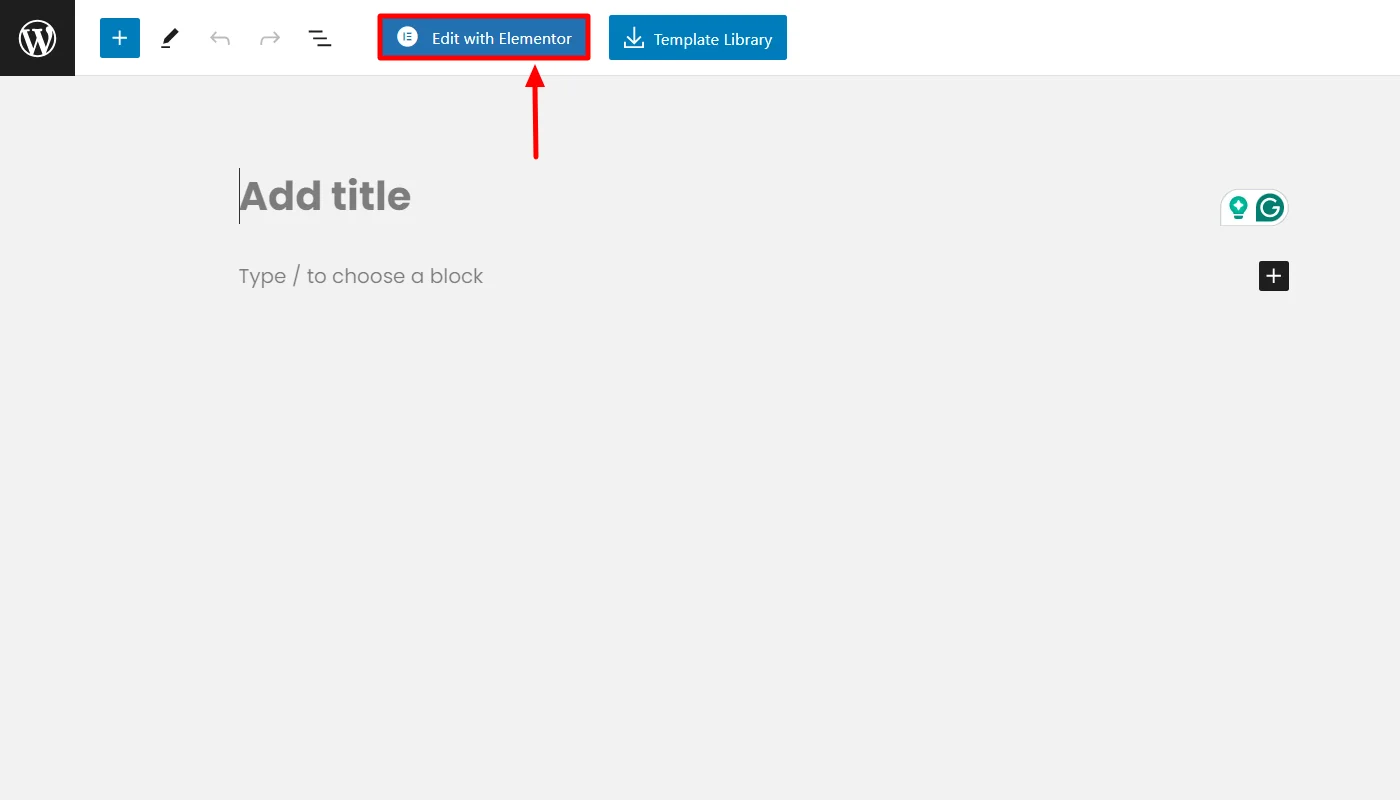
Click on Edit with Elementor.
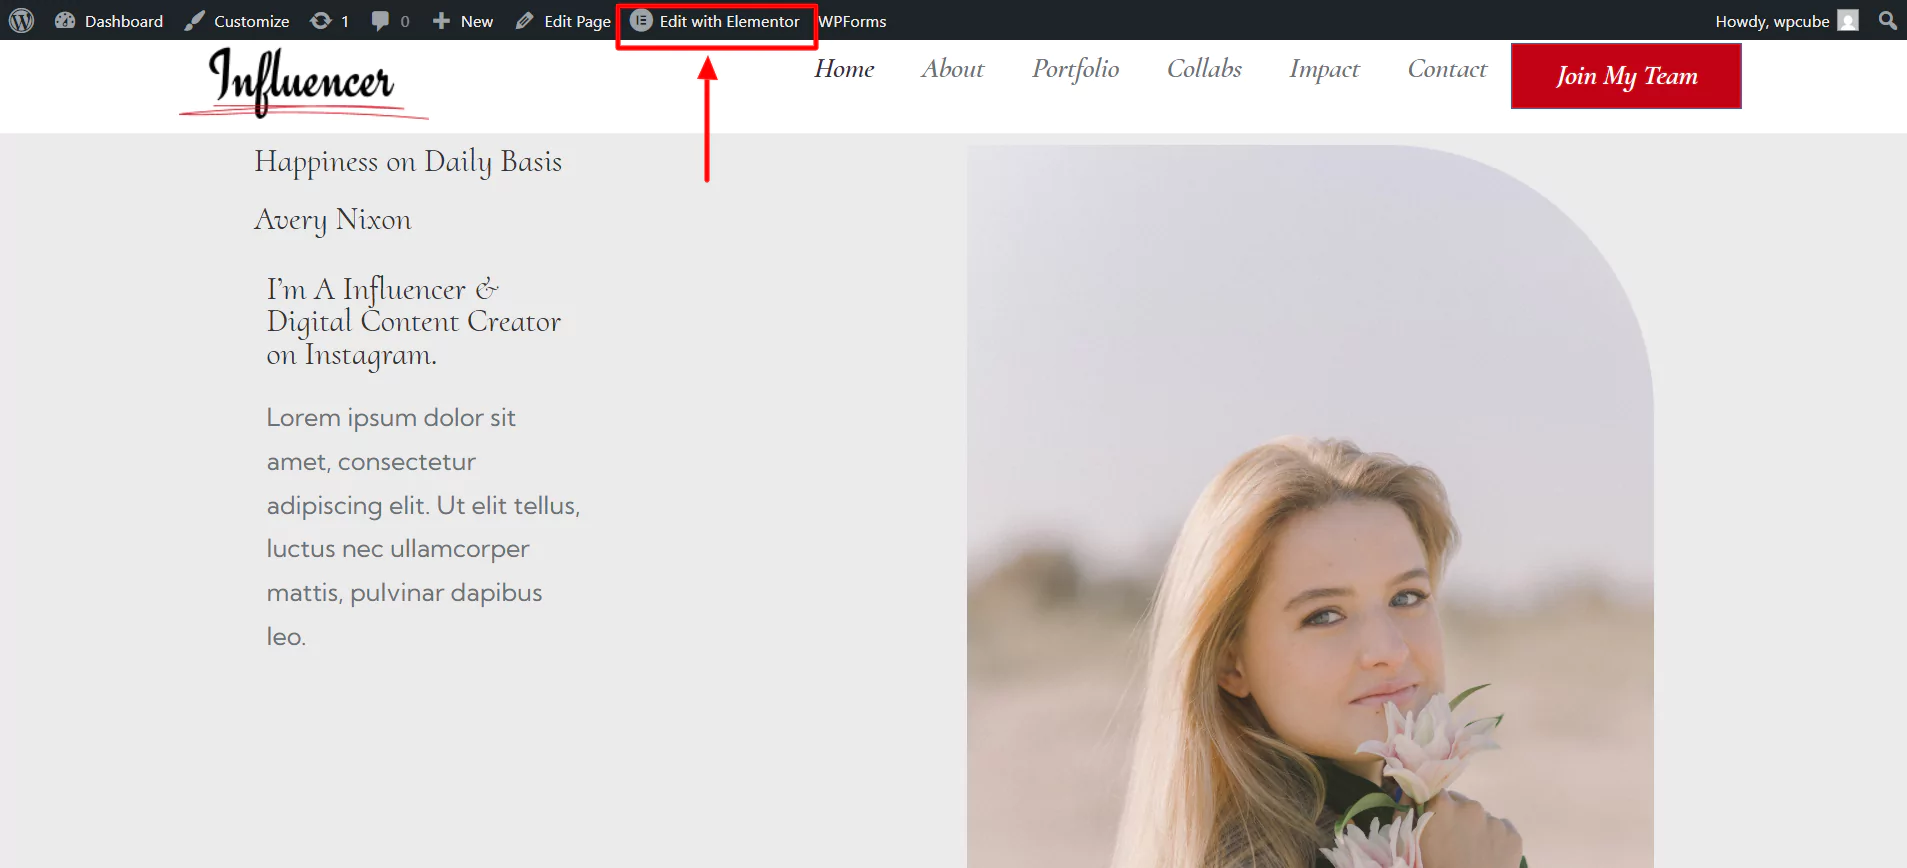
Elementor editor will open.
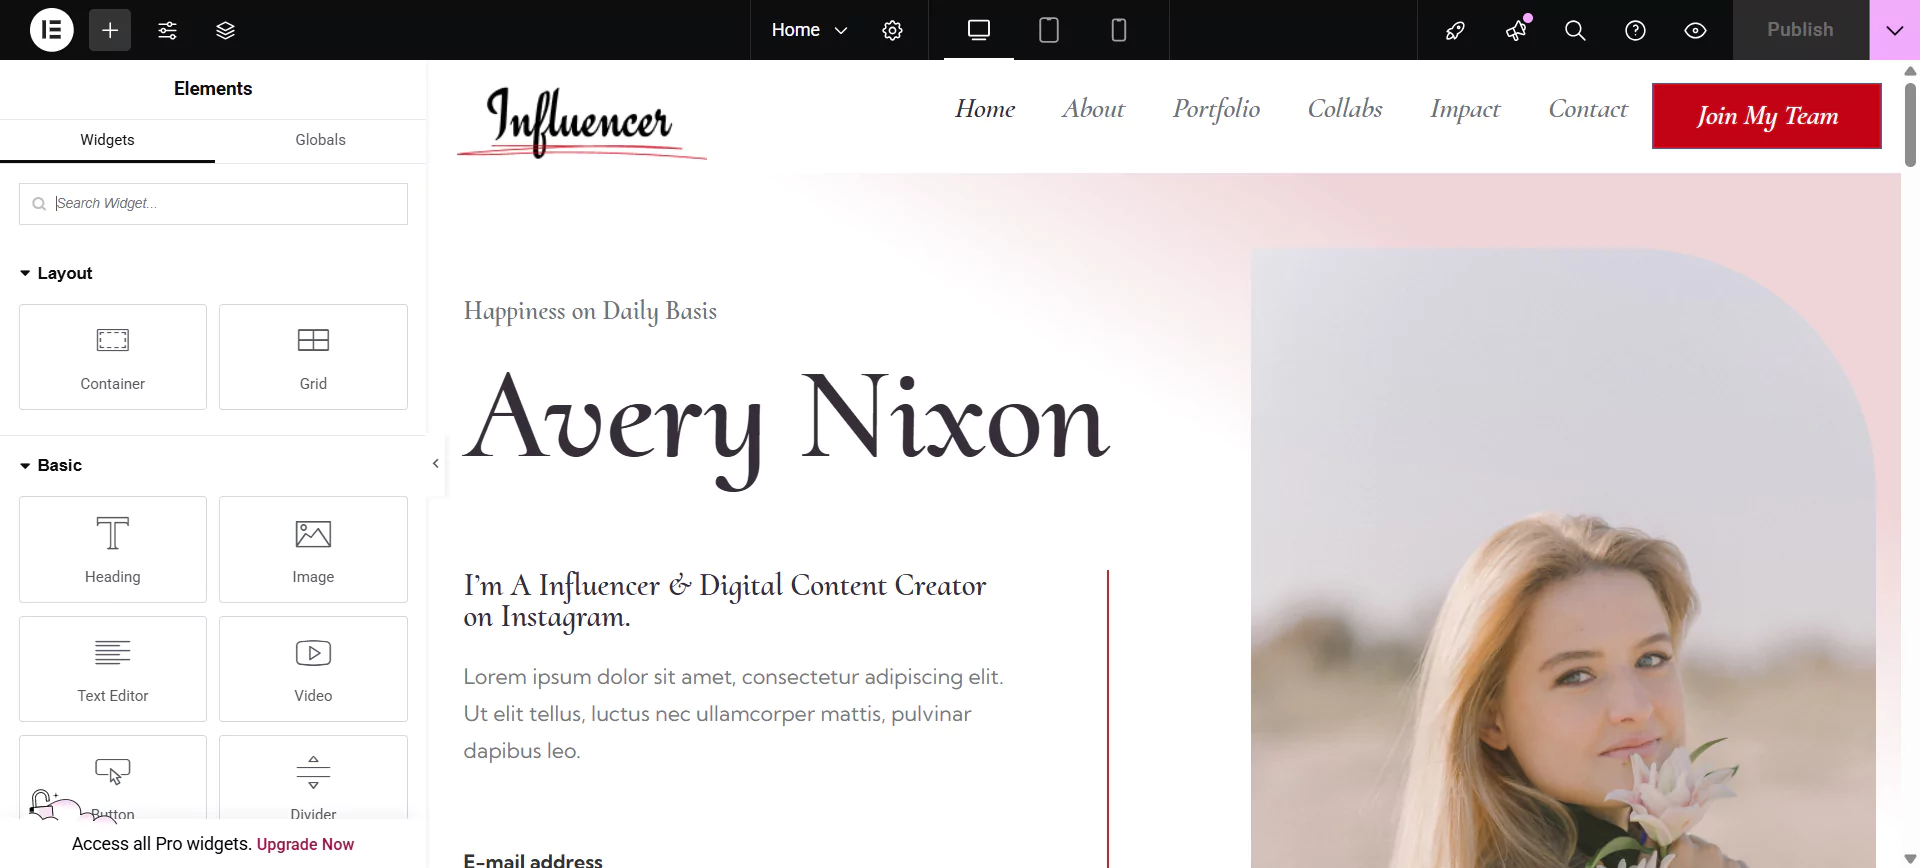
Search and Drag and drop the RAE Image Gallery widget.
Step 3: Customizing the Image Gallery in WordPress
The image gallery allows you to customize various elements:
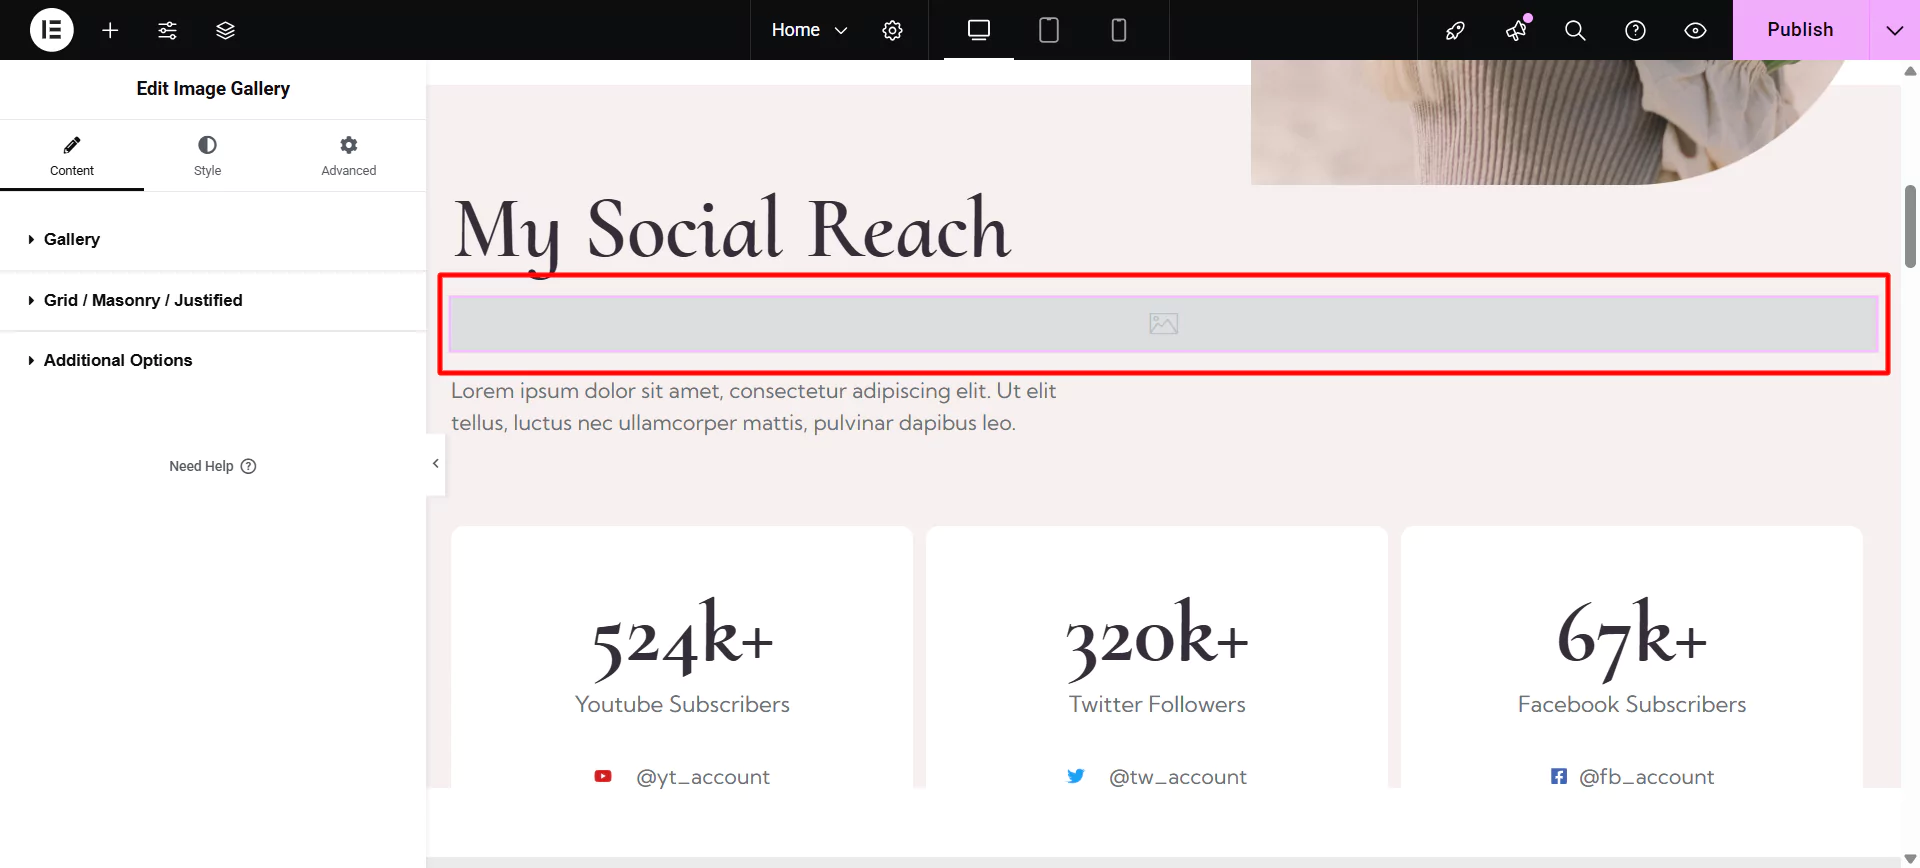
Editing Gallery Settings
To customize the content of the image gallery, click on the Gallery tab.
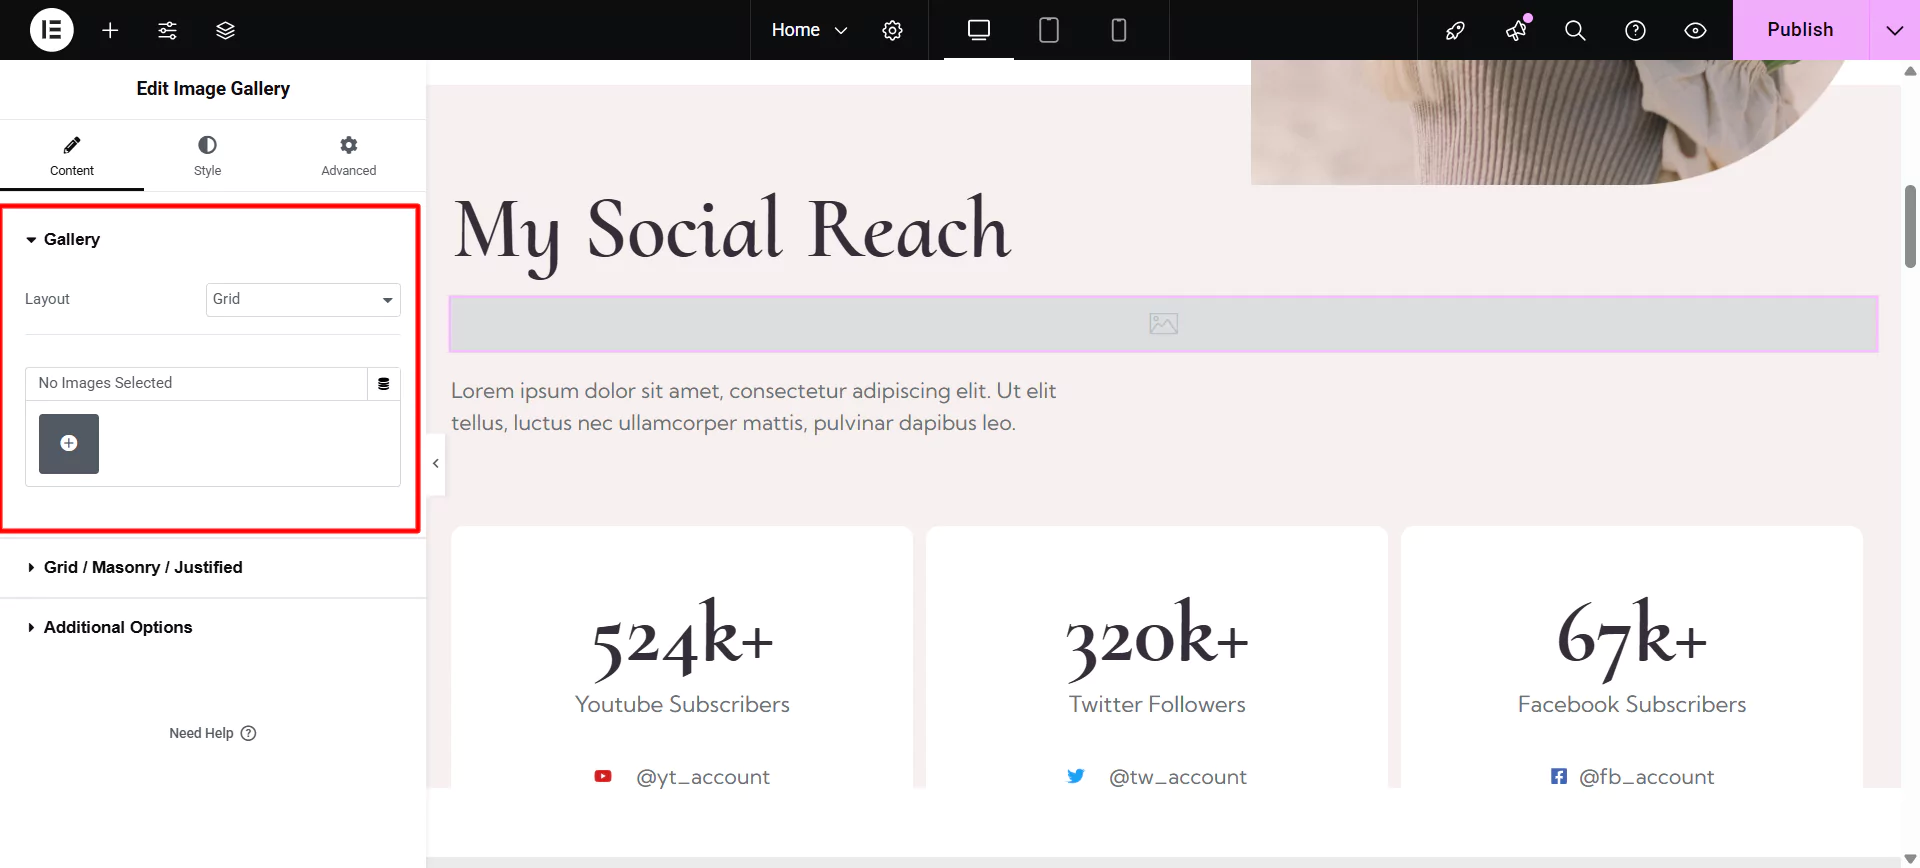
This allows you to upload images in the gallery. The Widget allows you to select the Layout of the image gallery among the following options:
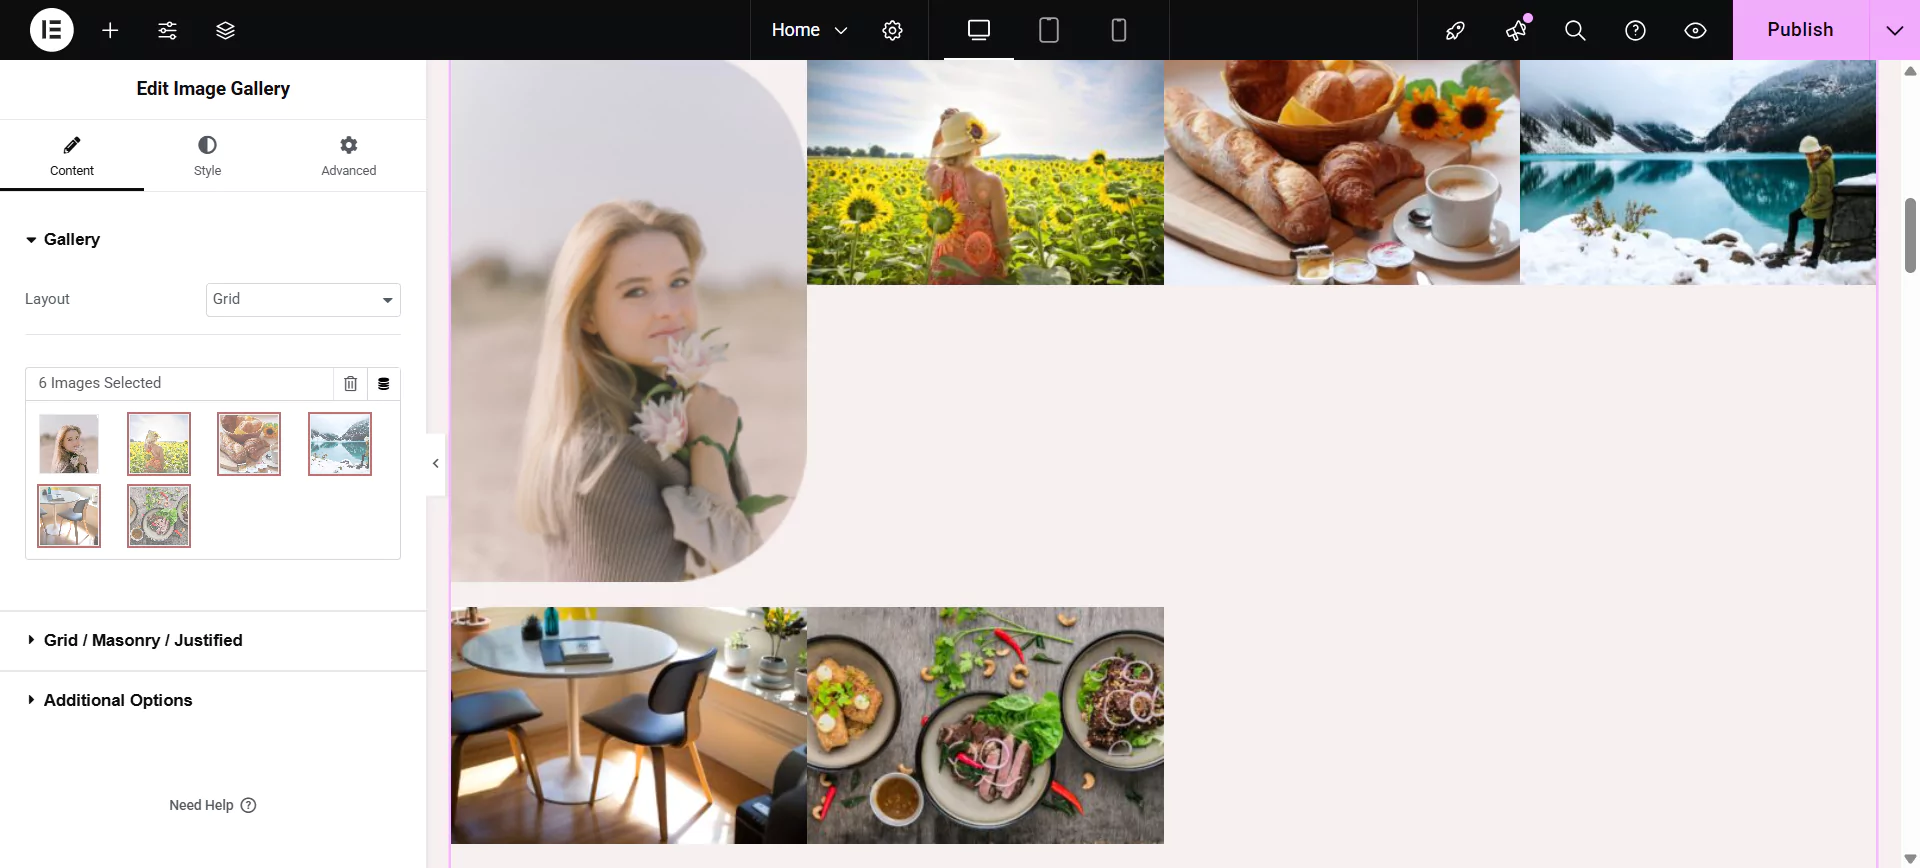
- Grid: This layout will display products in a “rows and columns” structure.
- Masonry: This layout adjusts the images in columns according to size. Hence reduces the size of the image gallery on the web page.
- Justified: Set all images in the same row at the same height. It fills all spaces between the rows. Read more about this layout in the article here.
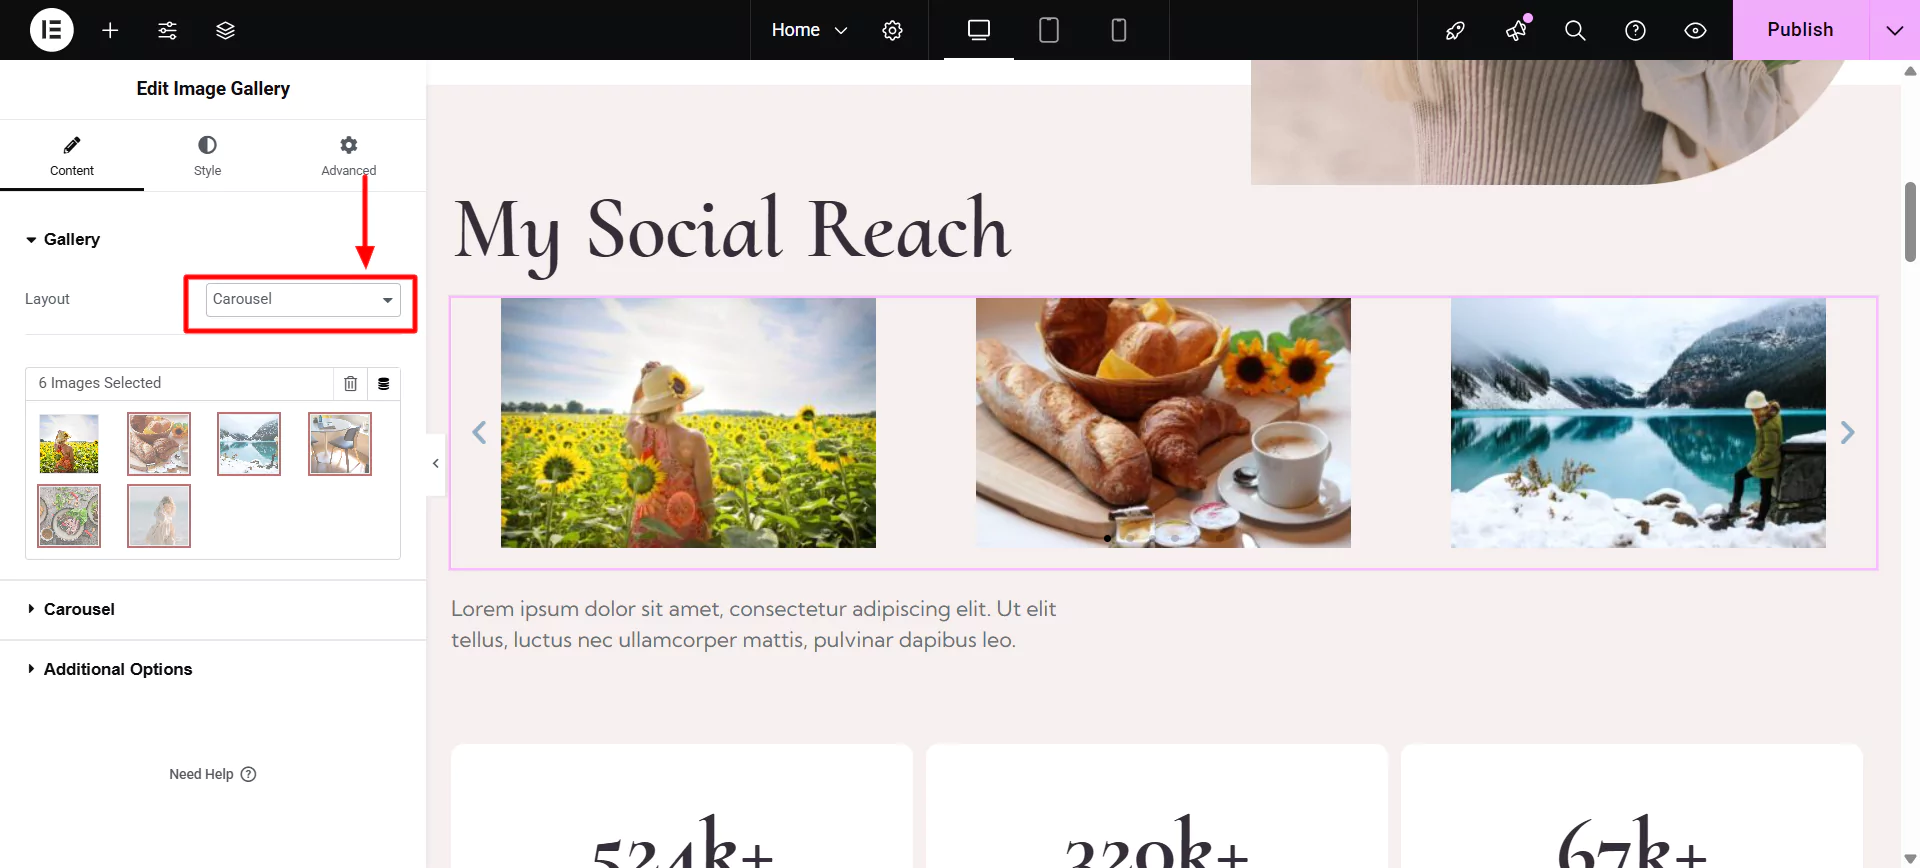
- Carousel: Images will be displayed in a nice slider.
Editing Grid/Masonry/Justified
If you choose a grid, masonry, or justified layout, you can edit its further options. This feature allows you to display the images in static sliders. This allows you to edit:
- Number of Columns.
- Toggle Filterable Image Gallery: This feature allows you to display images assigned to their respective categories. You can switch between the categories by clicking on the upper tab with the category name assigned.
- If the filterable image gallery is toggled it allows you to set Tab Label.
- Toggle Default Tab on Page Load to switch between custom and find. If toggled it allows you to Enter Category Name to set as default on page load.
- Toggle Responsive Support: This enables filterable tab and dropdown on mobile.
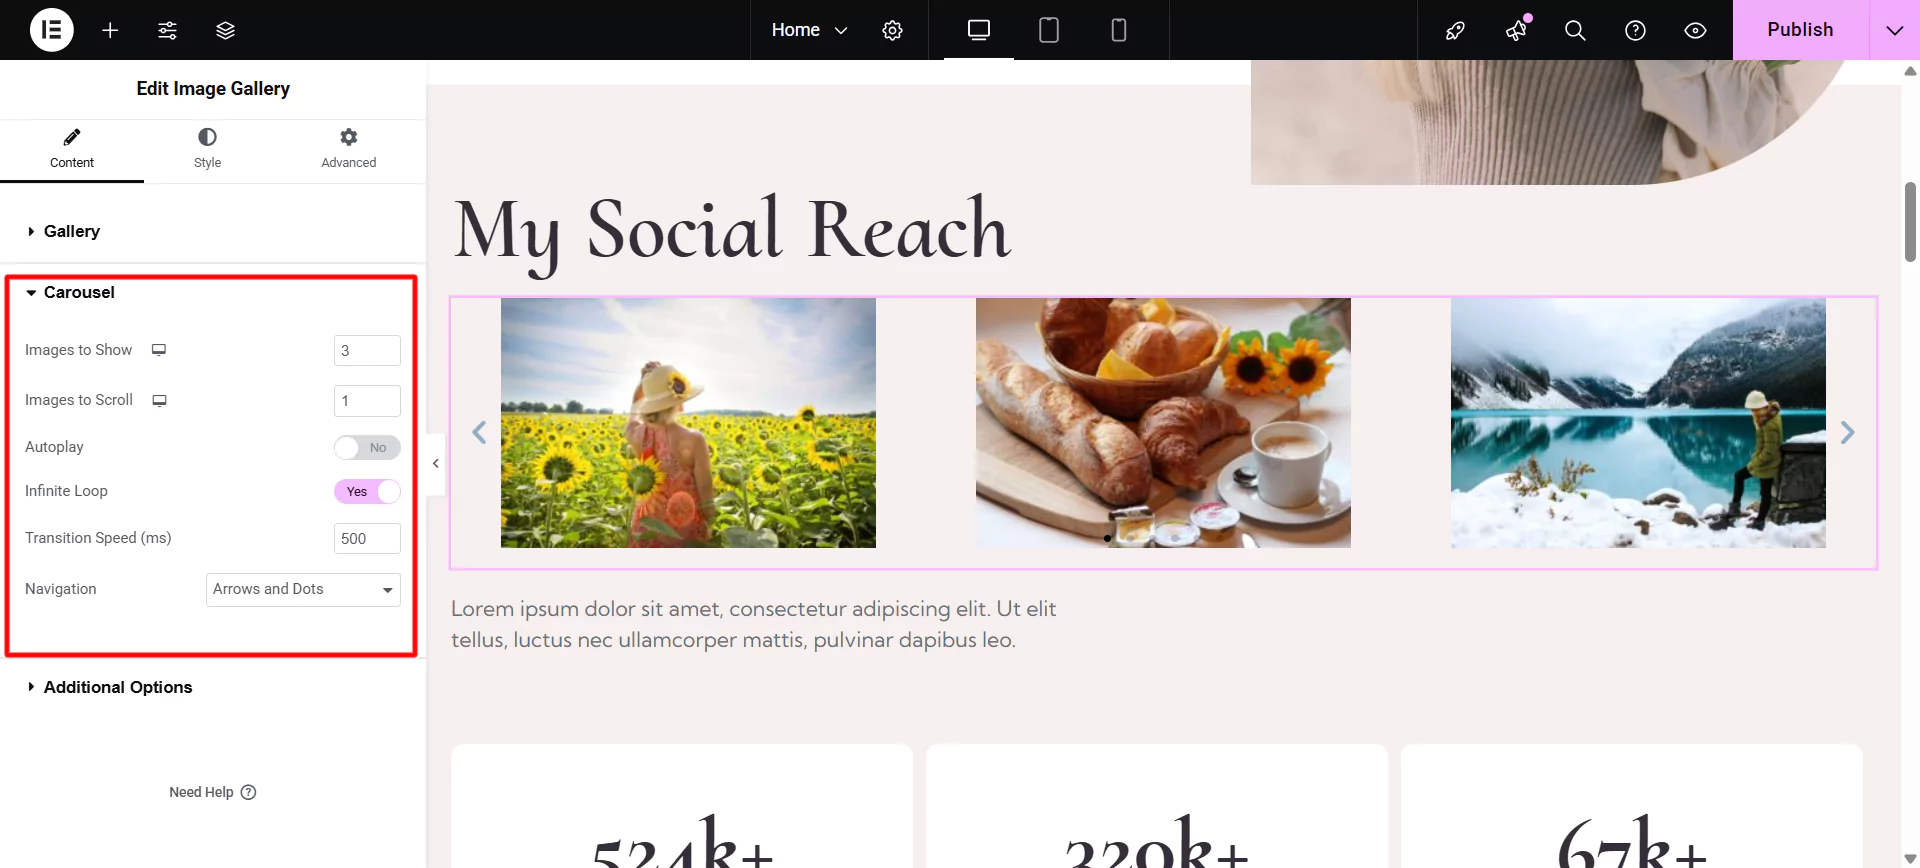
Editing Carousel
If you choose a carousel as the layout, you can edit its options further. This feature allows you to display the images in a carousel slider.
This allows you to edit:
- Number of Images to Show
- Number of Images to Scroll
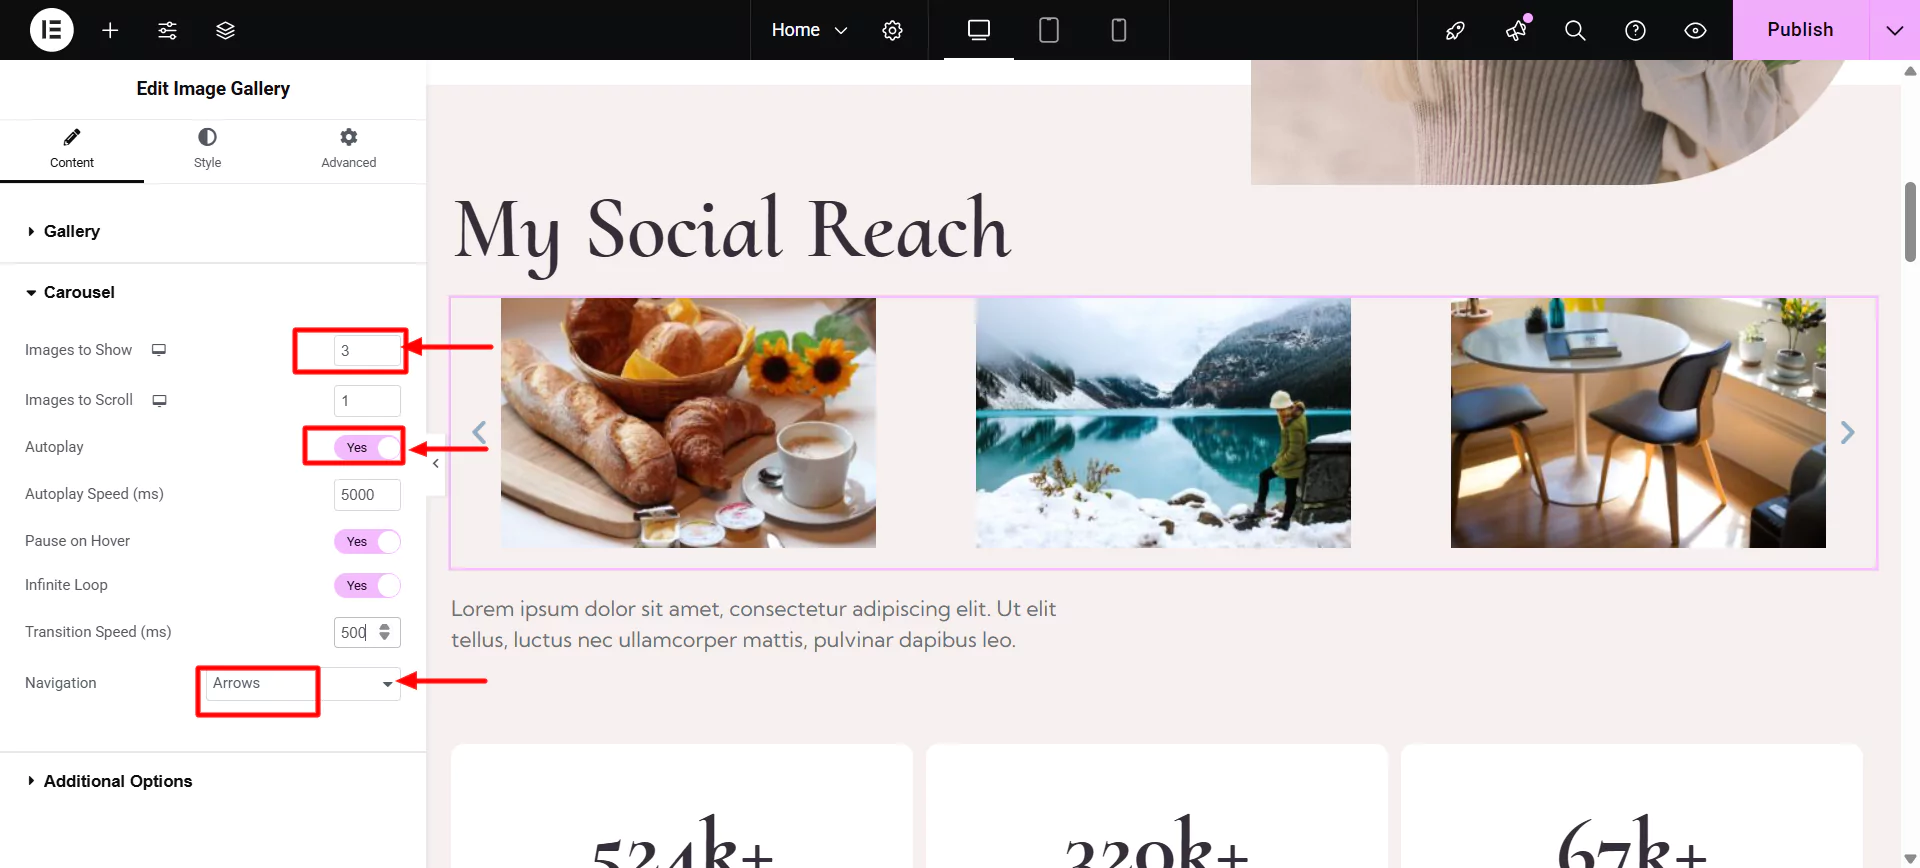
- Toggle Autoplay
- If the Autoplay button is toggled, it allows you to set an Autoplay Speed
- Toggle Pause on Hover
- Toggle Infinity Loop
- Setting Transition Speed
- Setting Navigation
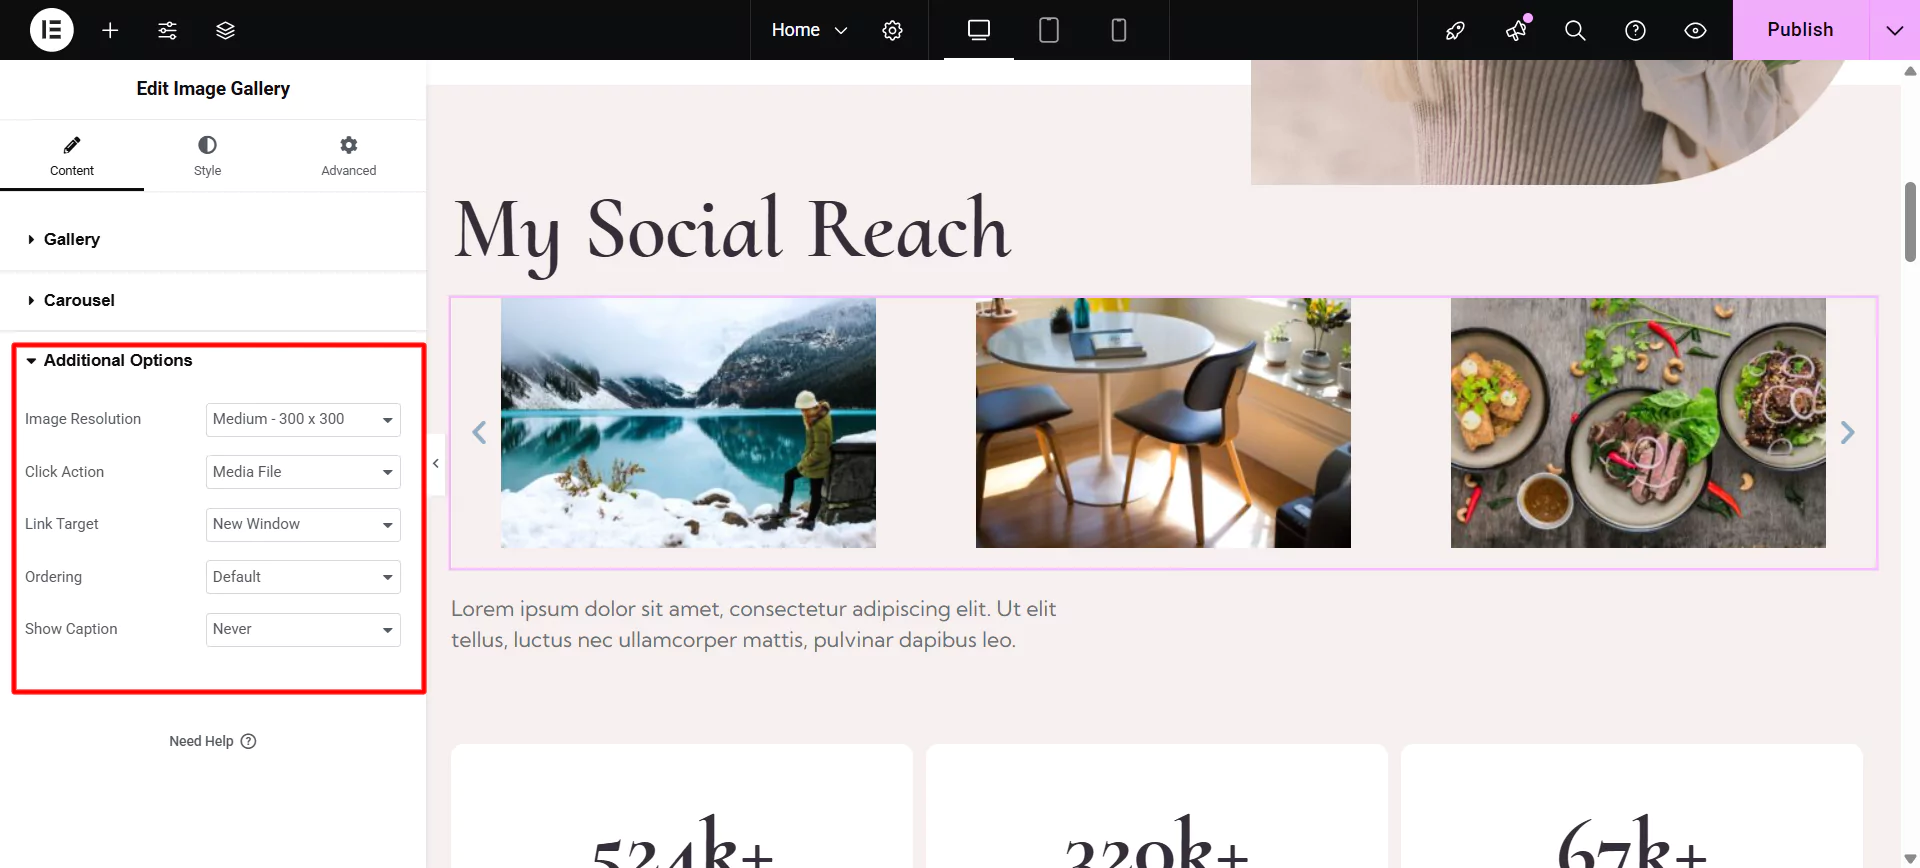
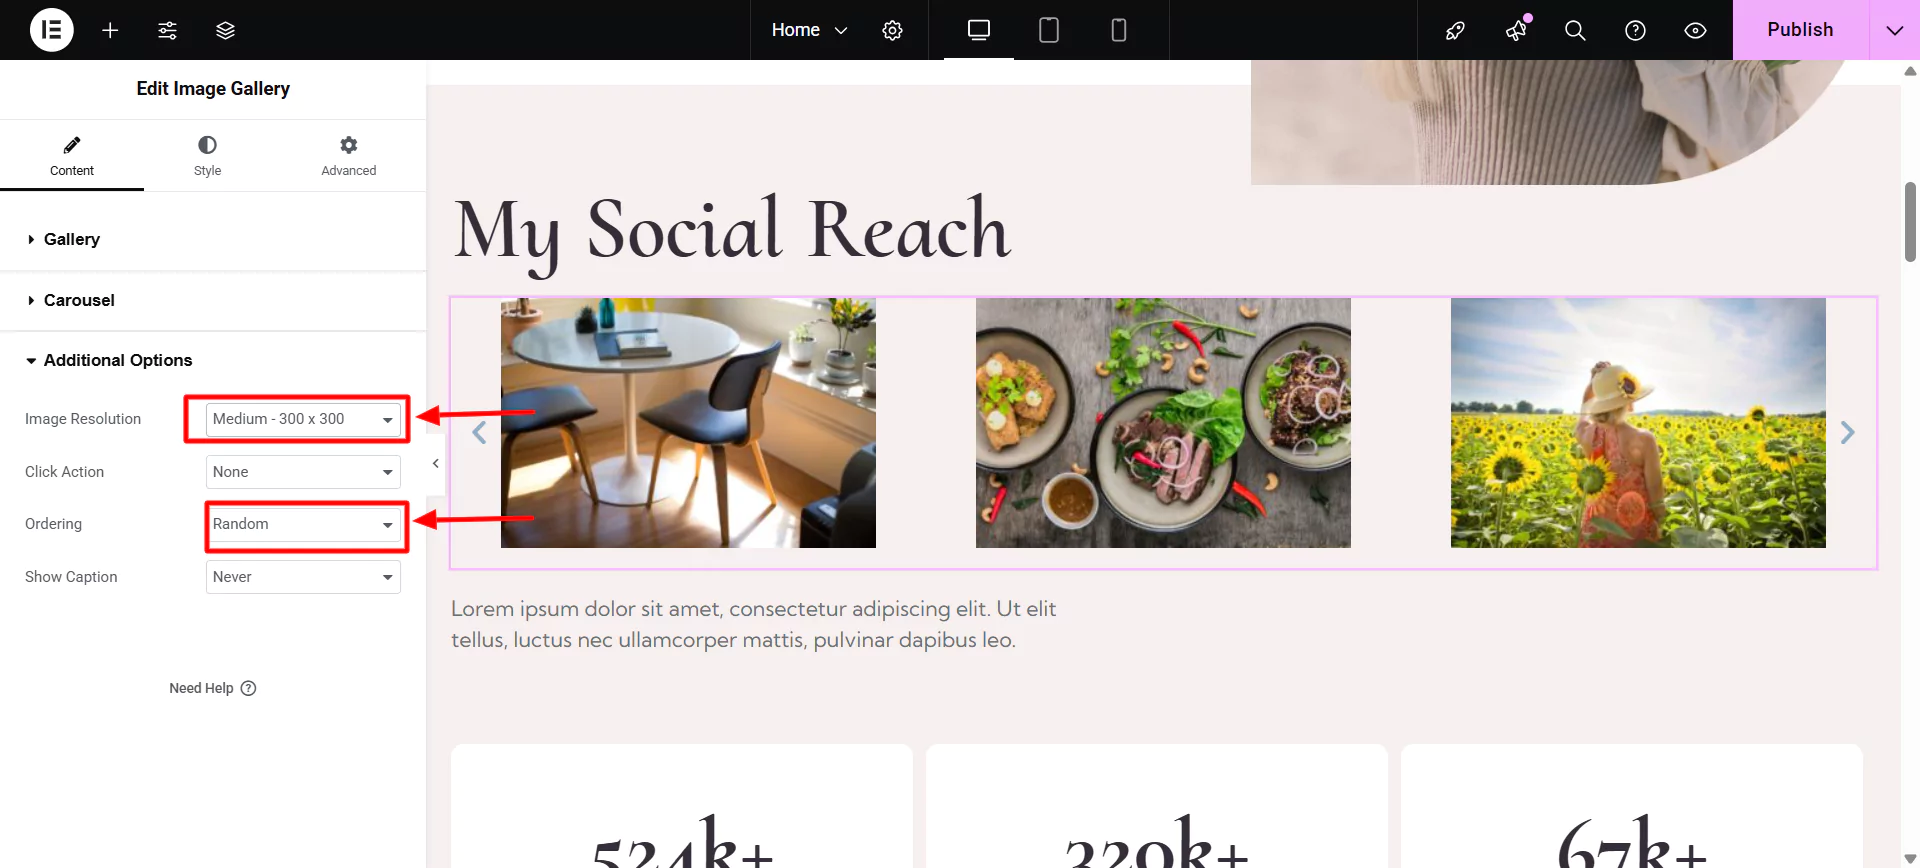
Additional Options
The Elementor Image Gallery widget also allows you to set additional options. That allows you to:
- Set Image Resolution
- Choosing Click Action
- Setting Target Link
- Setting images Ordering
- Show Caption
Using these features you can fully customize your Elementor image gallery widget offered by Responsive Addons for Elementor.
Step 4: Styling the Image Gallery Widget
The Elementor free image gallery also allows you to style different elements.
To style the image gallery click on the Style tab in the side bar. This allows you to edit:
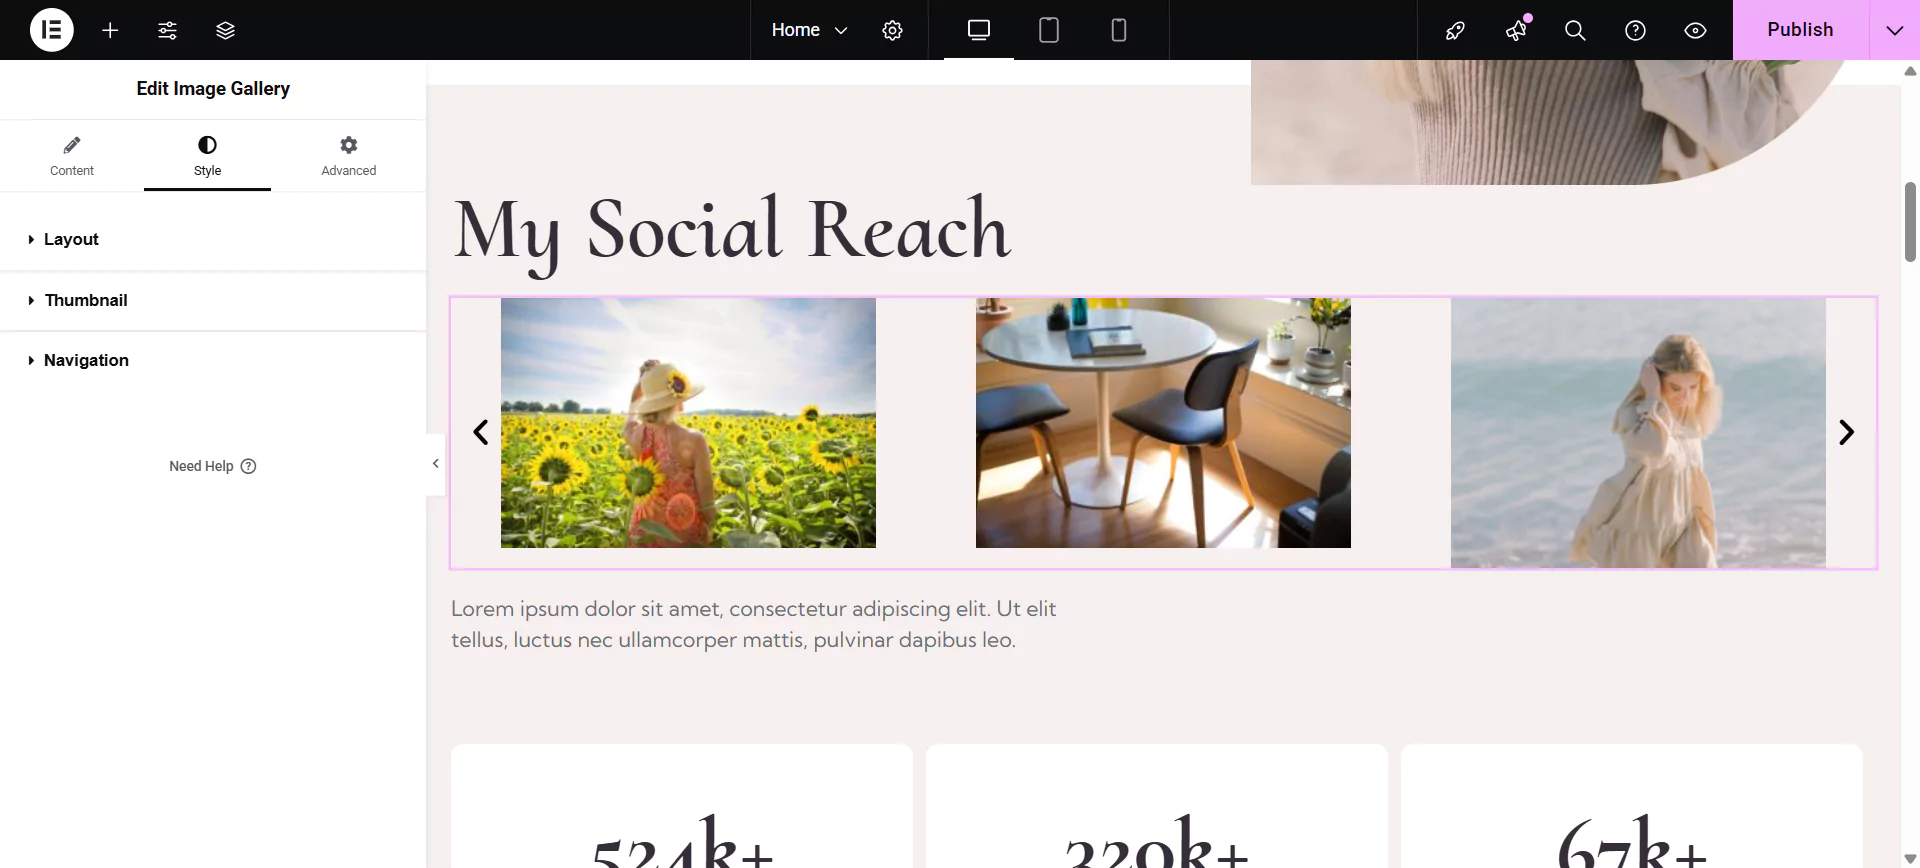
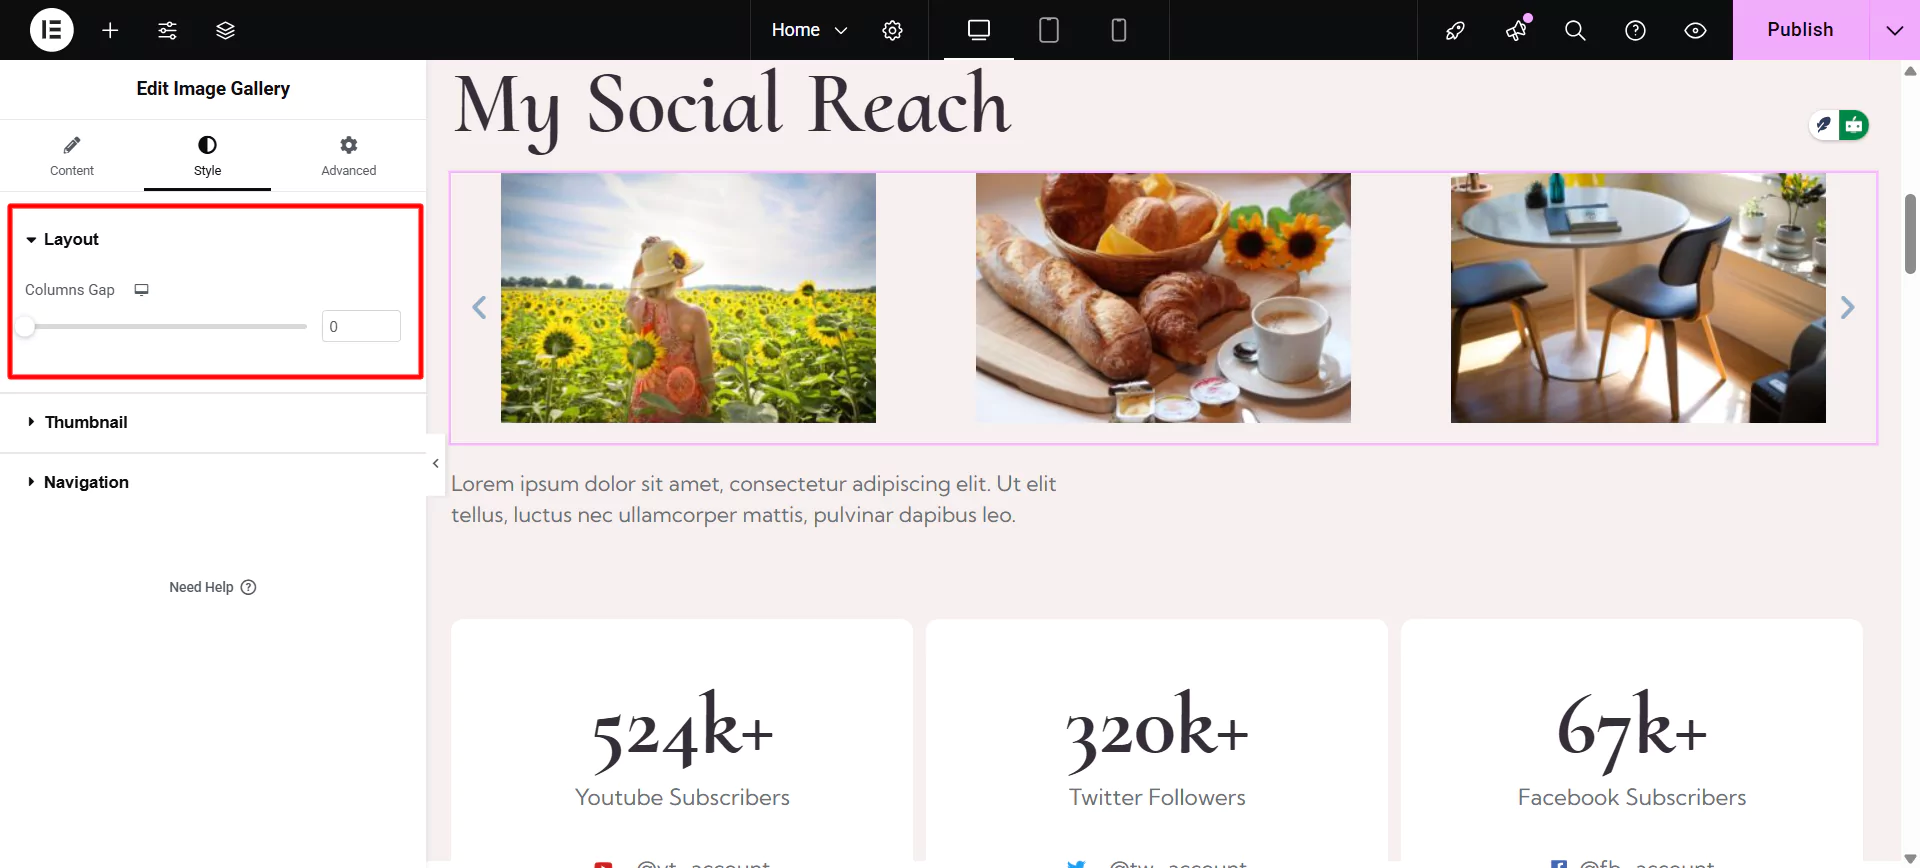
Layout Settings
You can set the column and row gap for the image gallery through the style section. You can also the vertical alignment for the images.
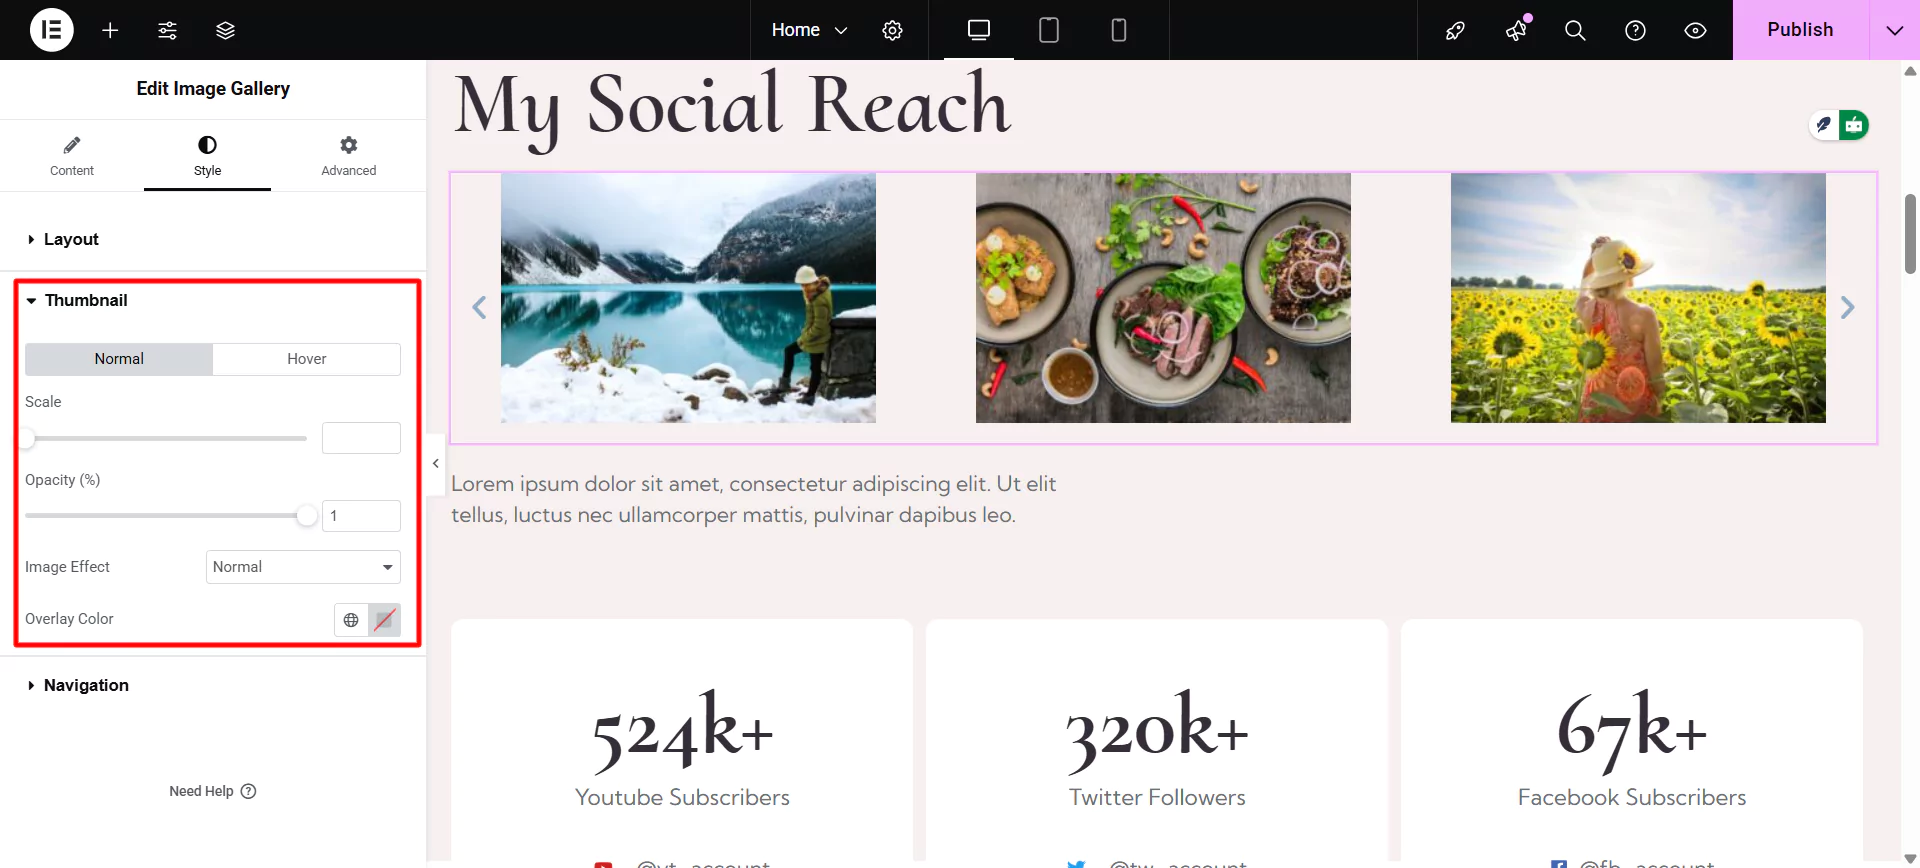
Thumbnail Options in Image Gallery Widget
This option gives you a scale effect to resize the image on hover. You can also set the opacity and Overlay color for the images.
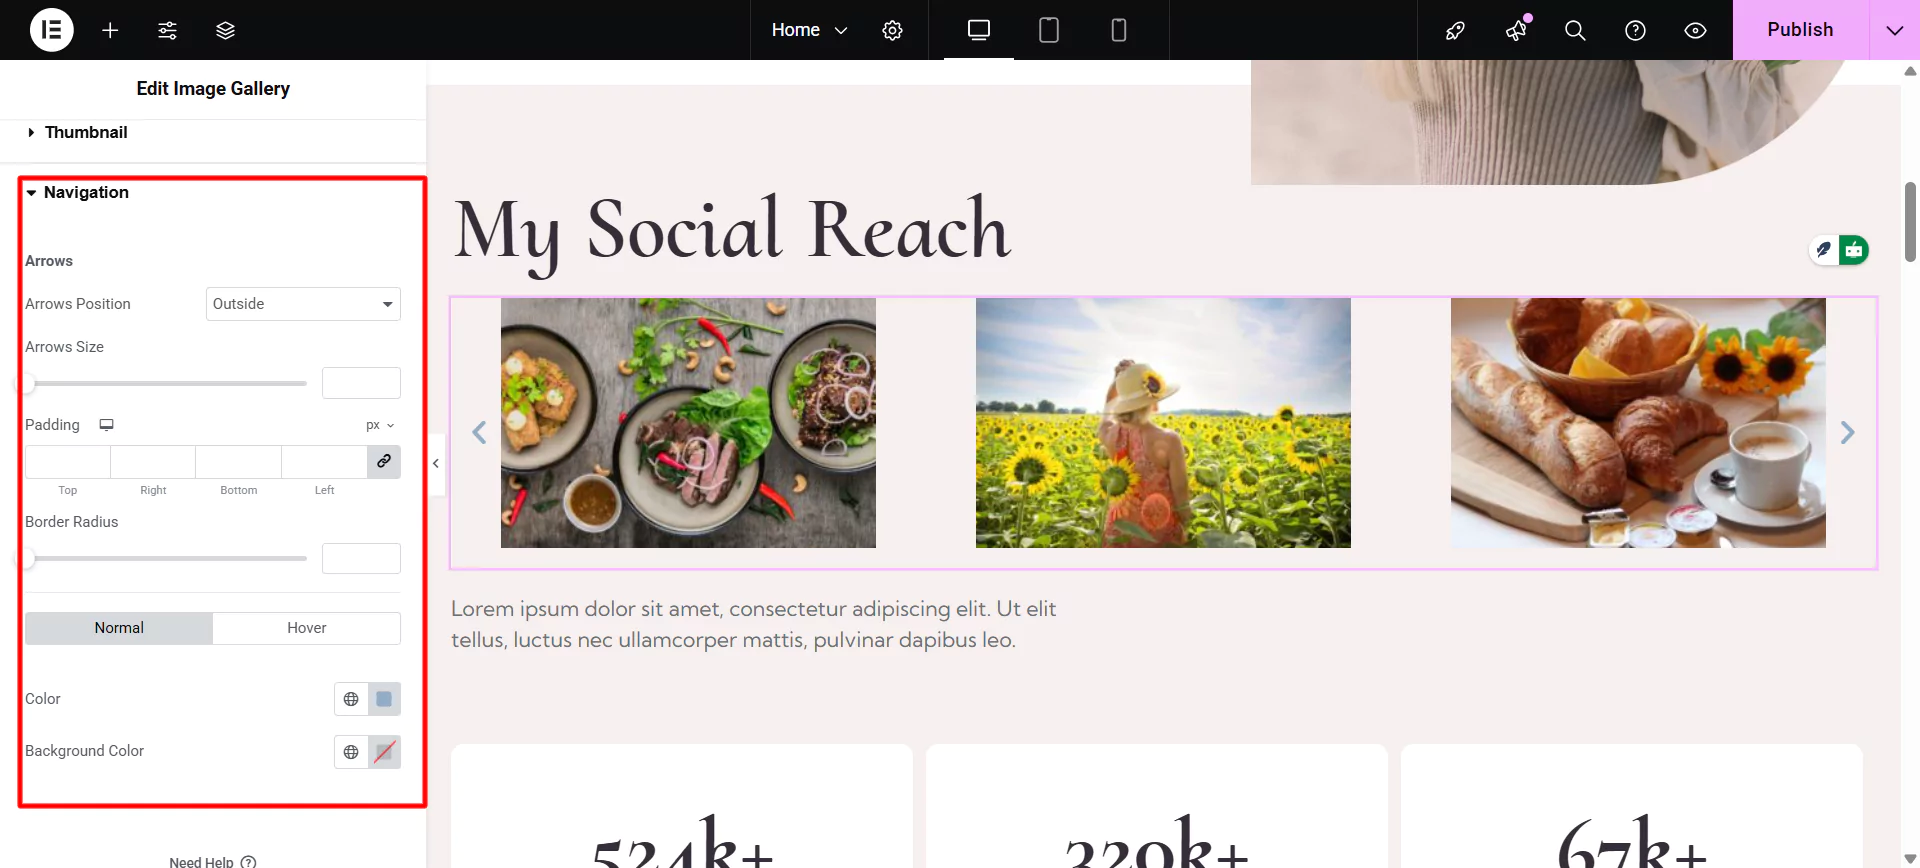
Navigation Tabs Options
The image gallery widget also provides you with a navigation tab, allowing you to make changes to navigation buttons. You can also change the arrow size, position, padding, and color.
That’s how you can style and create an image gallery.
Adding WordPress Image Gallery Using Elementor Page Builder
Another method of creating an image gallery is by using Elementor. It is a popular WordPress page builder plugin known for its user-friendly interface and extensive customization options. It allows users to design and build web pages without requiring advanced coding knowledge.
Alongside, it offers various widgets and customization features to develop a website. The plugin is free to use, with a pro version available that offers additional features and functionality.
You can use Elementor to create a basic gallery on WordPress that is free to use however, it enables you only with very basic customization features. To add an advanced gallery widget you will need to have Elementor Pro.
This article will guide you through the steps to add the basic Gallery using Elementor.
Step 1: Install and Activate the Elementor plugin
Go to the dashboard and navigate to Plugins > Add New Plugin
Search and Install the Elementor plugin.
Activate the plugin.
Step 2: Add New Page
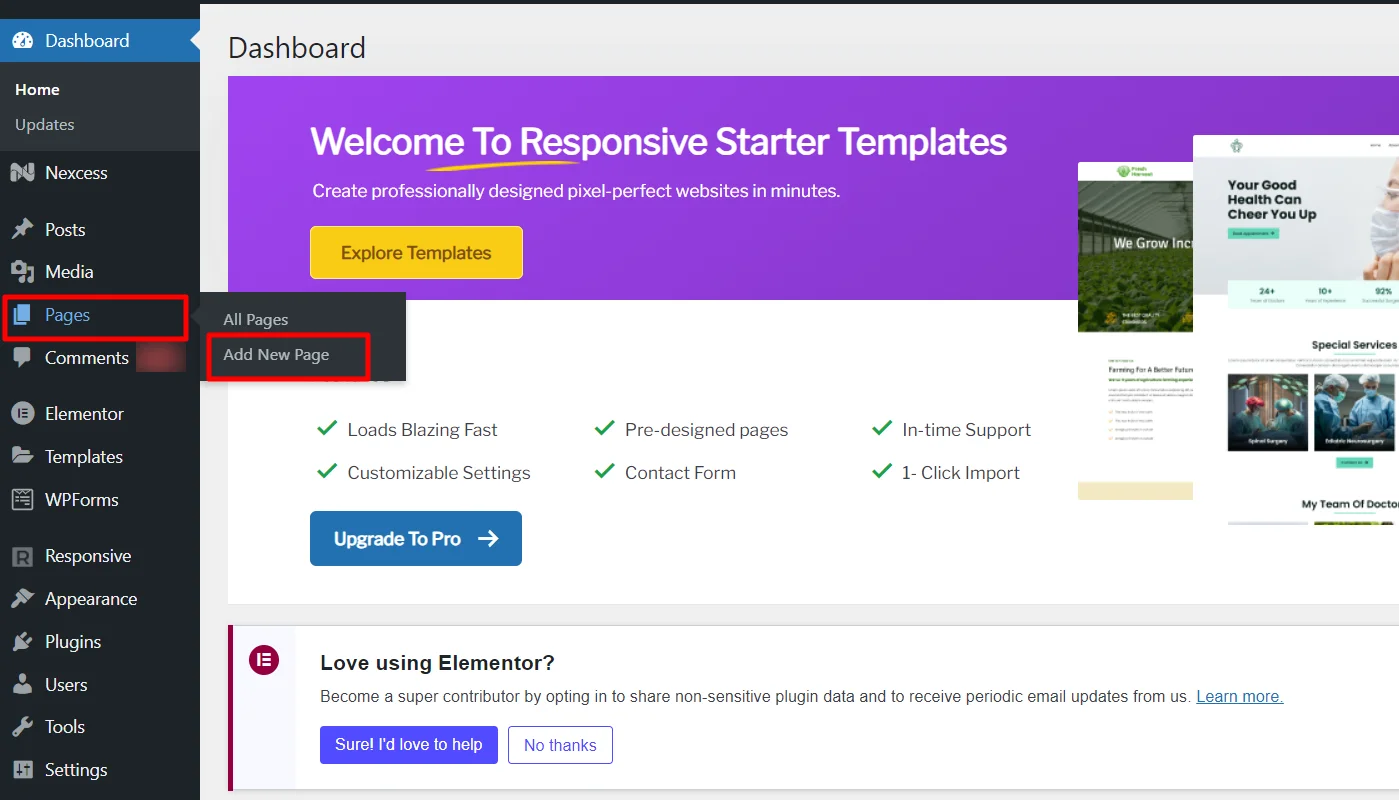
Open the dashboard and navigate to Pages > Add New Page.
Click on the Edit with Elementor button.
In the sidebar, search widget gallery.
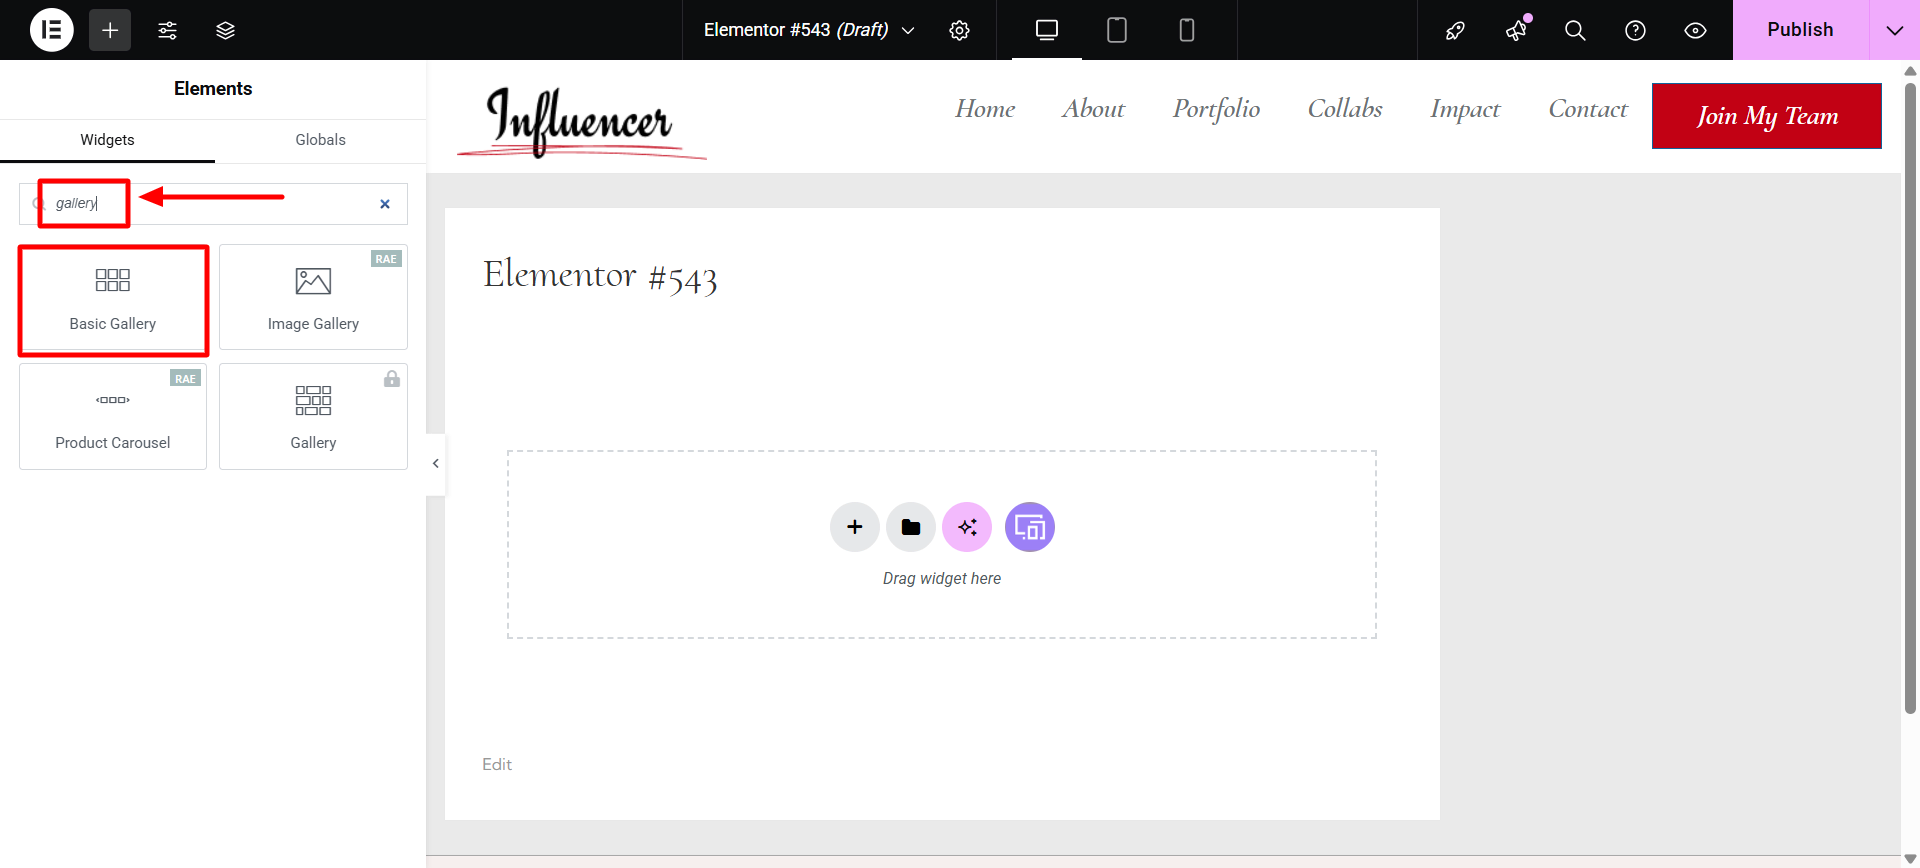
Drag and drop the Basic Gallery Widget.

Step 3: Editing and Styling the Image Gallery Content
As the widget name suggests, it allows you to edit and style only a few basic settings.
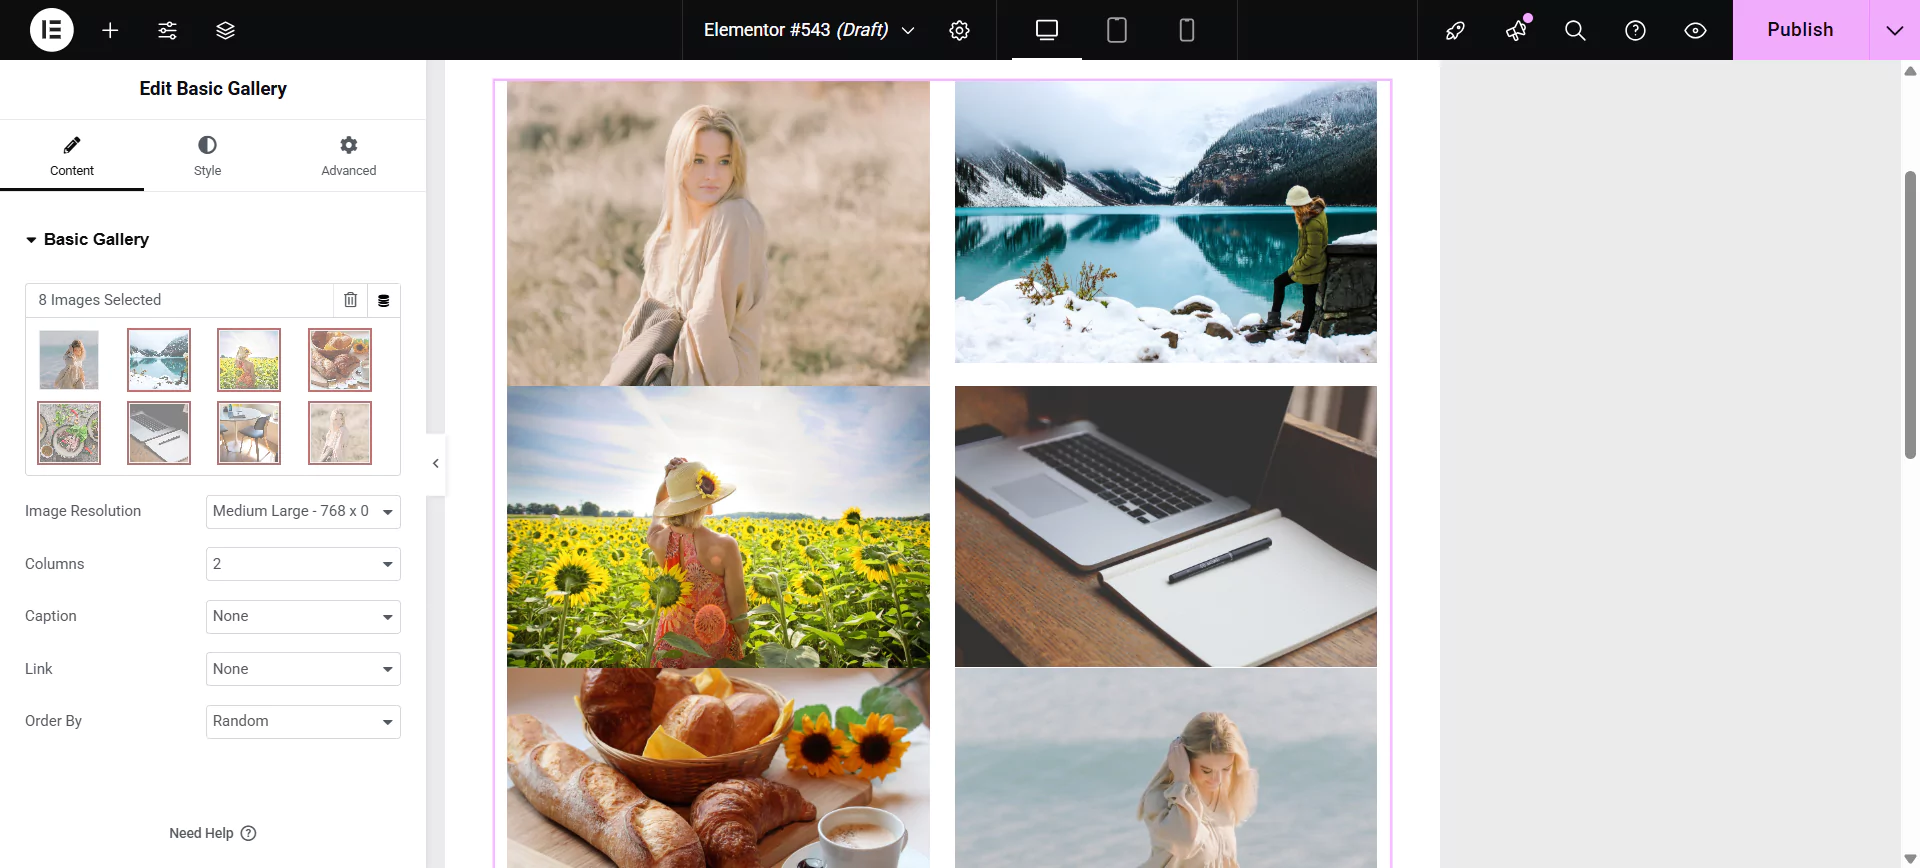
Editing Content of Image Gallery
To edit the content of the gallery, upload the images you want to showcase.
This allows you to further edit:
- Image Resolution
- Select the number of columns in the gallery
- Caption
- Add a link to images
- Manage the site’s light box settings.
- Select the order of images
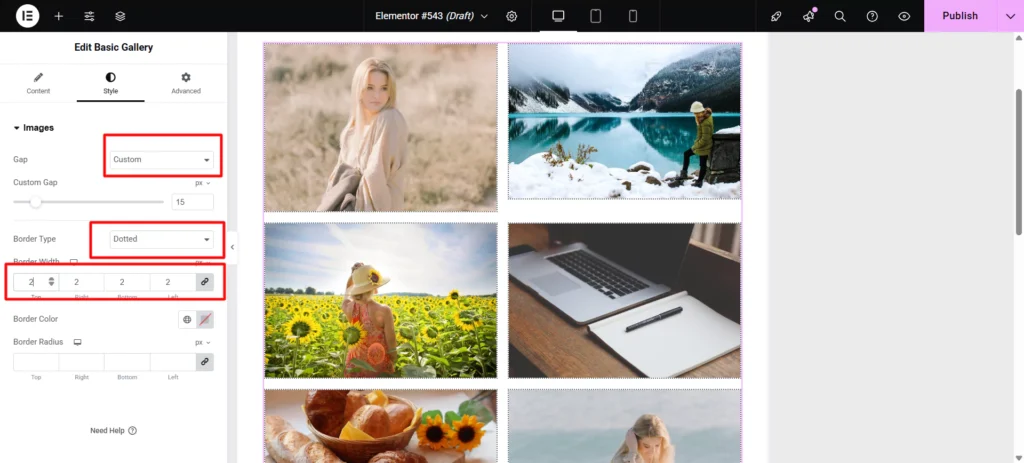
You can also style the widgets. This allows you to style the:
Styling Images
This allows you to style:
- Spacing
- Border Type
- Border Radius
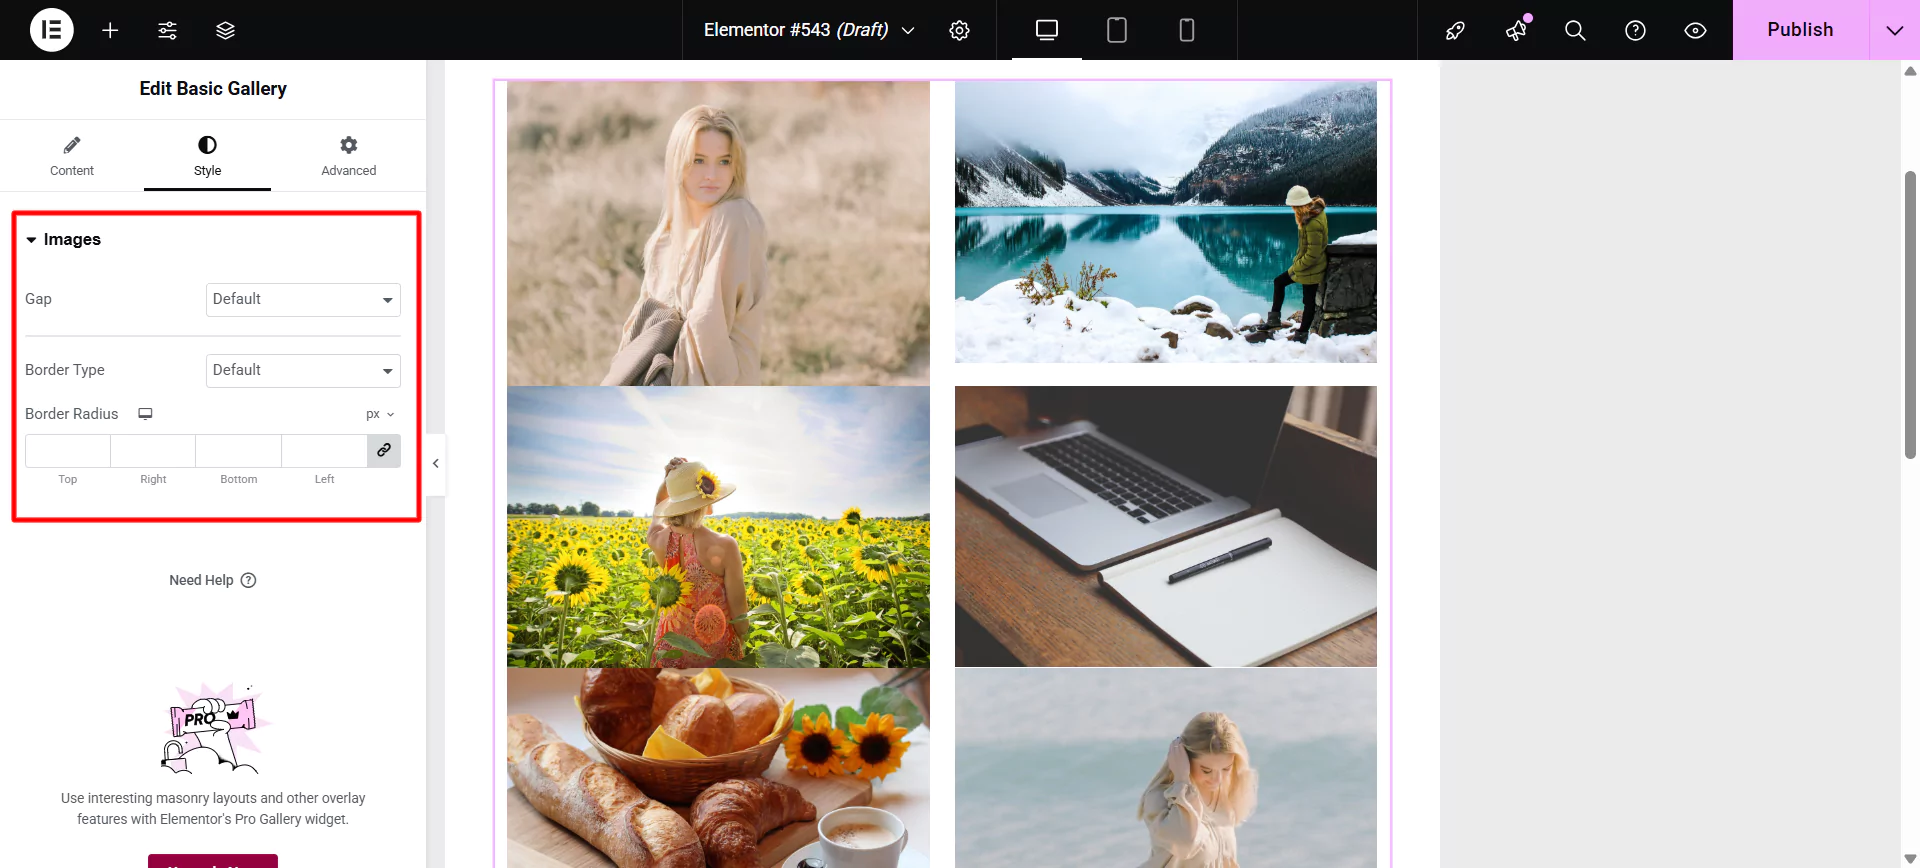
You can edit the styling image tab by adding gaps, borders, and padding.
Styling Caption
This allows you to style:
- Alignment
- Text Color
- Typography
- Text Shadow
- Spacing

This is how you can create a basic gallery in WordPress using Elementor page builder. However the customizations and features are very limited.
FAQ
There are various methods to add an image gallery to your WordPress website. You can use the Elementor page builder’s widget to add a basic gallery, to add an advanced gallery you can use the image gallery widget offered by Responsive Addons for Elementor.
Yes, you can create an image gallery using Gutenberg blocks. To easily create an image gallery in Gutenberg, we recommend using the Responsive Blocks—WordPress Gutenberg blocks plugin, a collection of free and premium blocks that extend the functionality of the Gutenberg editor in WordPress. These blocks allow you to create more complex and visually appealing layouts without needing to write any code.
You can create a basic gallery with minimal customization options in Elementor; however, you can consider using the Responsive Addons for Elementor, a powerful plugin that enhances page builder functionalities and offers free advanced widgets, including the Elementor image gallery widget to create a good image gallery.
Conclusion
Creating an image gallery for your website doesn’t have to be complicated.
This article has covered two simple and effective methods to get your photo gallery up and running in no time.
Make sure you read the article to learn how to create an image gallery on your website without any coding.
If you liked this article, you can also consider reading:
- How to Create a Countdown Timer For Your WordPress Website
- How To Create Flip Box Overlays And Hovers In WordPress
- How To Add Elementor Pricing Table in WordPress
- Cool Free Tools To Get Variety Of Images For Your Website
Are you looking to add better features to your WordPress website? Grab the Responsive Addons for Elementor now!


