
Is your WordPress website still displaying the same default, mundane fonts? If yes, it’s time to change or add new custom fonts.
With the consistent changes in customer expectations, user experience is no longer limited to website aesthetics or performance; every visual element contributes equally. Likewise, website fonts are crucial in conveying your brand’s persona.
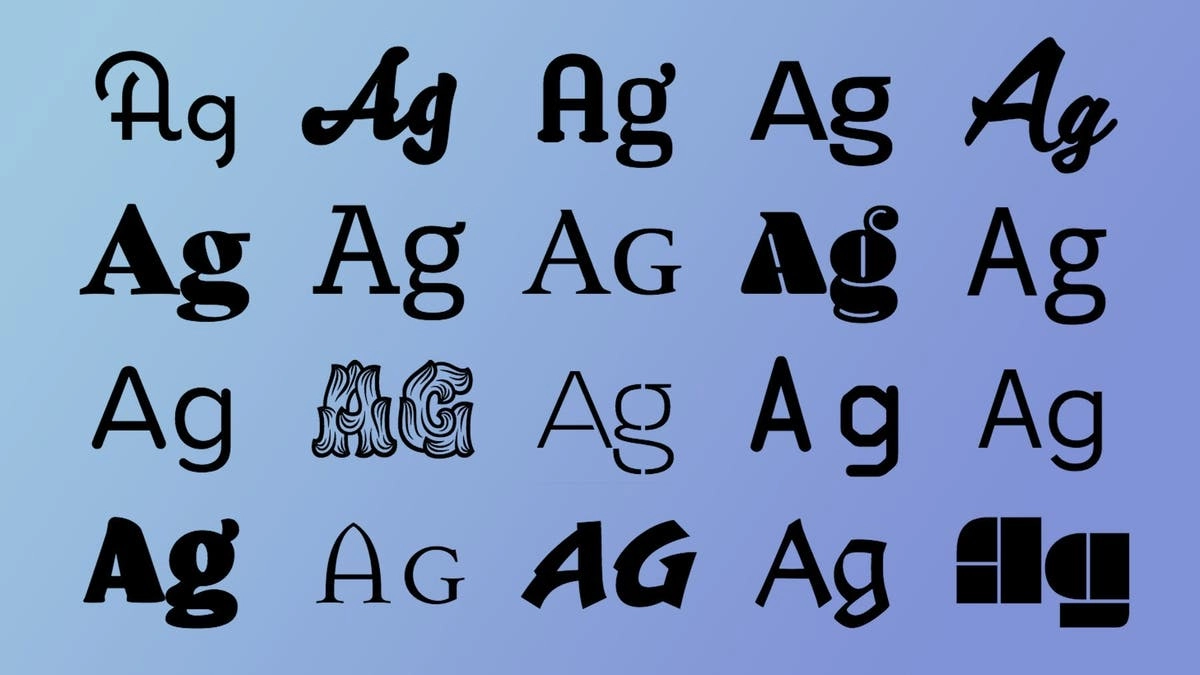
For instance, serif fonts convey tradition and reliability, whereas script fonts add a touch of elegance. Similarly, every font style brings a different perspective to your brand.
While you are checking out this article, the apparent purpose is to learn how to change your site’s fonts, and we have got you covered.
So let’s get started!
What are Custom Fonts?
While you are presumably aware of this, if not, consider them to be specially produced typefaces, alphabets, and numbers that are not typically found in standard font libraries and systems.
They are pre-existing or custom-designed typography you can obtain for free or buy from font websites and other external sources.
However, if you intend to utilize such custom fonts on your website, there are some critical considerations that you must remember:
- Firstly, custom fonts can be customized to showcase your brand’s identity or match the aesthetic of a specific project; however, unlike standard fonts, they require specific licensing agreements, especially in commercial projects.
- Additionally, custom fonts must be embedded in websites to ensure they display smoothly across different devices and browsers.
Where to Download Custom Fonts?
While you must be eager to learn how to add custom fonts to your website, downloading the font you want is a prerequisite.
So, to break it down, you can simply understand its process, like you needed a specific font for your site. Next, you will look for the font and get it from an external source, and once you have it, you can add it to your site in different ways.
If you’re wondering where you can find custom fonts, here are some reliable sources you may consider:
1. Google Fonts
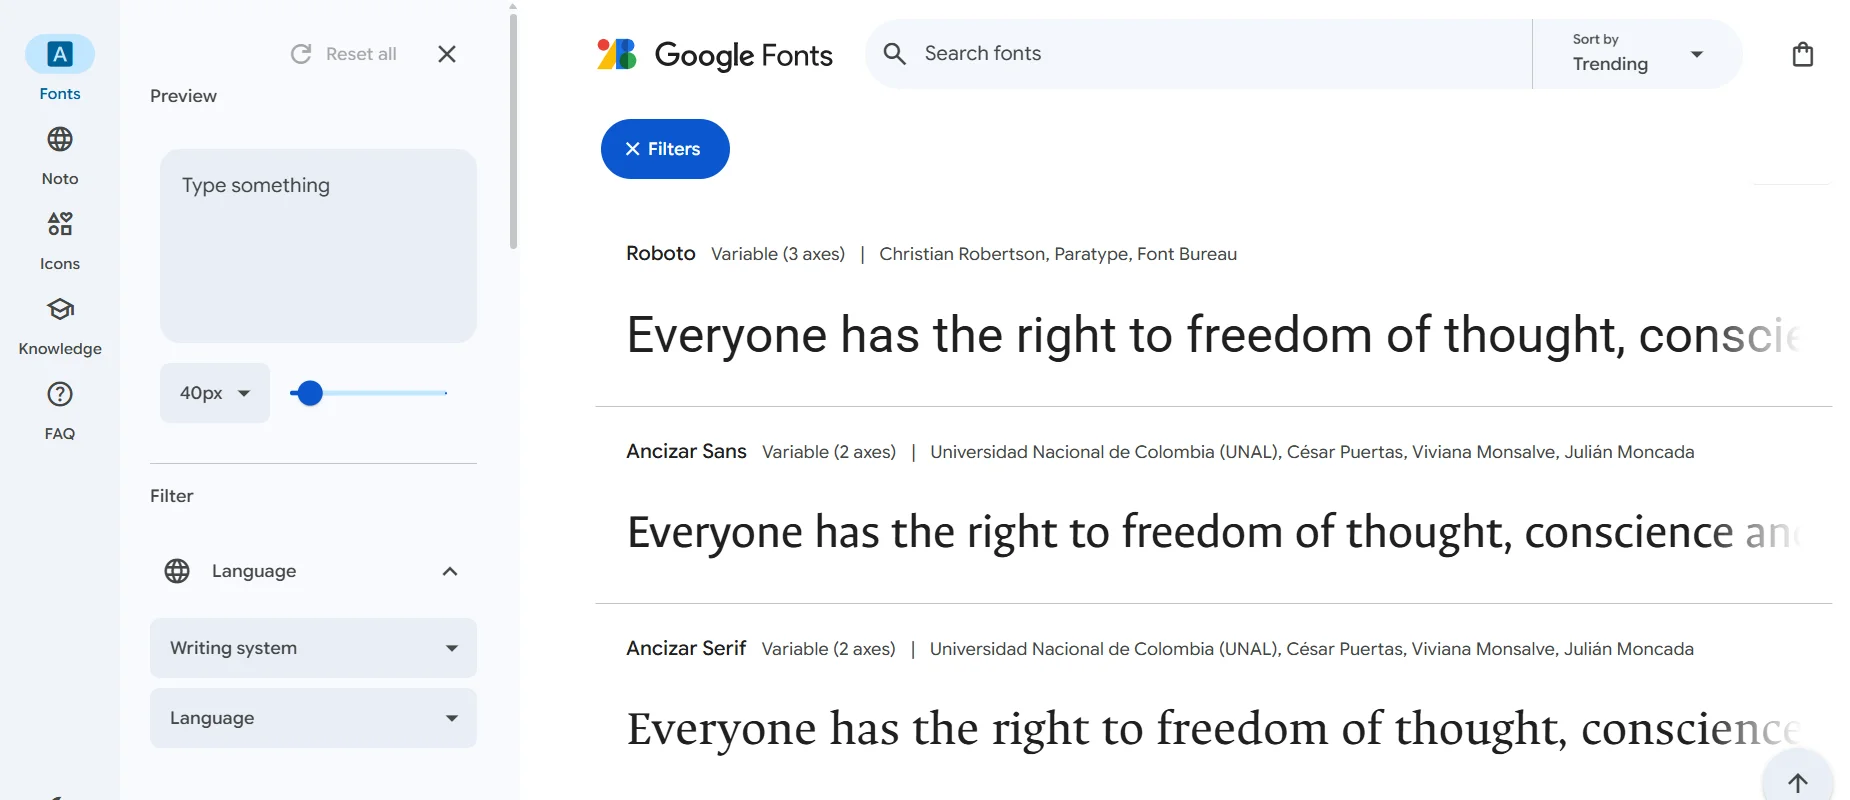
Google Fonts is a popular resource for downloading and utilizing free custom fonts. Maintained by Google, it offers hundreds of high-quality typefaces with open-source licenses suitable for web use.
2. Adobe Fonts

If you are looking for some premium options, you may consider Adobe fonts library that comes bundled with Adobe Creative Cloud. It provides access to a vast collection of professional fonts, automatically licensed for personal and commercial use.
3. DaFont
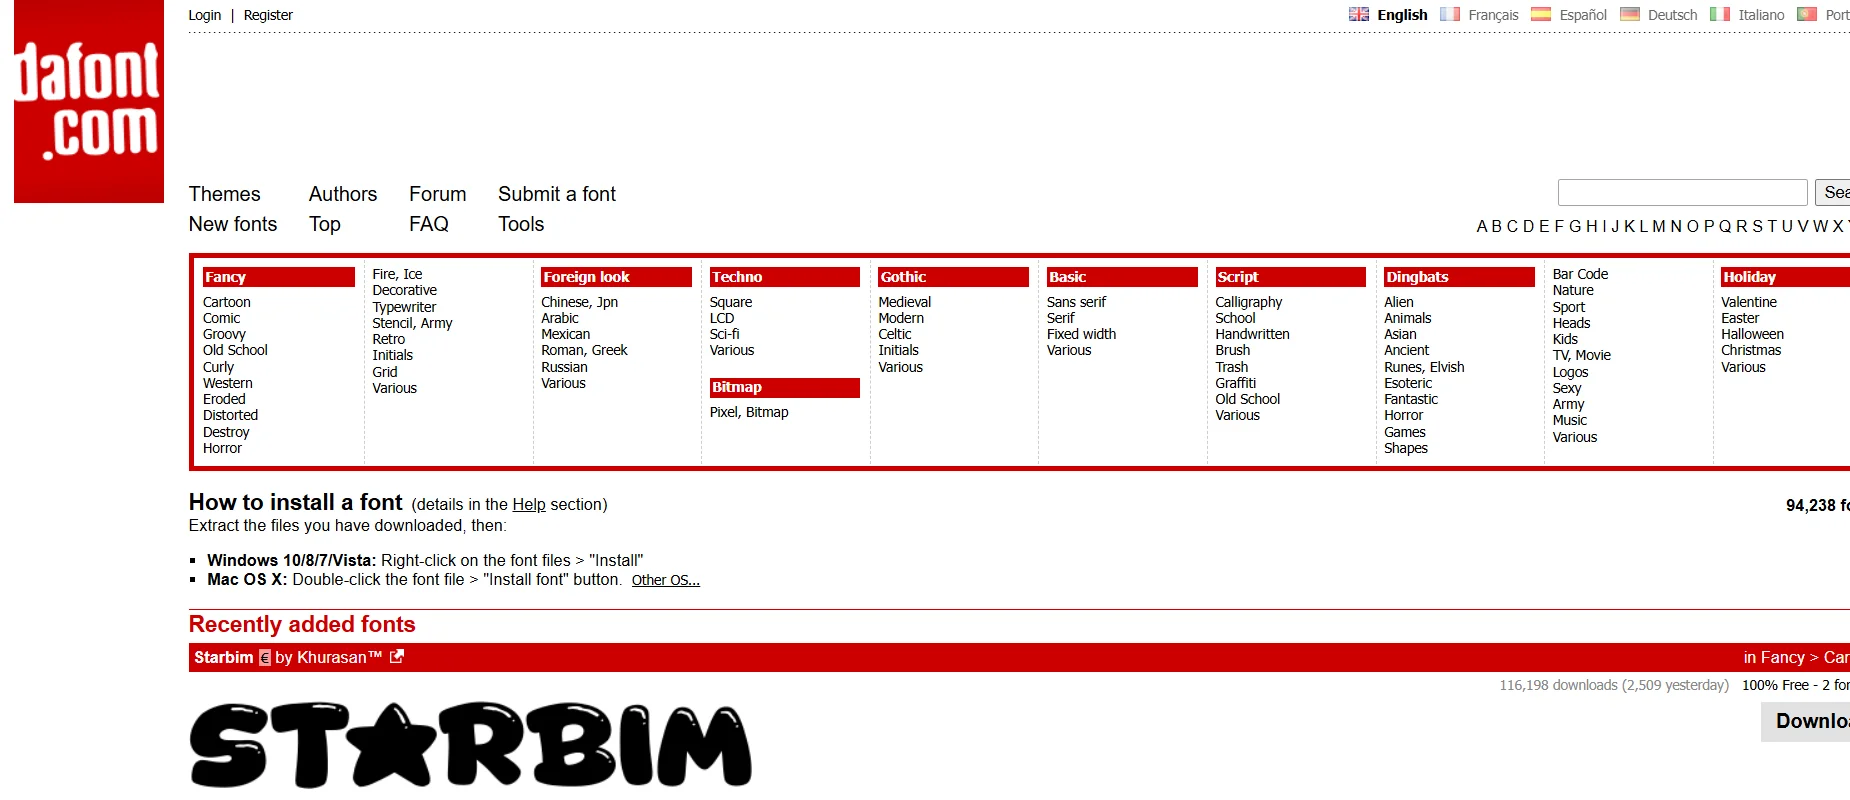
DaFont is another well-known platform for both free and demo fonts. While some fonts it offers are free for personal use, make sure you check licensing details if you plan on using them commercially.
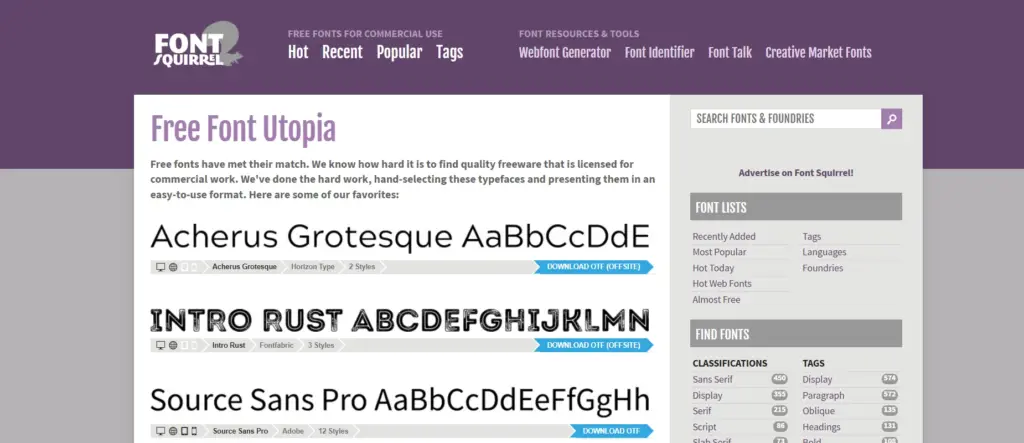
Known for offering 100% free fonts for commercial use, Font Squirrel provides handy tools like a webfont generator for converting fonts into web-friendly formats.

If you’re looking for exclusive or highly stylized fonts, Creative Market may serve your requirements. Alongside premium graphics of all types, they offer premium fonts from independent designers and agencies.
How to Add Custom Fonts To WordPress Website
Now that you know where to find custom fonts, let’s learn some easy methods to add them to your WordPress website.
In this guide, we will discuss three methods I found most convenient while trying to add a custom font to my website.
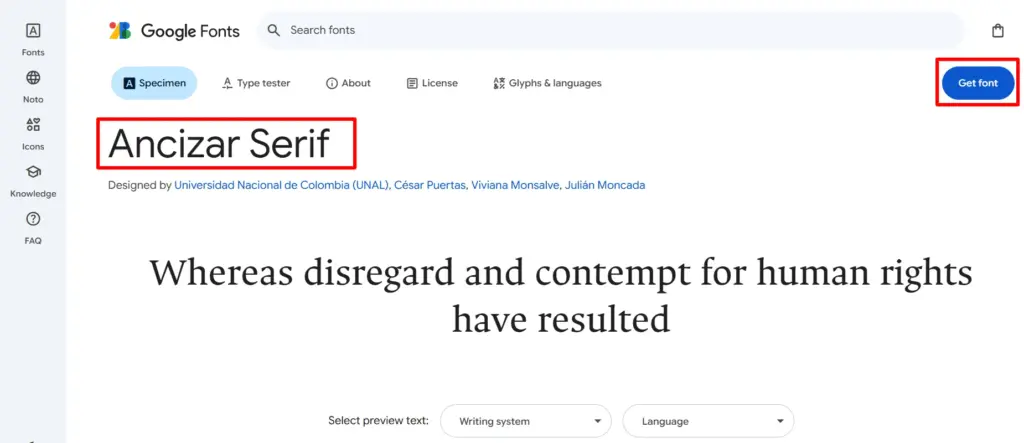
I downloaded the “Ancizar Serif” font from Google Fonts for this tutorial. You can select any font from their library or directly search for anything specific you need.
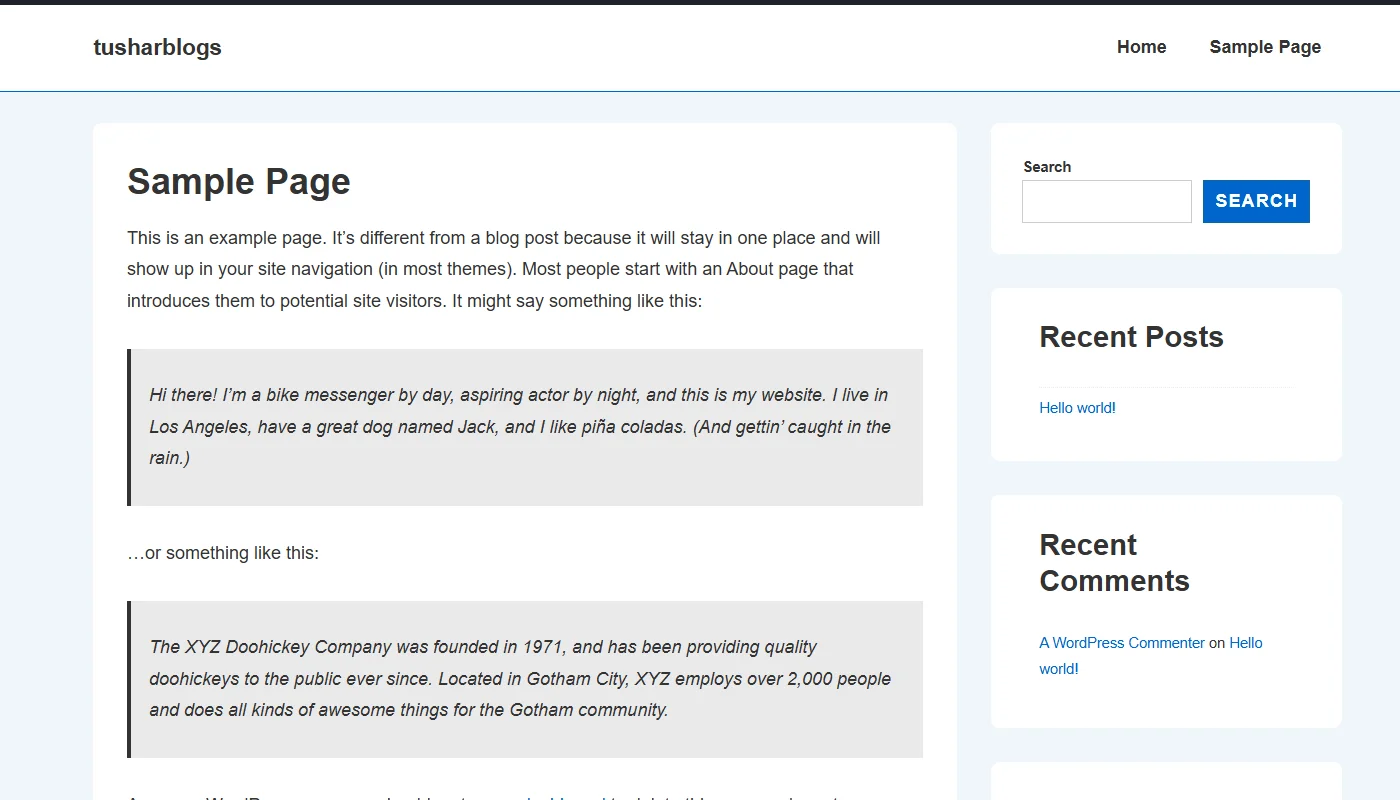
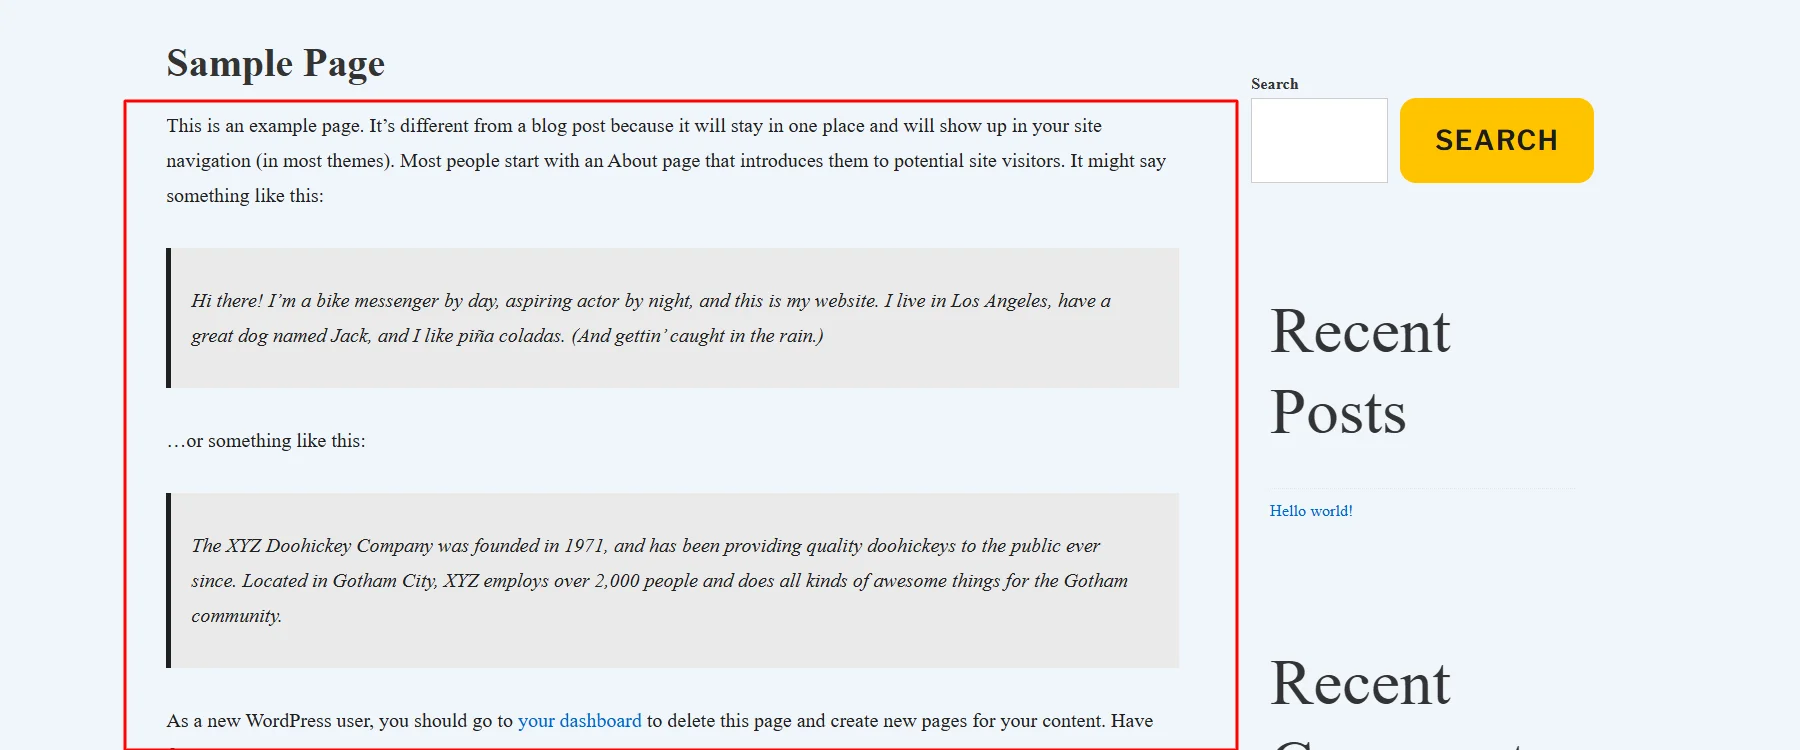
Basically, before adding custom fonts, the front end of my website looked like:
Method 1: Using Theme
Among all the methods I explored, using the theme is the most convenient and easiest method to add custom fonts to my website.

While saying so, it’s not apparent that every theme you use would offer similar ease. You don’t even get the option to add custom fonts when using the default WordPress theme.
On the other hand, if you are using classic themes, it becomes easier. However, adding custom fonts is among the advanced features classic themes offer. Popular themes like Kadence and Astra, though, provide this feature, but require you to use the paid versions of their add-ons to use this feature.
However, while exploring other themes, I also came across the Cyberchimps Responsive Theme, which, by far, I found the best theme to add custom fonts to my WordPress site.

It allows you to add custom fonts to your site for free, and the process of using the feature is seamless. Additionally, it offers 250+ ready-to-import starter templates and other advanced features like mega menu, white labeling, and WooCommerce integration for free
(I used the Responsive theme to show how to add custom fonts in this article, and I recommend trying it.)
The process of using the Responsive theme to add custom fonts follows a simple four-step process:
Step 1: Downloading the Responsive Theme
To learn how to install and activate the Responsive theme, you can refer to:

Step 2: Activating Responsive Plus
The custom fonts addition feature in the Responsive theme comes only with the activation of Responsive Plus.
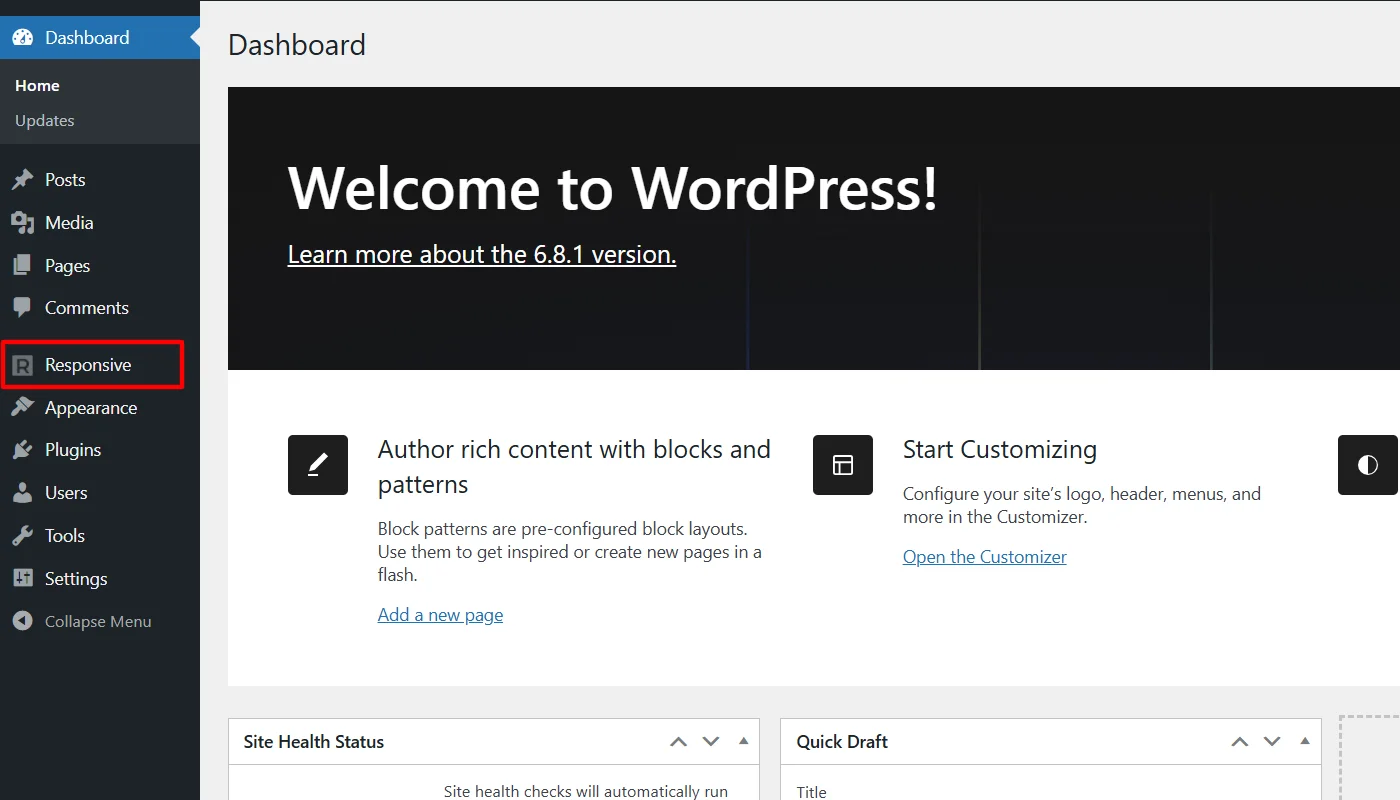
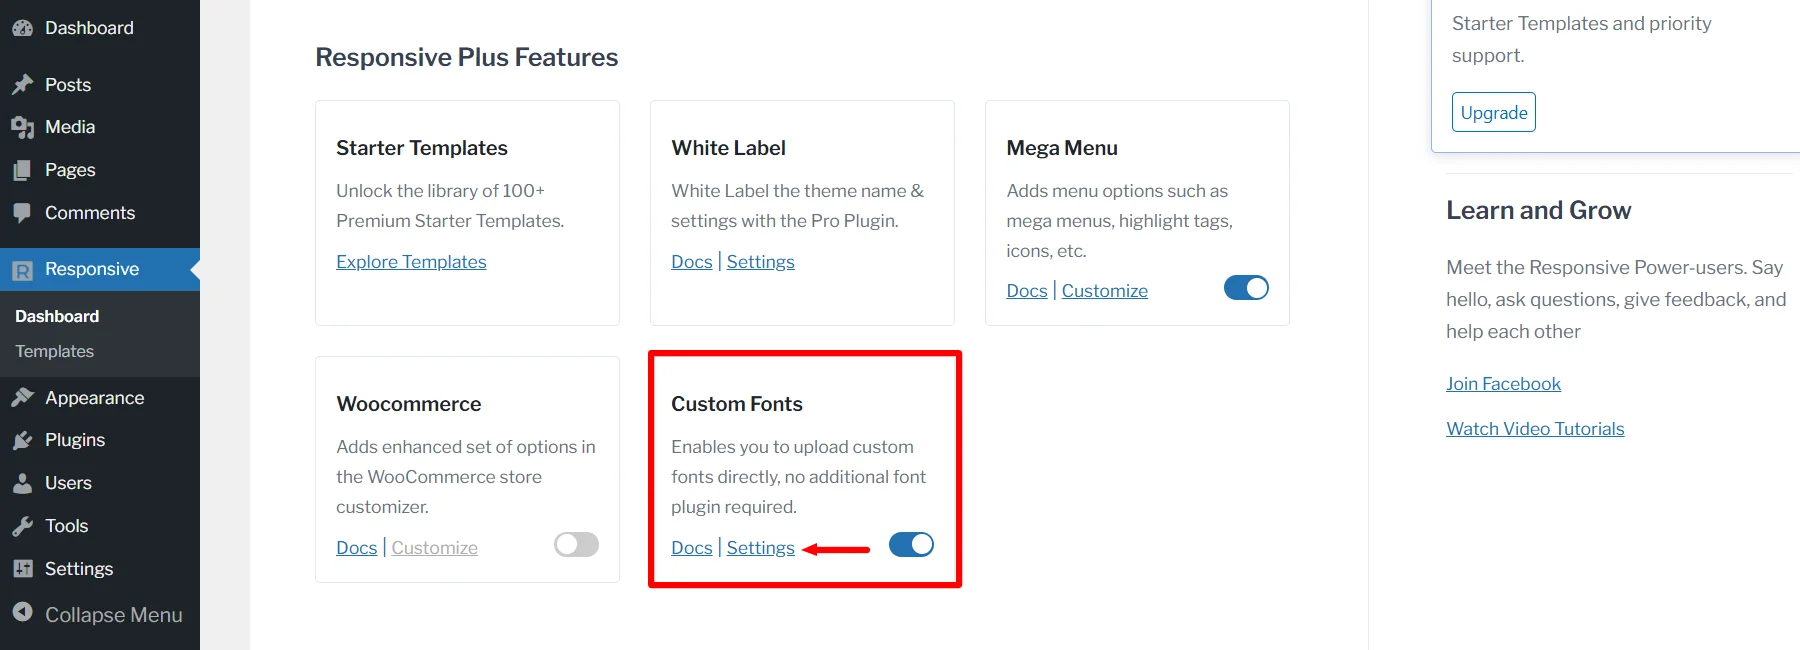
Hence, once you have installed the theme, navigate to Responsive from the dashboard.
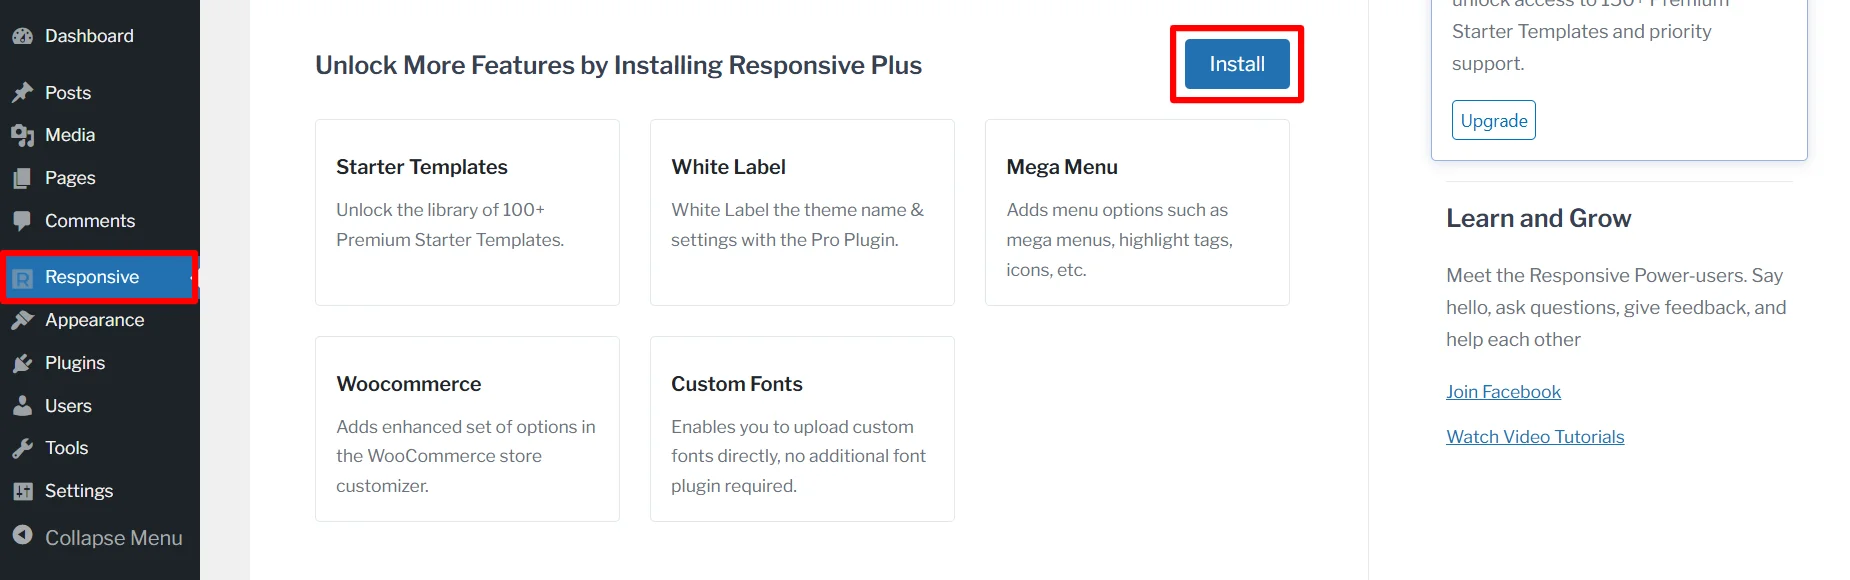
Scroll down, where you will find the additional features of Responsive Plus. Click the Install button to activate Responsive Plus.
Step 3: Uploading Custom Font
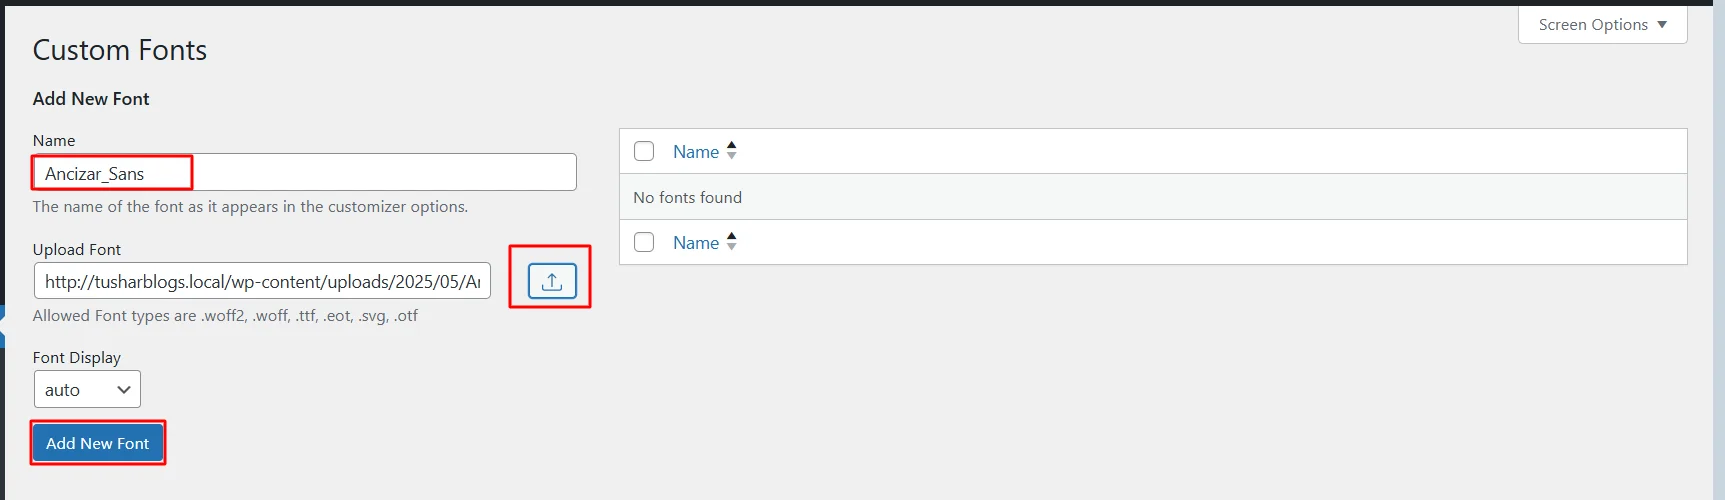
Once you activate Responsive Plus, click on Settings under the Custom Fonts feature.
Next, add the Name of the custom font you are adding and Upload Font, and click on the Add New Font button.
(Here I have already added the font name and uploaded the font file I previously downloaded from Google Fonts)
Step 4: Applying Custom Font
Once you have uploaded the font, you need to apply the font to ensure it displays correctly on the front end.
To apply the font on your website, open your WordPress admin dashboard and click on Responsive.
Next, click on Customize Fonts/Typography.
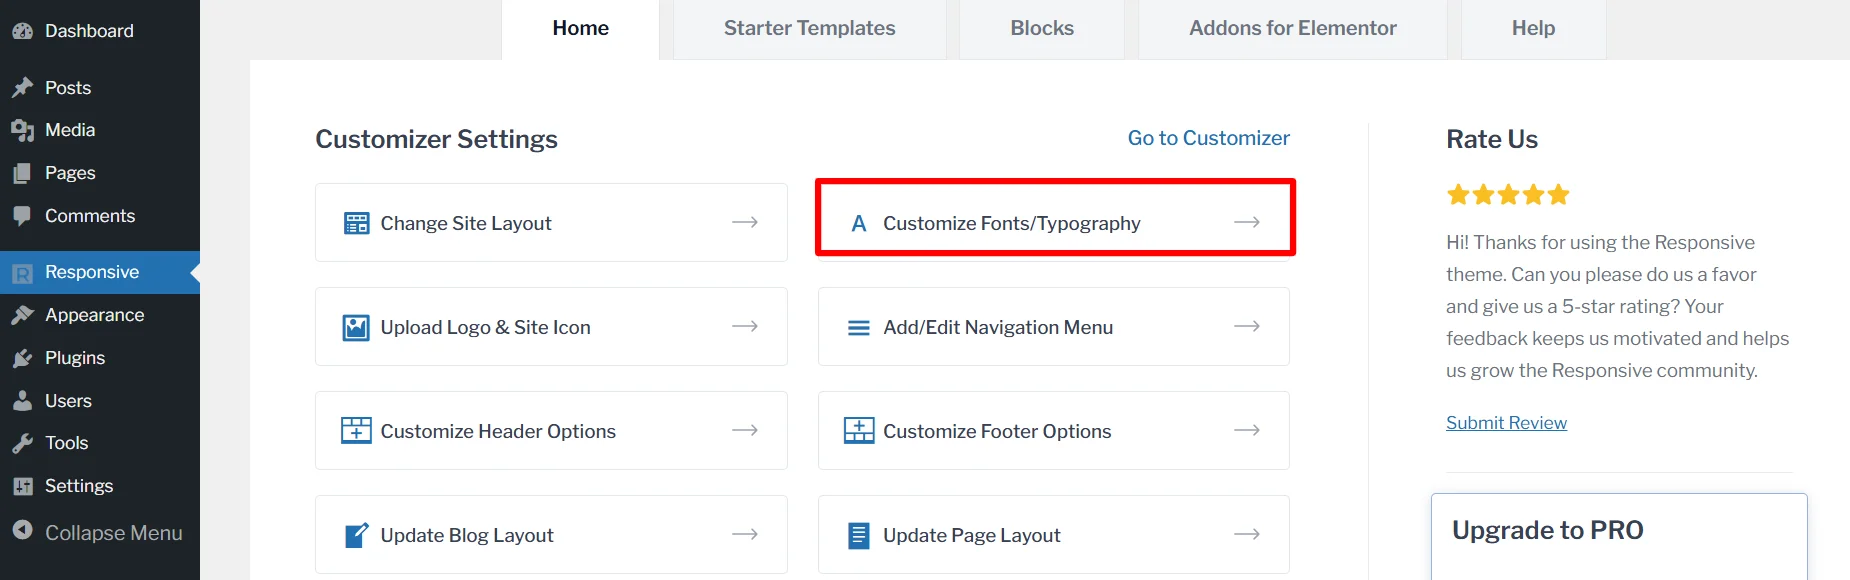
From here, you will be able to apply the uploaded custom font to the base font and the heading font, or both.
(Here I will show how I applied the uploaded font in the body font.)
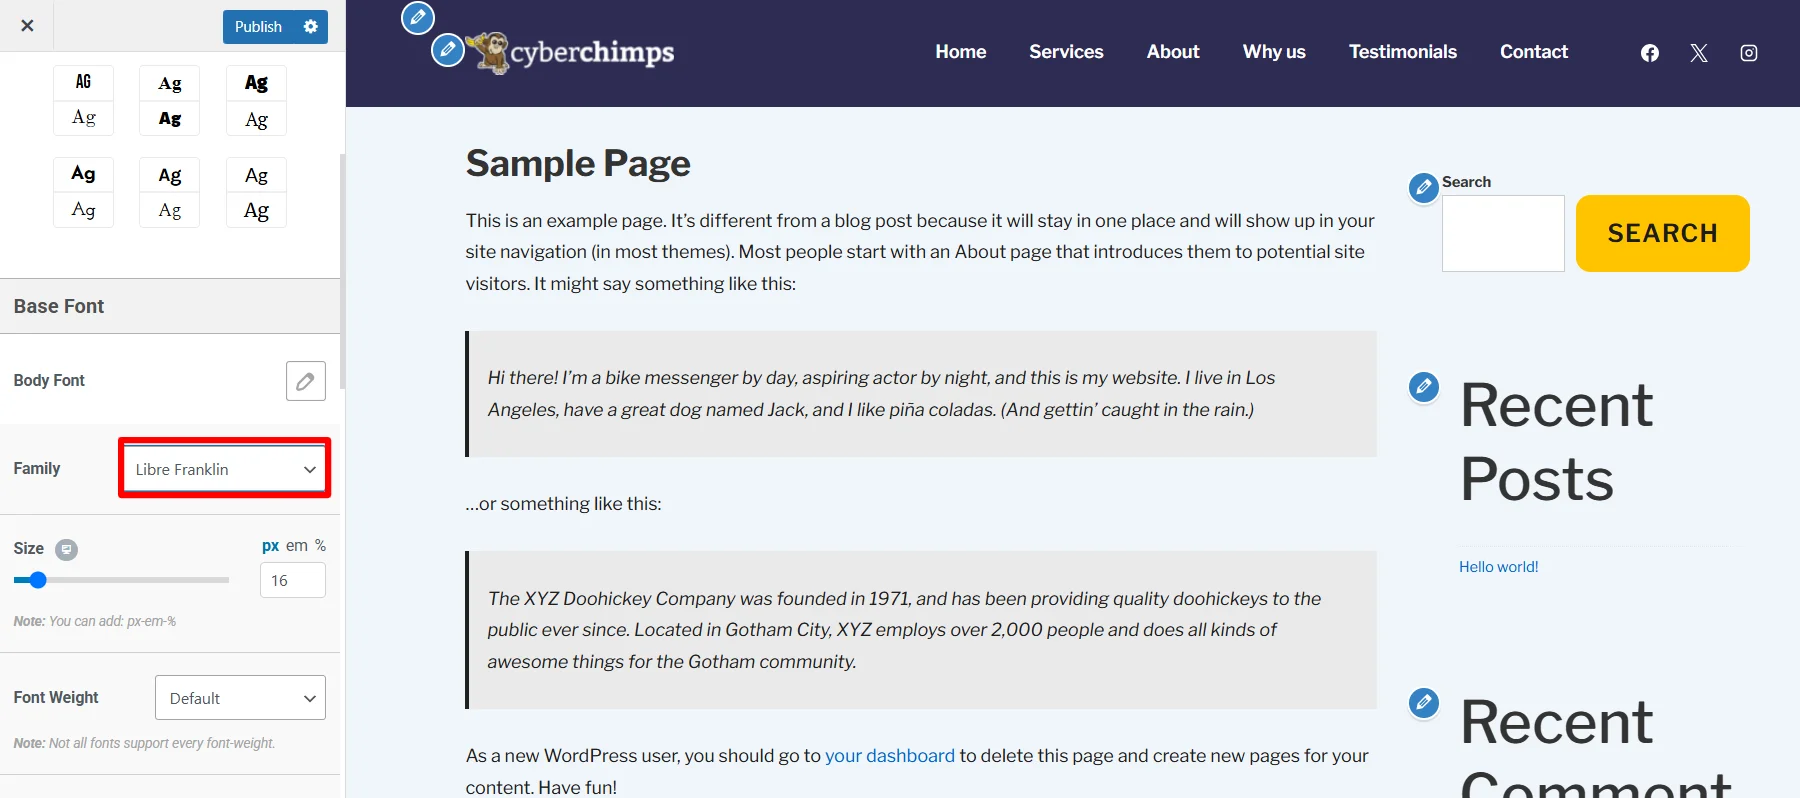
Click on the Icon beside Body Font under Base Font.
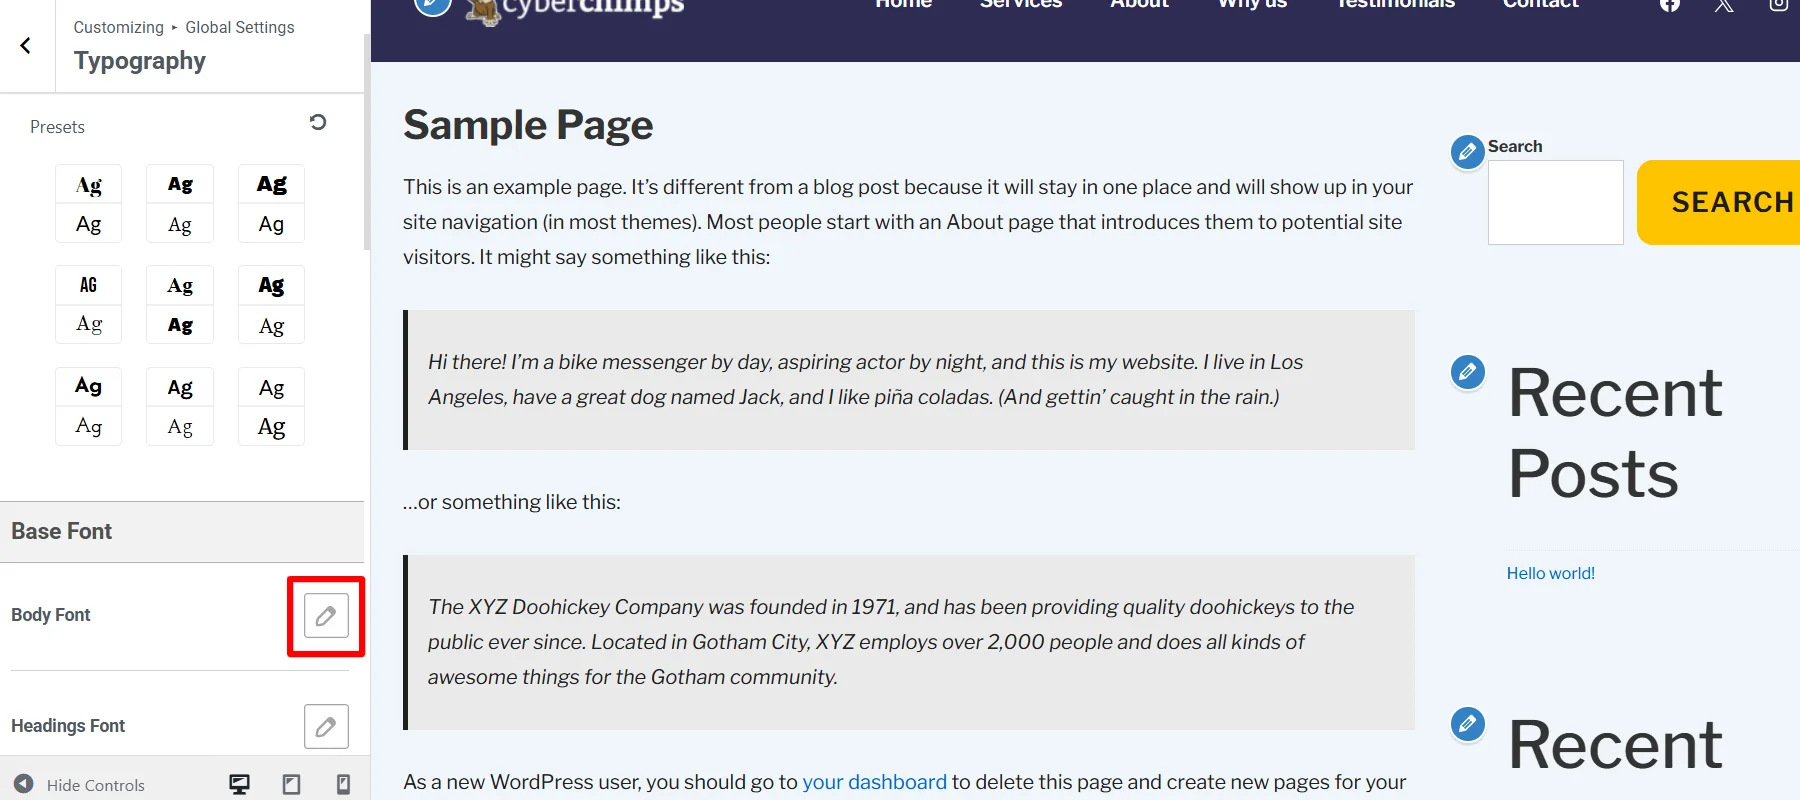
Next, click on the dropdown beside the default font Family.
Now, select the available options, and click on the uploaded Custom Font.
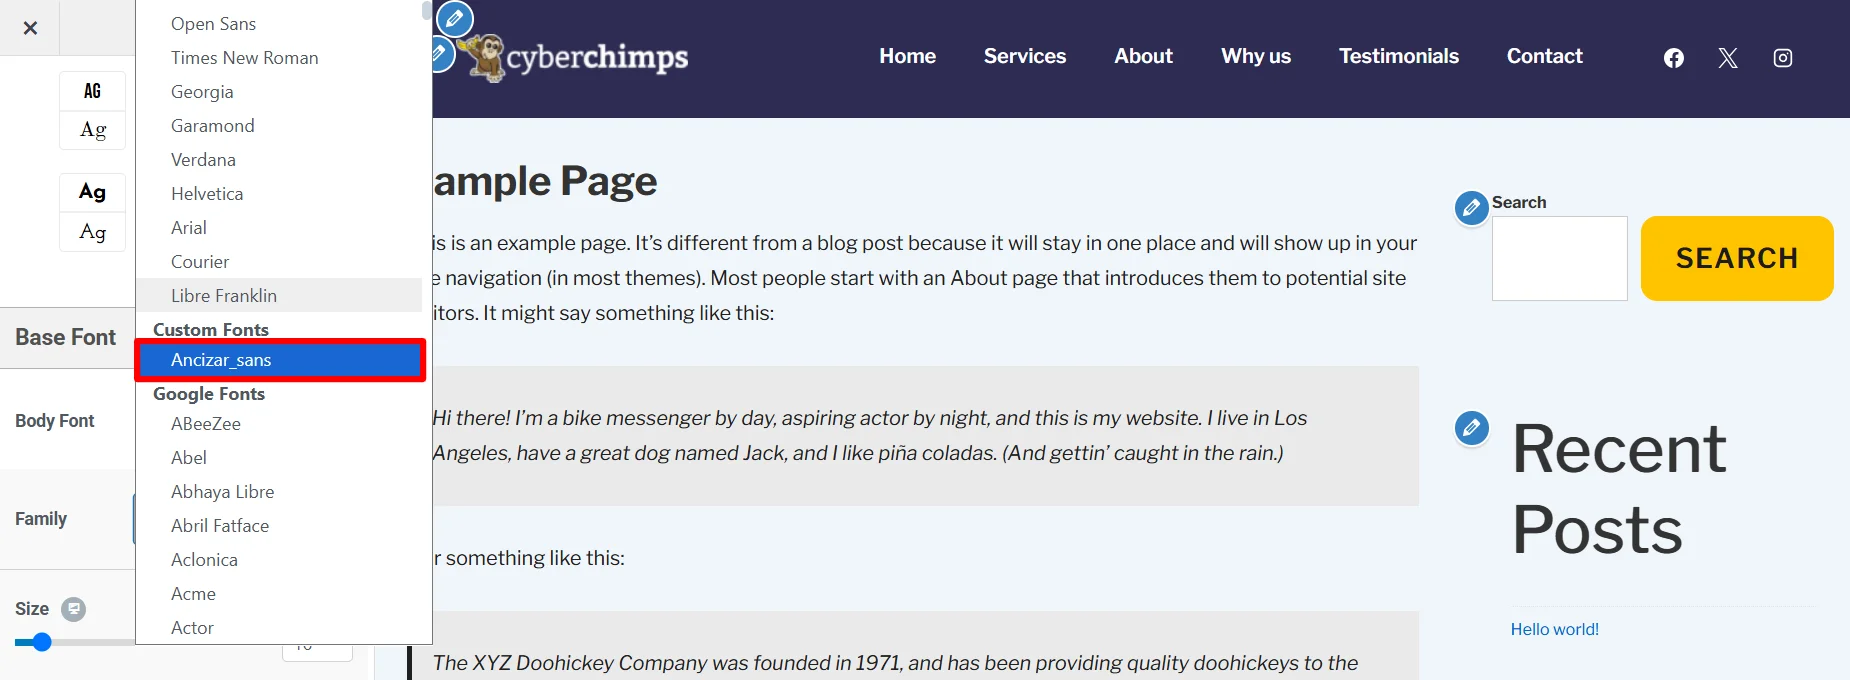
Once done, the custom font will be applied to your website’s front end.
Method 2: Using a Plugin
Another easy process to add custom fonts to your website is by using a plugin. Various plugins offer a seamless process to add custom fonts to your website.
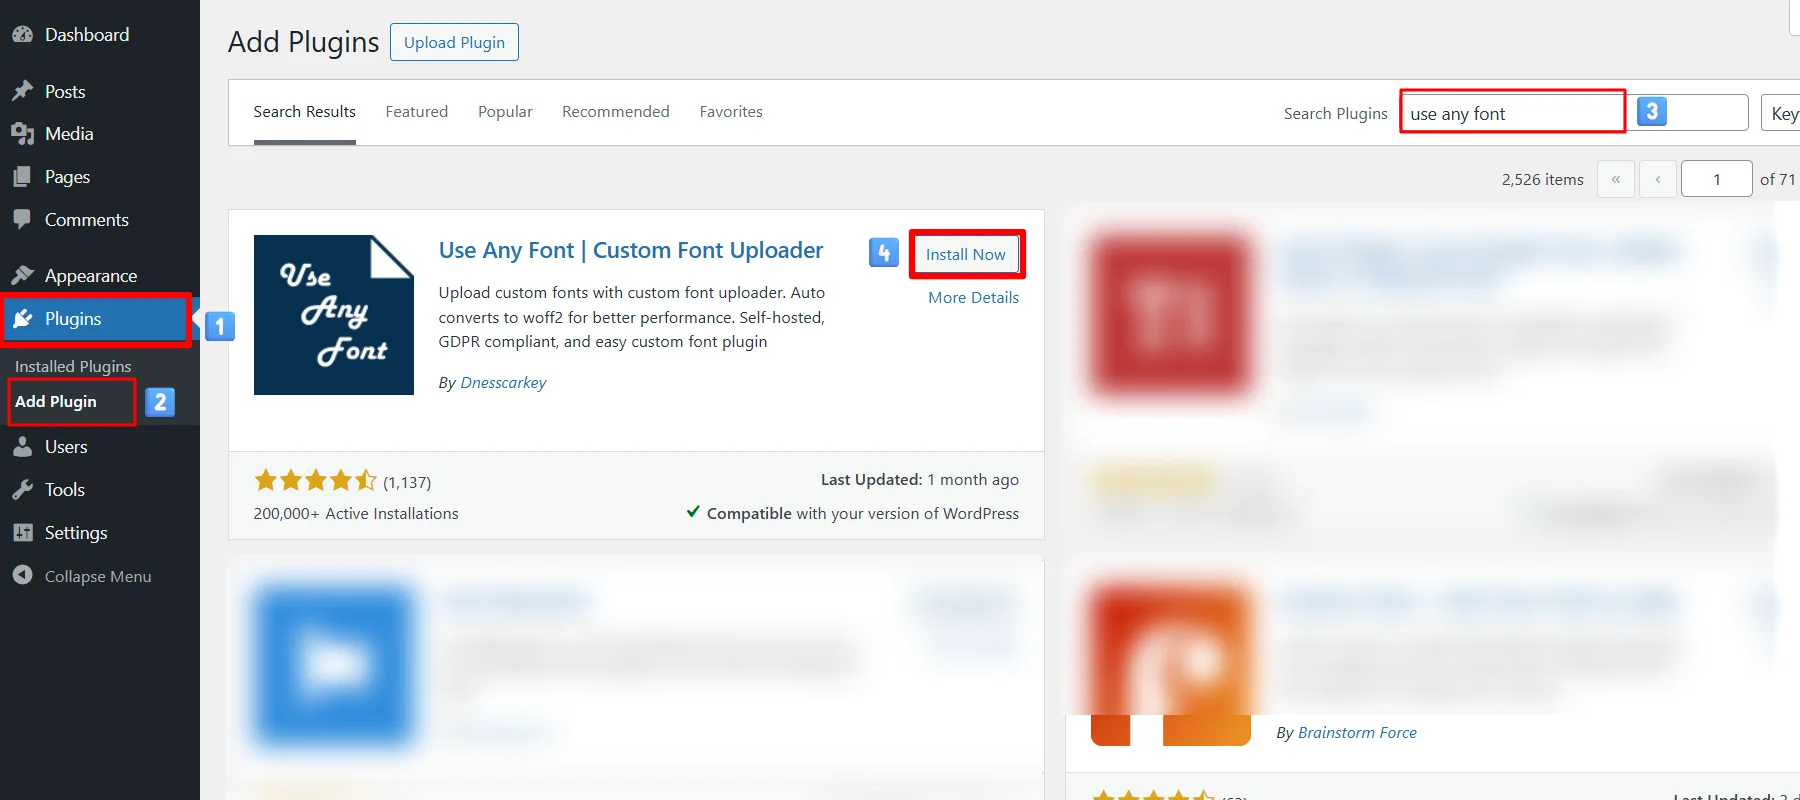
For this tutorial, I am using the Use Any Font plugin.
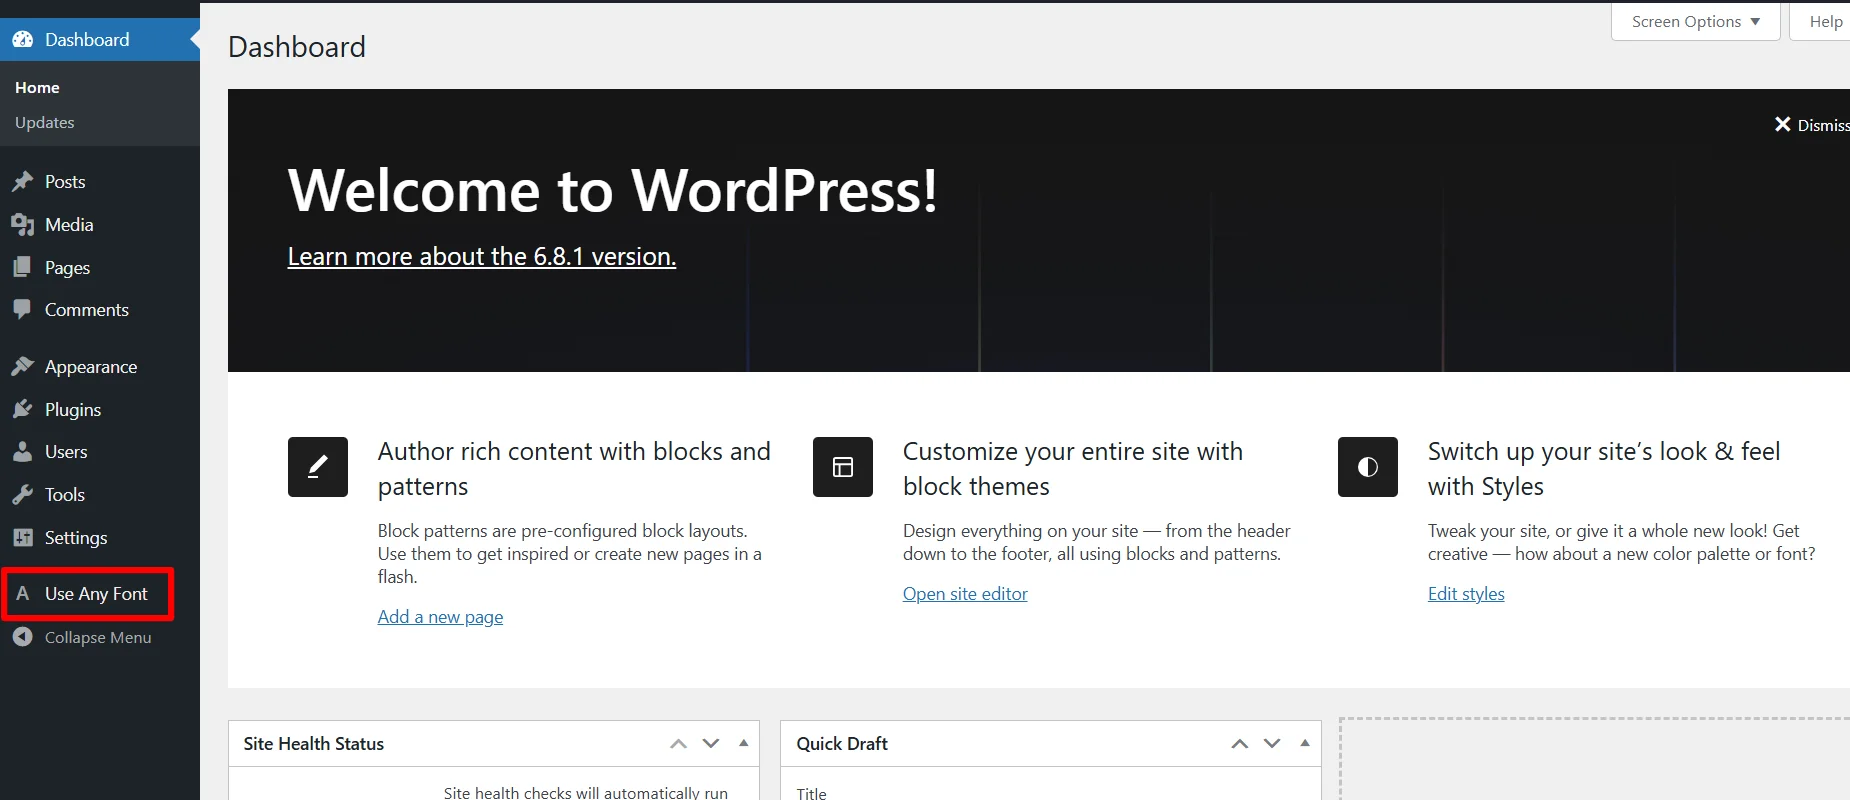
To download the plugin, you can simply navigate from your WordPress dashboard to Plugins > Add Plugin, search for “Use Any Font” and install the plugin.
Once the plugin is active, go to Use Any Font from your WordPress admin dashboard.
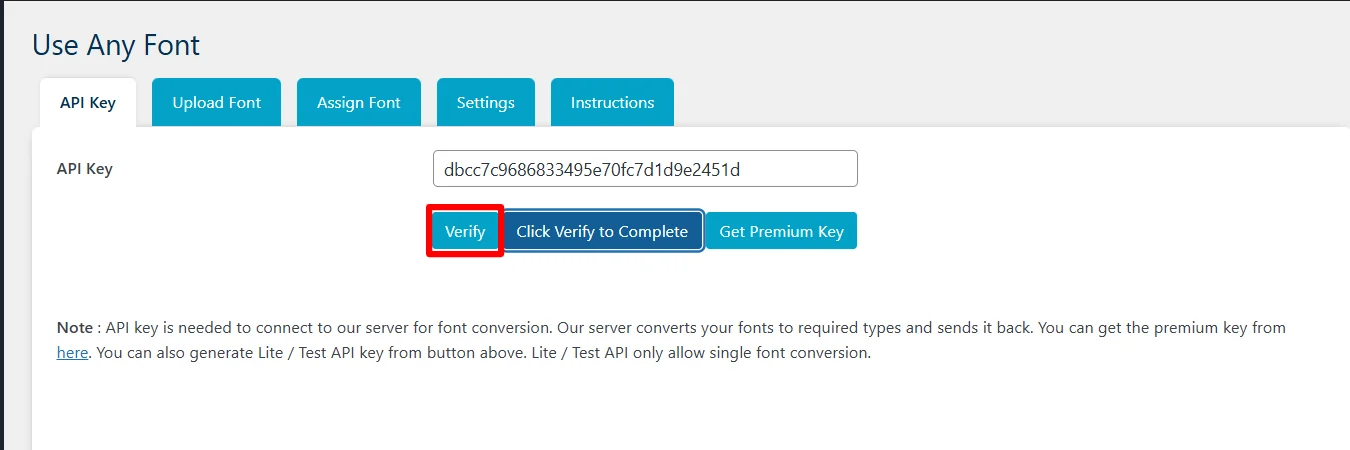
(To us, the plugin would need an API key, either free or paid.)
To access a free key, click on the Generate Free Lite / Test API Key button.

Next, click the Verify button.
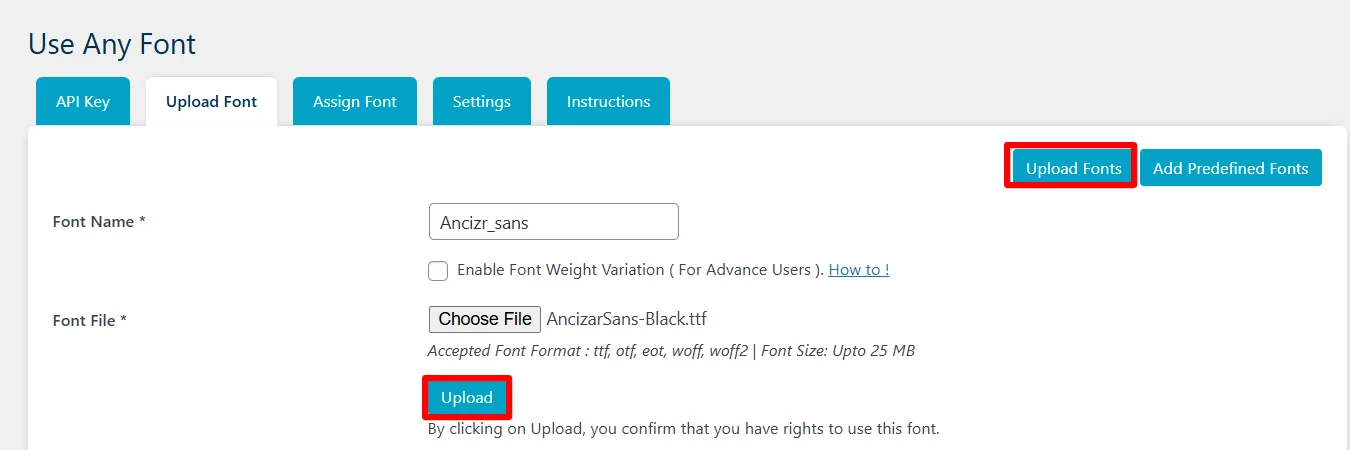
Once you have the API key, you can upload a custom font. To upload a font, click the Upload Font Tab.
(This will allow for options to upload a font you previously have or add a predefined font.)

Next, click on the Upload Fonts button to add the font you have previously downloaded and add the Font name and Choose Font File.
Once done, click Upload.
(Here I have already added the file’s name and uploaded it.)
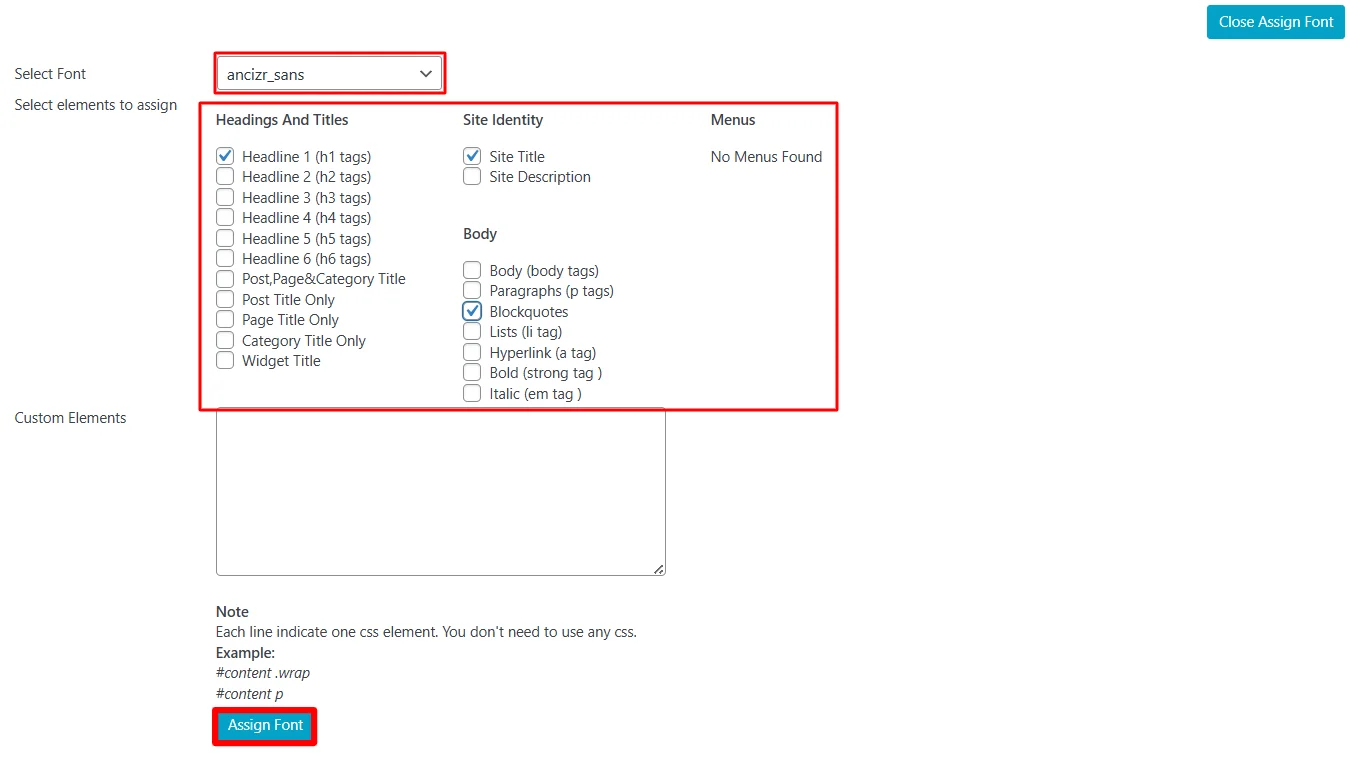
After uploading the font to apply it on the frontend, go to the Assign Font tab and click on the Assign Font button.
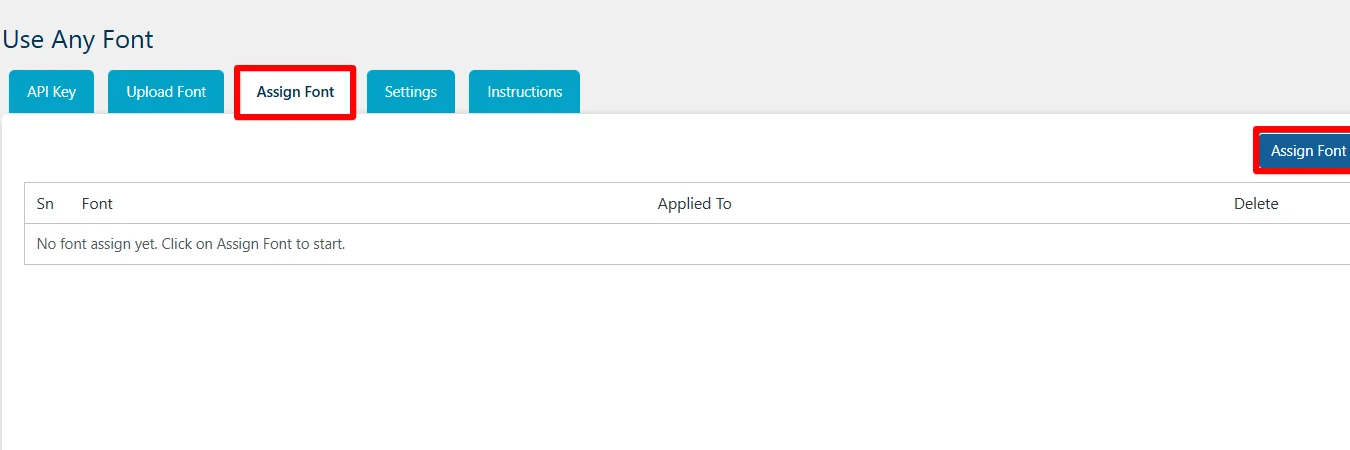
Next, select the uploaded font, select the elements you want to assign, and click the Assign Font button..
(Here I have already selected the font I uploaded and assigned H1, site title, and block quotes. You can assign them as per your needs.)
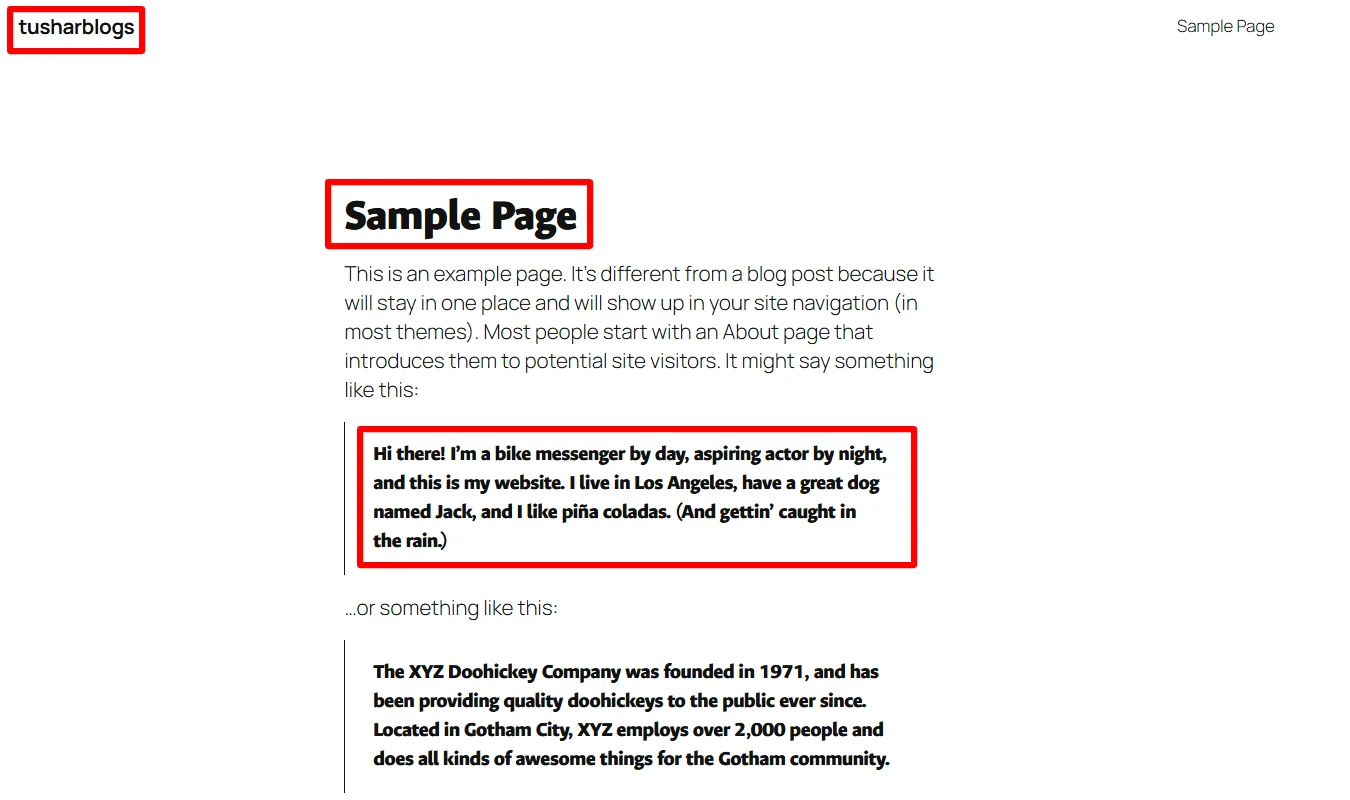
Once done, you can see the changes in the front end.
Method 3: Adding Manually
You can also add custom fonts to your website manually. However, I will recommend this method only if you have sound knowledge of WordPress code and technical architecture.
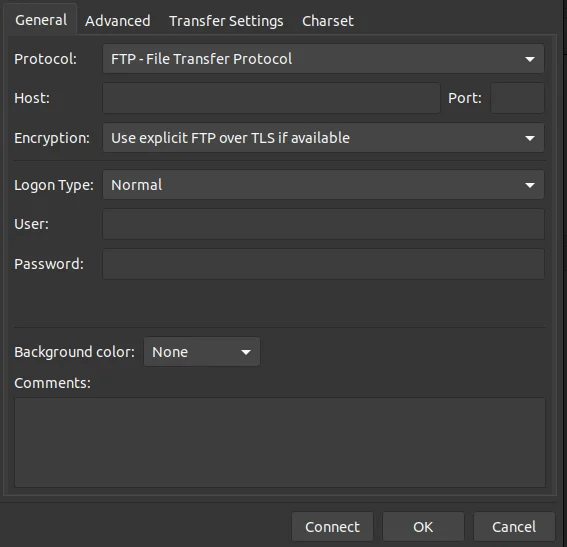
To manually add custom fonts to your website, connect via FTP or use your hosting File Manager.
(Here I have used FTP)
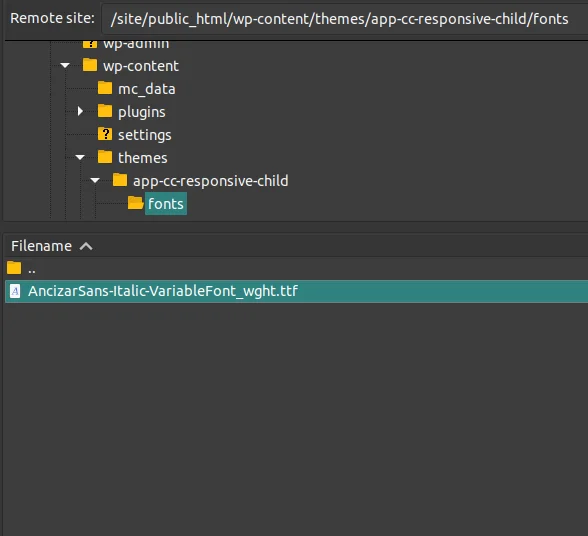
Navigate to your active theme directory: wp-content/themes/your-theme-name/
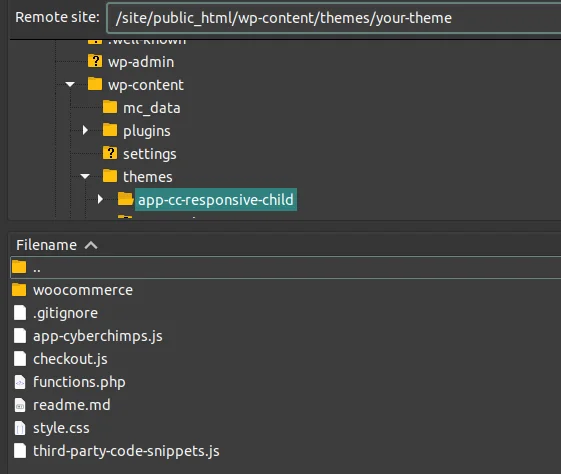
Create a new folder inside the theme directory called fonts (if it doesn’t already exist) and upload the font files into the fonts folder.
Next, declare the font in your CSS so it can be used in your theme.
Open your theme’s style.css or a custom CSS file (or use a child theme to prevent losing changes during updates).
Add the @font-face rule like this:
@font-face {

font-family: 'YourCustomFont';

src: url('fonts/your-font.woff2') format('woff2'),

url('fonts/your-font.woff') format('woff');

font-weight: normal;

font-style: normal;

font-display: swap;

}
Adjust the src path if you’re not in the root of the theme folder.
Once the font is declared, apply it to elements:
(For example, I have shown how to use the custom fonts for the HTML elements or your CSS classes)
body {

font-family: 'YourCustomFont', sans-serif;

}
Or apply it to specific elements:
.custom-class {

font-family: 'YourCustomFont', serif;

}
FAQ
To use any font in WordPress, you first need to download the plugin from a font library, upload the font file to your WordPress backend, and apply the changes to use it.
To download the custom fonts for your WordPress website, you can check out reliable sources like Google fonts, Adobe fonts, Dafonts, or others.
To upload custom fonts to your WordPress website, you can either upload them using custom themes like the Responsive theme, a plugin, or add them manually.
Conclusion
Fonts are integral elements contributing to website aesthetics and brand persona.
While the default WordPress settings or a chosen theme offer their own sets of fonts, your website might require something more unique. For such requirements, you can add custom fonts to your website by downloading them from font libraries.
You can use any of the methods I have mentioned in the article. However, I would refer you to use the free Responsive theme.
Further, if you liked this article, consider reading:
- How to Change Blog Layout in WordPress – A Complete Guide
- How to Add a Navigation Menu in WordPress – A Complete Guide
- How to Add a Sticky Header to WordPress – 3 Easy Ways
Grab the Cyberchimps Responsive Theme today!


