Are you looking to add a dual color header to your website?
Adding a dual-color header to your Elementor website is a great way to enhance its visual appeal and make your branding stand out.
While creating a dual-color header on your website can be complex, with Elementor’s flexibility, you can easily create it.
With Elementor, you can drag and drop elements to add to your website, thereby simplifying your website design process.
This guide will walk you through the steps to easily add a dual-color header to your site.
So let’s get started!
What is a Dual Color Header Widget?
Before we jump into the steps to add a dual-color header widget, let’s understand what it is.
A dual-color header widget is a design feature that enables website developers or designers to combine two different colors in a single header section.
It uses contrasting colors to improve the visual interest and create a dynamic design, which can successfully highlight crucial components such as logos, navigation menus, and call-to-action buttons.
Typically used in website builders like Elementor, the dual-color header widget offers customization options, enabling users to adjust colors, gradients, and layouts to fit their brand identity.
Necessary Tools to Create a Dual Color Header
Now that you understand the benefits of dual-color headers, let’s explore the necessary tools to create one for your WordPress website.
You’ll need a WordPress plugin that allows you to create flexible and visually appealing website pieces, especially one that works well with a page builder like Elementor.
While we know Elementor has a large collection of widgets, complex widgets like a dual color header are only accessible in expensive editions.
You may consider using the pro version of Elementor to get the widget, as well as third-party Elementor Addons plugins, which offer free Elementor widgets.
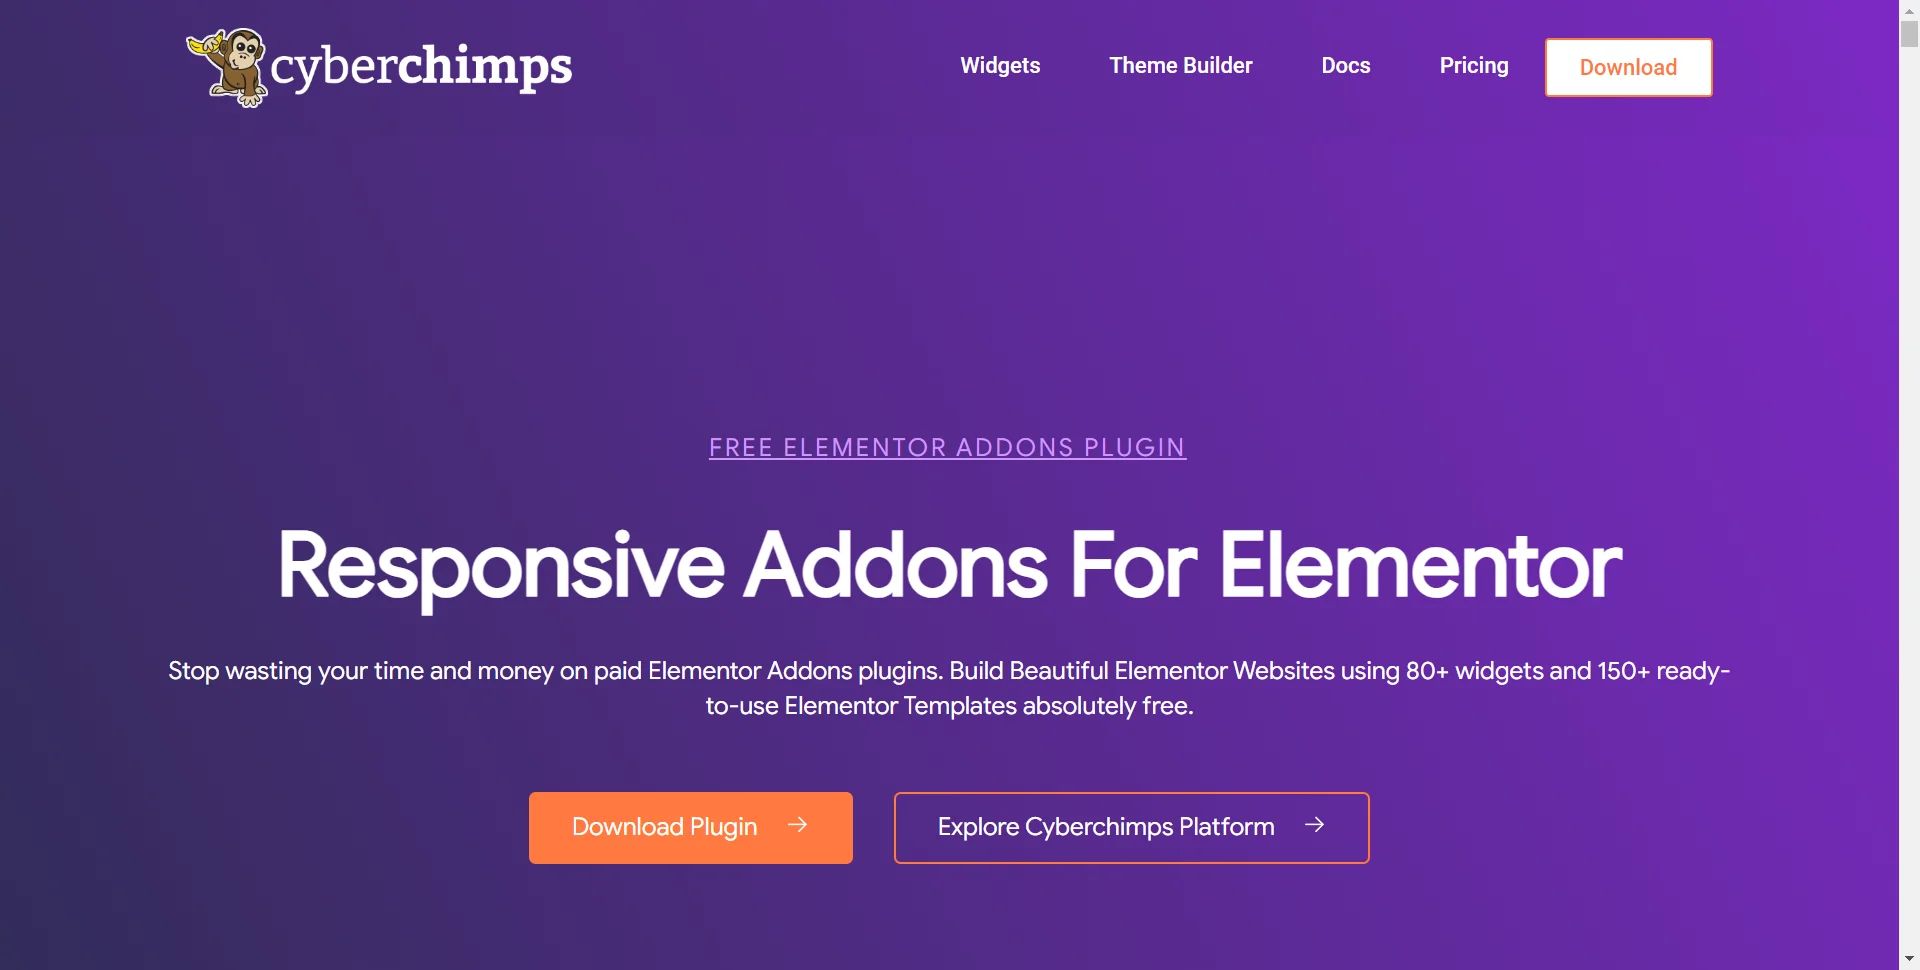
Among the many third-party Elementor add-on plugins available, Responsive Addons for Elementor is one of the best.
This free plugin includes more than 80 Elementor widgets, allowing you to create stunning and engaging websites with ease. It effortlessly integrates with Elementor to expand your design possibilities.
This plugin lets you create a dual-color header using Elementor’s drag-and-drop functionality. You can also customize the header’s color scheme, style, and font to match your website’s brand and design.
Creating a Dual-Color Header for Your Elementor Website
Let’s now understand how to create a dual-color header.
[Note: To use this Elementor widget, you must have a website template built with Elementor page builder]
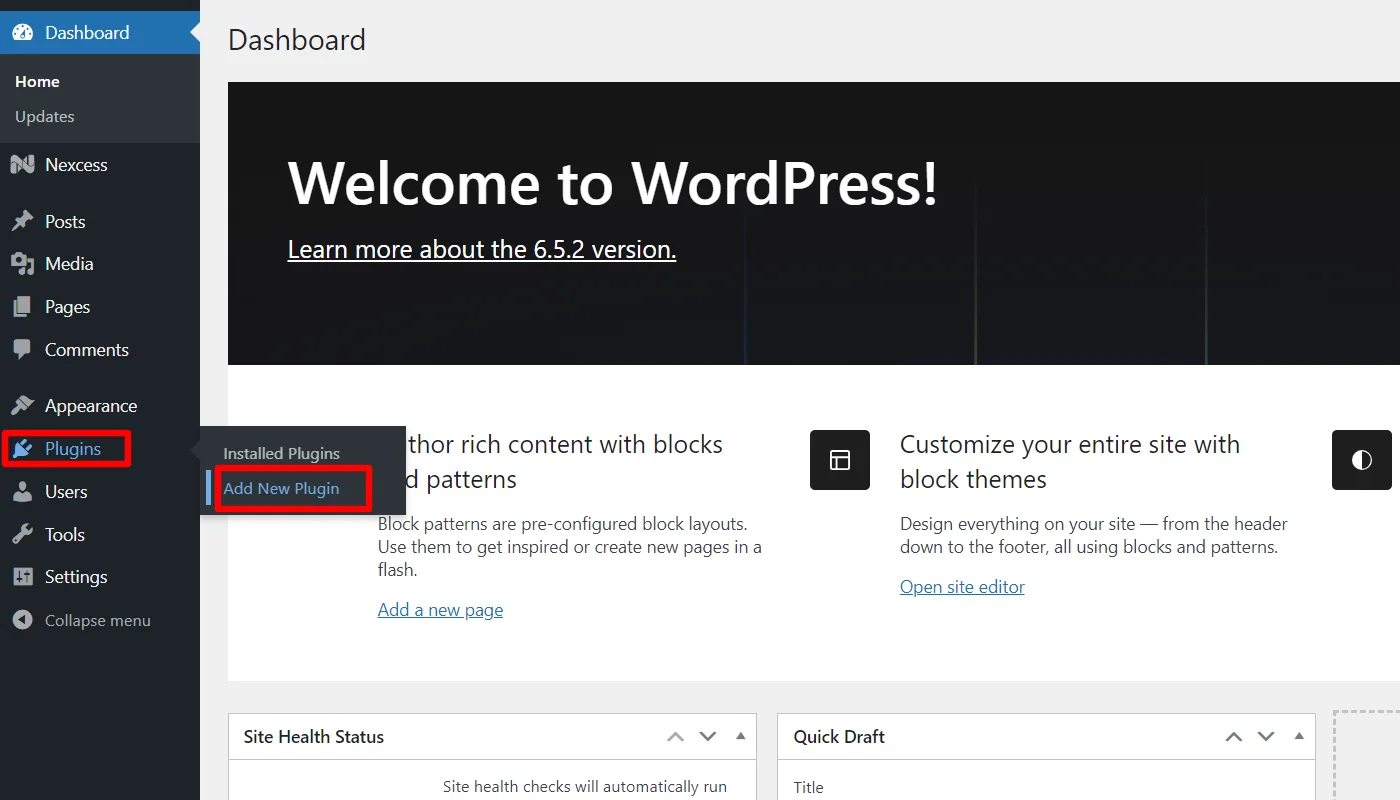
Step 1: Install and Activate Responsive Addons for Elementor
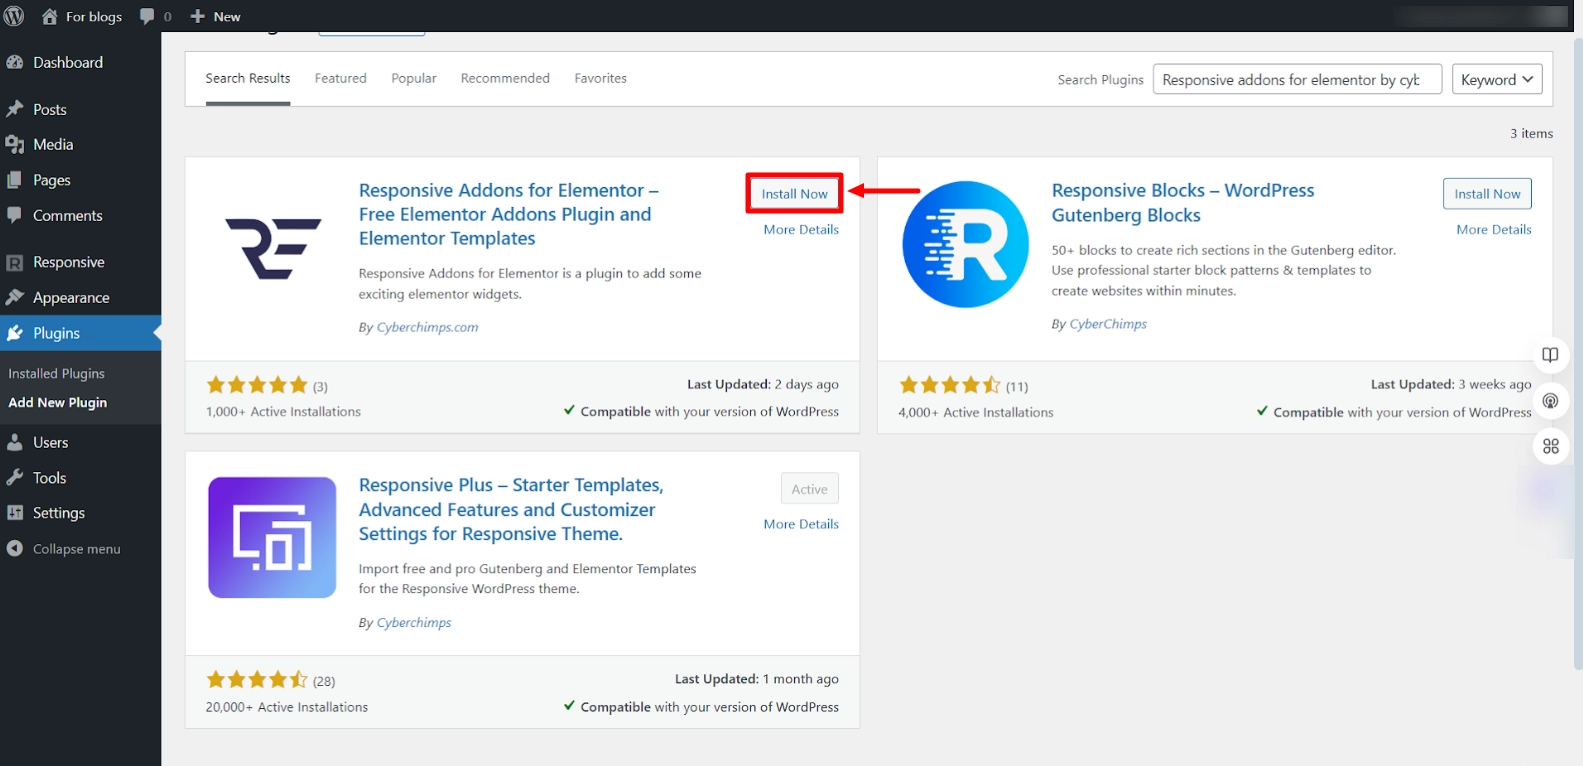
Navigate through your WordPress Admin dashboard and go to Plugins > Add New Plugin.
Go to the search bar above and search for Responsive Addons for Elementor and then click on Install now.
Click on the Activate button to activate the plugin.
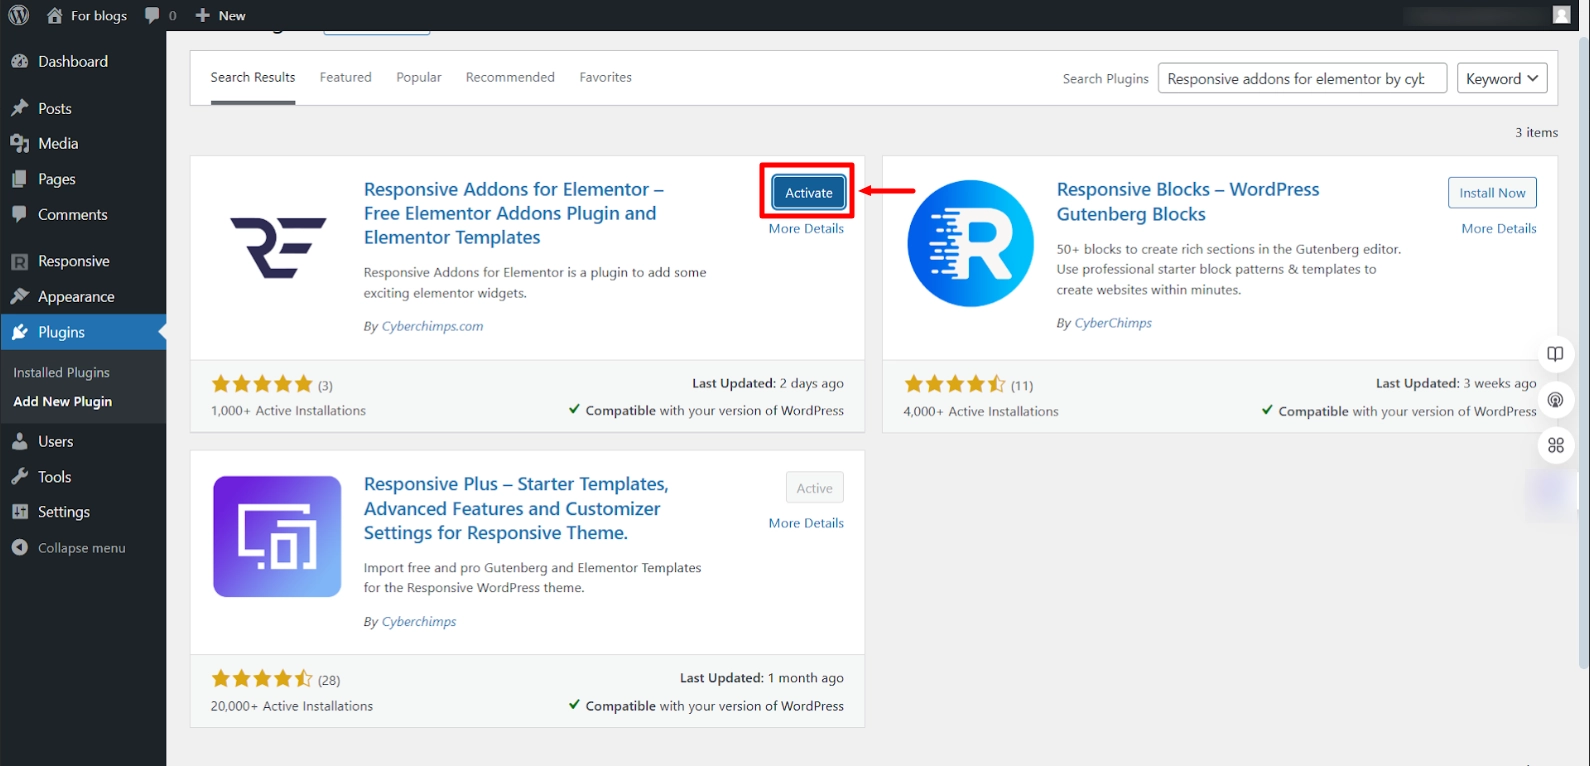
Once you activate the plugin, open the page where you want to add the breadcrumbs widget. For this tutorial, we’ll use the SEO Expert WordPress Website Template

Step 2: Adding The Dual Color Header Widget
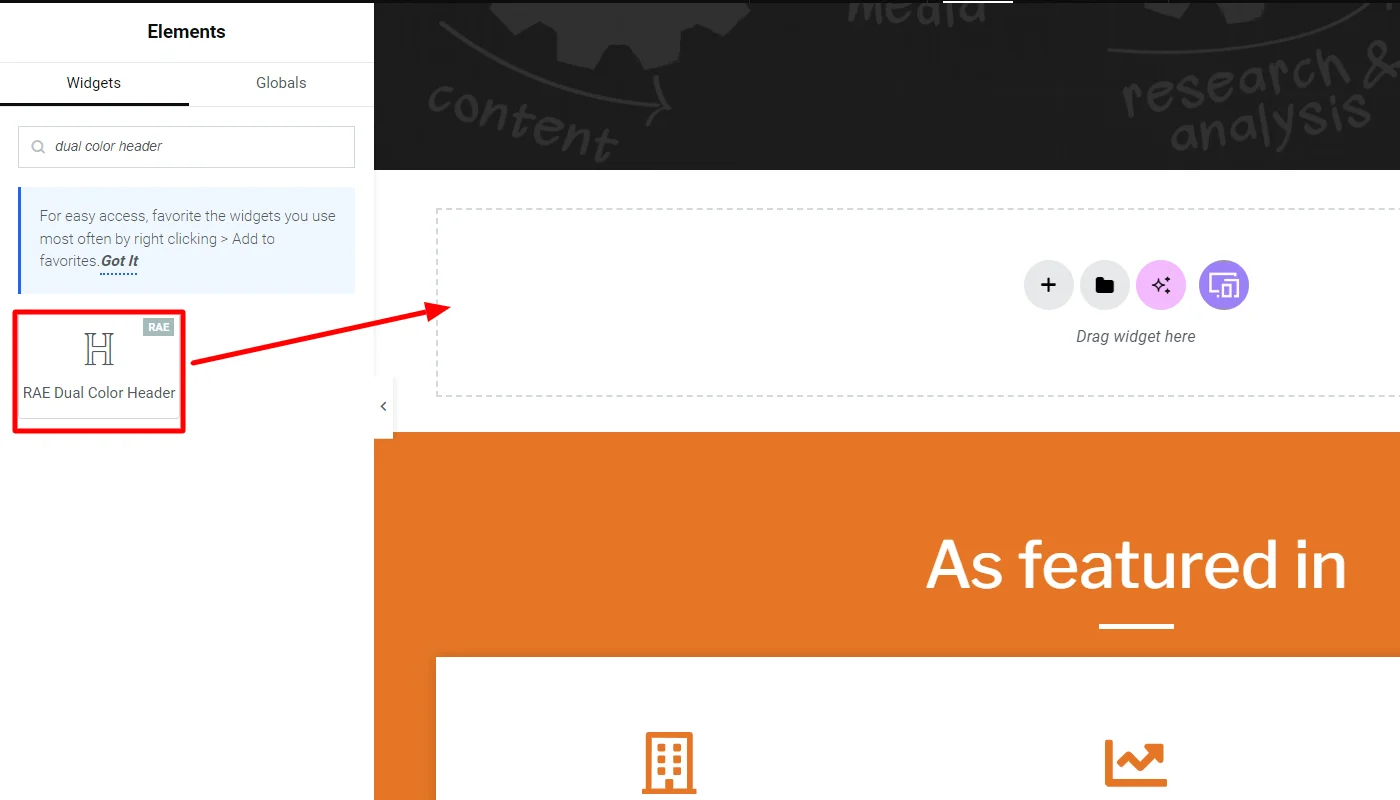
Click on Edit With Elementor on the page you want to edit.

Next, on the left sidebar, search for Dual Color Header.

Drag and drop the RAE Dual Color Header Widget in the section where you want to add it.
And this is how the widget will look by default.
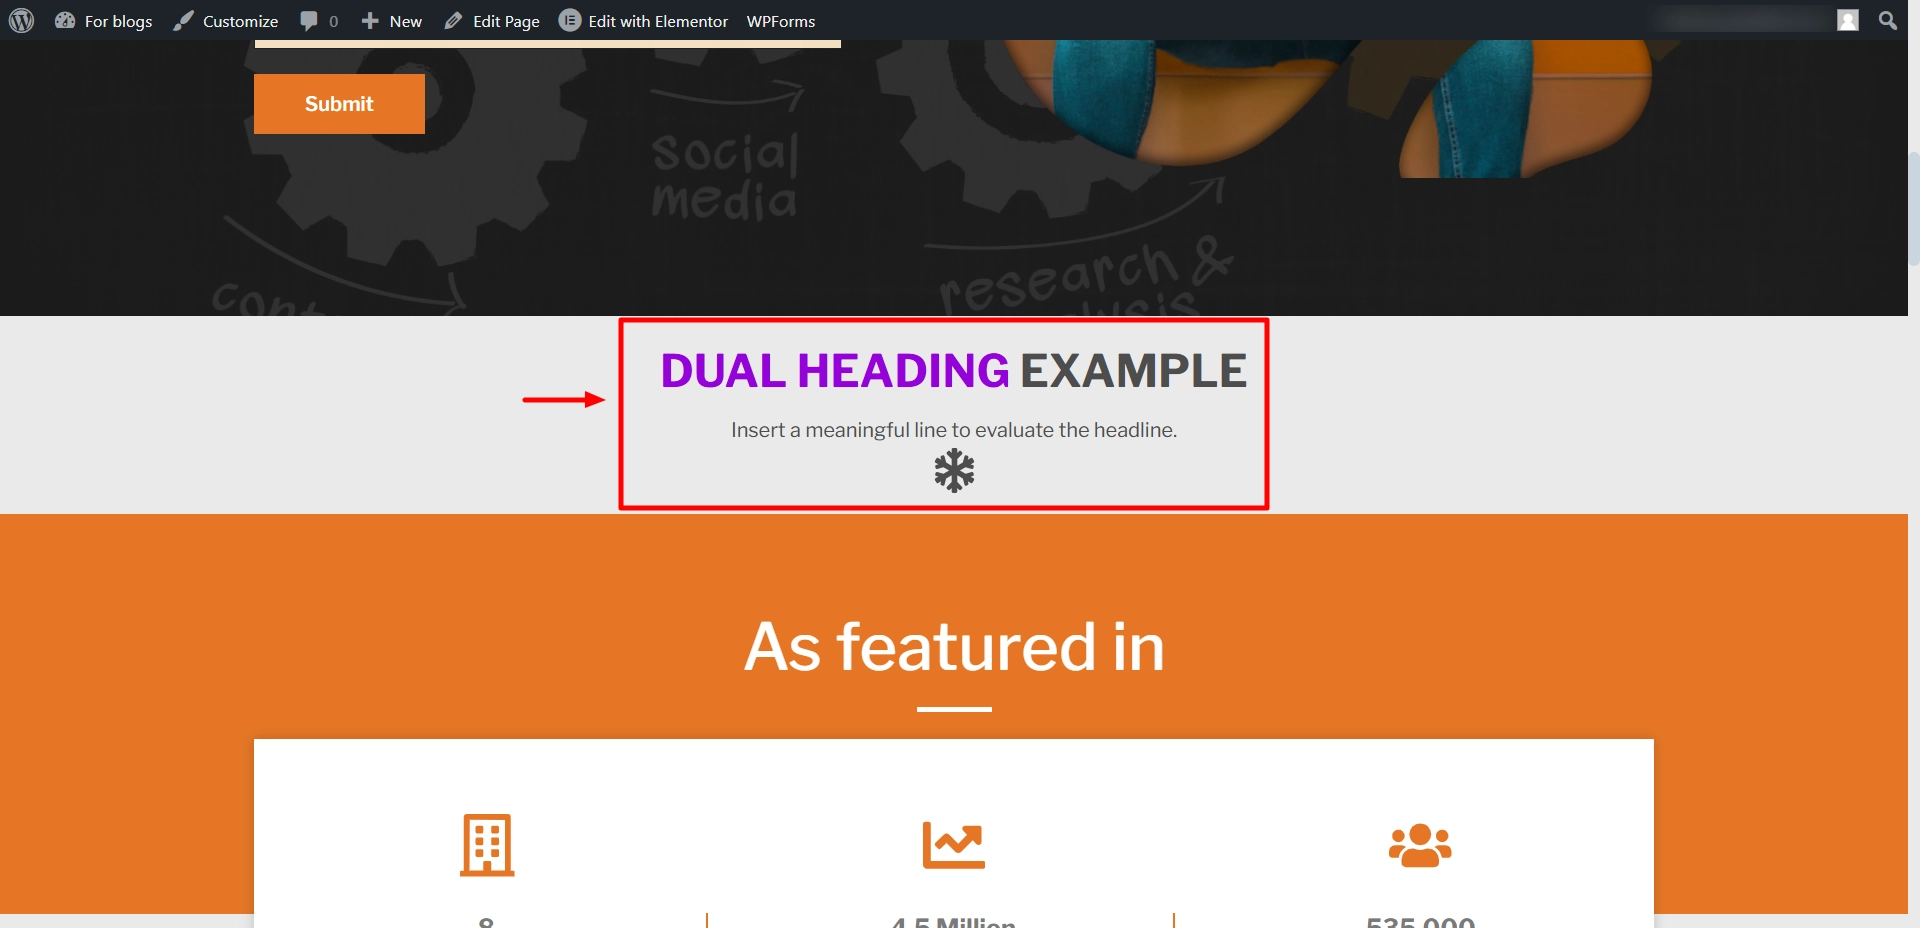
You have successfully added the dual-color widget; now, let’s understand how to customize it.
Step 3: Customizing The Dual Color Header Widget
This widget gives you access to customize the content settings of the widget fully. I have also shared how I used the customizations to add a dual header for my website.
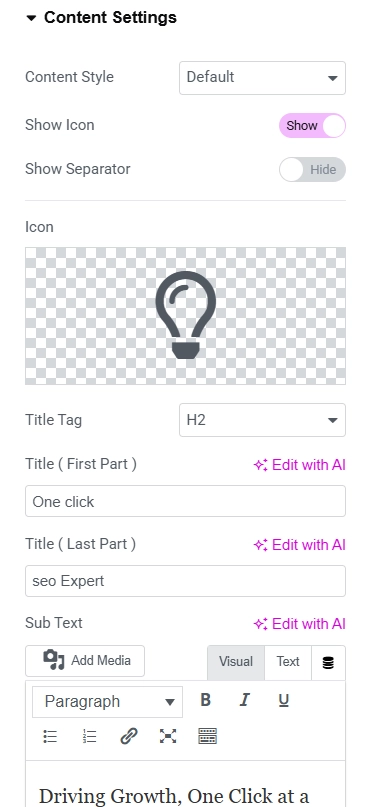
Content Setting
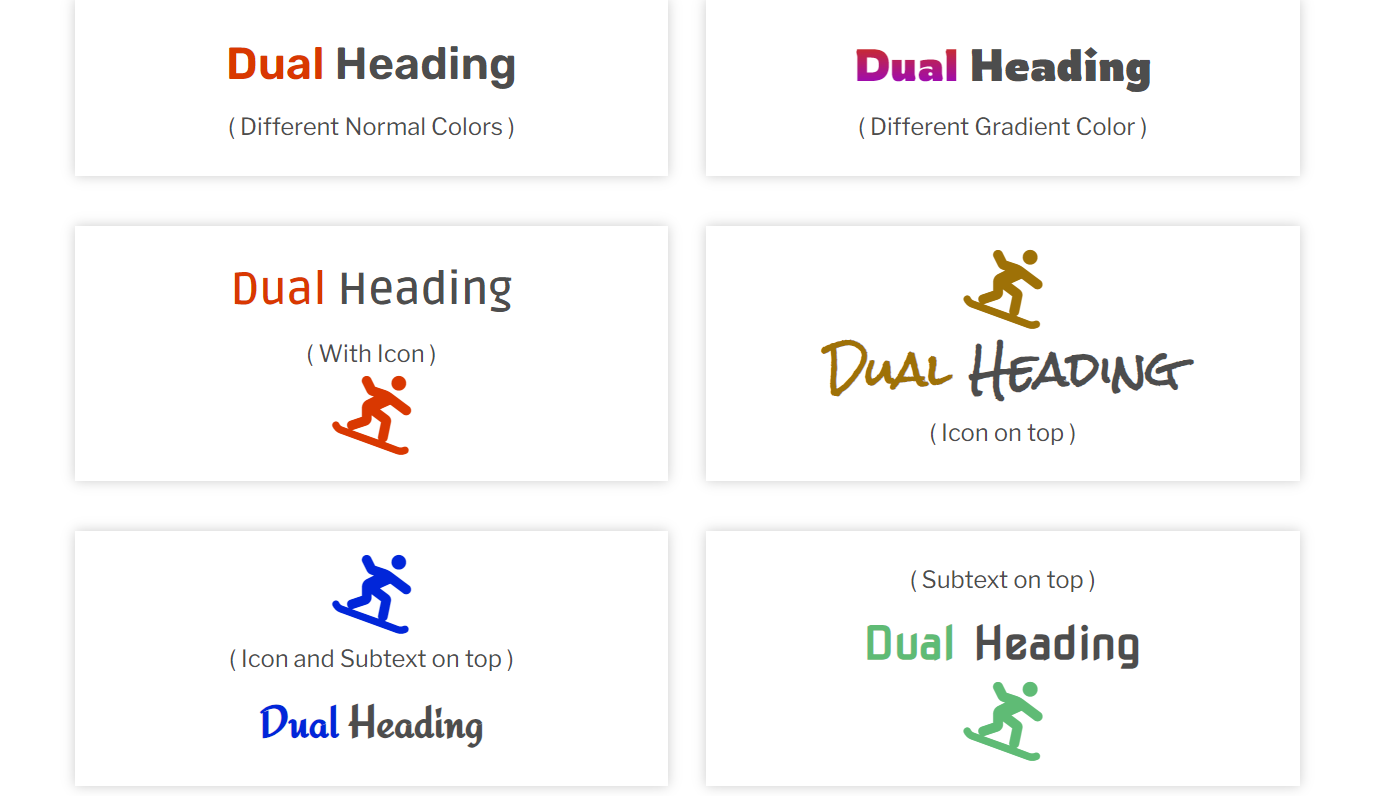
- Content Style – You can select the content style to show the icon and text.
- Show Icon – You can toggle between show/hide for the icon.
- Show Separator – You can toggle between show/hide for the separator.
- Icon – You can select icons from the icons library.
- Title tag – You can select titles such as H1, H2, H3, etc.
- Title ( First Part ) – This dual-color heading is split into two parts; you can set the text for the first part.
- Title ( Last Part ) – Dual color heading is split into 2 parts; you can set the text for the last part.
- Subtext – You can add a subtext for the heading.
To customize the content settings for the dual color header, I began with the icon display to enhance visual engagement and added a relevant icon that matched the page’s aesthetics.
I kept the separator disabled as the default. I set the title tag on H2, alongside the dual-color heading. The first part was set to “One Click” to emphasize simplicity and efficiency, and the last part of the heading was set to “SEO Expert,” focusing on expert SEO solutions.
Step 4: Styling The Dual Color Header Widget
The dual-color header widget provides you with various styling options, including:
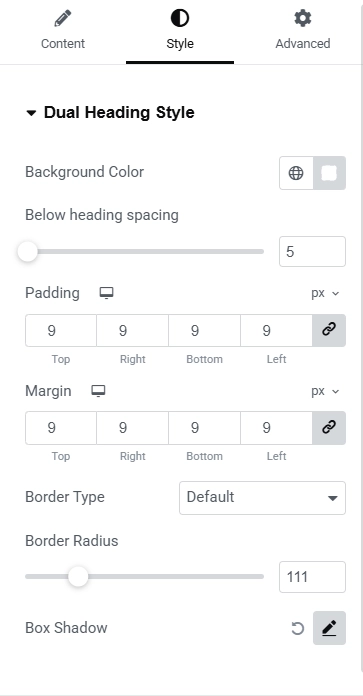
Dual Heading Style
- Background color – You can set the background color for the dual-color header block.
- Padding & Margin – Set the padding and margin to the dual-color header block.
- Border Type – You can set the border style, width, color, and radius.
- Box Shadow – You can set the box shadow to the dual-color header box.
Alongside the content settings, I also used the styling options to set the design and aesthetics of the website.
For the heading style I kept the background color of the dual-color header block to white for a clean and modern look. I kept the padding and margin to 9 to ensure balanced spacing, creating an even layout that enhances readability.
For the border radius, I adjusted it to 111, giving the block a soft, rounded edge and moreover I also enabled a subtle box shadow has been enabled, adding depth and a touch of elegance to the dual-color header block.
Icon Style
- Icon Size – You can adjust the size of the icon.
- Icon color – You can choose the color of the icon.
To style the icons and make it prominent and visually appealing, I slightly adjusted its size and added a vibrant orange (#F88B0C) for the icons.
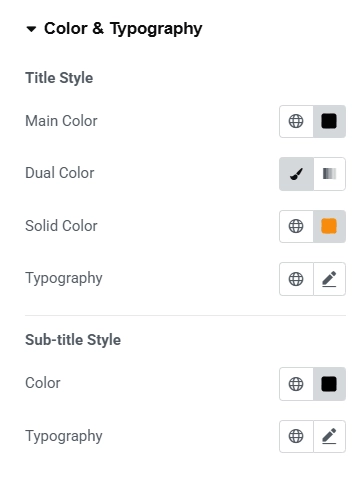
Styling Color & Typography
- Title
- Main Color – You can choose the color of the last text.
- Dual color – You can choose a solid color or a gradient color for the first text.
- Typography – You can set the typography for text, such as font size, font family, etc.
- Subtitle
- Color – You can choose the color of the subtext.
- Typography – You can set the typography for subtitles, such as font size, font family, etc.
For the color and typography styling, I selected a grey (#040404) color code, giving it a sleek and subtle appearance, further enabling a gradient style for the first text to add visual interest. For the text color, I kept it a clean black.
FAQ
Yes, you can utilize third-party plugins such as Responsive Addons for Elementor, which is free and includes a dual-color header widget that can be created without Elementor Pro.
A dual-color header gives your site a more dynamic appearance, allowing you to highlight critical features such as logos and navigation menus while also boosting overall design and usability. It helps your branding stand out.
Yes, if your WordPress theme is compatible with Elementor, you will be able to add a dual-color header to any page using the Elementor editor and the Responsive Addons for Elementor plugin.
Conclusion
Adding a dual-color header to your Elementor website is a simple but effective method to improve its look and highlight crucial features.
The Responsive Addons for Elementor plugin makes it simple to add a customisable dual-color header that matches your branding.
Further, if you liked this article, you can also consider reading:
- How to Add Media Carousel To Your Elementor Website
- How To Create Flip Box Overlays And Hovers In WordPress
- How to Add Modal Popup in Elementor
Additionally, you can check out Responsive theme by Cyberchimps to easily create versatile websites.


