Building your WordPress website and wondering how to edit or change the blog layout?
Popularly emerged as a blogging platform, WordPress has significantly changed today. However, its focus on the features of creating a blog website, which is still predominant, makes it a preferred choice for many big brands.
Whether you are building just another blog website or customizing the blog page of your niche website, the layout plays a crucial role. They not only enhance your site’s visual appearance but also add accessibility features and other functionalities.
This article will walk you through the essentials to edit or change the blog layout in WordPress, following simple steps.
Remember to read through the end!
What is WordPress Blog Layout?
Before we get into the depths, it’s crucial to understand what WordPress blog layouts are.
In Lehman terms, you can think of a blog layout as an arrangement and structure of a blog page design encompassing the organization, display, and navigation.
Blogs are a significant source of traffic for most websites. Users who land on your website are most likely to explore other interlinked pages; hence, a well-structured blog layout enhances the overall website’s aesthetics, and its functionalities offer a better user experience.
While you may believe that a blog theme, which is essential for a website, would be tough to alter, it is not!
How to Change WordPress Blog Layout?
WordPress has simplified website customization, including layout edits, to be seamless with just a few clicks. Moreover, the emergence of classic WordPress themes has further simplified it.
While researching this article, I tried various classic themes that supported blog layout changes, and I found the Responsive Theme customizer to be the most suitable.
It provides detailed customization options for each corner of your blog layout with an easy-to-understand user control panel. It also offers design customization options to add additional stylings to your blog layout.
Further, let’s explore how you can use the Responsive WordPress theme to change the layout of your website’s blog.
Changing Blog Layout in WordPress Using Cyberchimps Responsive Theme
Changing and customizing the blog layout with the Responsive theme is quite simple, and it follows a few simple steps.
Step 1: Installing WordPress Theme
To learn how to install the Responsive WordPress theme, refer to:

Step 2: Setting Up the Blog Page
Before we proceed, it is important to note that choosing and setting up a specific page for your blog is recommended before considering changing its layout.
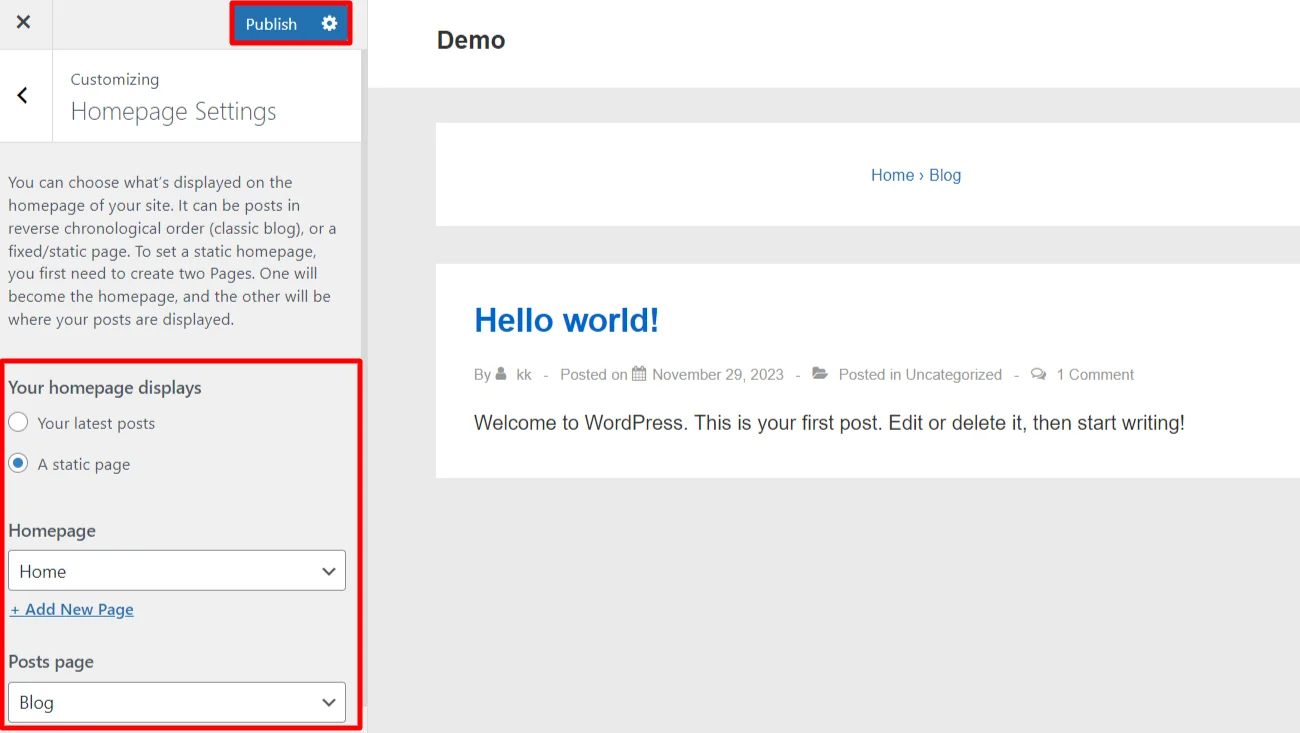
For this article, I previously added a few blog posts on my website to help you understand better. By default, when you have posts on your website, WordPress sets your posts page as your homepage display. You can change the posts page based on your convenience.
To create a separate blog page for your site, refer to How to set homepage in WordPress.
Step 3: Changing and Customizing Blog Layout
Once you have your blog page set up and ready to customize, follow the following steps:
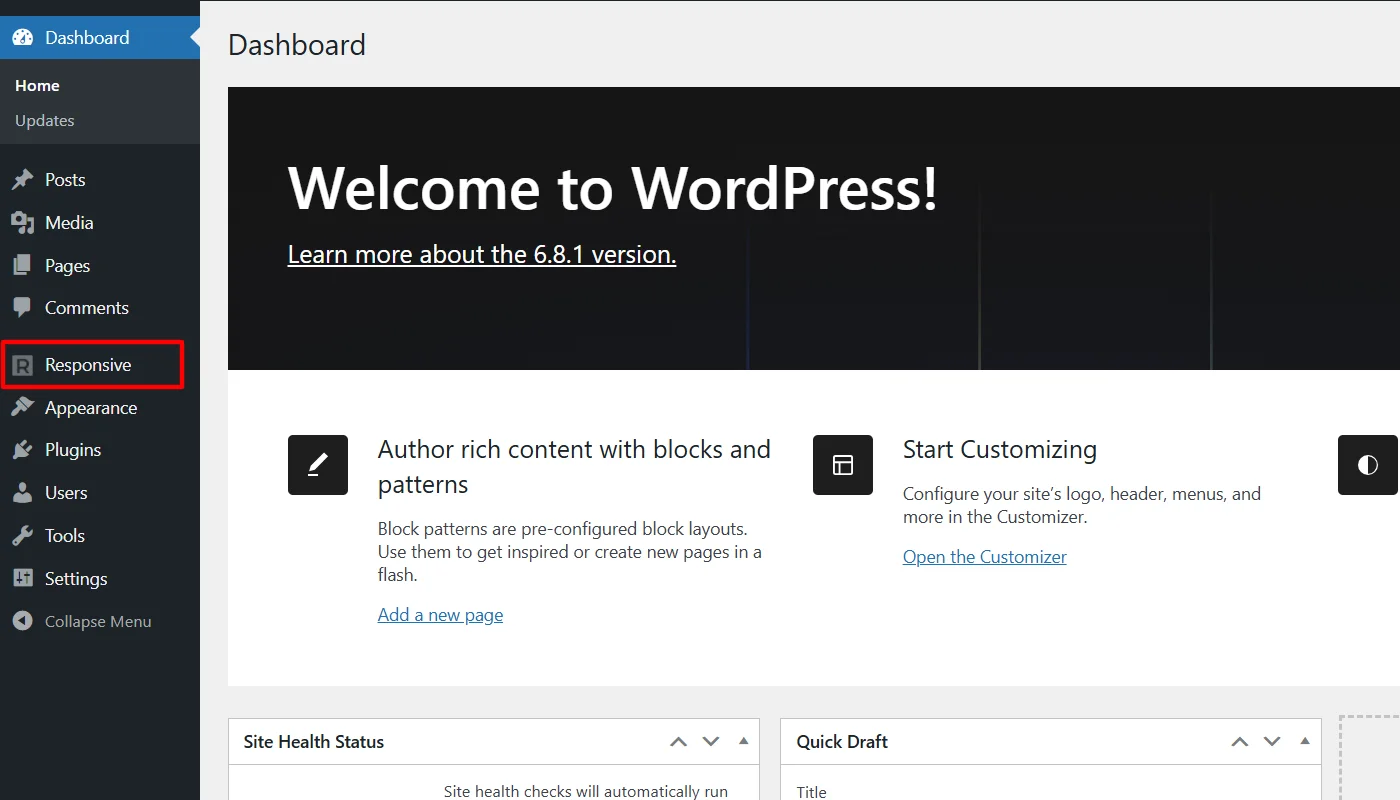
Go to your WordPress admin dashboard and navigate to Responsive.
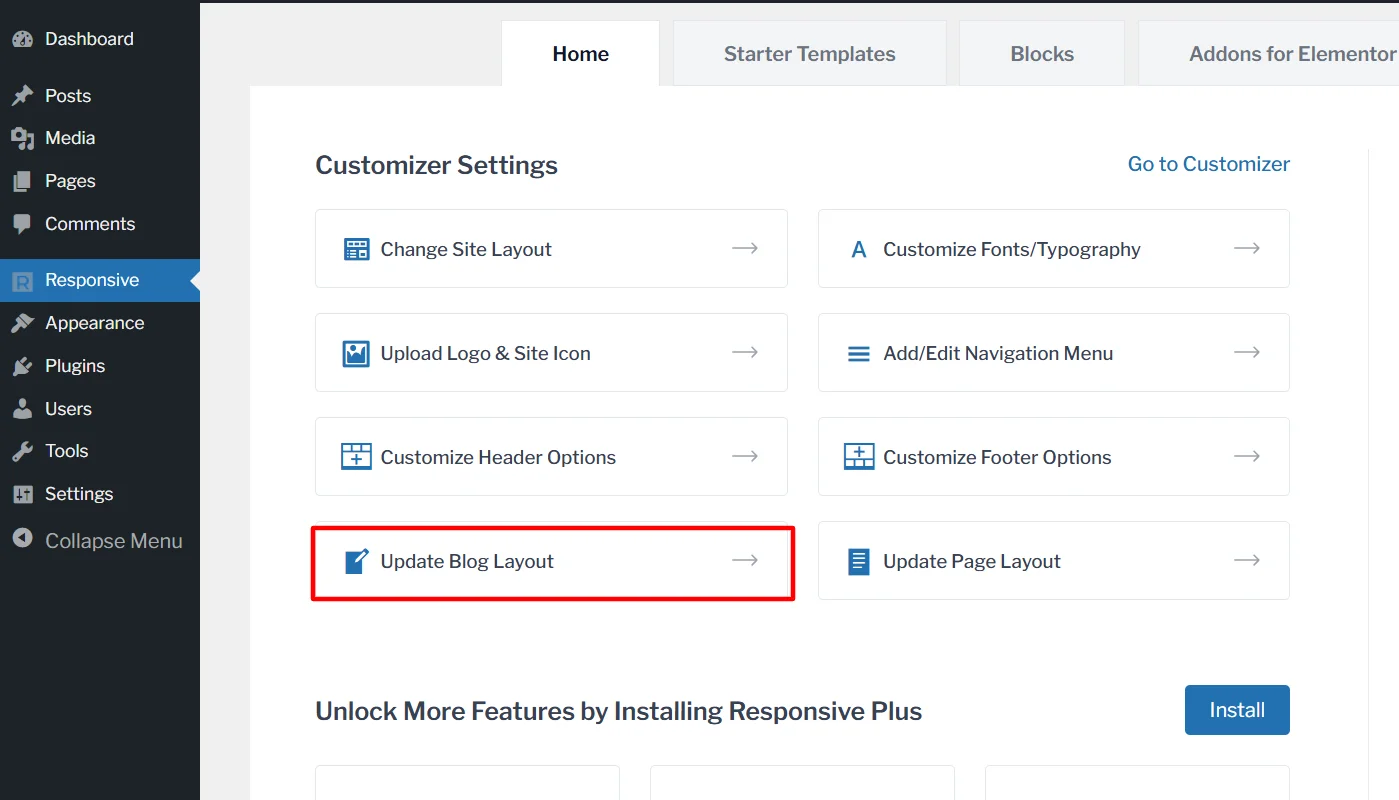
Click on Update Blog Layout.
The blog layout customizations offer you the ability to change the setup. For this tutorial, we will explore the customization options available, simultaneously showing how I used them to change the layout for my blog.
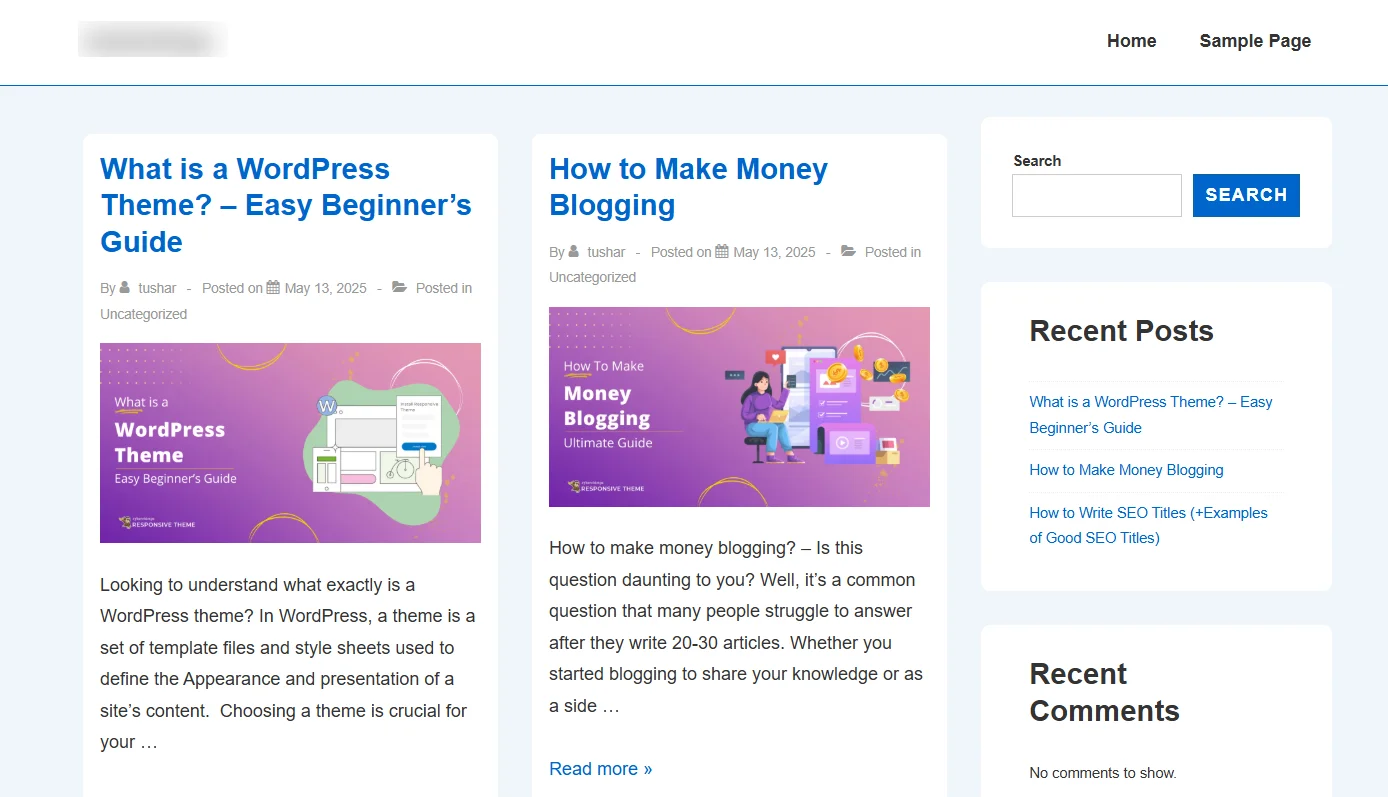
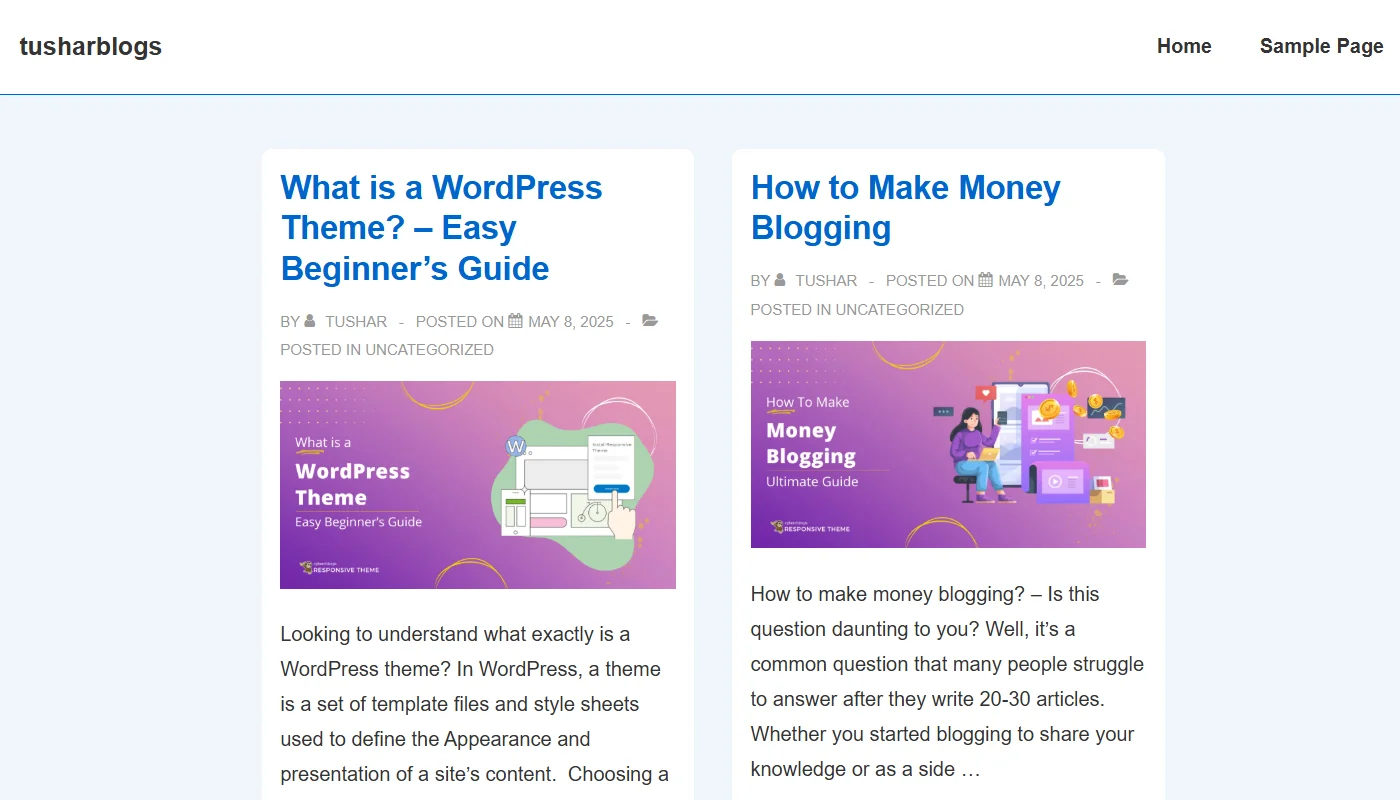
To give you a clear picture of how the changes impact the effect, here is how the page’s appearance looked before I started customizing.
Step 4: General Customizations
The blog layout customizer of the Cyberchimps Responsive Theme offers various customization features that most theme customizers do not provide.
Blog Page Title and Sidebar
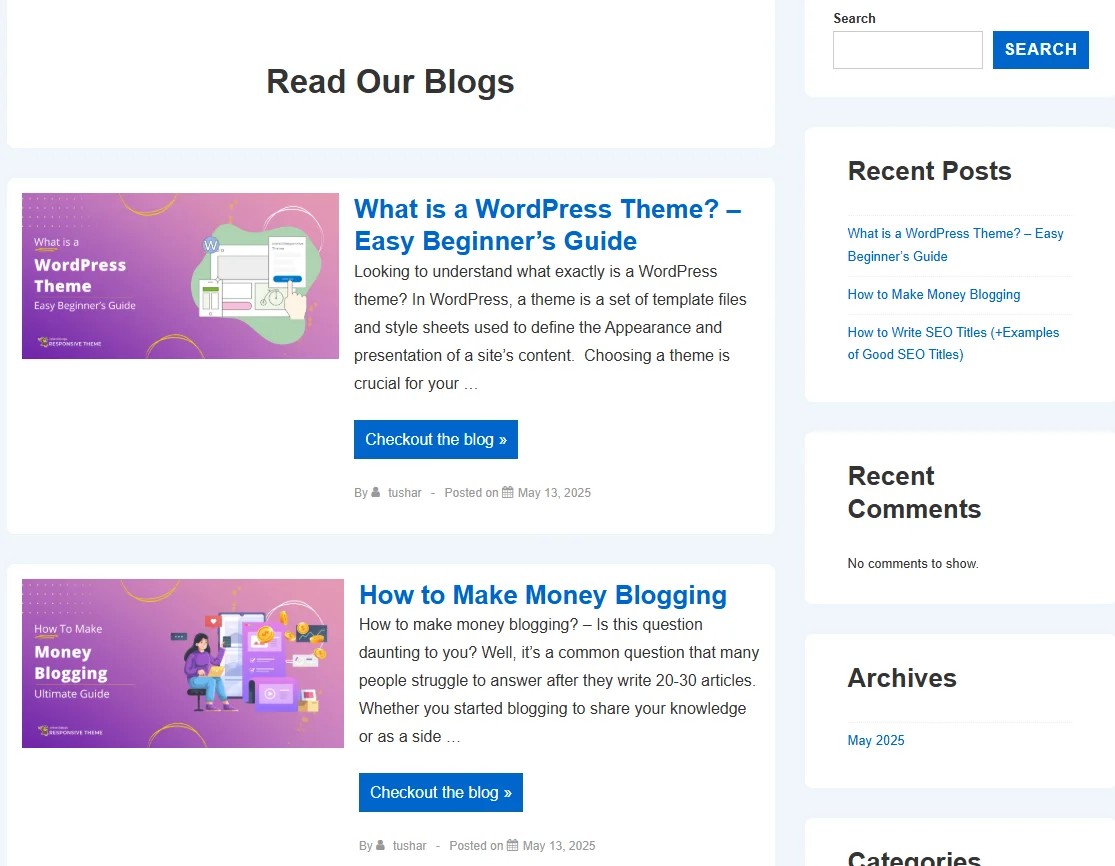
Like, if you enable the options to enable or disable the page title, where, if you enable it, you can set its name as per your needs. As you see here, I enabled the blog page title and kept the page title as “Read Our Blogs,”
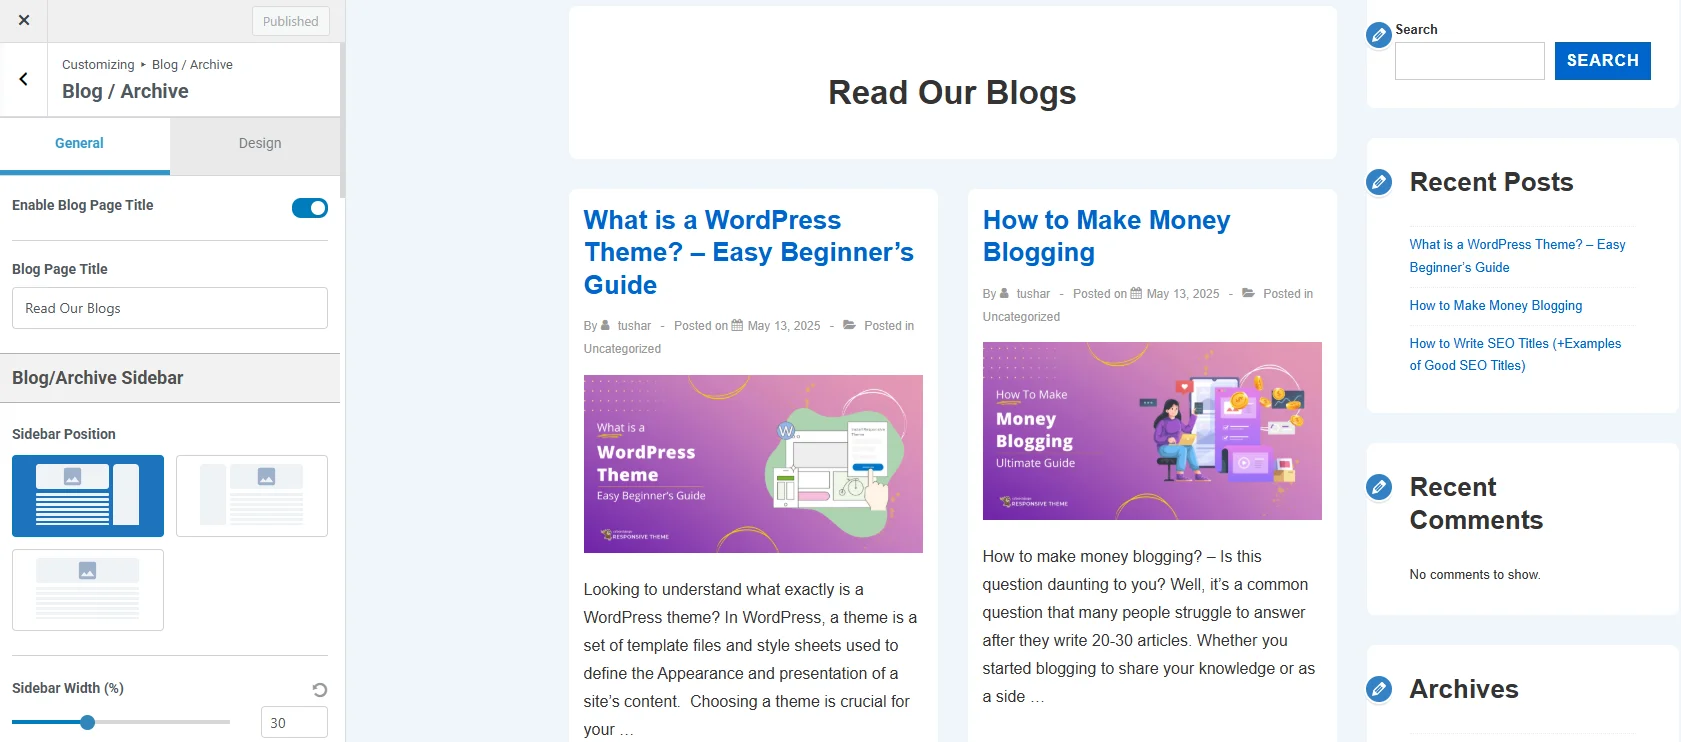
Additionally, it helps you add a sidebar and set its position, and alongside adjust its width. The Responsive theme customizer allows you to set the position of the sidebar in two different positions, on the right or left, or also disable the sidebar. I used it to add a sidebar on the left side of my website’s layout.
Blog Layout
The blog layout settings allow you to set the layout of your blog page, where you can either use the Grid Layout or the List layout.
If you choose the grid layout:
- You can adjust the number of columns (up to six) in the grid.
- Enable or disable masonry layout (unlike traditional grids, it doesn’t have fixed row heights, it allows a flexible, space-efficient layout where items with different heights are placed dynamically to minimize vertical gaps).
- Adjust the width of the main content.

On the other hand, if you choose the list layout:
- You can set the position of the featured image of your blog posts in three different layouts: Standard, Right, or Left.
- Like grid layout, here as well, you can adjust the content width.
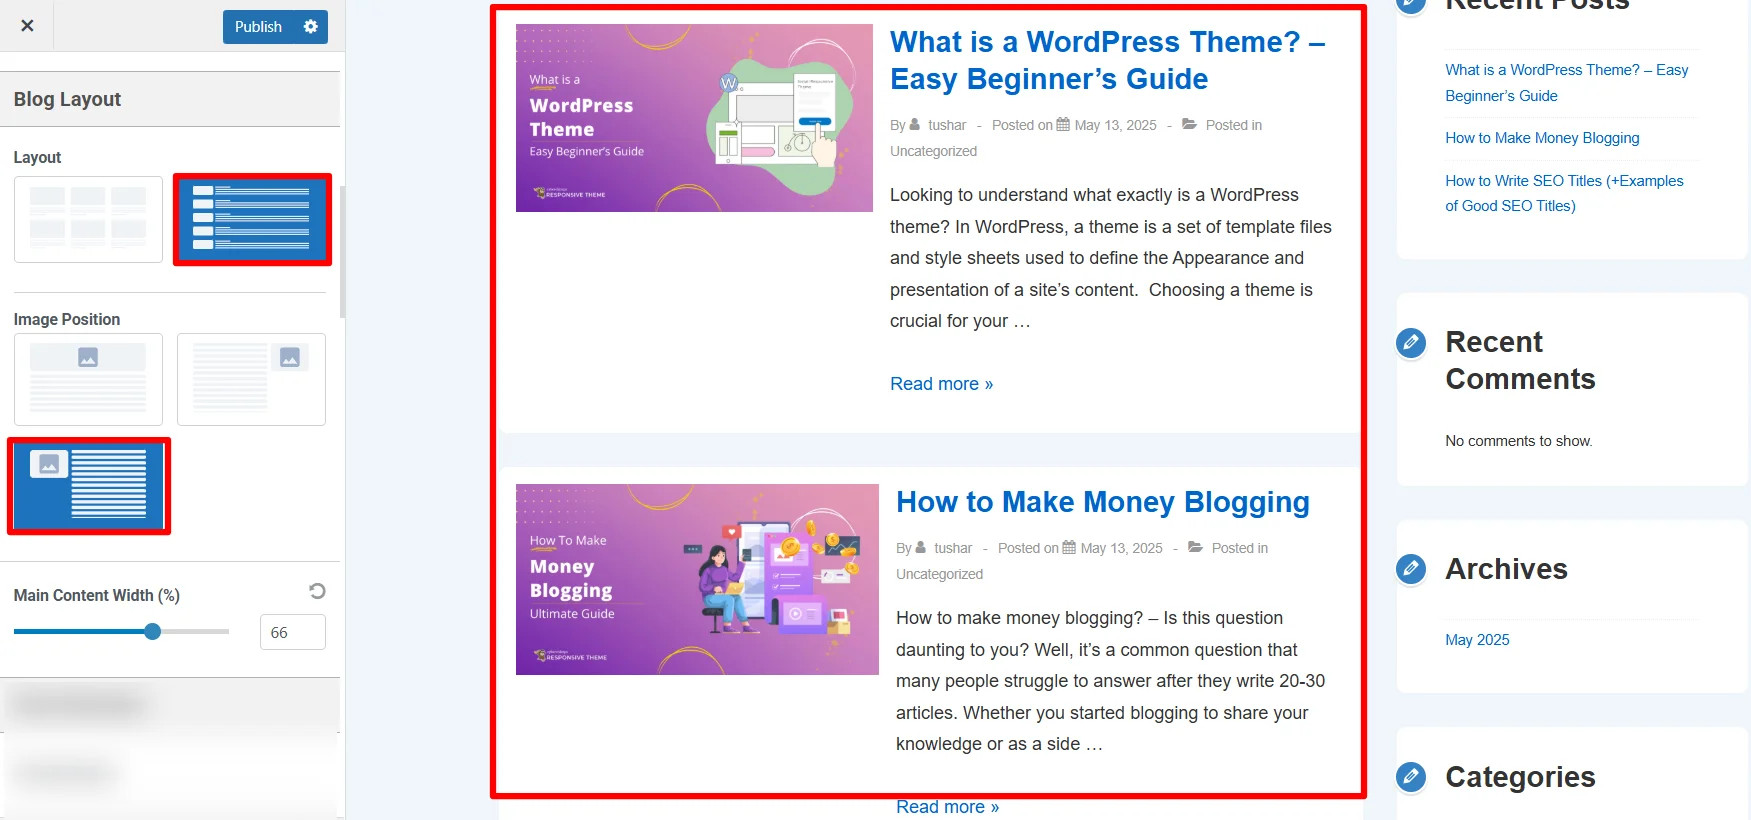
To structure the layout of my site, I used the List Layout, positioning the featured image on the left and keeping the layout’s width as default, as seen in the image above.
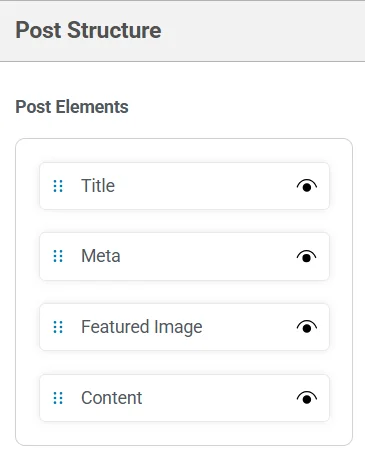
Post Structure
You can also set the post structure, organizing the post elements like Title, Meta, Featured Image, and Content display according to your needs.
If you want, you can also hide one or more of these elements from the structure simply by clicking the eye icon.
I slightly modified the arrangement to structure the post content, moving the meta element in end instead.
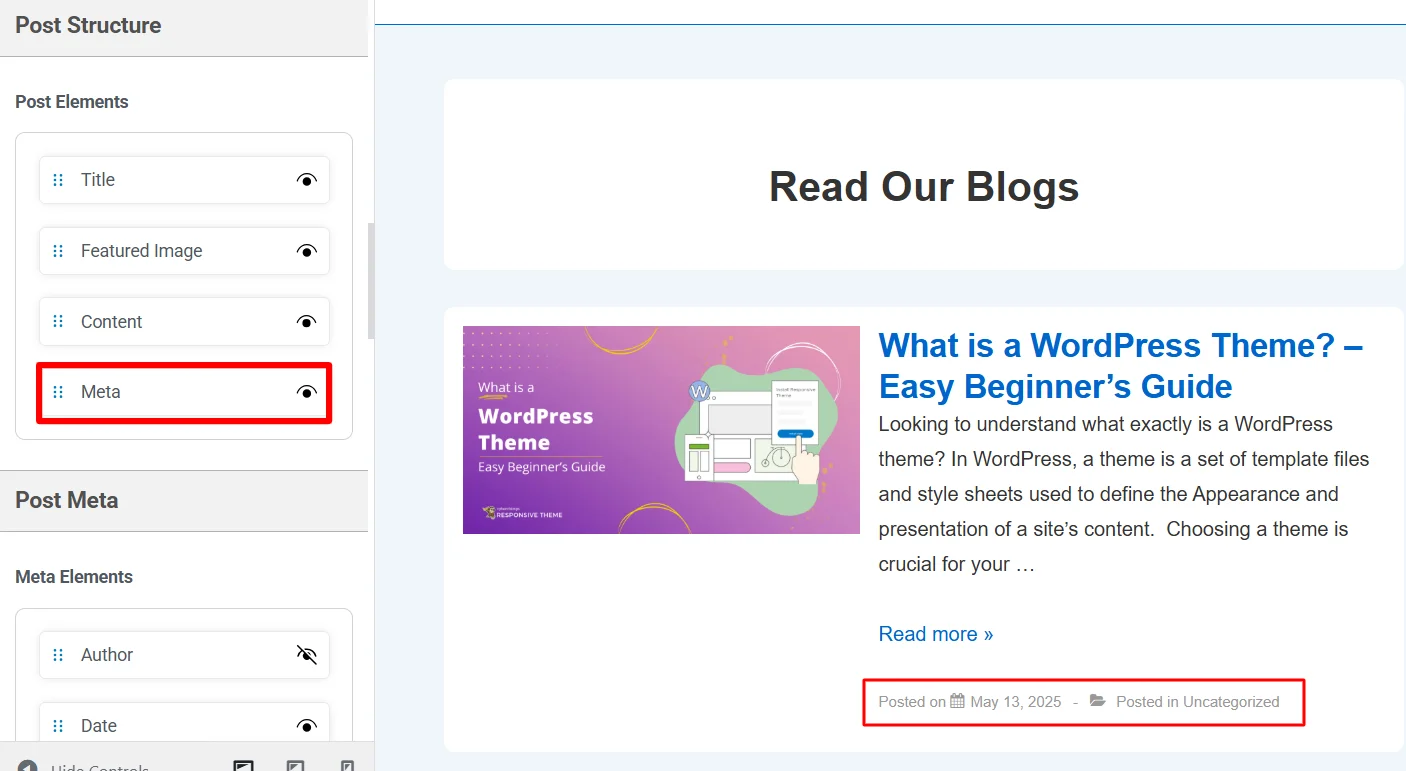
Further, the customizer allows you to arrange each post element’s structure specifically.
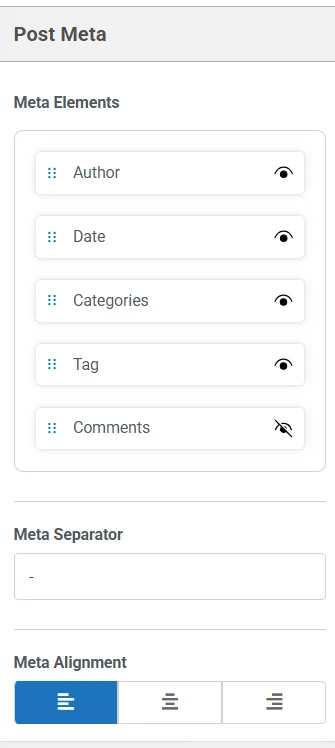
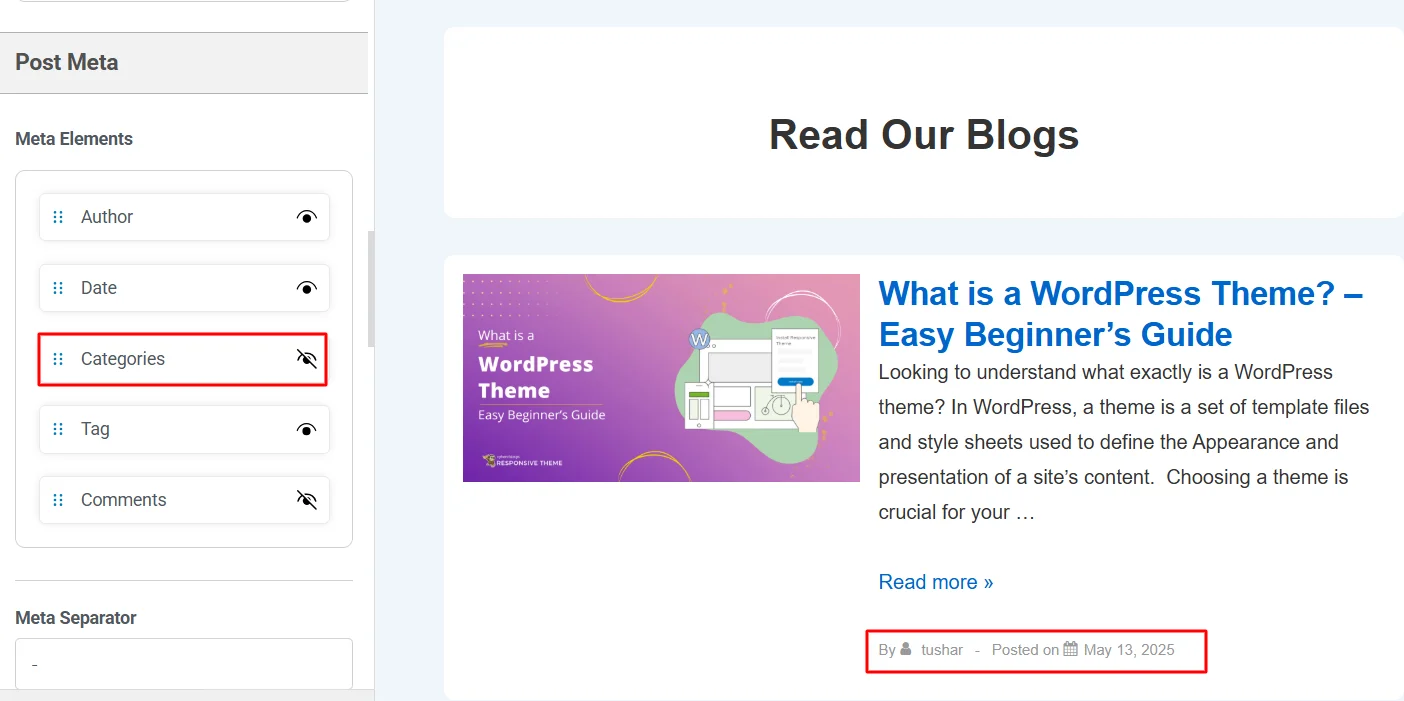
Post Meta
Similar to post structure, you can also organize and arrange the meta elements like Author, Date, Category, Tags, and Comments in the post meta.
You can also define the character to set in the meta character and adjust the overall alignment.
I did not make many changes to the arrangement and alignment of the Post Meta elements. However, I removed the default separator character and hid the tag and category in the meta structure.

Featured Image
The featured image customizations allow you to:
- Change the image style,
- Adjust the image and post title alignment and
- Set the width of your featured image,
I kept the featured image size at 2000 while keeping all other settings at their default value.
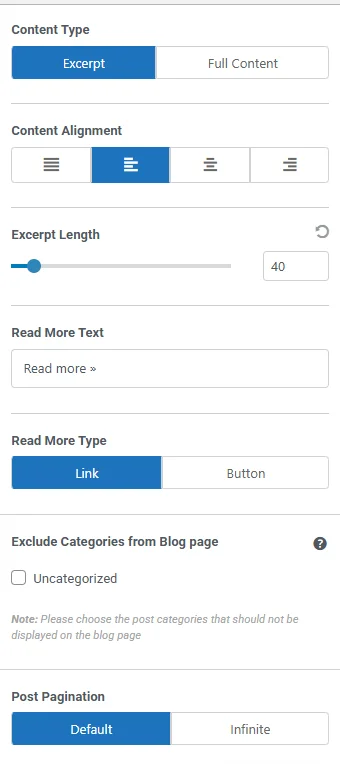
Content
- The Content customizations allow you to set up the appearance of visible content on the blog page; It helps you set:
- Post Pagination
- The content type: excerpt of full content
- Content Alignment
- Excerpt length, which helps you set the word limit for the number of words to show for each blog post if you choose the content type as an excerpt
- Read More Text (you can also mention something else as well, like check out the blog or something)
- Read More Type (you can set it either as a text with the link or add a button instead)
- Include or exclude the content that is not categorized.
For the content customization, I kept the content type as an excerpt, aligning it to the left, and limited the excerpt length to 40 words. Additionally, I also changed the “Read more” text to “Check Out The Blog” and set the post pagination to infinite.
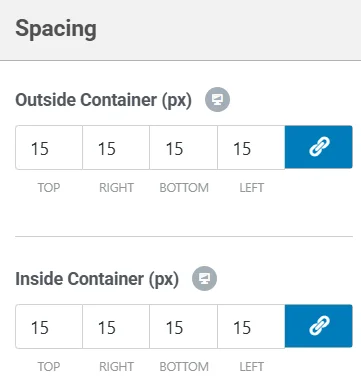
Spacing
Lastly, the customizer also allows you to adjust the spacing on the outside and inside containers.
For the spacing customization, I kept all the values at the default.
Step 5: Design Customizations
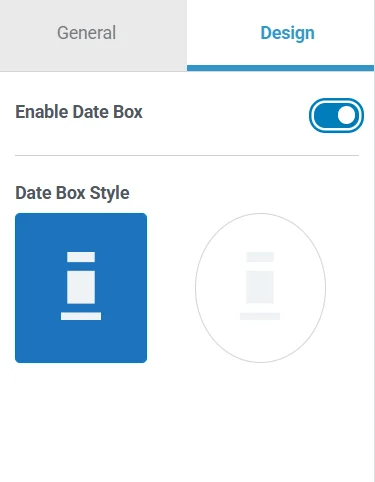
The design customization allows you to enable or disable a Date Box. If enabled, it further lets you style the date box square or round.
I kept the date box disabled as it was at default, and kept it the same.
After all the customizations I made on the blog layout of my website, it looked like:
FAQ
In WordPress, layouts refer to the structural design and arrangement of content on a website or blog, allowing users to enhance usability and personalize the website’s design.
A blog layout is how the elements are organized and presented on a blog page. It refers to the arrangement of a page’s elements, including header, main content section, sidebar, and footer, that improves readability and user experience, focusing on presenting content visually appealingly.
Changing the layout of your WordPress website’s blog page follows a simple procedure requiring a functional classic theme. You can visit your theme customizer, navigate to Blog or Archive settings, and set up the layout of your blog with simple customization options.
Conclusion
Updating or changing the layout of WordPress is one of the simplest methods to enhance website appearance. Although its settings are simple, they can significantly change users’ views of your website.
While there are various methods you may consider to change the layout of your WordPress blog, using a classic WordPress theme like Responsive is the most convenient method, with various options.
Further, if you find this article valuable, also consider reading:
- How to Add a Navigation Menu in WordPress – A Complete Guide
- How to Add a Sticky Header to WordPress – 3 Easy Ways
- What Are Widgets in WordPress and How to Use Them
Grab the multipurpose Cyberchimps Responsive Theme today!


