Do you want to create a stunning dental website with WordPress?
Building a dental clinic website from scratch can seem tricky and expensive. But with WordPress, you can easily do it yourself!
So, how do you create a website for your dental practice?
With the right WordPress theme and a ready-made dental template, you can launch your site in just a few clicks.
In this guide, we’ll show you step-by-step how to create a professional dental website using WordPress.
Let’s get started!
- Essential Requirements To Create a Dental Website
- Benefits of Building a Dental Website
- How to Create a Dental Website With WordPress
- Step 1: Choose a Web Hosting Provider and Get A Domain Name
- Step 2: Install WordPress
- Step 3: Selecting a WordPress Theme
- Step 4: Installing Responsive Plus Plugin – 250+ WordPress Templates
- Step 5: Importing a Dental Template
- Step 6: Customizing the Template using Elementor
- Step 7: Writing Content for The Website
- Tips to Market Your Dental Website
- FAQ
- Conclusion
Essential Requirements To Create a Dental Website
Building your website in WordPress is easy. However, there are certain essentials you need to know.
Let’s look at them one by one.
1. Grab Your Domain Name and Hosting Service
Once you have a domain name and web hosting set up, you are ready to create a dental website.
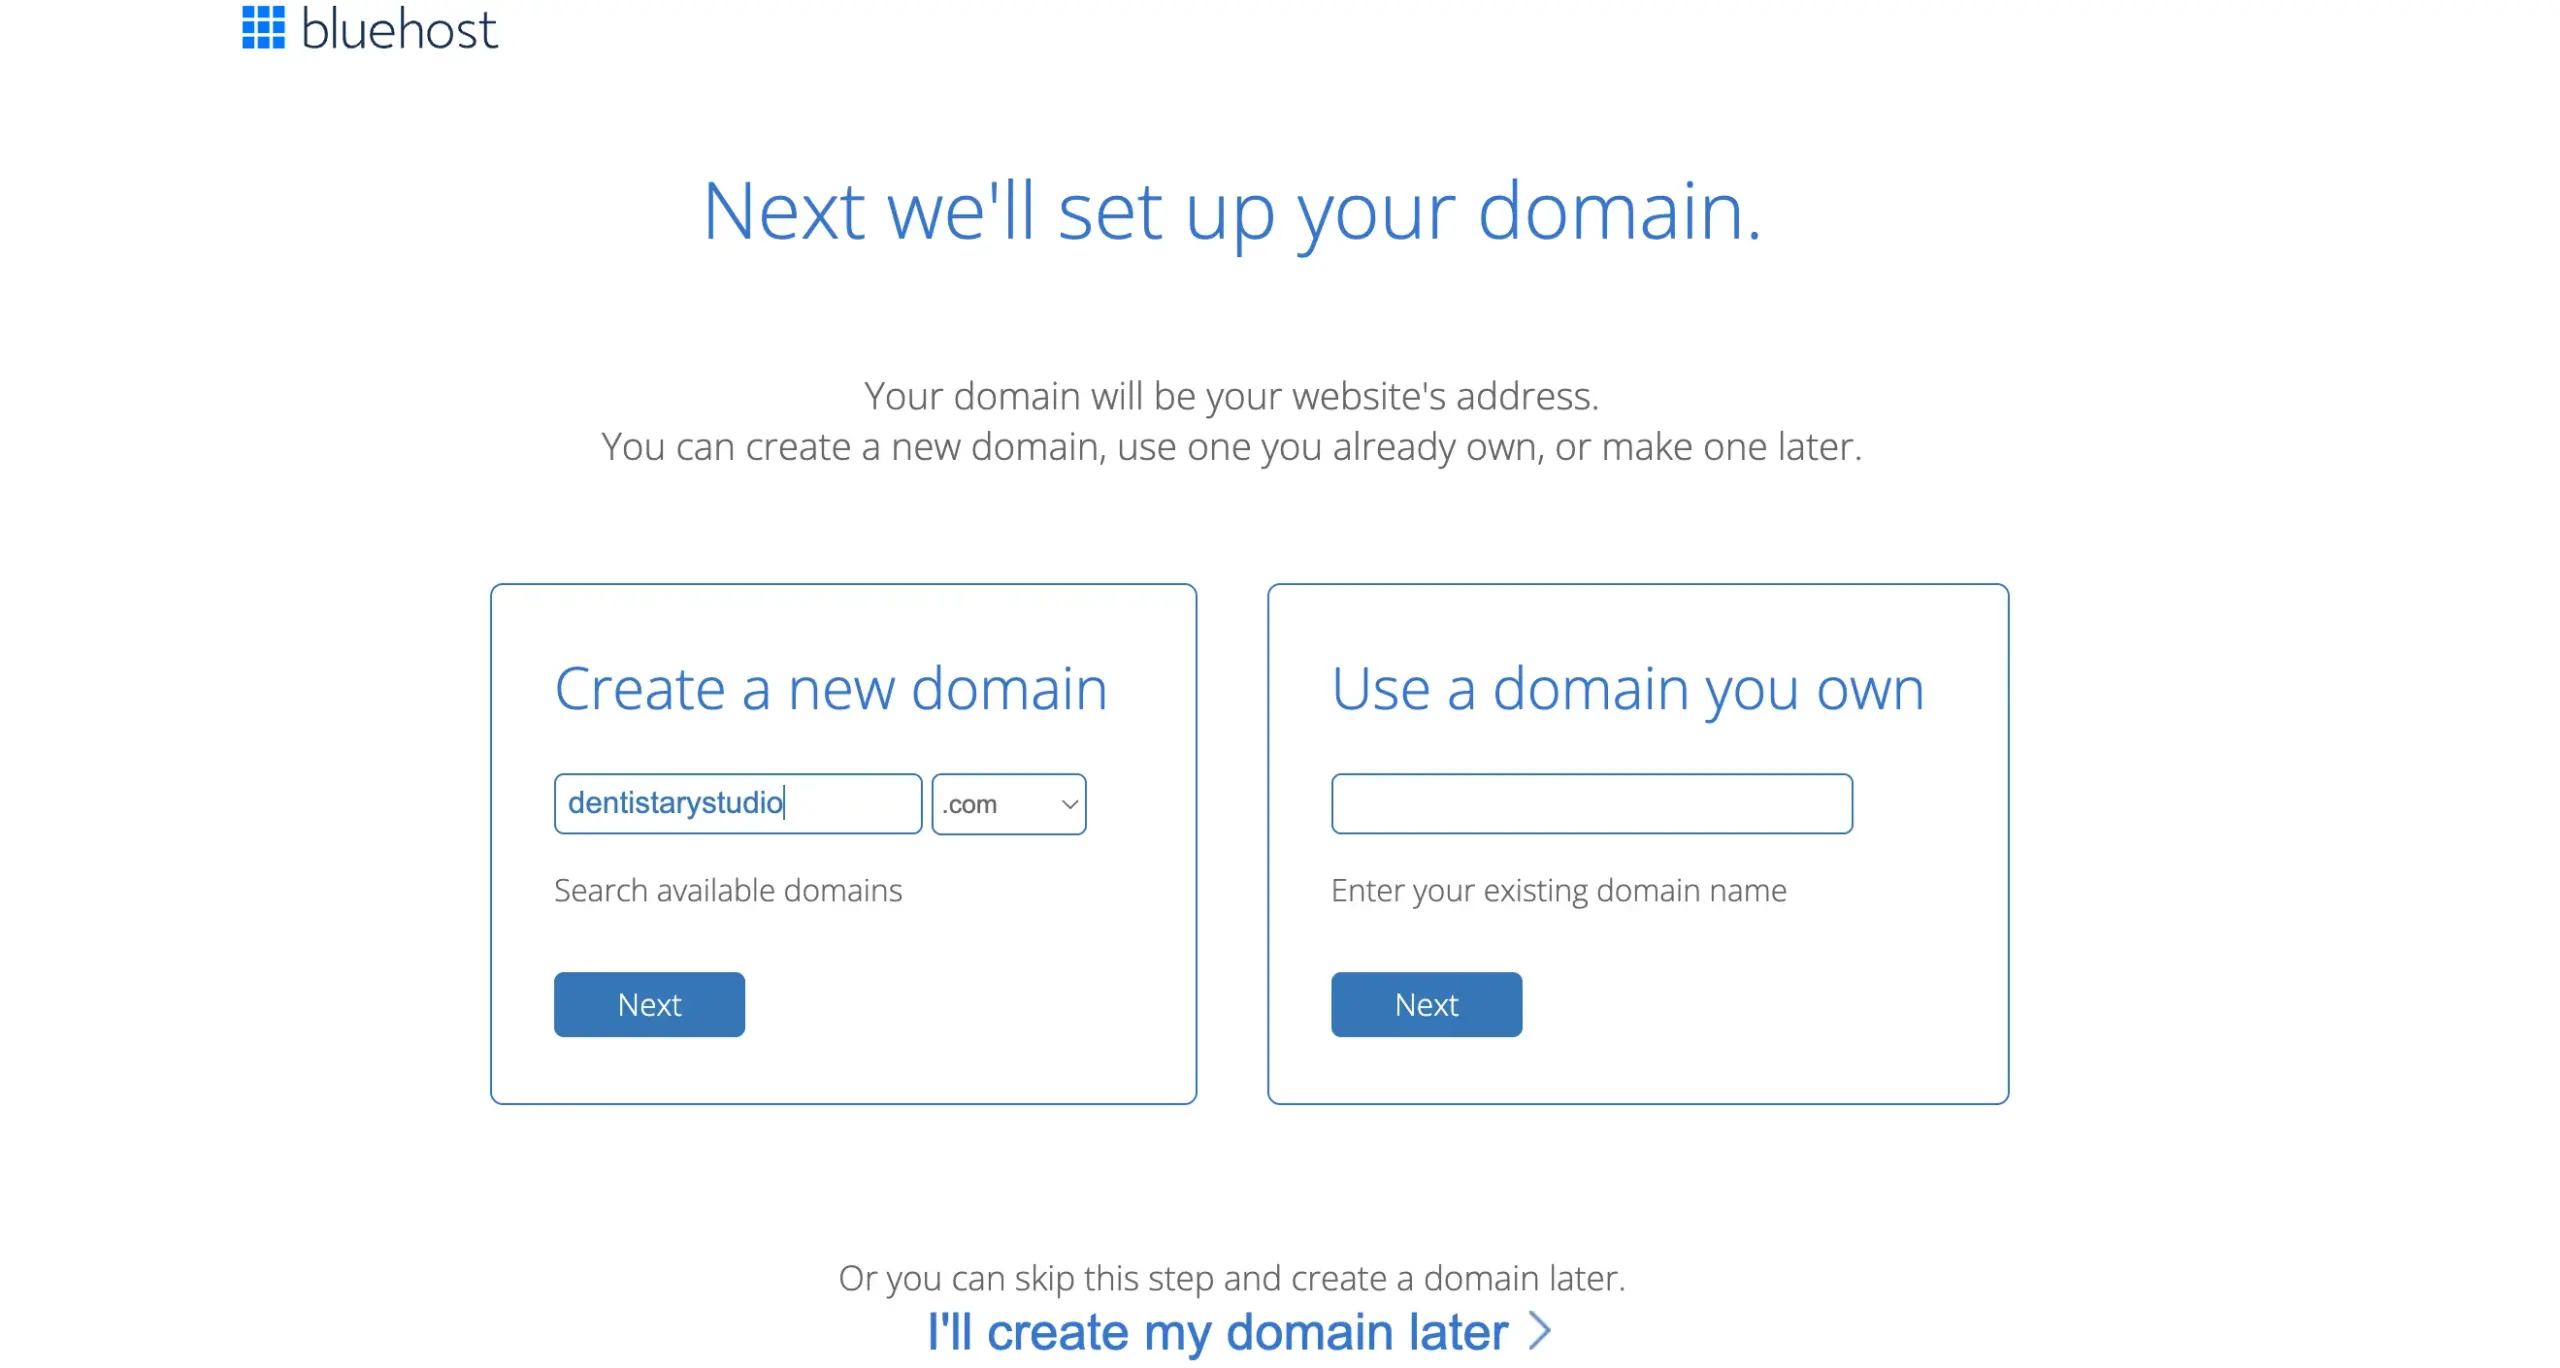
A domain name is the web address of your website. One quick way to create a domain name is to use the name of the organization and add .com to the end. (For example, www.dentistarystudio.com )
You can find a domain by searching on a website such as Instant Domain Search to see if your desired domain name is available.

Deciding on the right domain registrar and domain name is critical for your dentist website.
After you’ve figured out the domain name, the next step is to purchase web hosting.
Good hosting is important as it will affect the speed, performance, and security of your site.
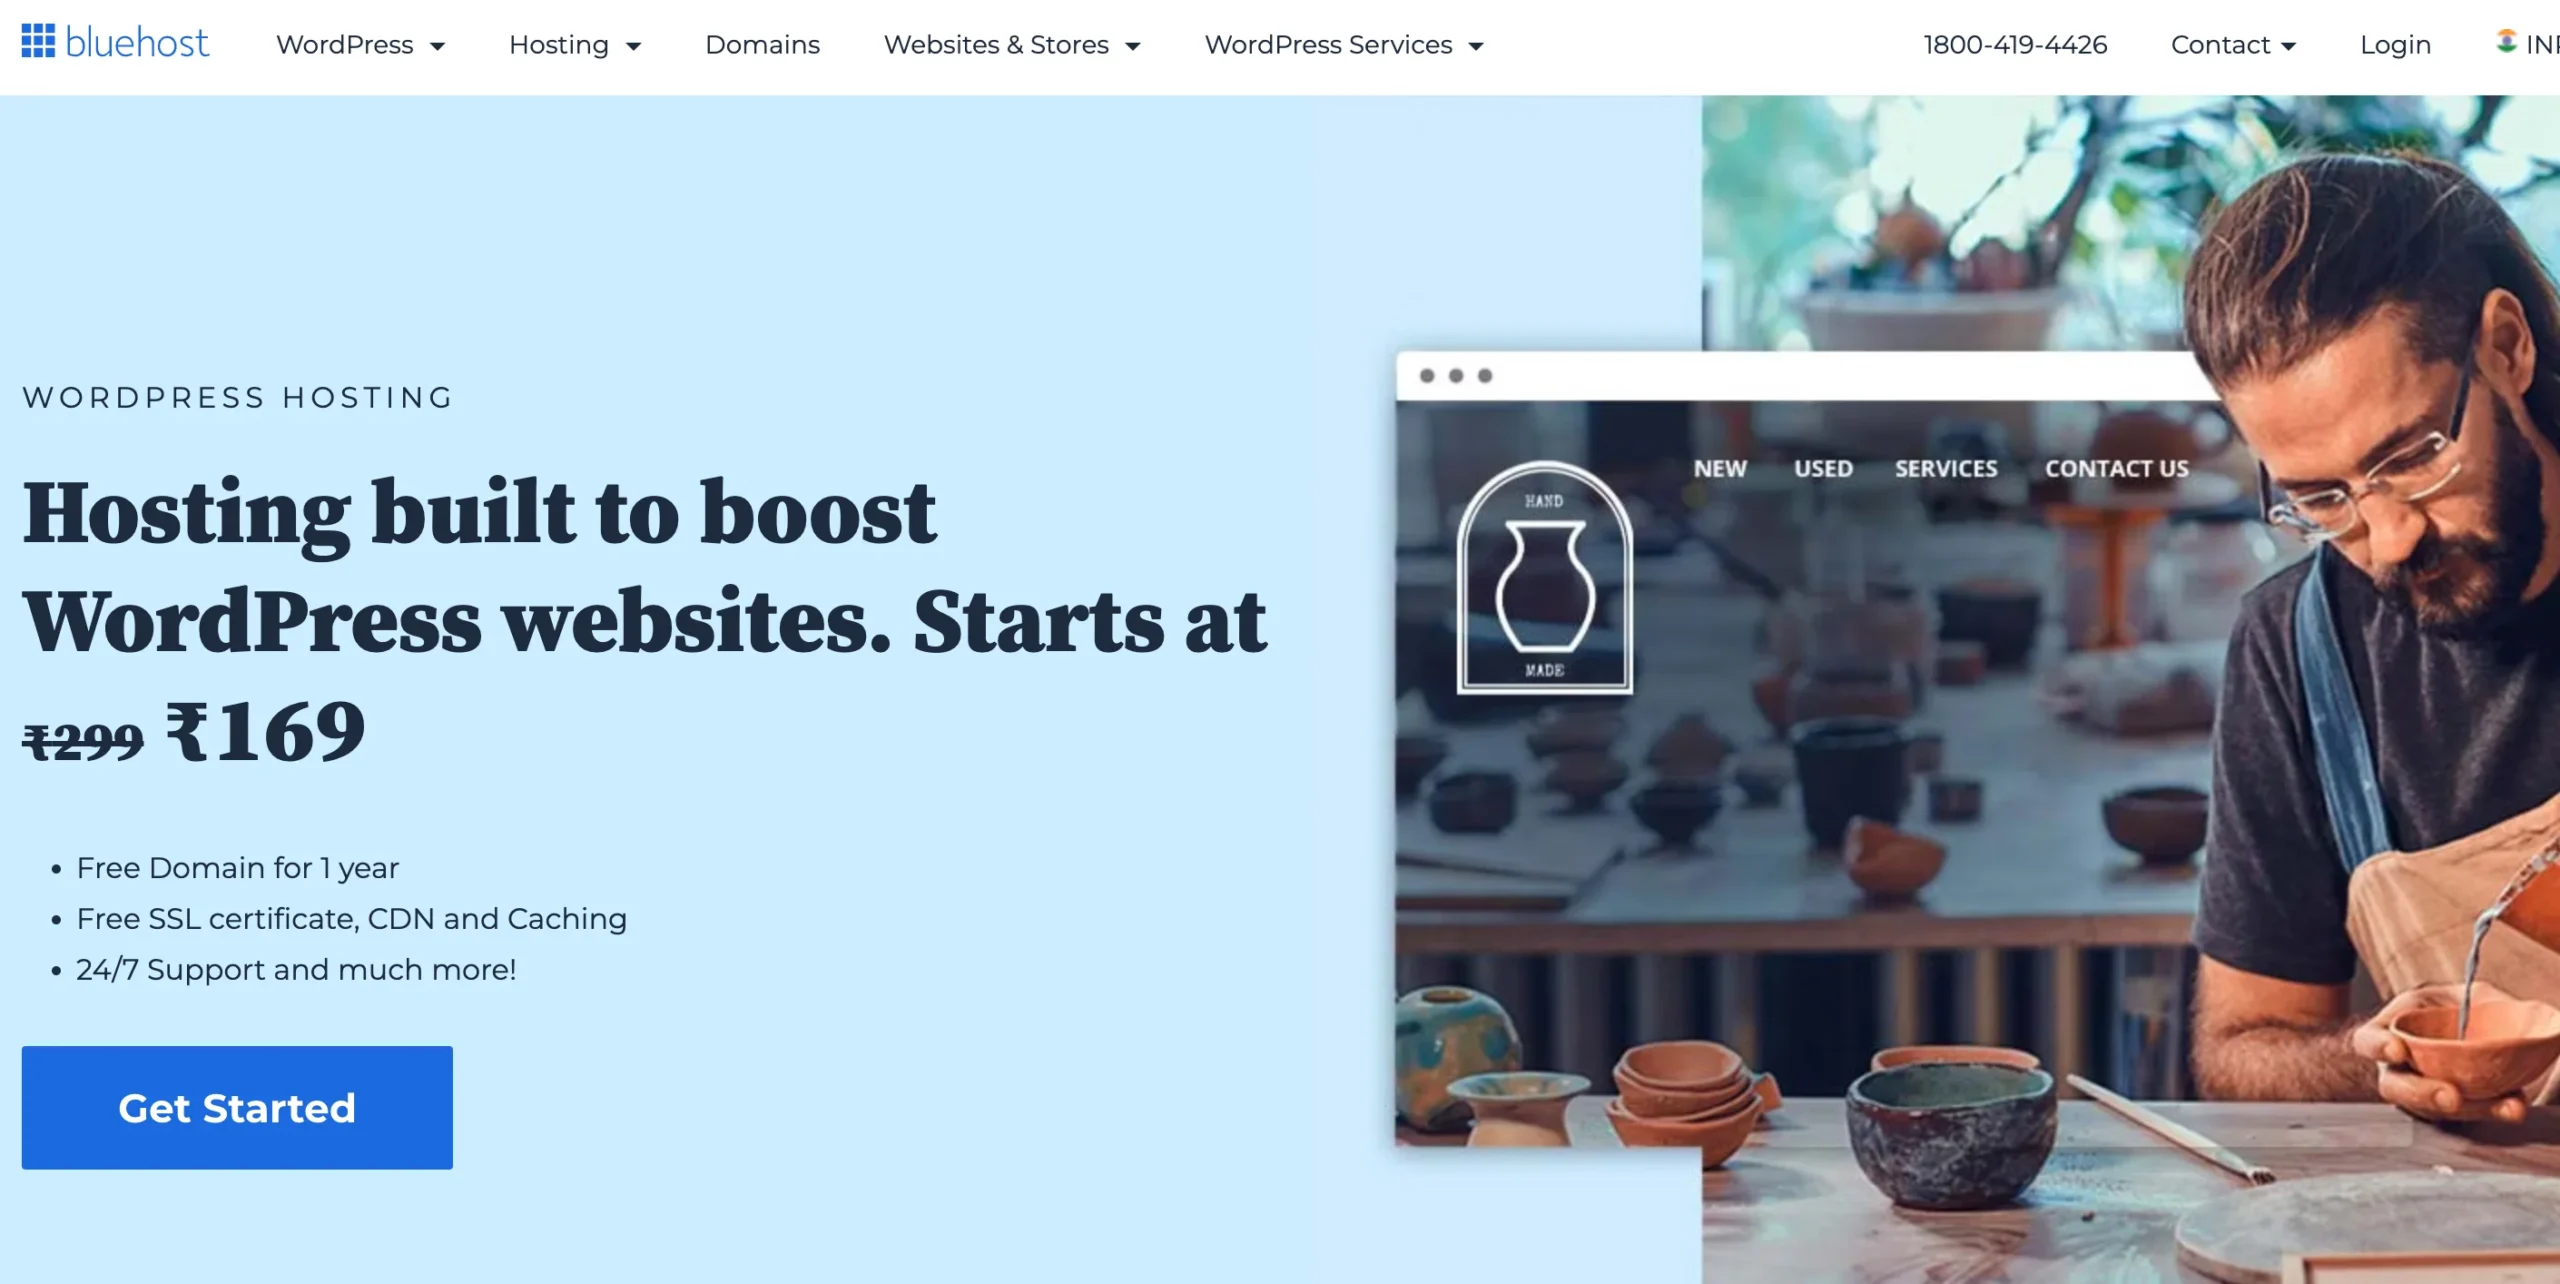
There are many hosting providers such as Bluehost, Kinsta, Hostinger, and Siteground. Choose a hosting provider with the features you need for your organization and a hosting plan that works for you.
We believe you should use Bluehost for your dentist website because they provide the best service to build and maintain a website.
2: Selecting a WordPress theme
A WordPress theme establishes what your website looks like, so it’s important to choose the right one that is fast, SEO friendly, and responsive.
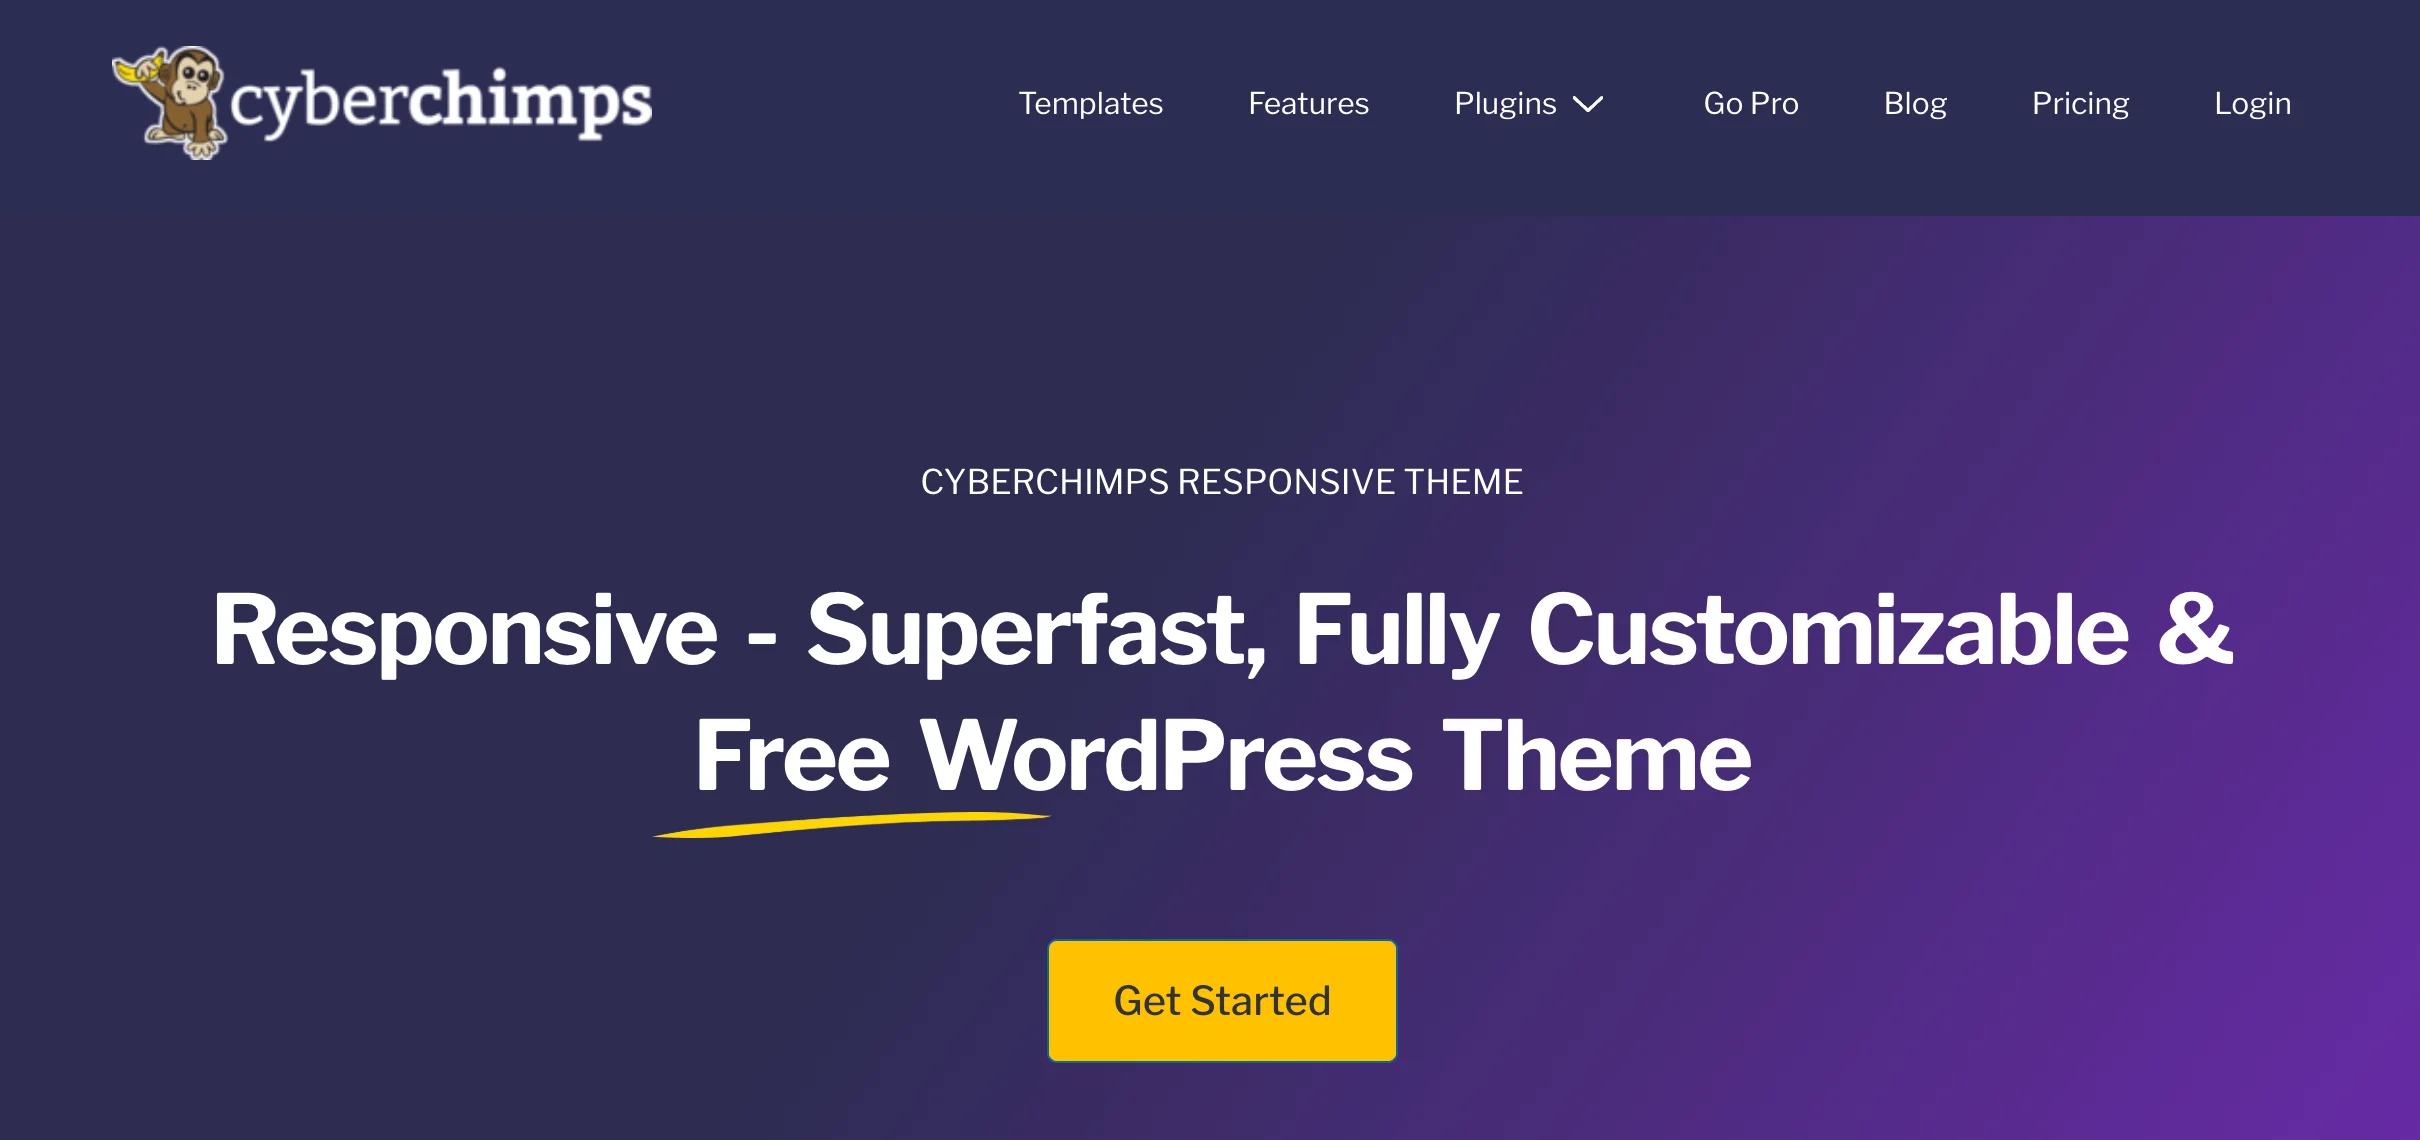
We recommend using the Cyberchimps Responsive theme. It has rich features and offers 24/7 assistance.
3: Selecting WordPress Plugin
Your website requires several key elements and features that can be achieved by utilizing third-party plugins.
Not all themes readily integrate with other plugins, which can cause conflicts during website development.
No worries though, Responsive theme is tested to be compatible with other plugins, especially popular plugins like WooCommerce, WPForms, and page builders like Elementor.
Using compatible plugins allows you to enhance your website’s functionality and streamline the design process. Many plugins also offer pre-designed starter templates that can help you launch your site quickly and efficiently, with just a single click.
That’s right, you can import the whole website in one click. It saves you lots of time and effort.
Benefits of Building a Dental Website
Having a website for your dental practice provides many benefits. These added benefits can help you create a better experience for your patients and allow your practice to operate smoothly.
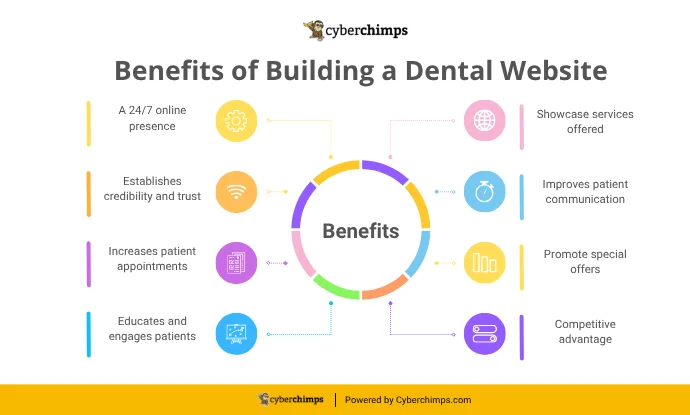
Below are the major benefits of having a dental website:
- 24/7 Support: Your potential patients will have access to vital information (office location, hours of service, services provided, phone number, etc.) outside of your clinic hours.
- Establishes credibility and trust: A website with bios of dentists practicing in the clinic, patient testimonials, and pictures of before-and-after treatment you have done can enhance your credibility and display your capabilities.
- Increases patient appointments: A contact form or a phone number (click-to-call) feature will entice your visitors to contact you and help direct your web traffic to a real appointment.
- Educates and engages patients: You can use your website to post blogs, FAQs, and videos on dental procedures, oral care tips, and patient inquiries, establishing your practice as a helpful, authoritative resource.
- Showcase services offered: A list of all services, for example, teeth whitening, braces, implants, and emergency dentistry, should include descriptions, prices, and benefits so patients understand what you offer.
- Improves patient communication: Patients can always email or message you using integrated chat and/or contact forms or just the FAQ sections of your website to answer inquiries, and keeping that communication flowing can improve the total clinic experience for your patients.
- Promote special offers: You can promote seasonal discounts, new patient specials, or referral programs to get customers talking about your service.
- Competitive advantage: A well-thought-out and informative website can give you the edge you need over clinics simply relying on word-of-mouth and outdated directories.
These are a few of the benefits that will encourage you to create a dental website.
How to Create a Dental Website With WordPress
The following are the steps you can follow to create a dentist website using WordPress.
Step 1: Choose a Web Hosting Provider and Get A Domain Name
As stated previously, one of the most important steps is to obtain a domain name for your website. When you have chosen the domain name, you can choose a good hosting provider. If you have not already chosen a domain name, we will show you how to do this.
For example, we are using the Bluehost hosting provider to create a dental website.
When you are on the Bluehost webpage, you will start by clicking on the Get Started button.
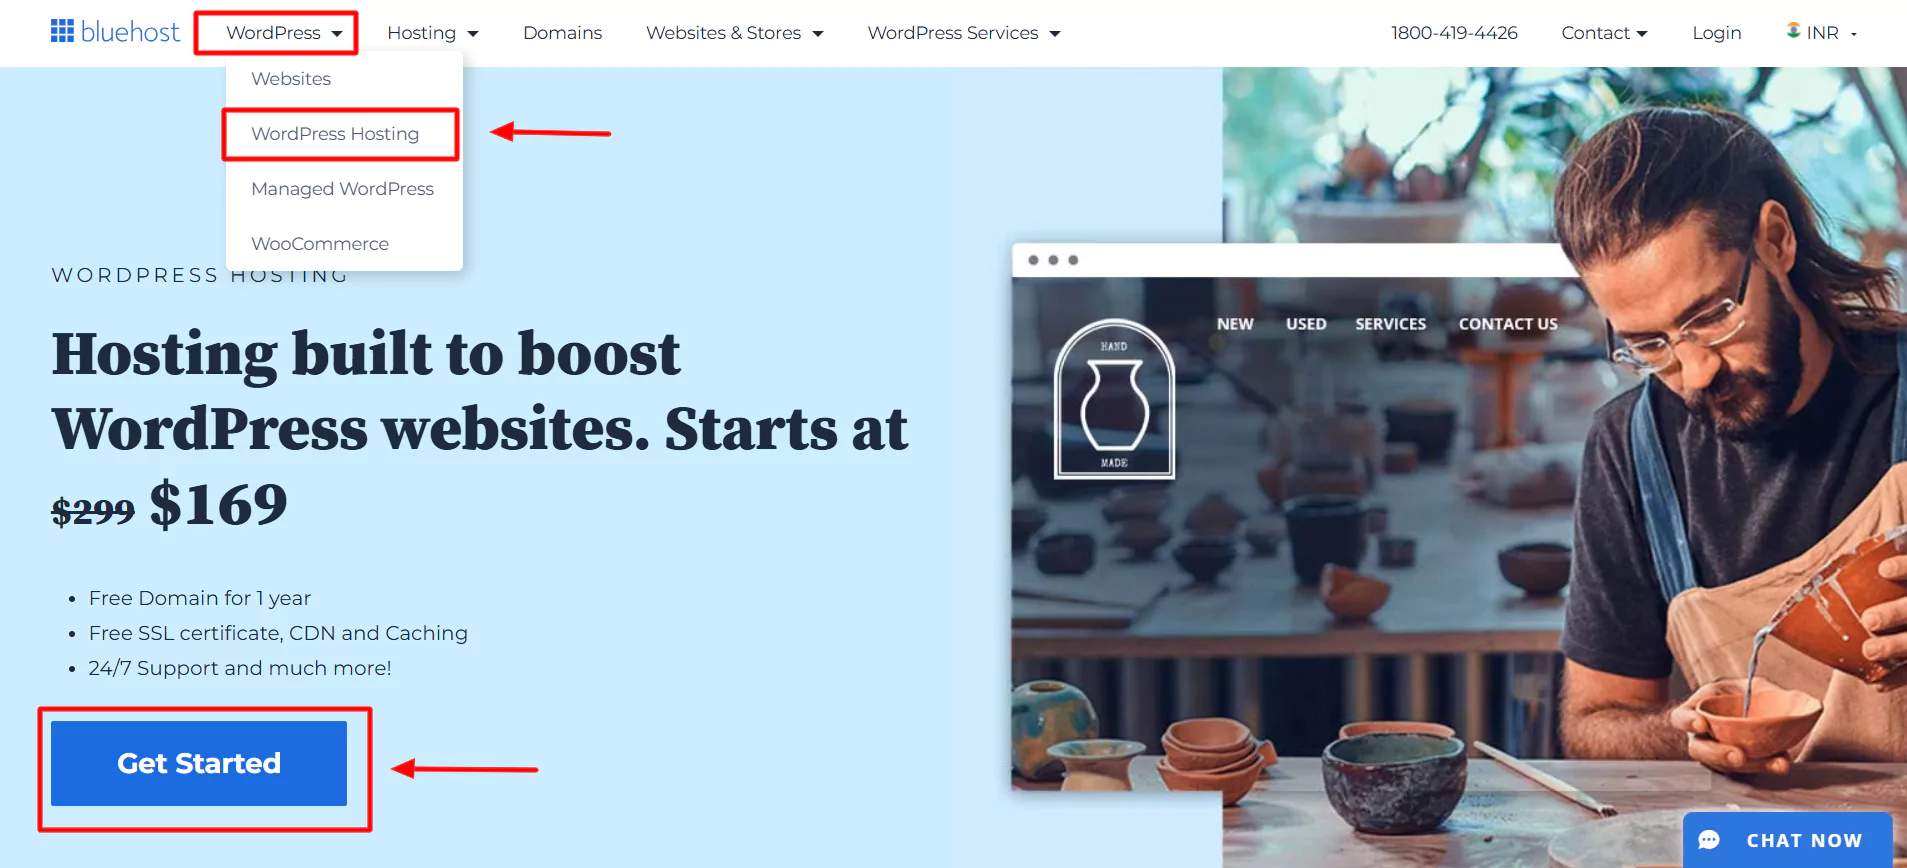
After clicking, you will be taken to their signup page to choose a pricing plan.
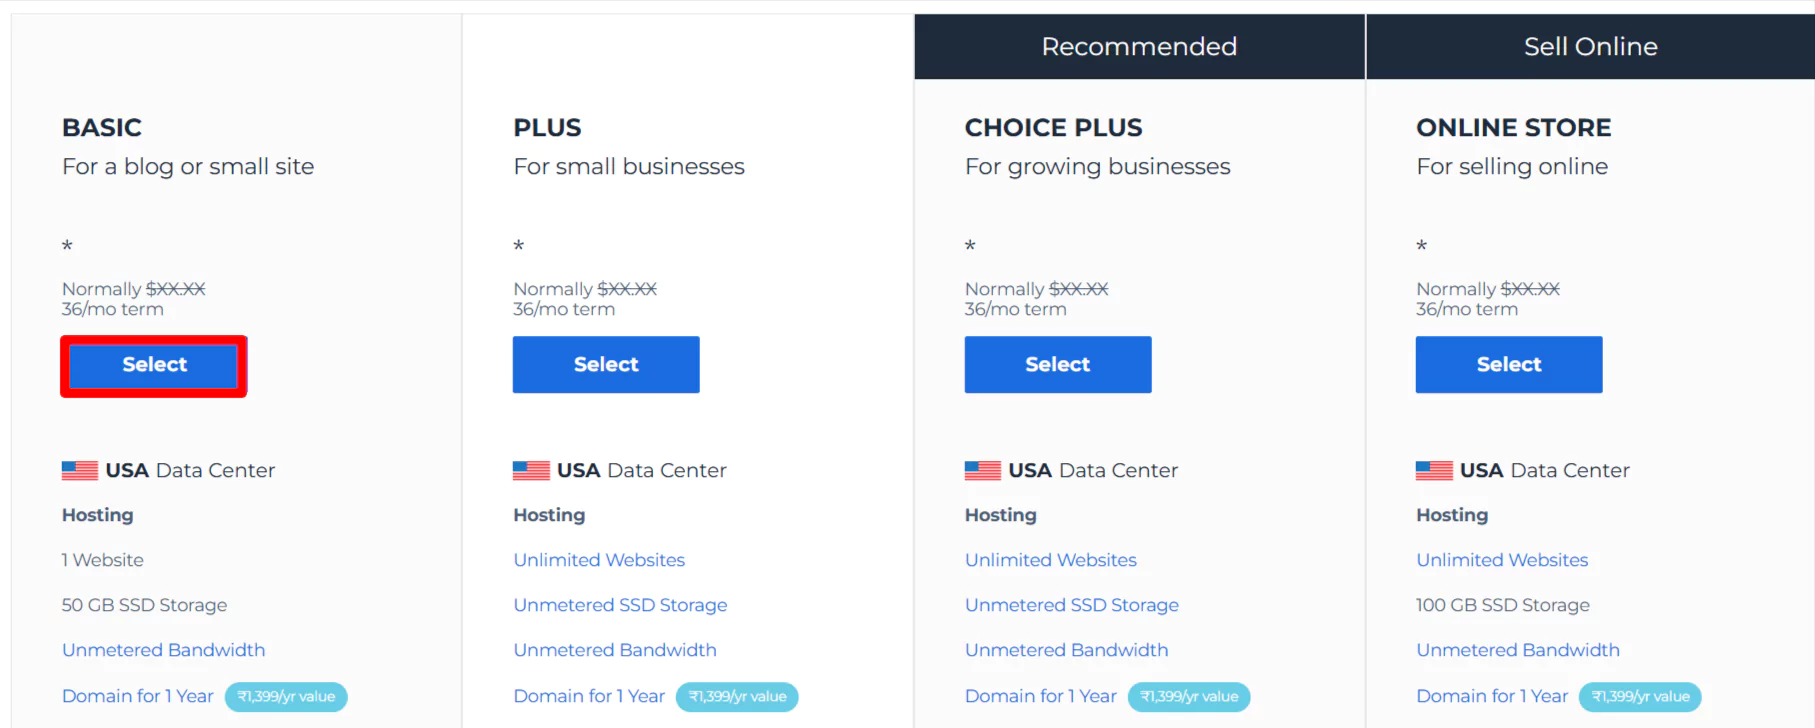
Once you have selected the plan, enter the domain name you wish for your dentist website and click on Next.
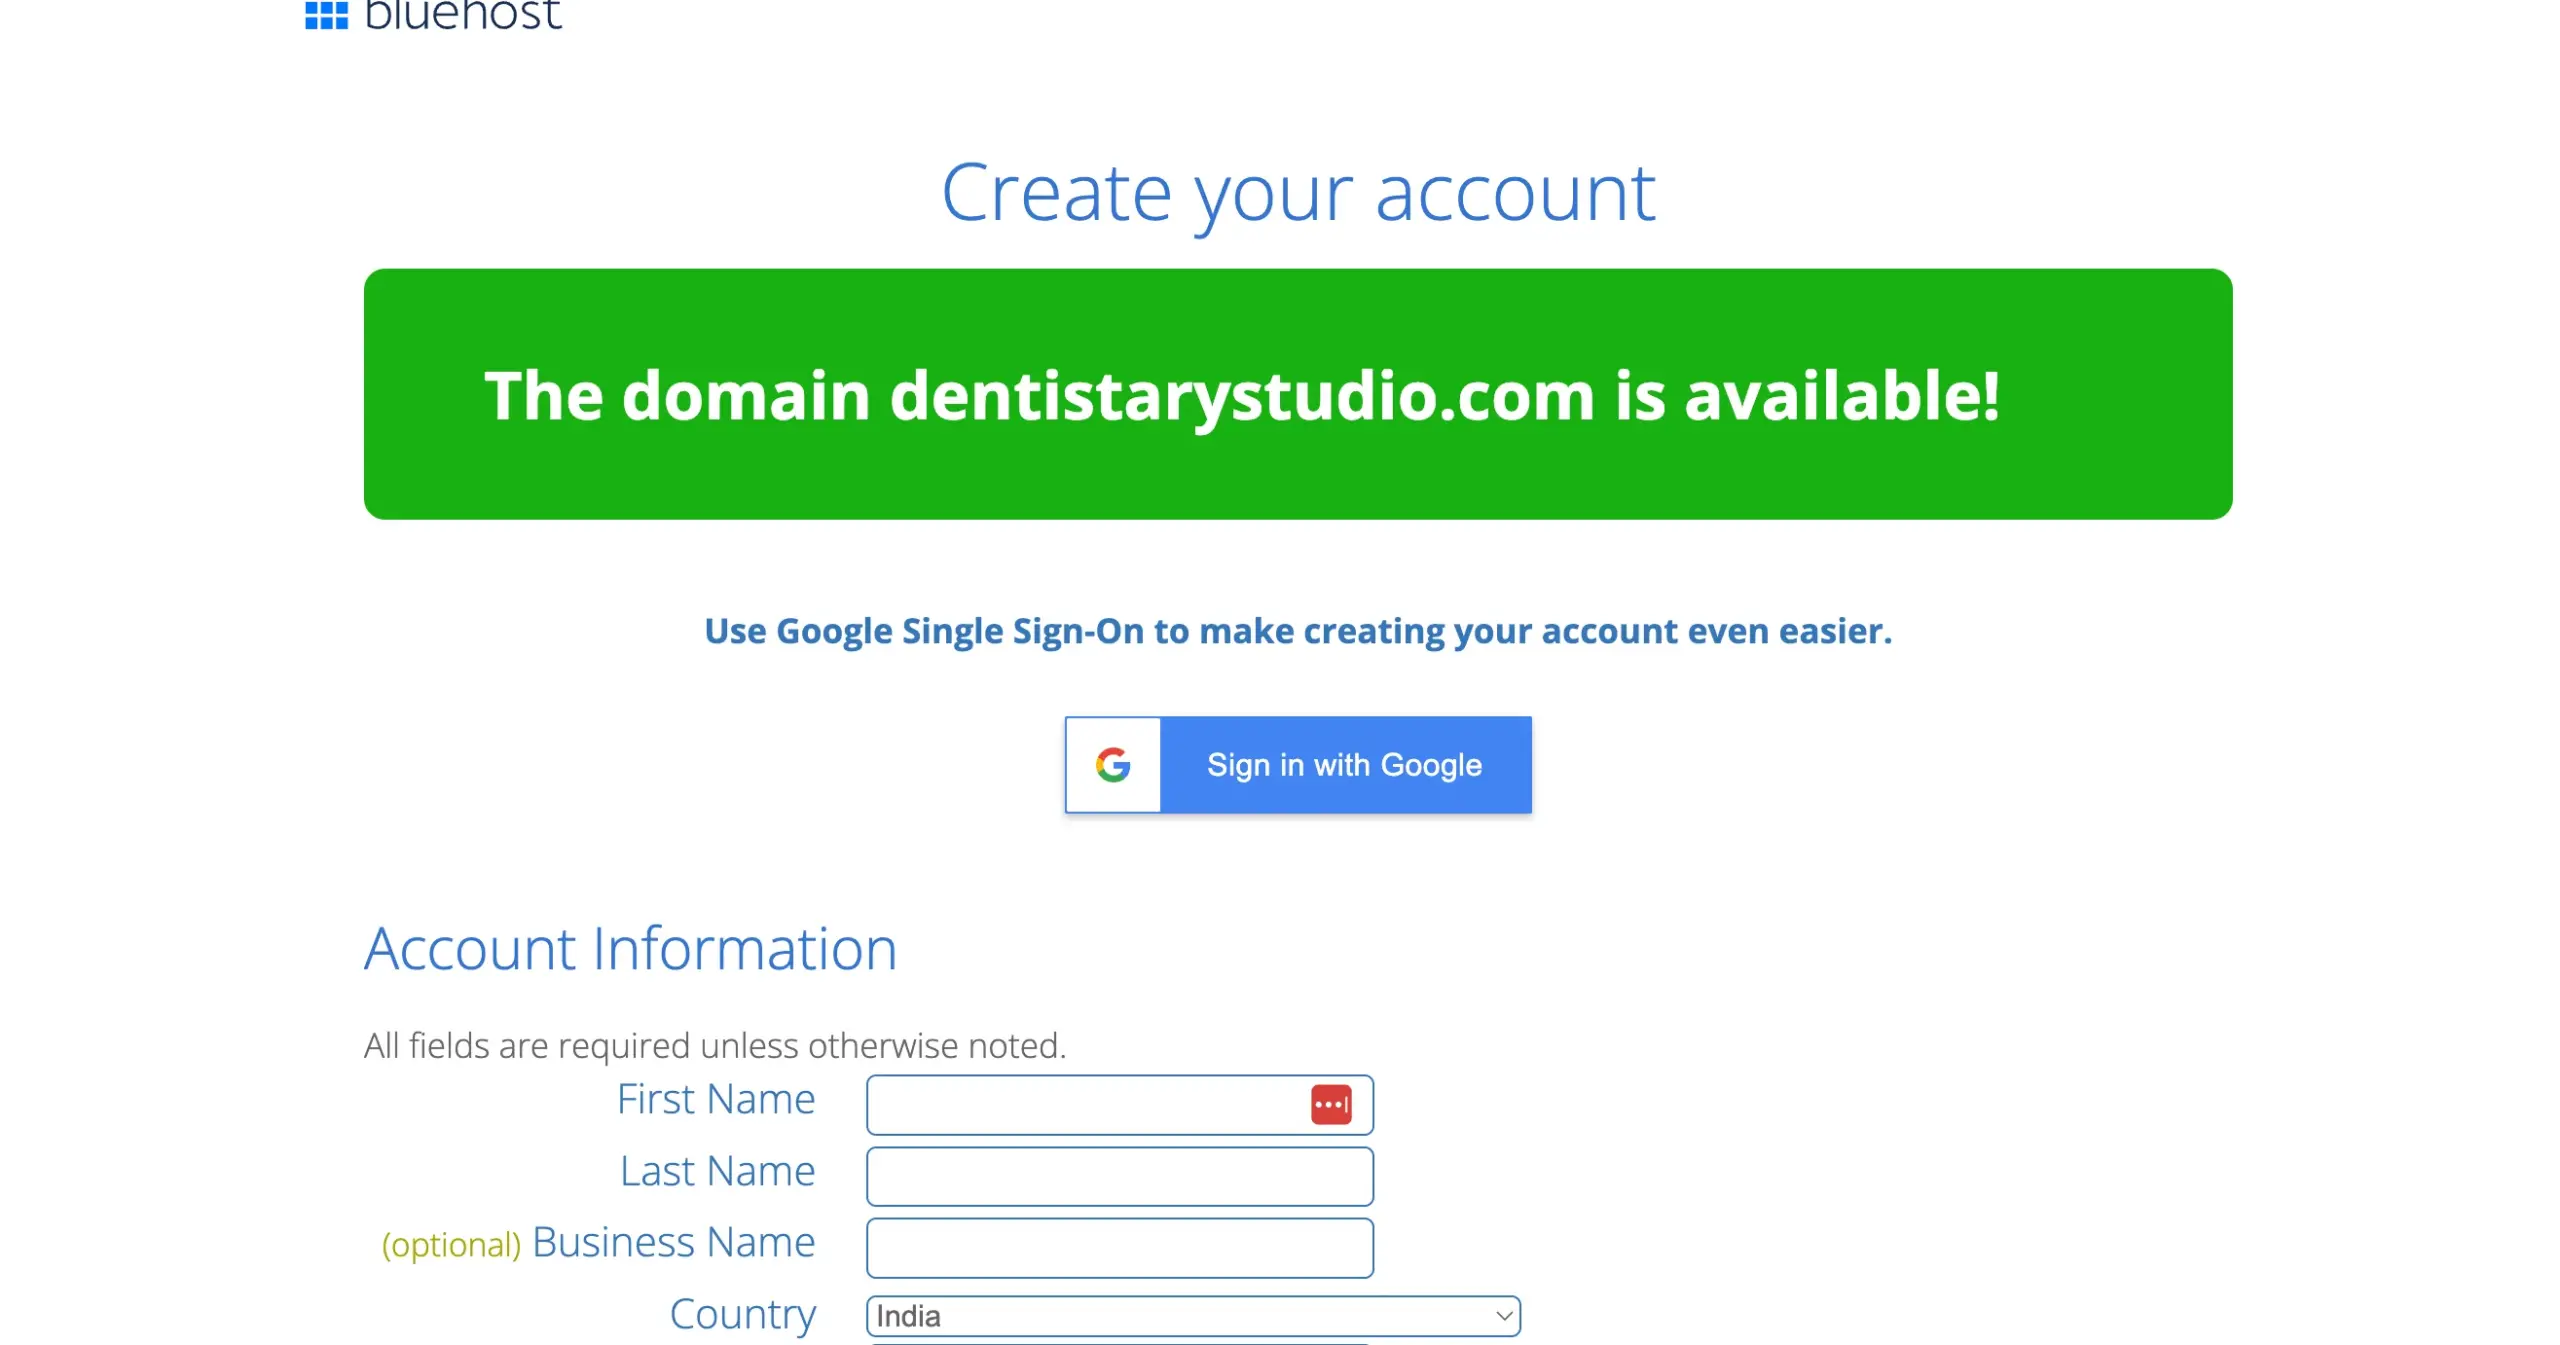
Once you have selected the domain name, fill in all the required fields and submit your payment.
Step 2: Install WordPress
With millions of sites worldwide, WordPress is the most popular content management system (CMS) used today. It’s an extremely flexible platform for your dental website.
WordPress has a simple installation with Bluehost. They offer one-click WordPress installation!
Once you receive your domain name and have registered for hosting, you can install WordPress to create your dental website.
For example, if you have Bluehost, use the steps below to install WordPress:
Choose WordPress Hosting.
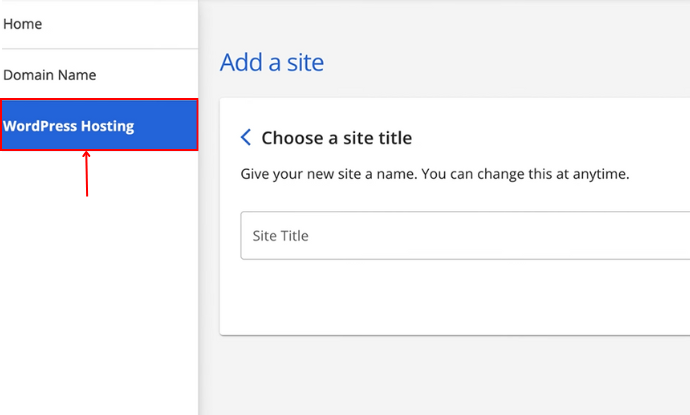
Once you are in the hosting tab, click on Add Site.

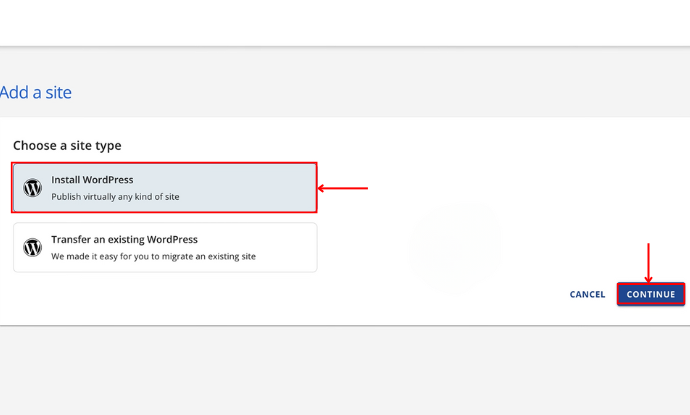
After adding a site, click on Install WordPress > Continue.
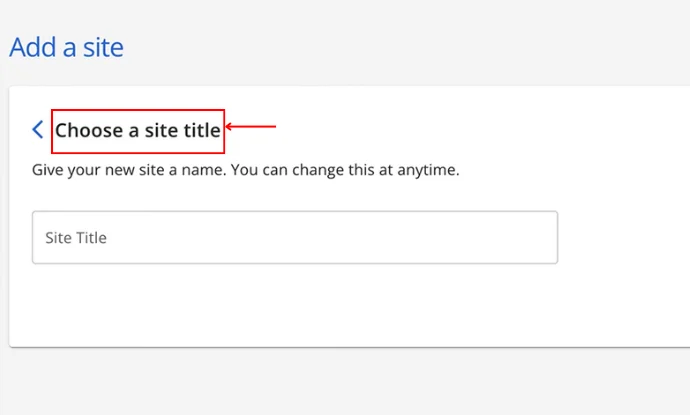
Now, it’s time to give your website a title. Type your site title in the box.
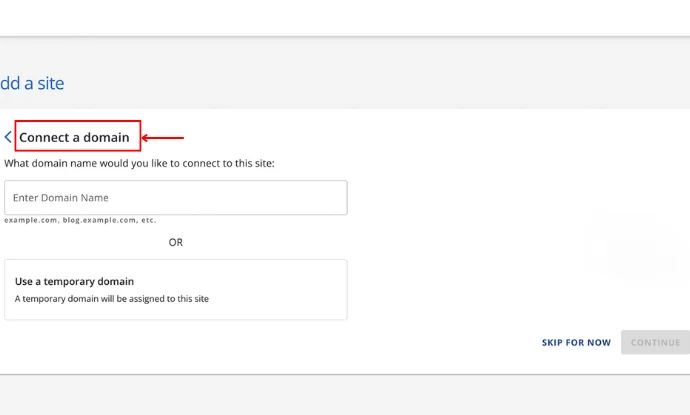
Enter the domain name that you selected at the start. (www.dentistarystudio.com)
Once you enter the domain name, the installation of WordPress will start. Now, click on Login.
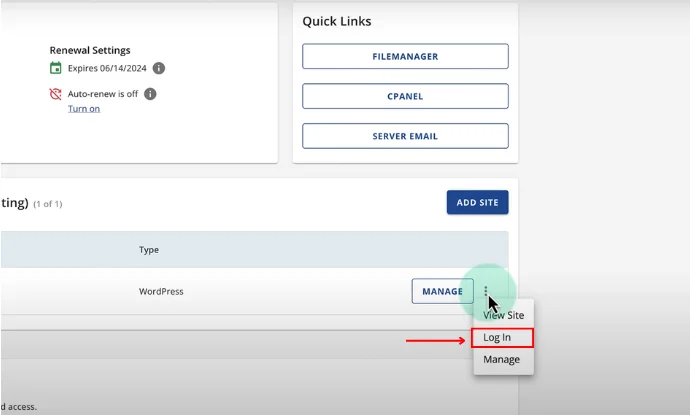
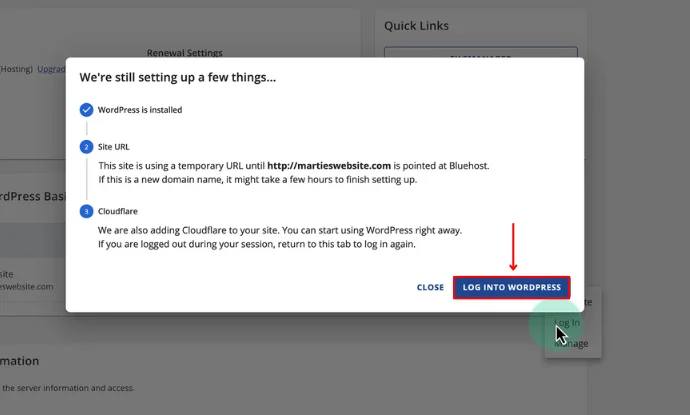
A pop-up window will appear asking you to click on Log in to WordPress.
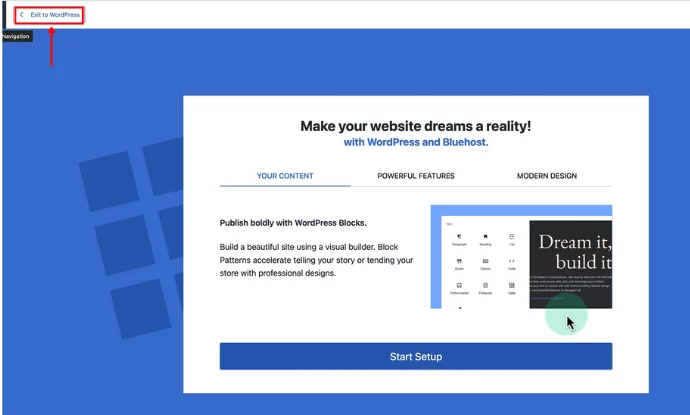
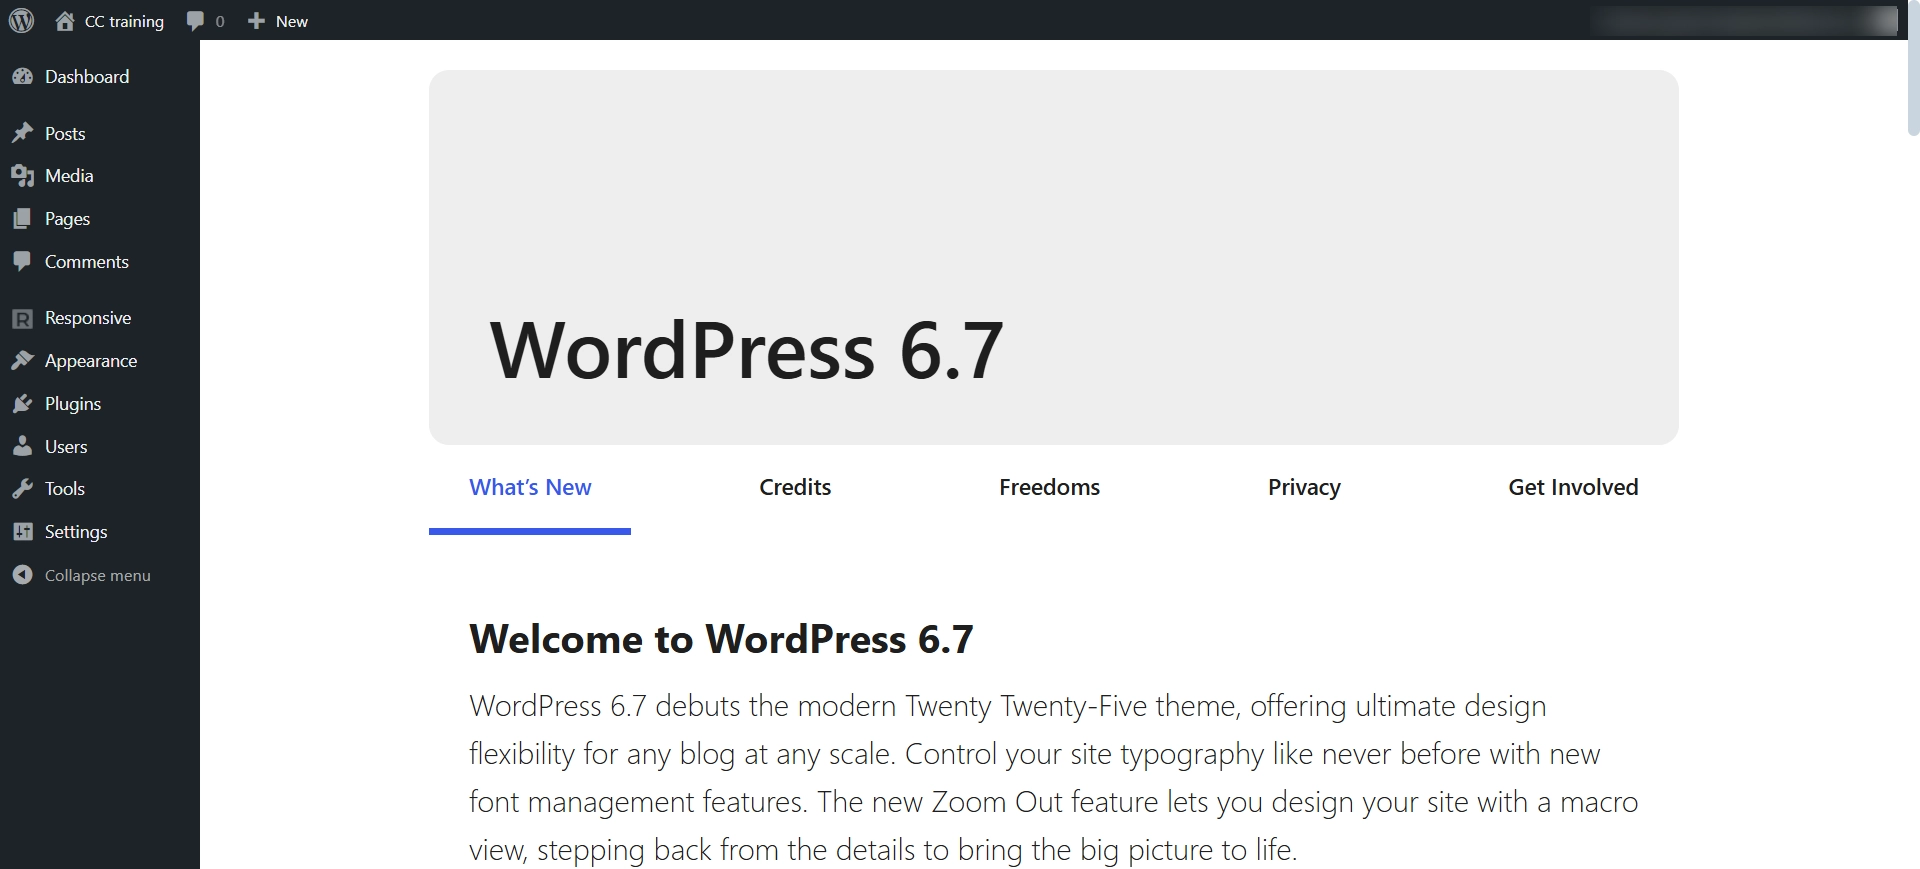
Now click the Exit button, and you will be redirected to the WordPress dashboard.
There you go! You have successfully downloaded WordPress!
Step 3: Selecting a WordPress Theme
Selecting the correct WordPress theme is crucial because it will enhance your website.
We have done a lot of research and found a very nice WordPress theme for you to create a dental website.
The WordPress theme sets the look of the site. There are many dental themes offered in the WordPress repository, but not all of them will be good for you, so you must consider which one would work effectively for your website needs.
Cyberchimps Responsive theme is one of the recommended themes that can be used to create a multi-purpose dentist website.
Installing Responsive Theme

Responsive is a multi-functional, quick, and completely customizable WordPress theme developed by Cyberchimps.
The Cyberchimps Responsive theme is a perfect option for anyone searching for a highly functional and multi-purpose WordPress theme.
Its rich customization capabilities and plugin compatibility make it appropriate for new and experienced developers.
Designed by Cyberchimps, the theme is installed and used by over 20,000 users and has a 4.7 rating on the WordPress directory.
Some key features of the theme are:
- Performance: Responsive is minimal, fast, and has a 100% GTmetrix score.
- Pre-Built Templates: The theme offers up to 250 ready-to-use templates for diverse niches via the Responsive Plus plugin.
- Compatibility: The Responsive theme is compatible with popular plugins such as WooCommerce, LearnDash, and BuddyPress-LTR; language and translation are also supported.
- Mobile Design-Friendly: The theme offers an optimal user experience across devices, which matches Google’s view of a mobile-friendly site.
Now, let’s understand how to install the theme.
Log in to your WordPress admin dashboard.
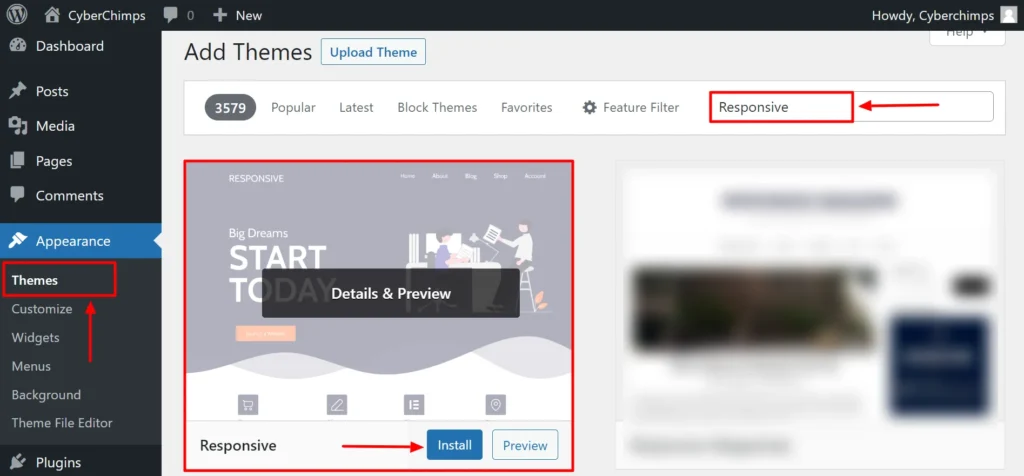
Go to Appearance > Themes > Add New.
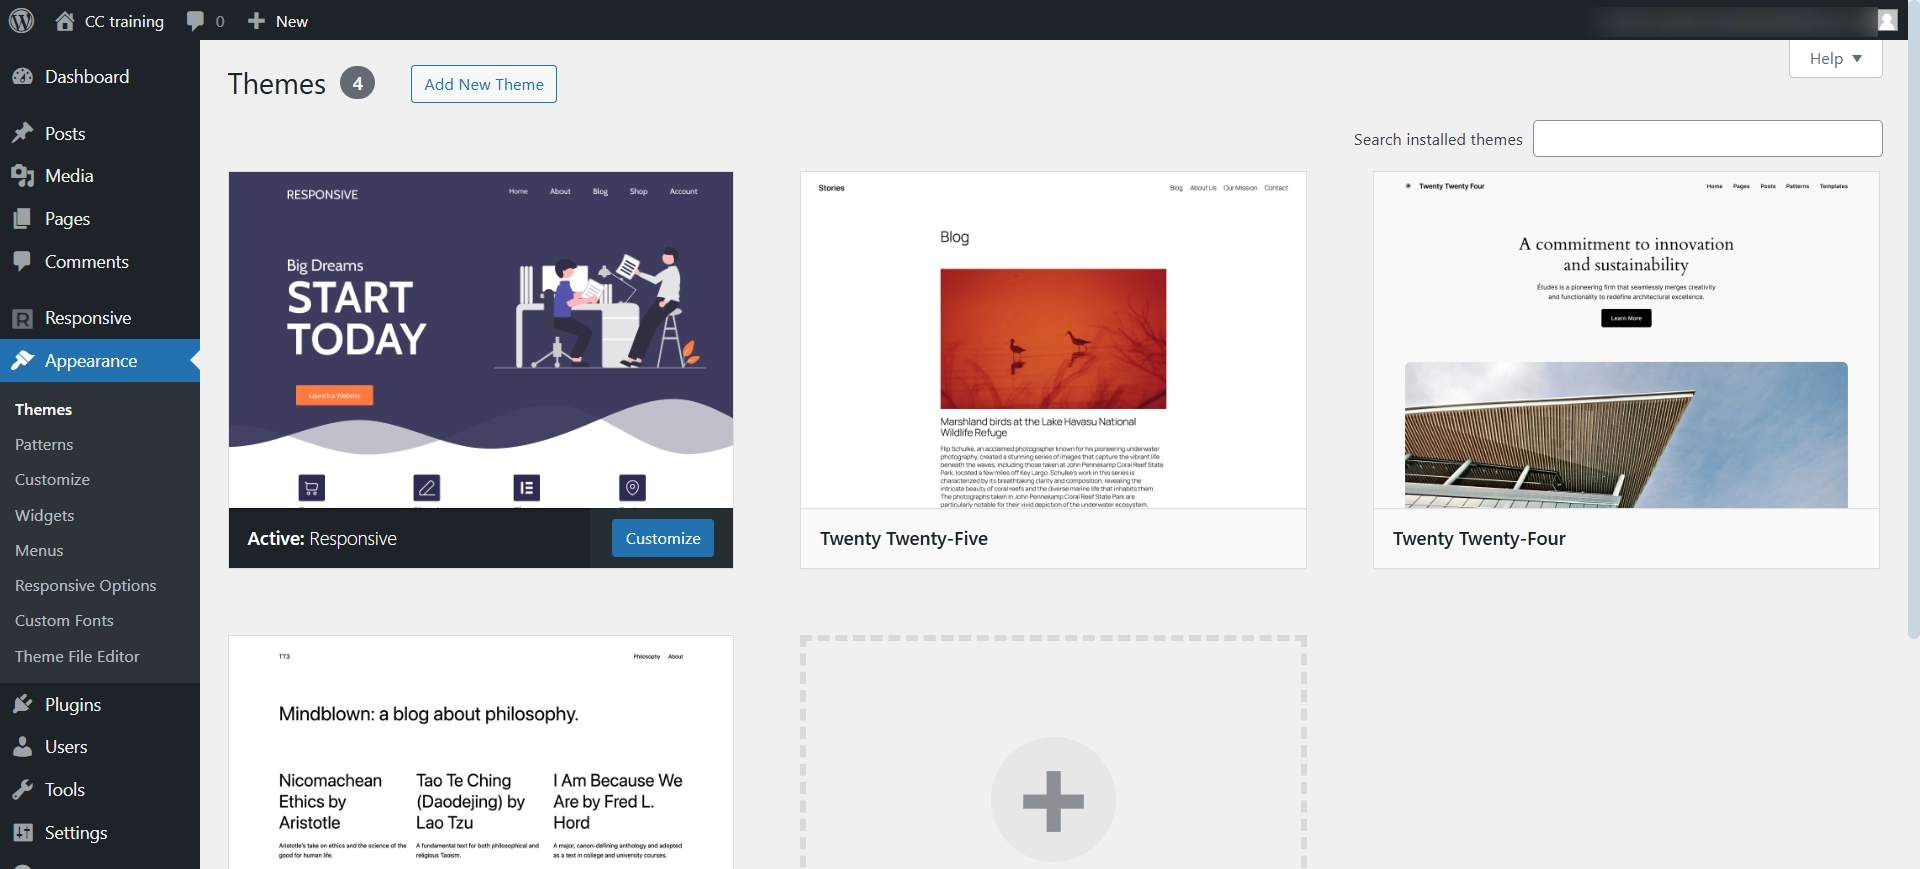
Search for Responsive on the search bar.
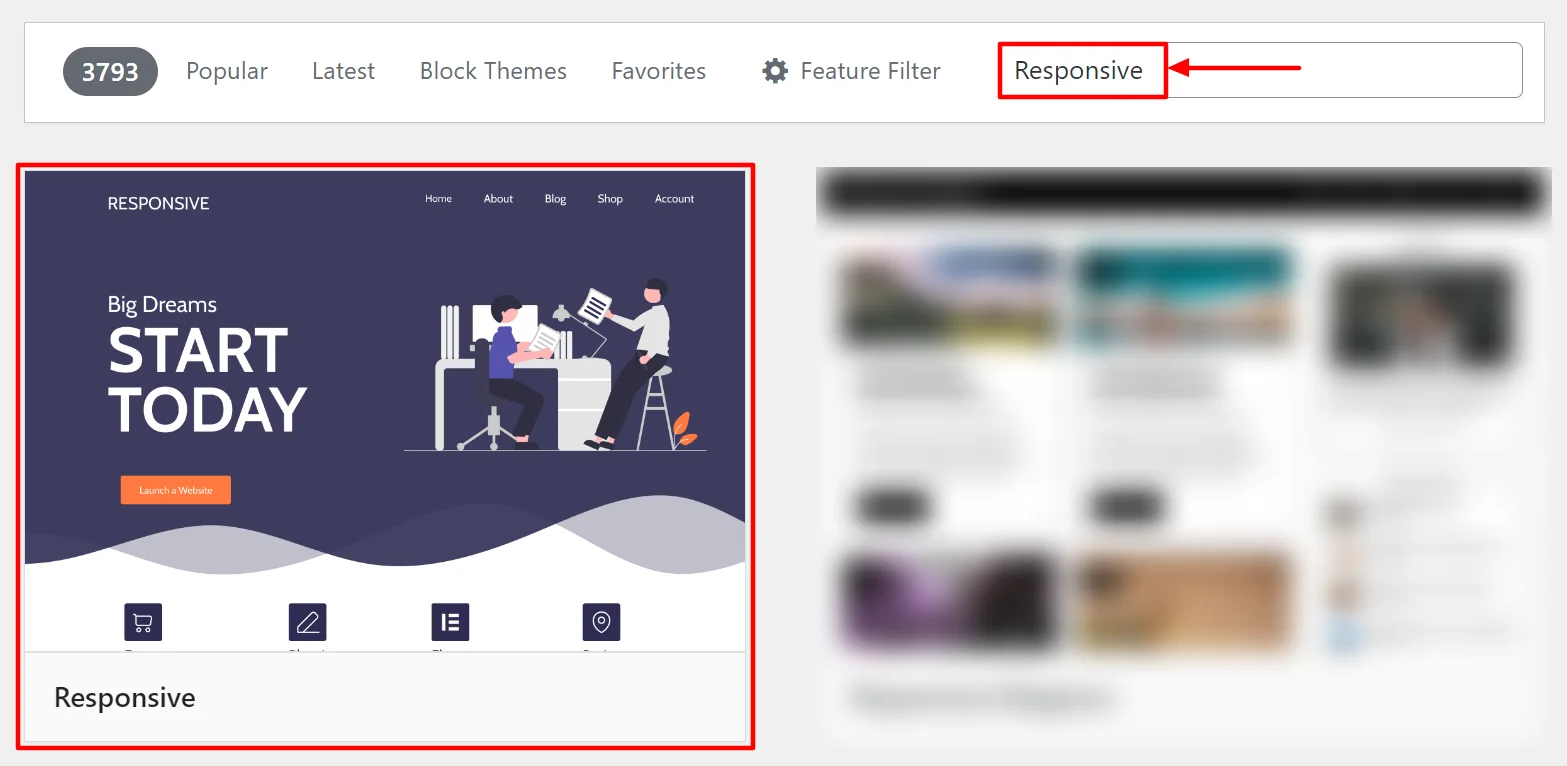
Click on Install Now to start installing the Responsive theme.
Activate Responsive theme
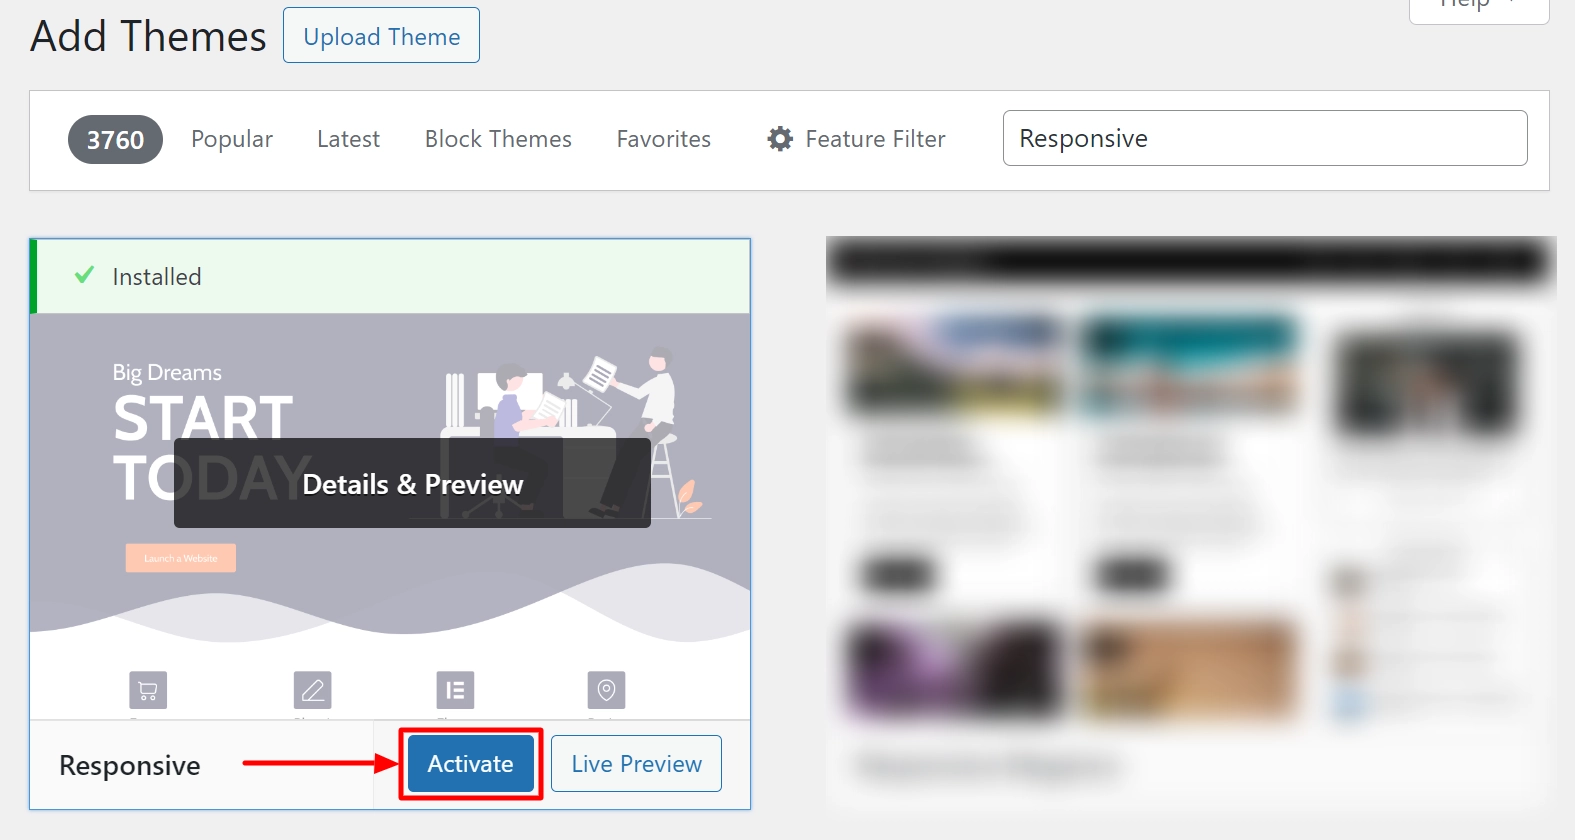
The Responsive theme has been activated and can be accessed from the dashboard.
Step 4: Installing Responsive Plus Plugin – 250+ WordPress Templates
We need Responsive Plus Starter templates plugin to download a dental website.
To install the Responsive Plus plugin, follow these steps.
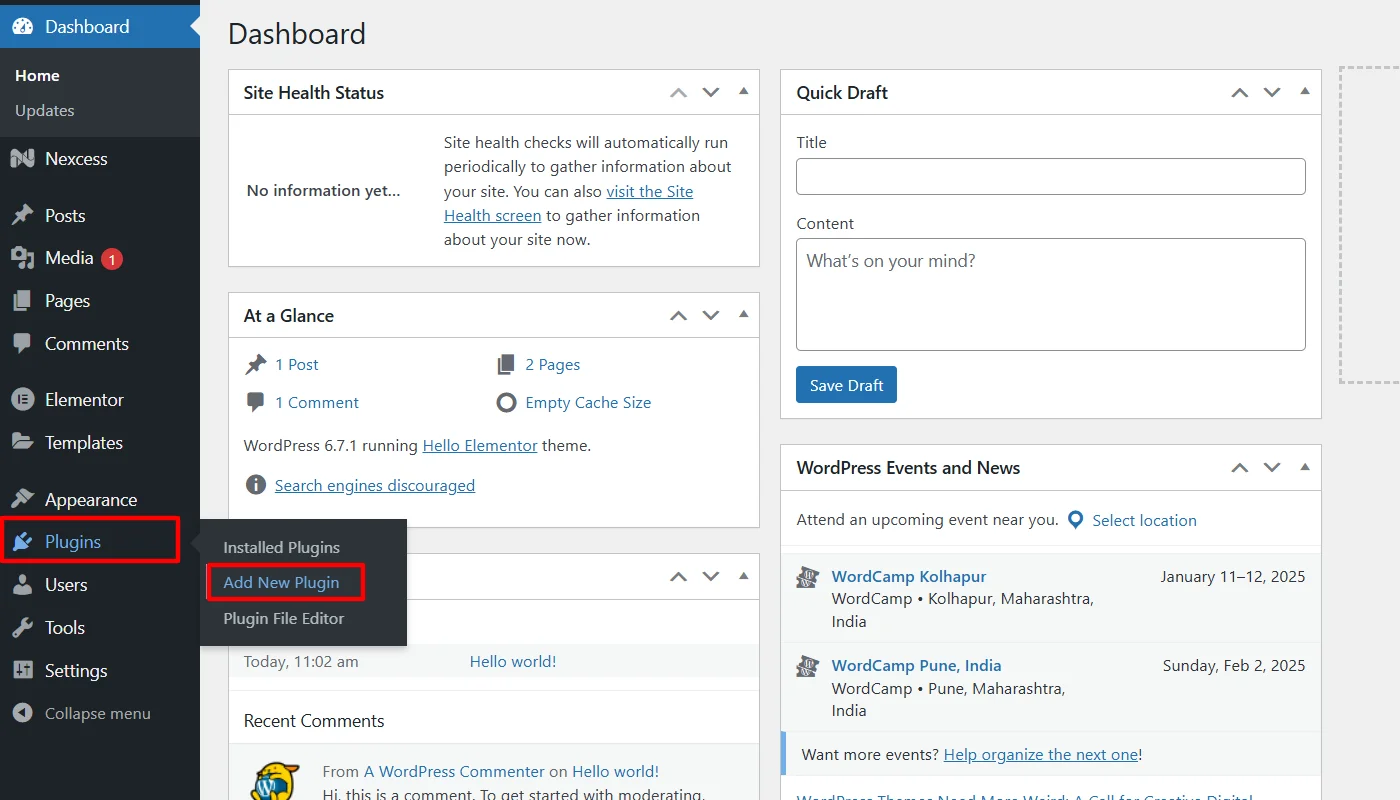
From your WordPress dashboard, navigate to Plugins > Add New Plugin.
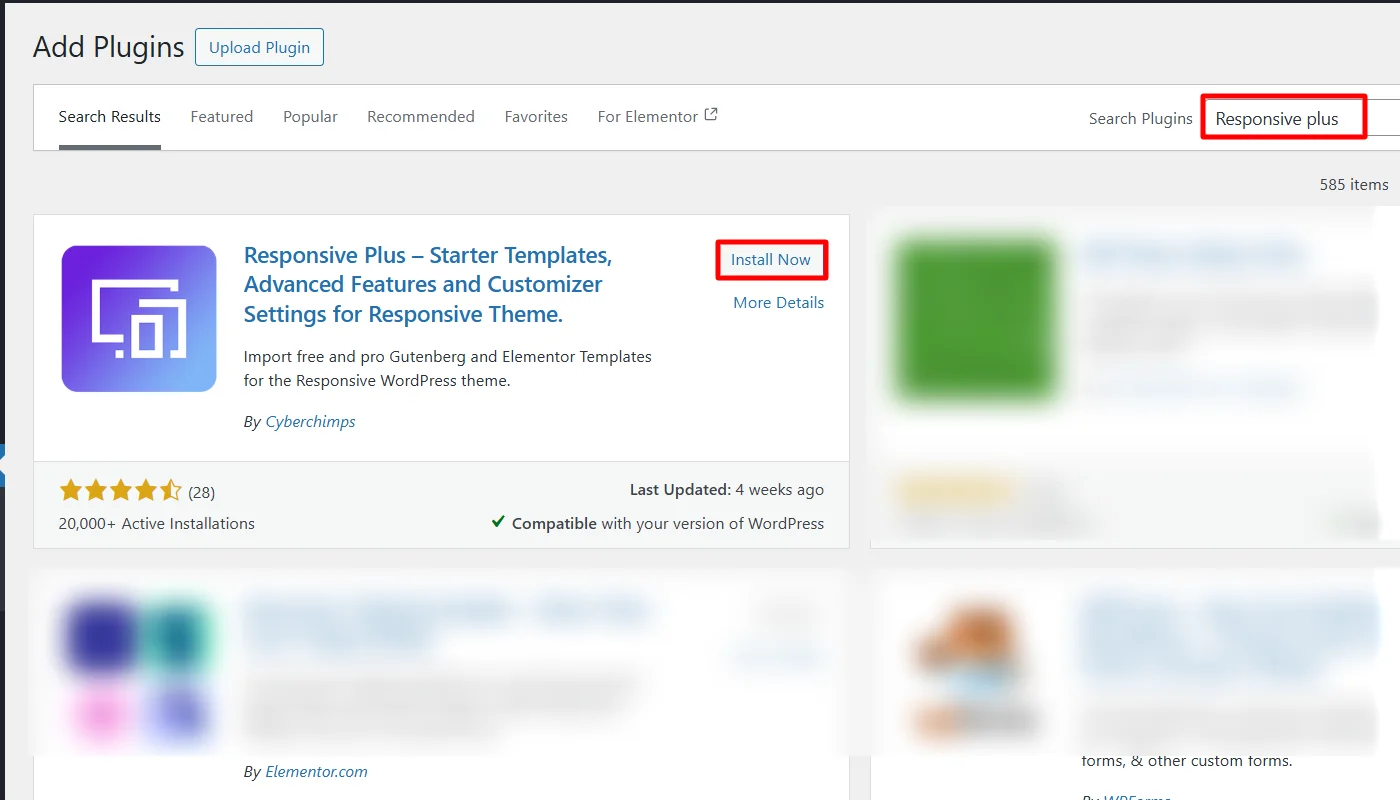
Search for the Responsive Plus plugin in the search bar and click Install Now.
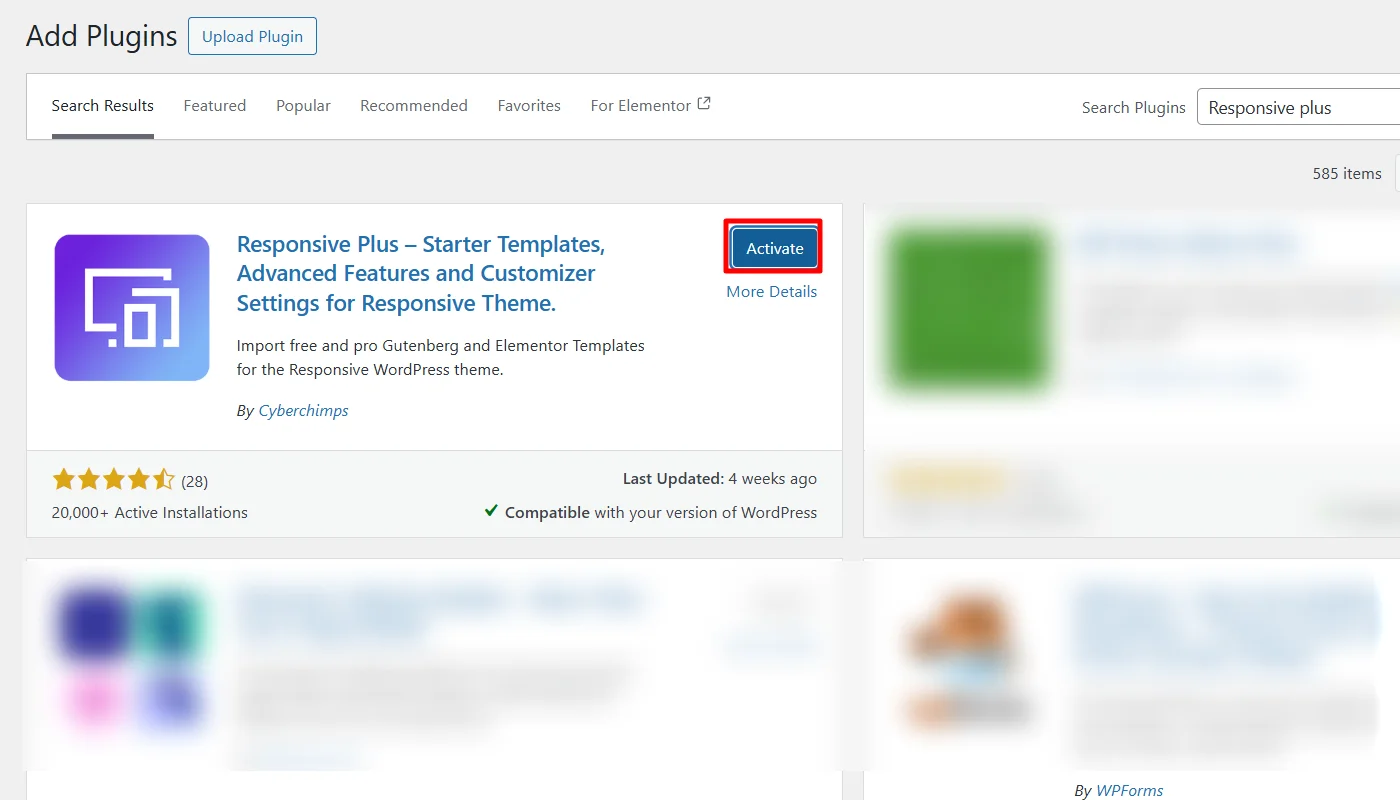
To activate the plugin, click on the Activate button.
Step 5: Importing a Dental Template
To import a template, first connect your Cyberchimps account, and for that:
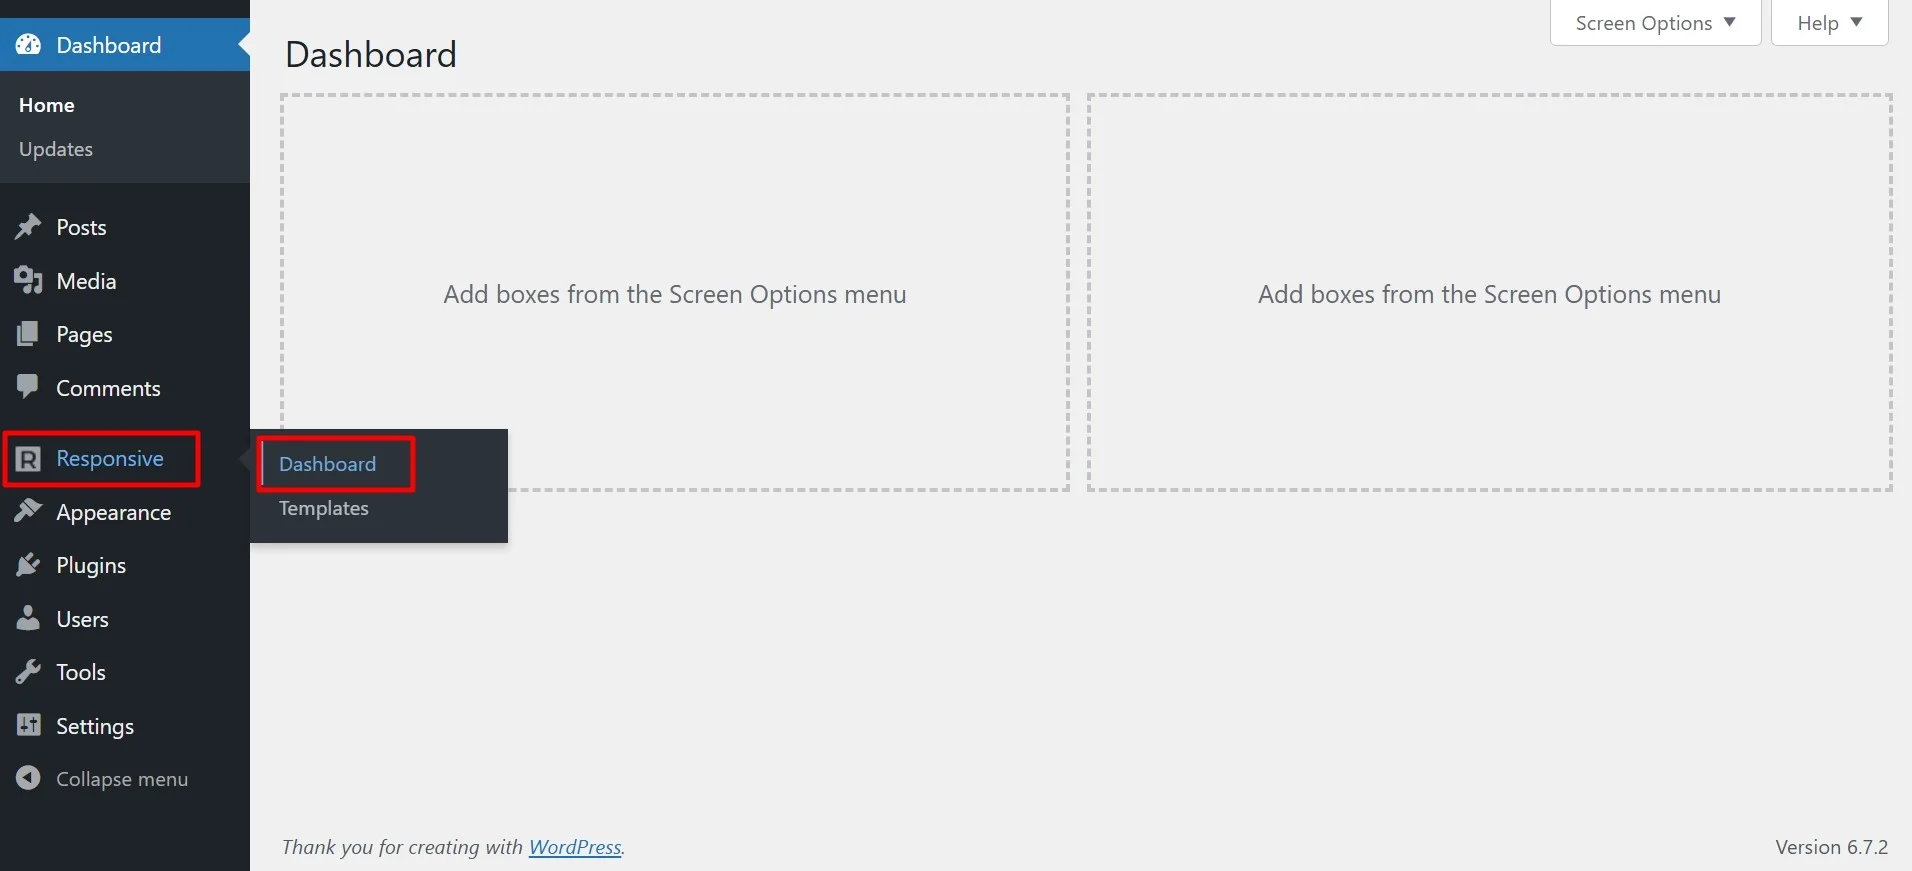
Go to Responsive > Dashboard in your WordPress admin panel.
Under the Settings tab, click on New? Create a free account. If you already have an account, select Connect your existing account.
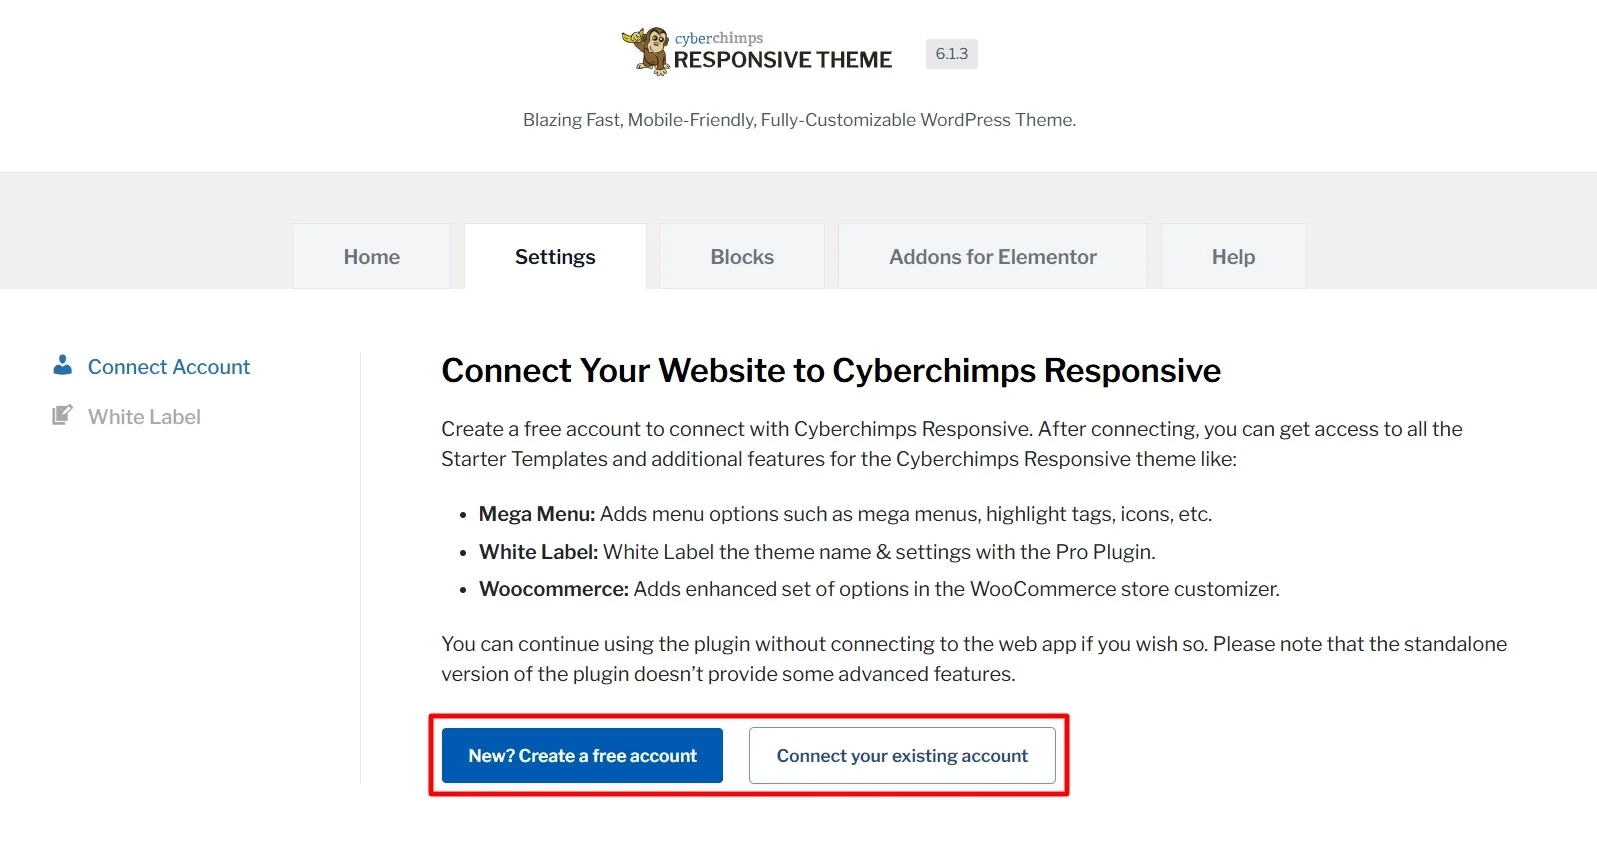
Fill in your details and click Sign up & Connect. Once signed up, click Connect Your Site to Cyberchimps Responsive to link your site.

Now, let us start to import the dentist template:
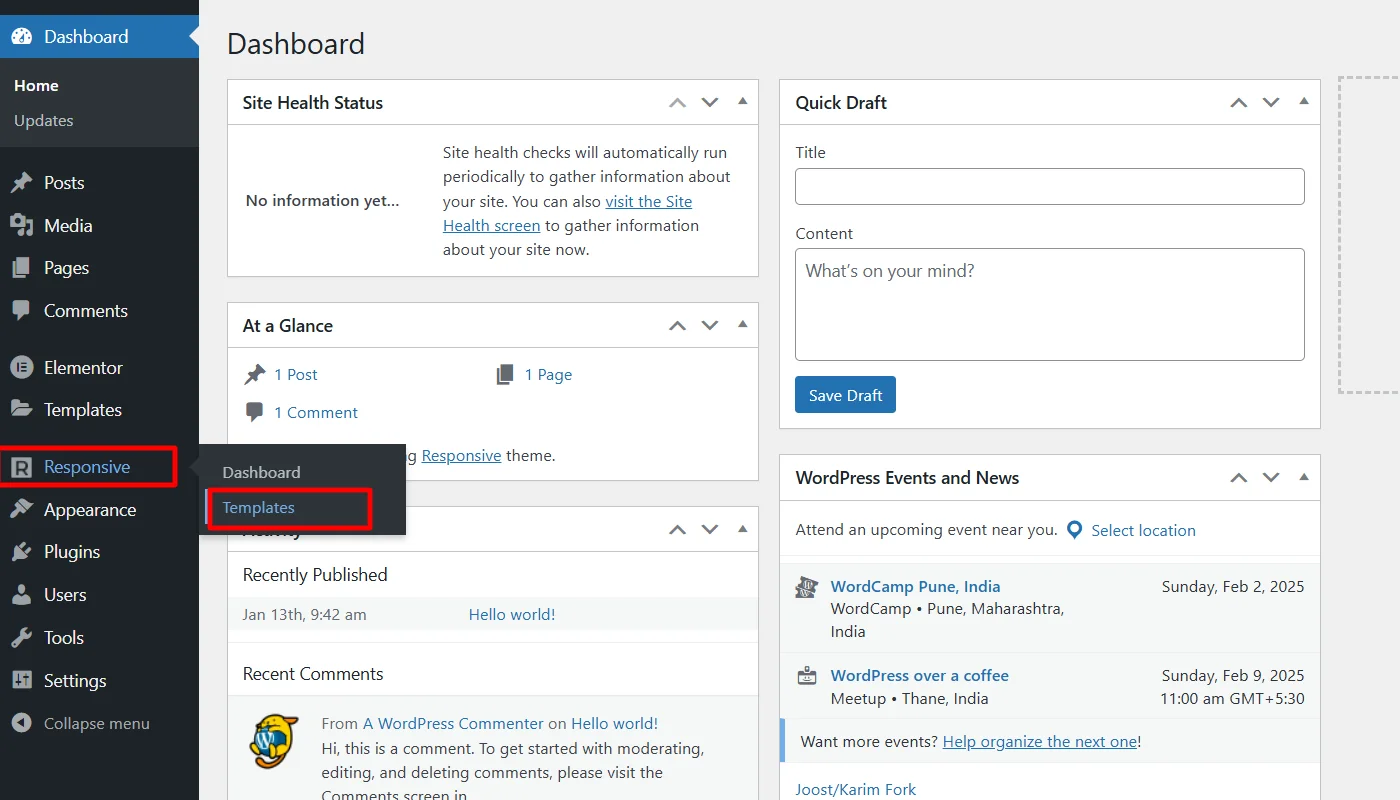
Hover on the Responsive menu and click on the Templates button.
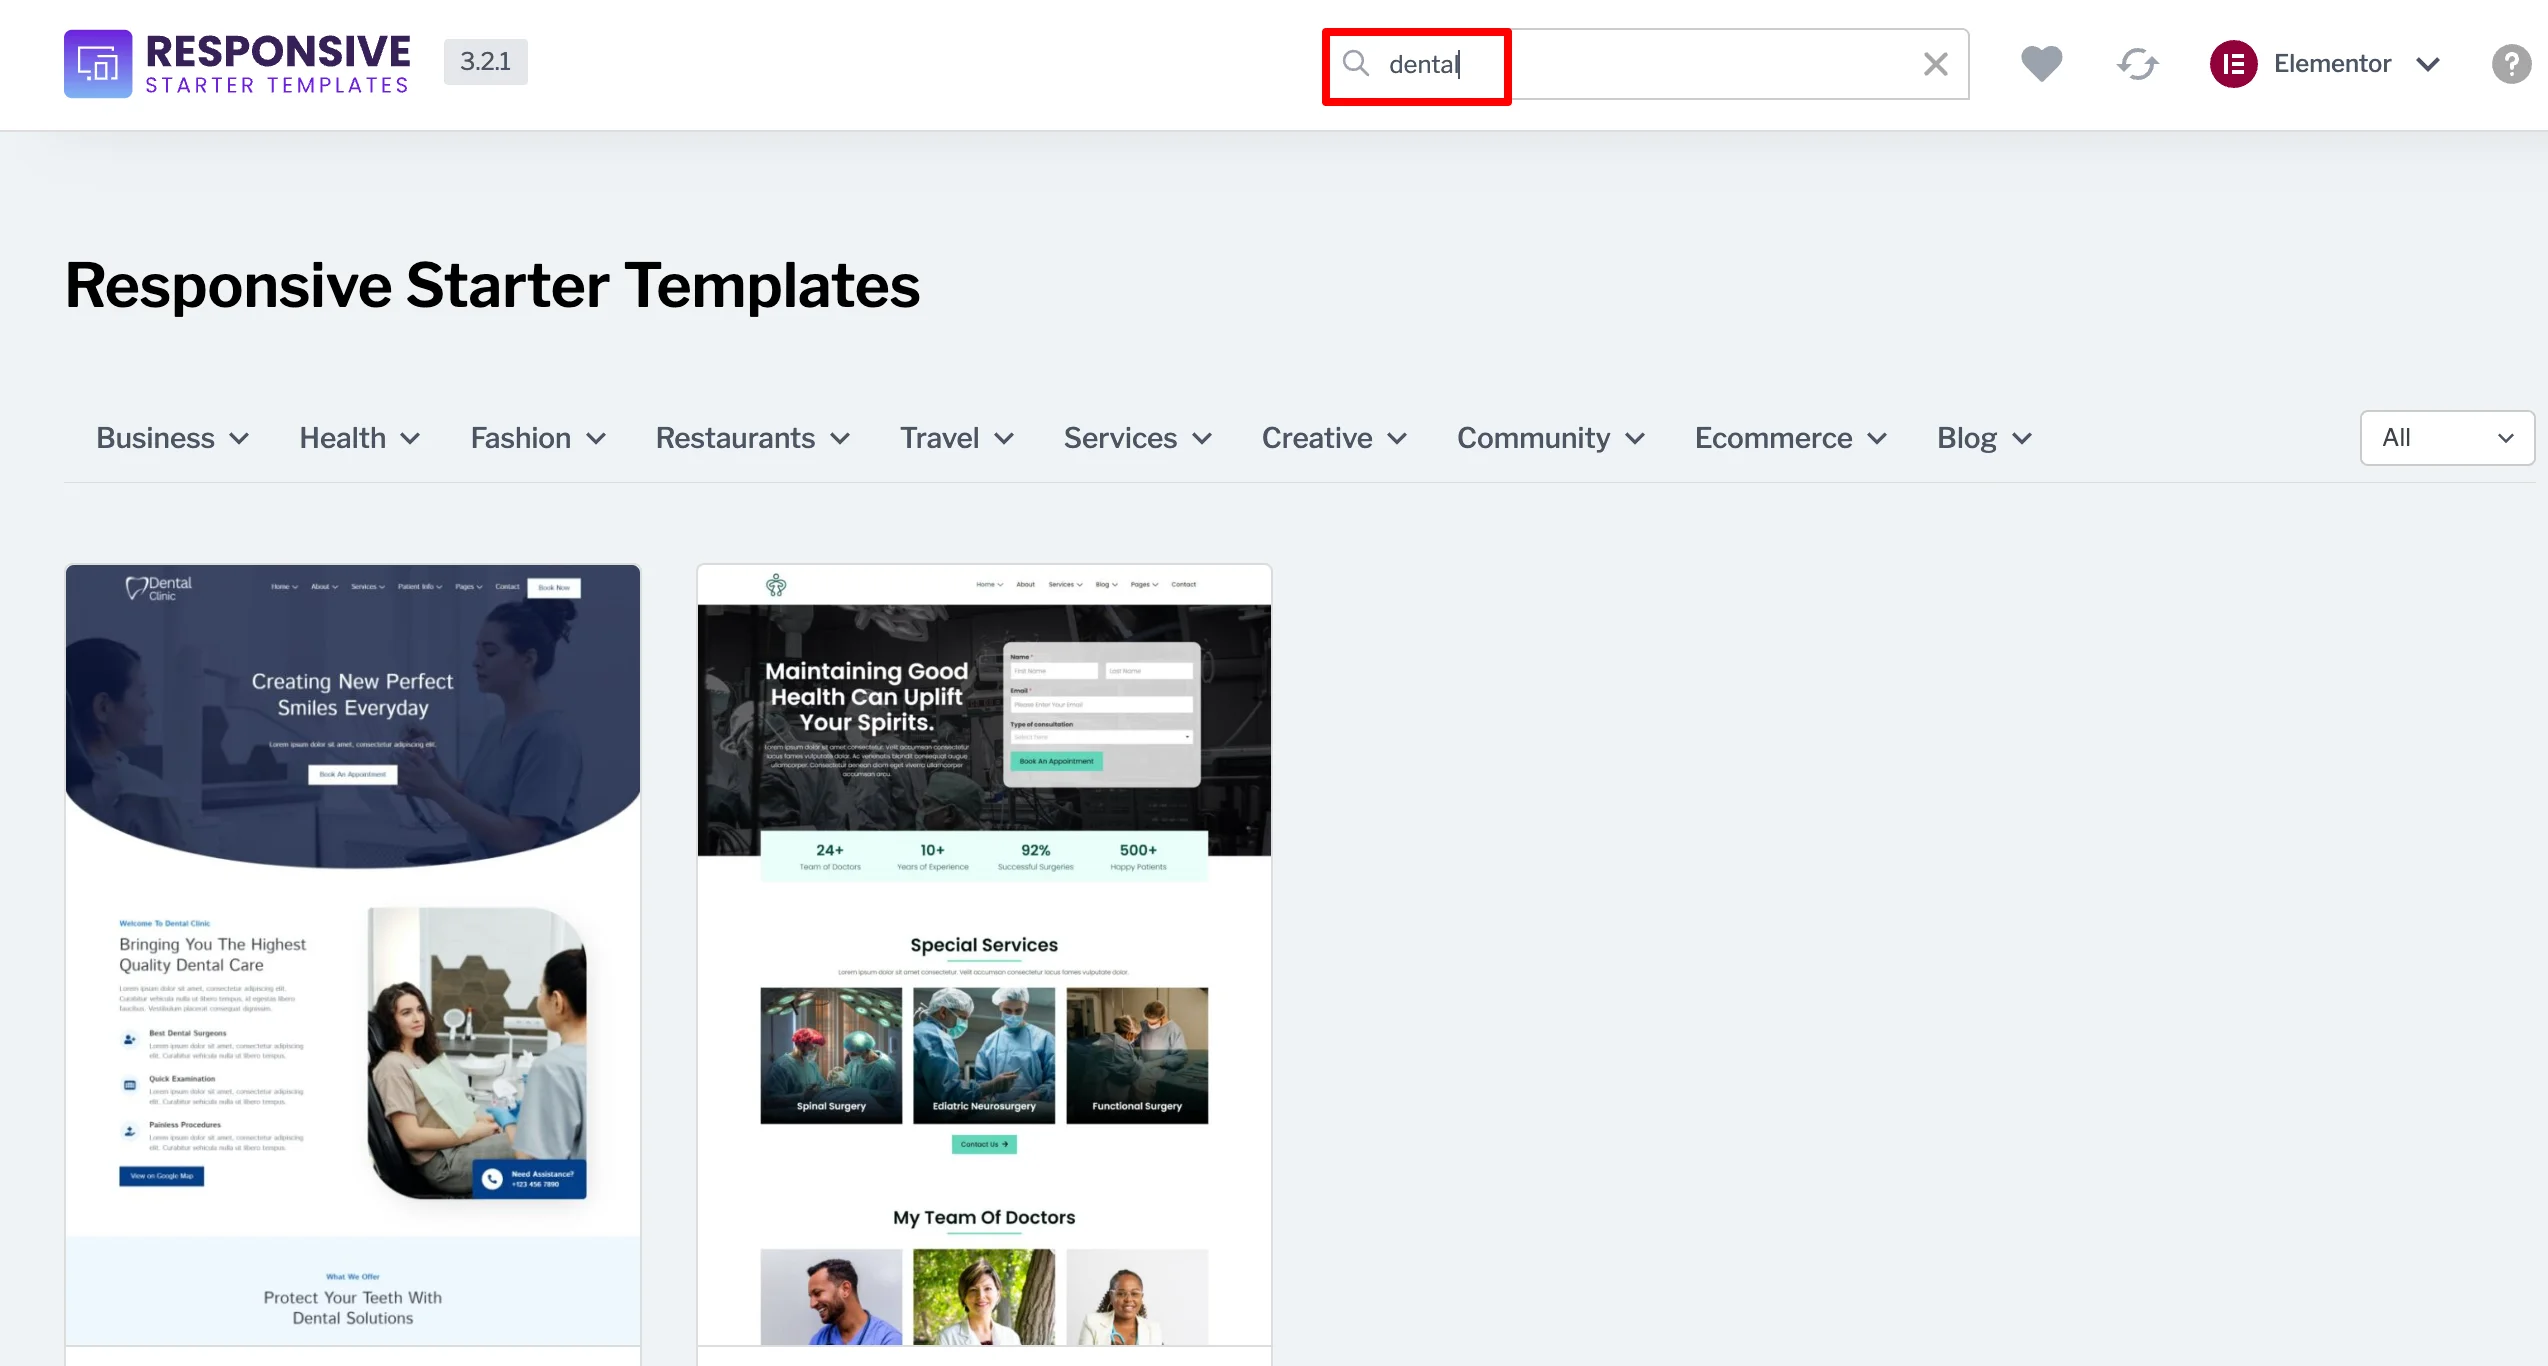
Search for Dentist in the search bar option and click on the Dental Clinic Website template.
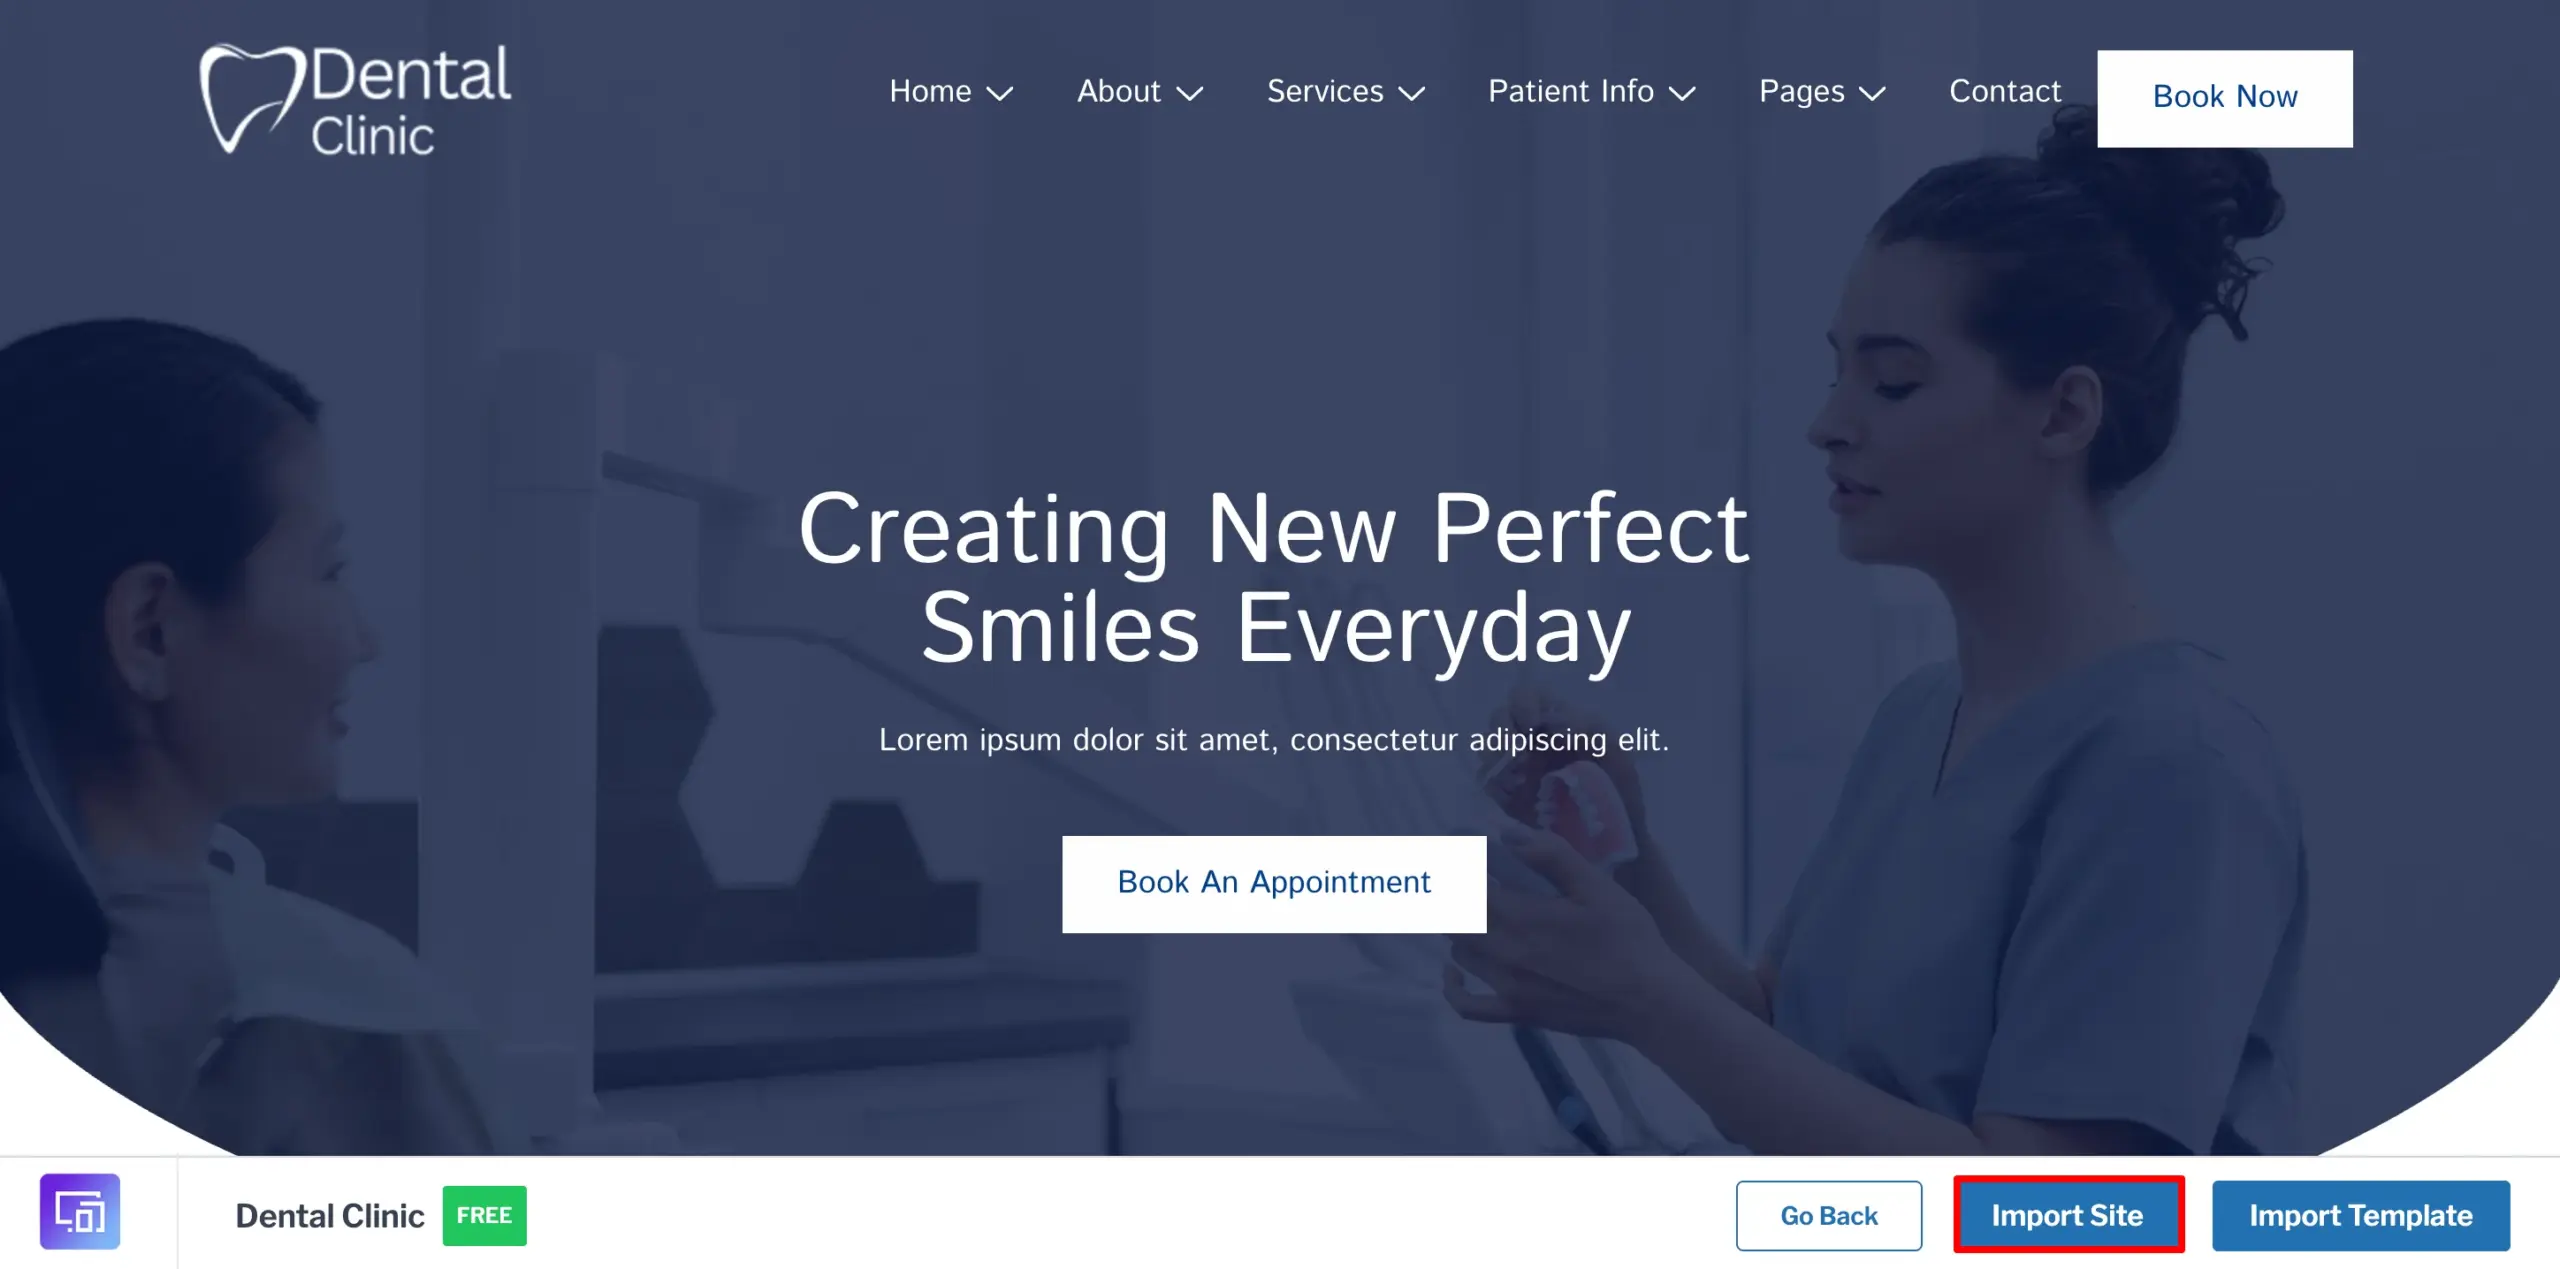
Click on the Import Site button.
Once you click on import, a pop-up will appear asking you to subscribe and start importing.
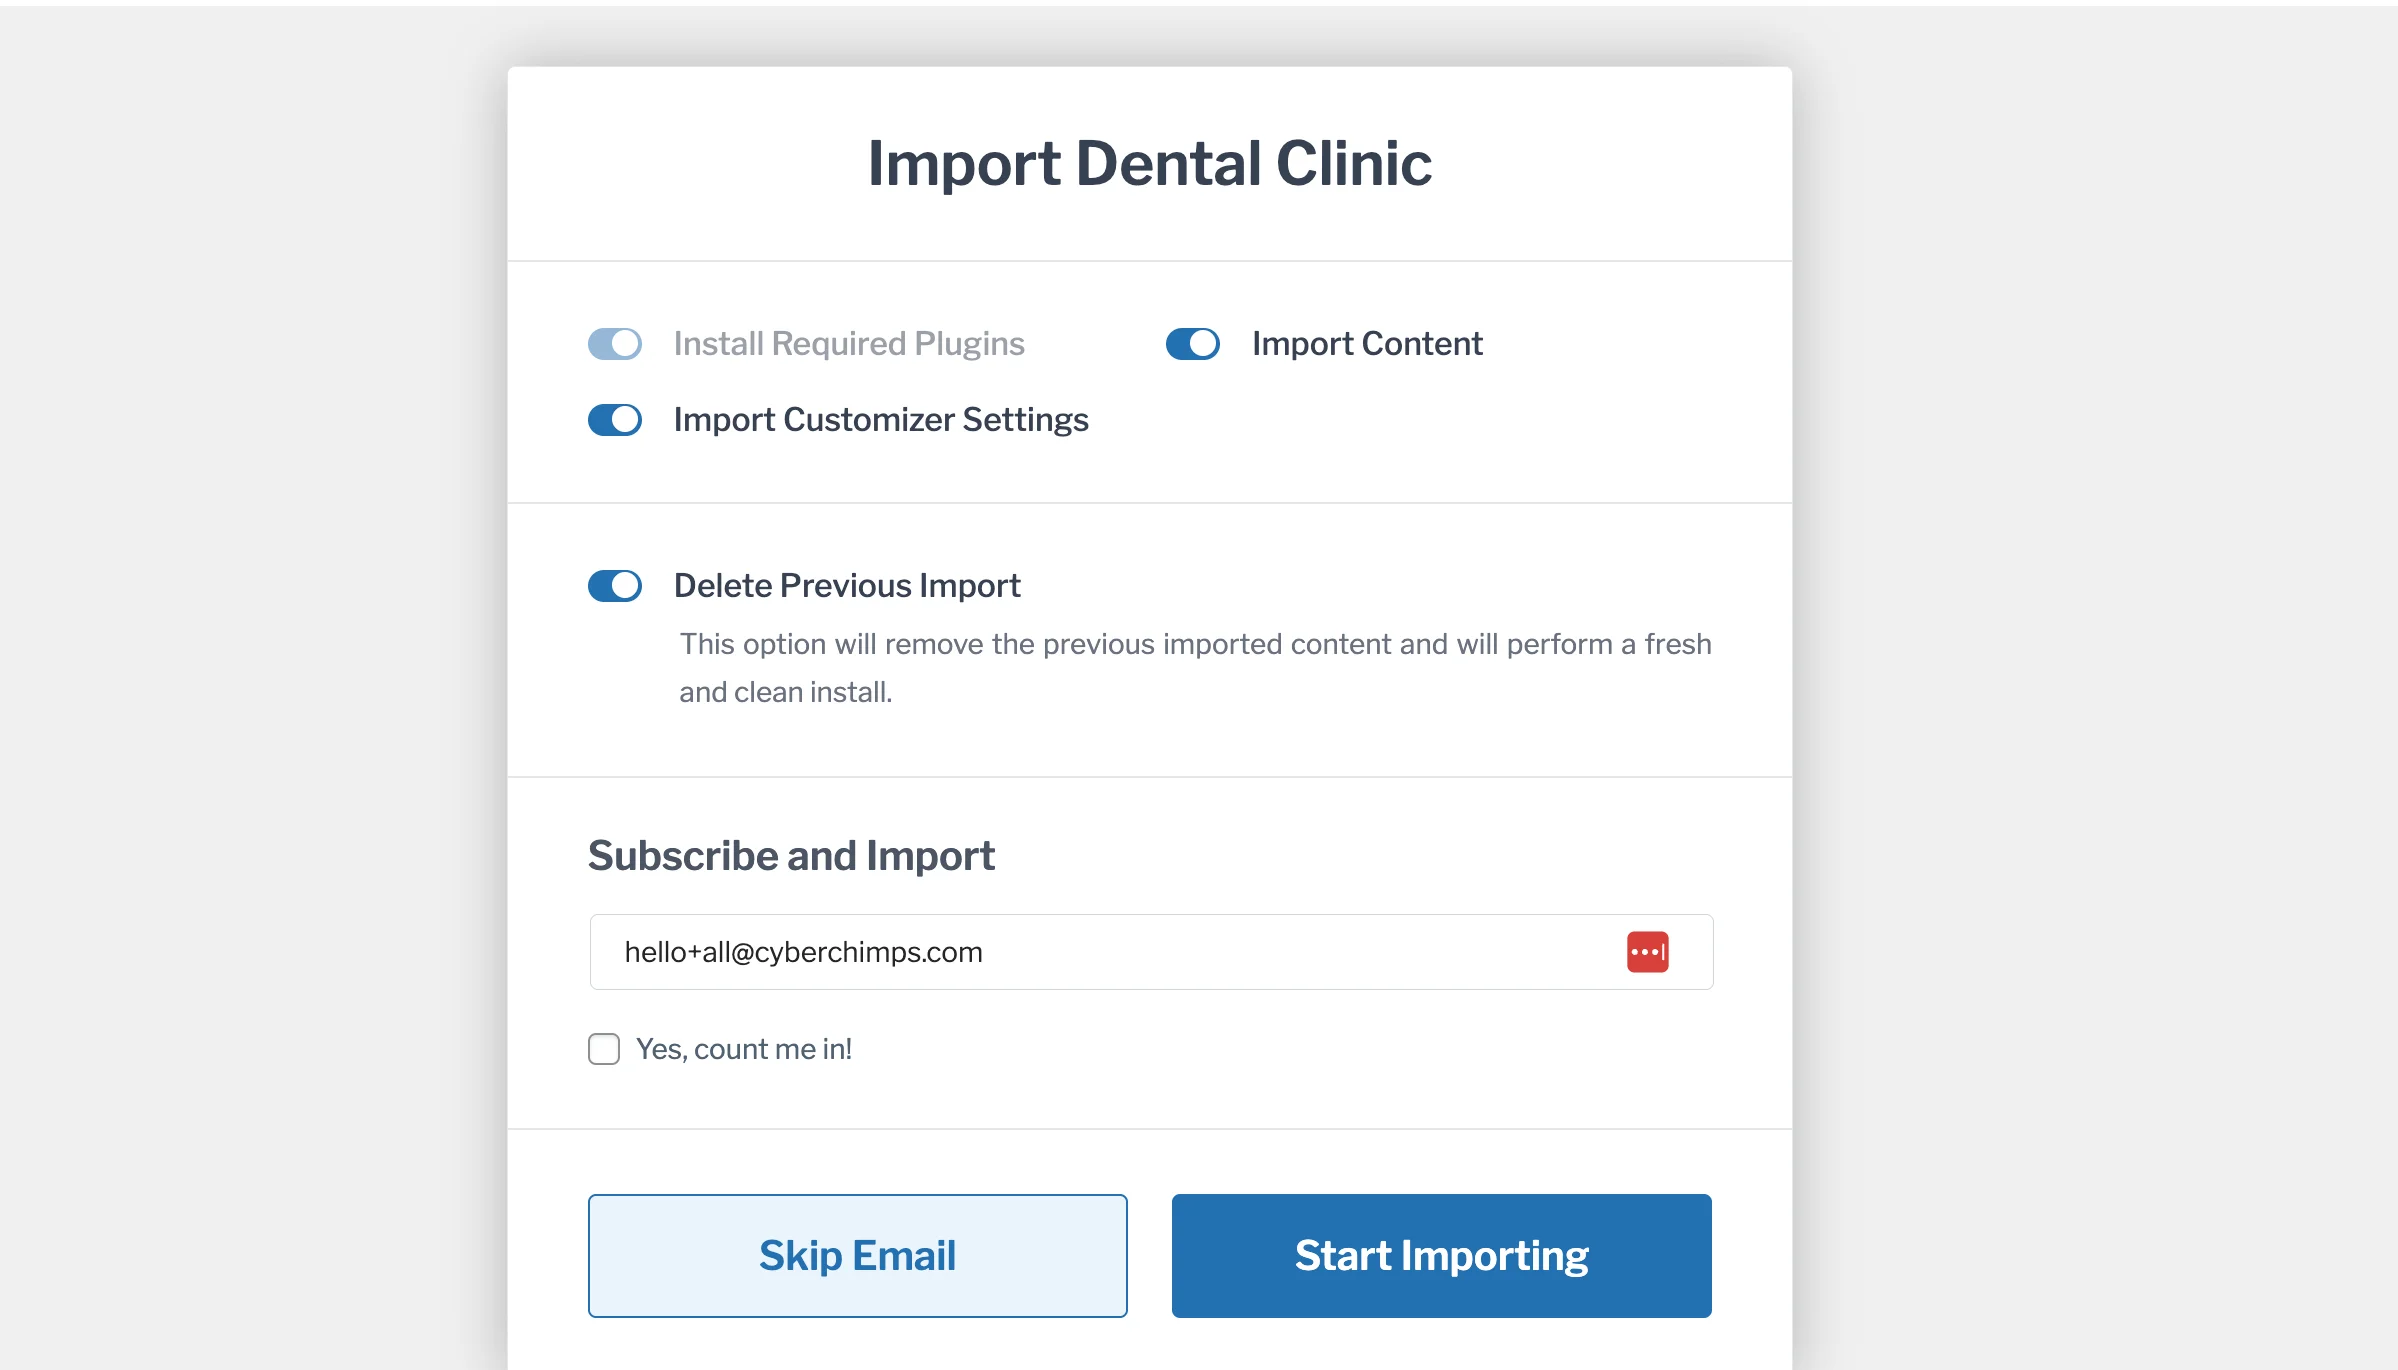
Once imported, click on Visit Website.
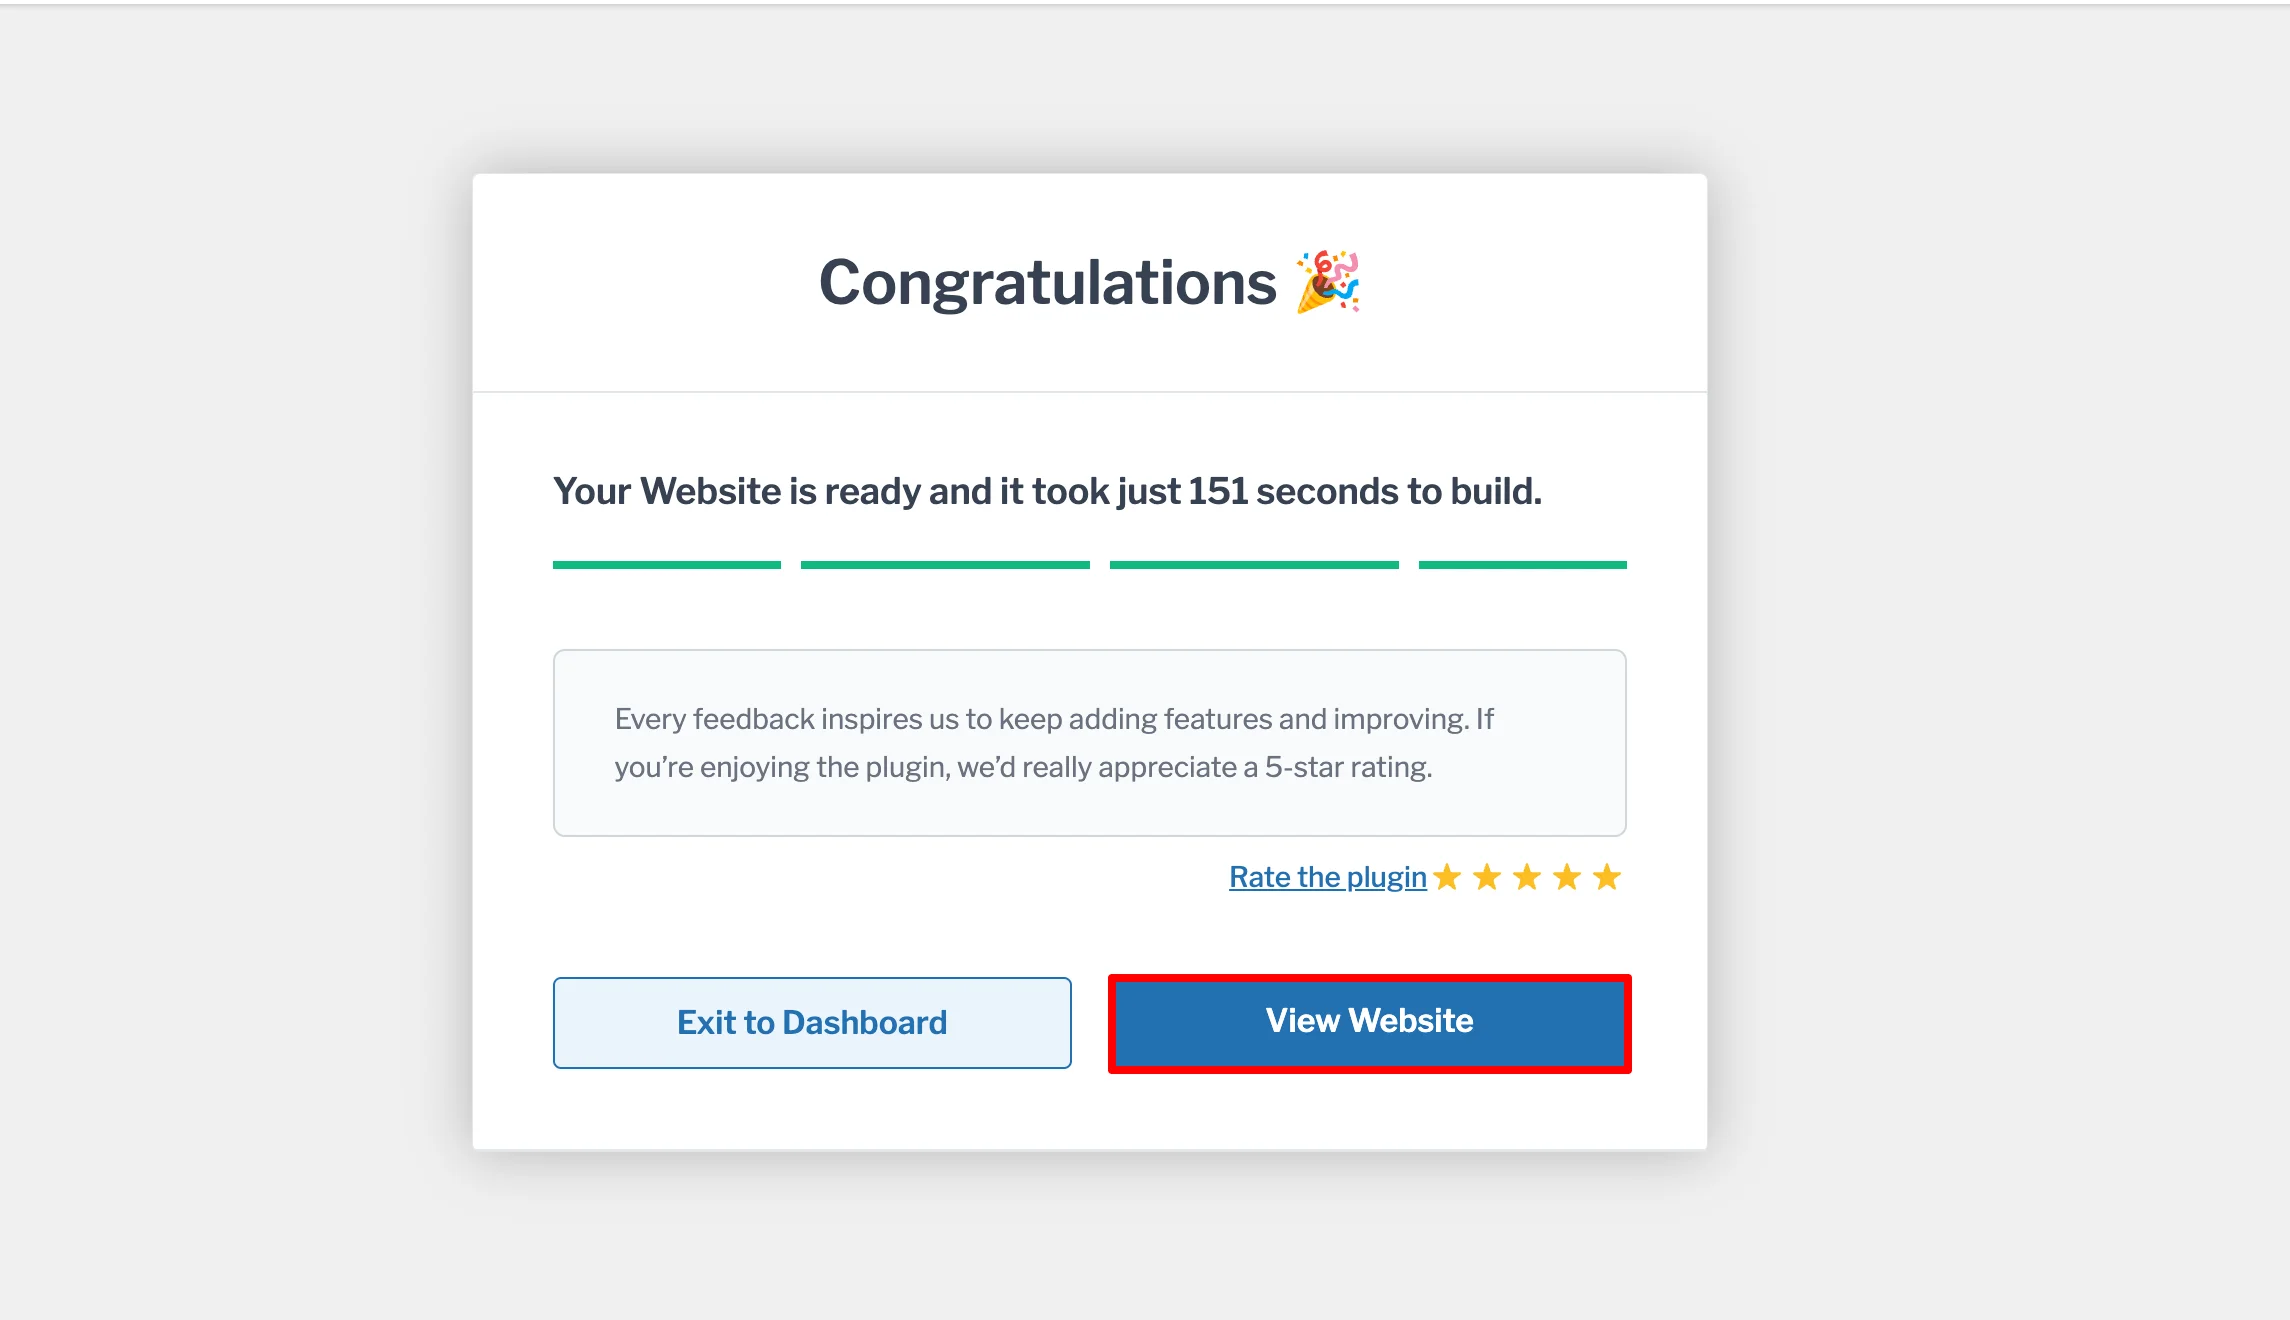
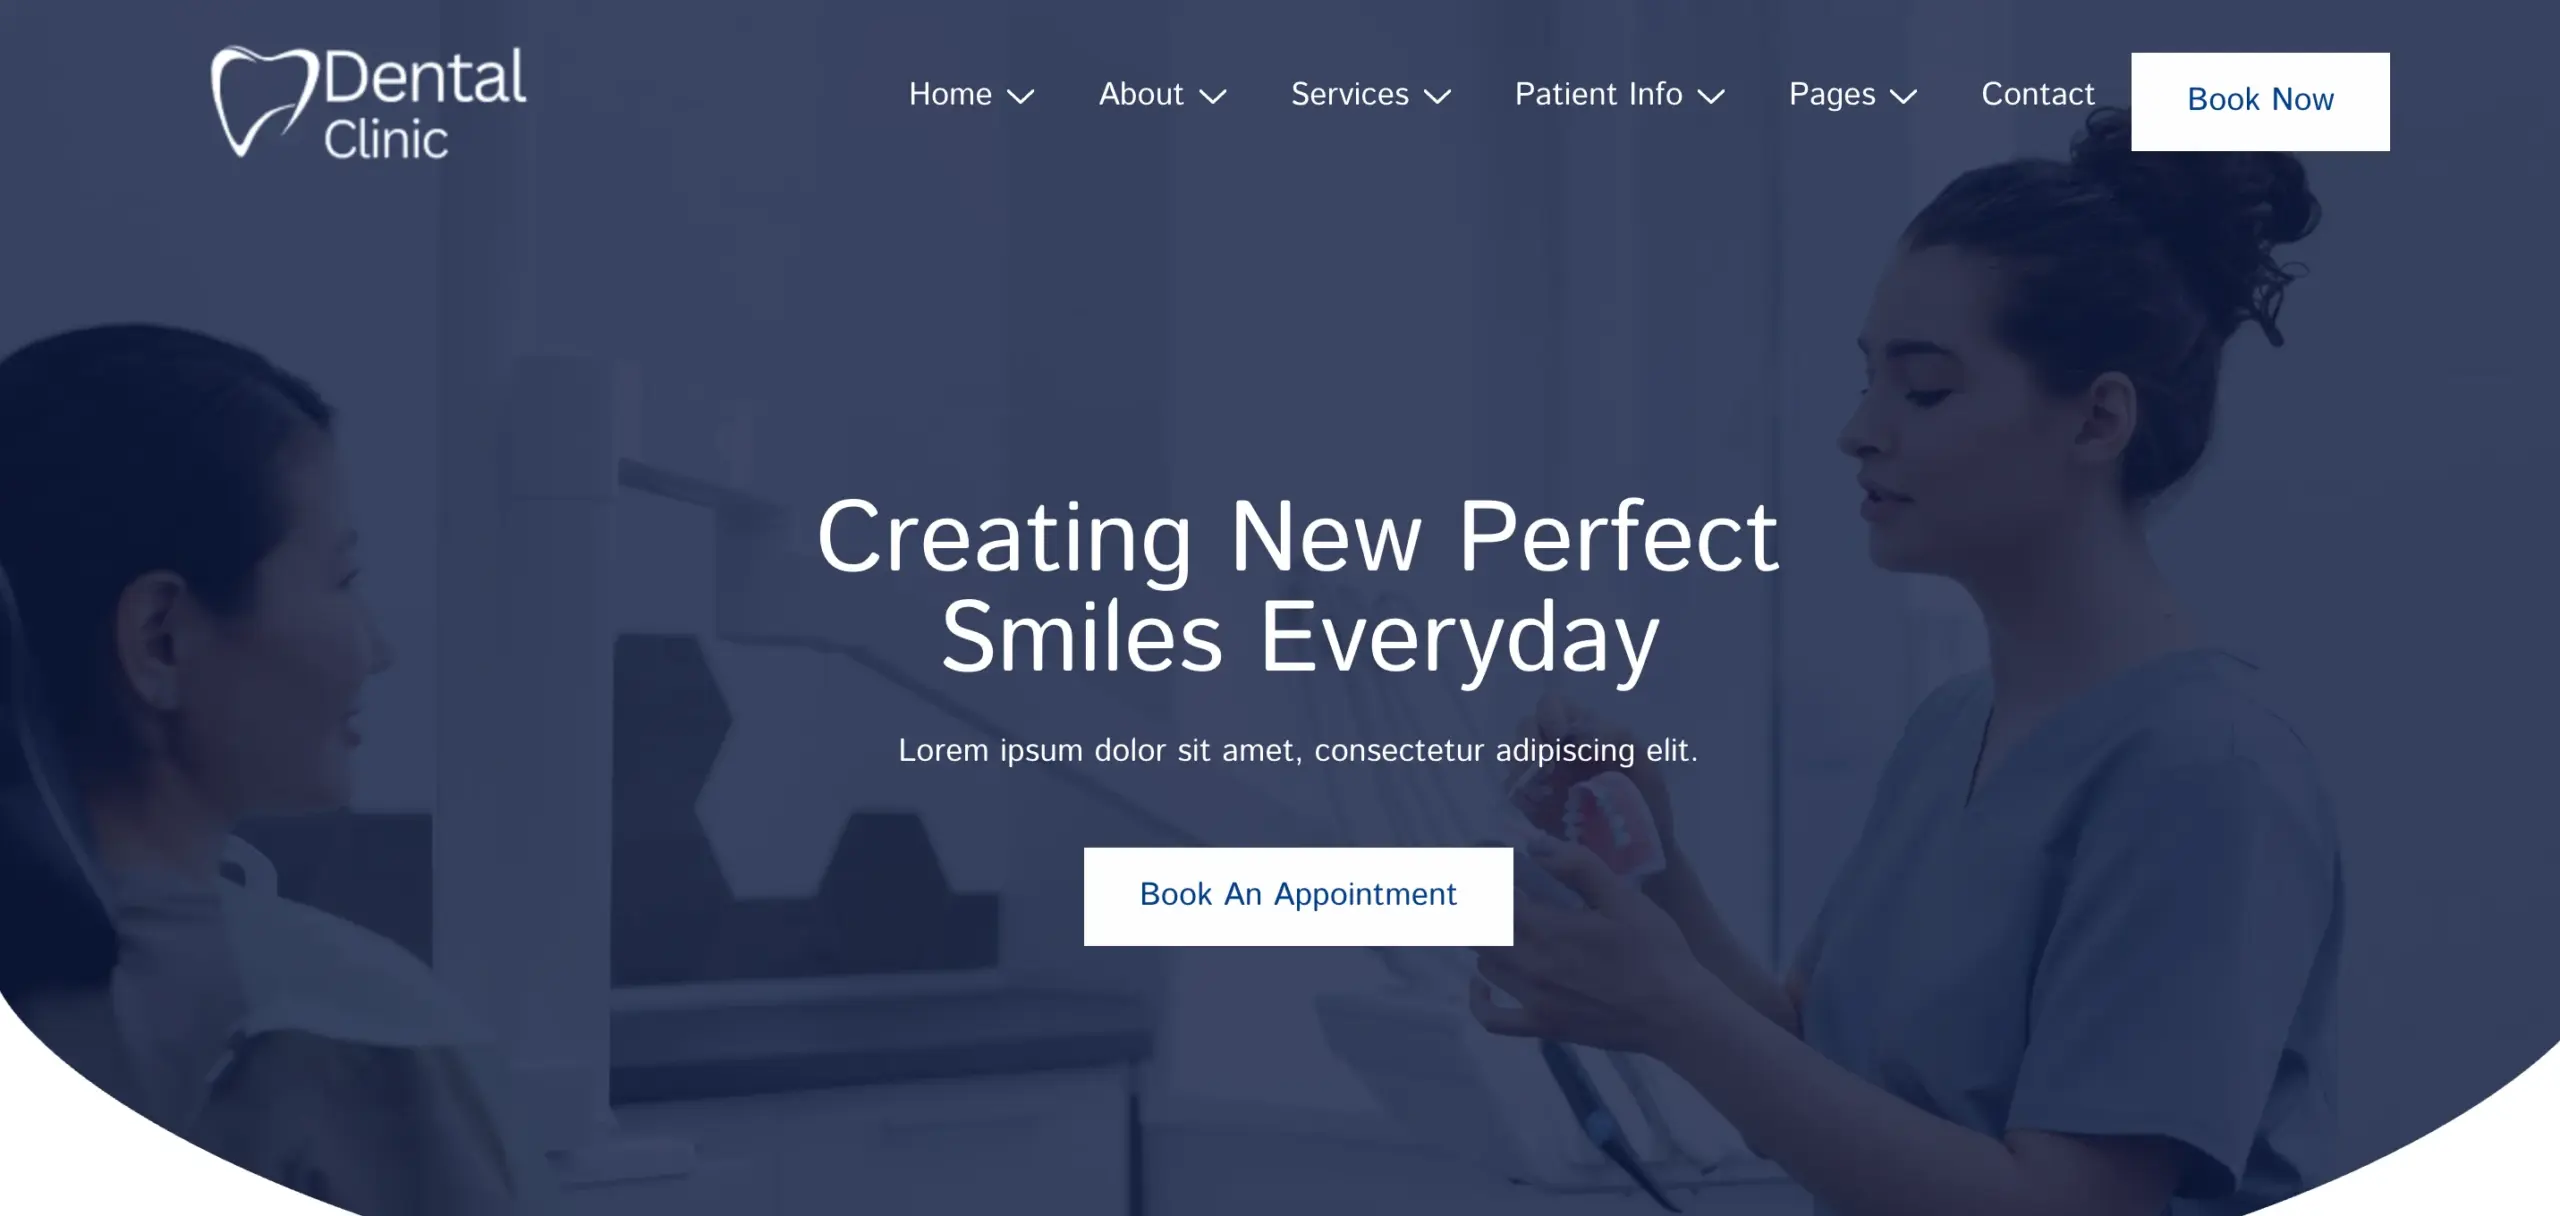
Now that you have launched your Dental Clinic Website, it will look like this.
Step 6: Customizing the Template using Elementor
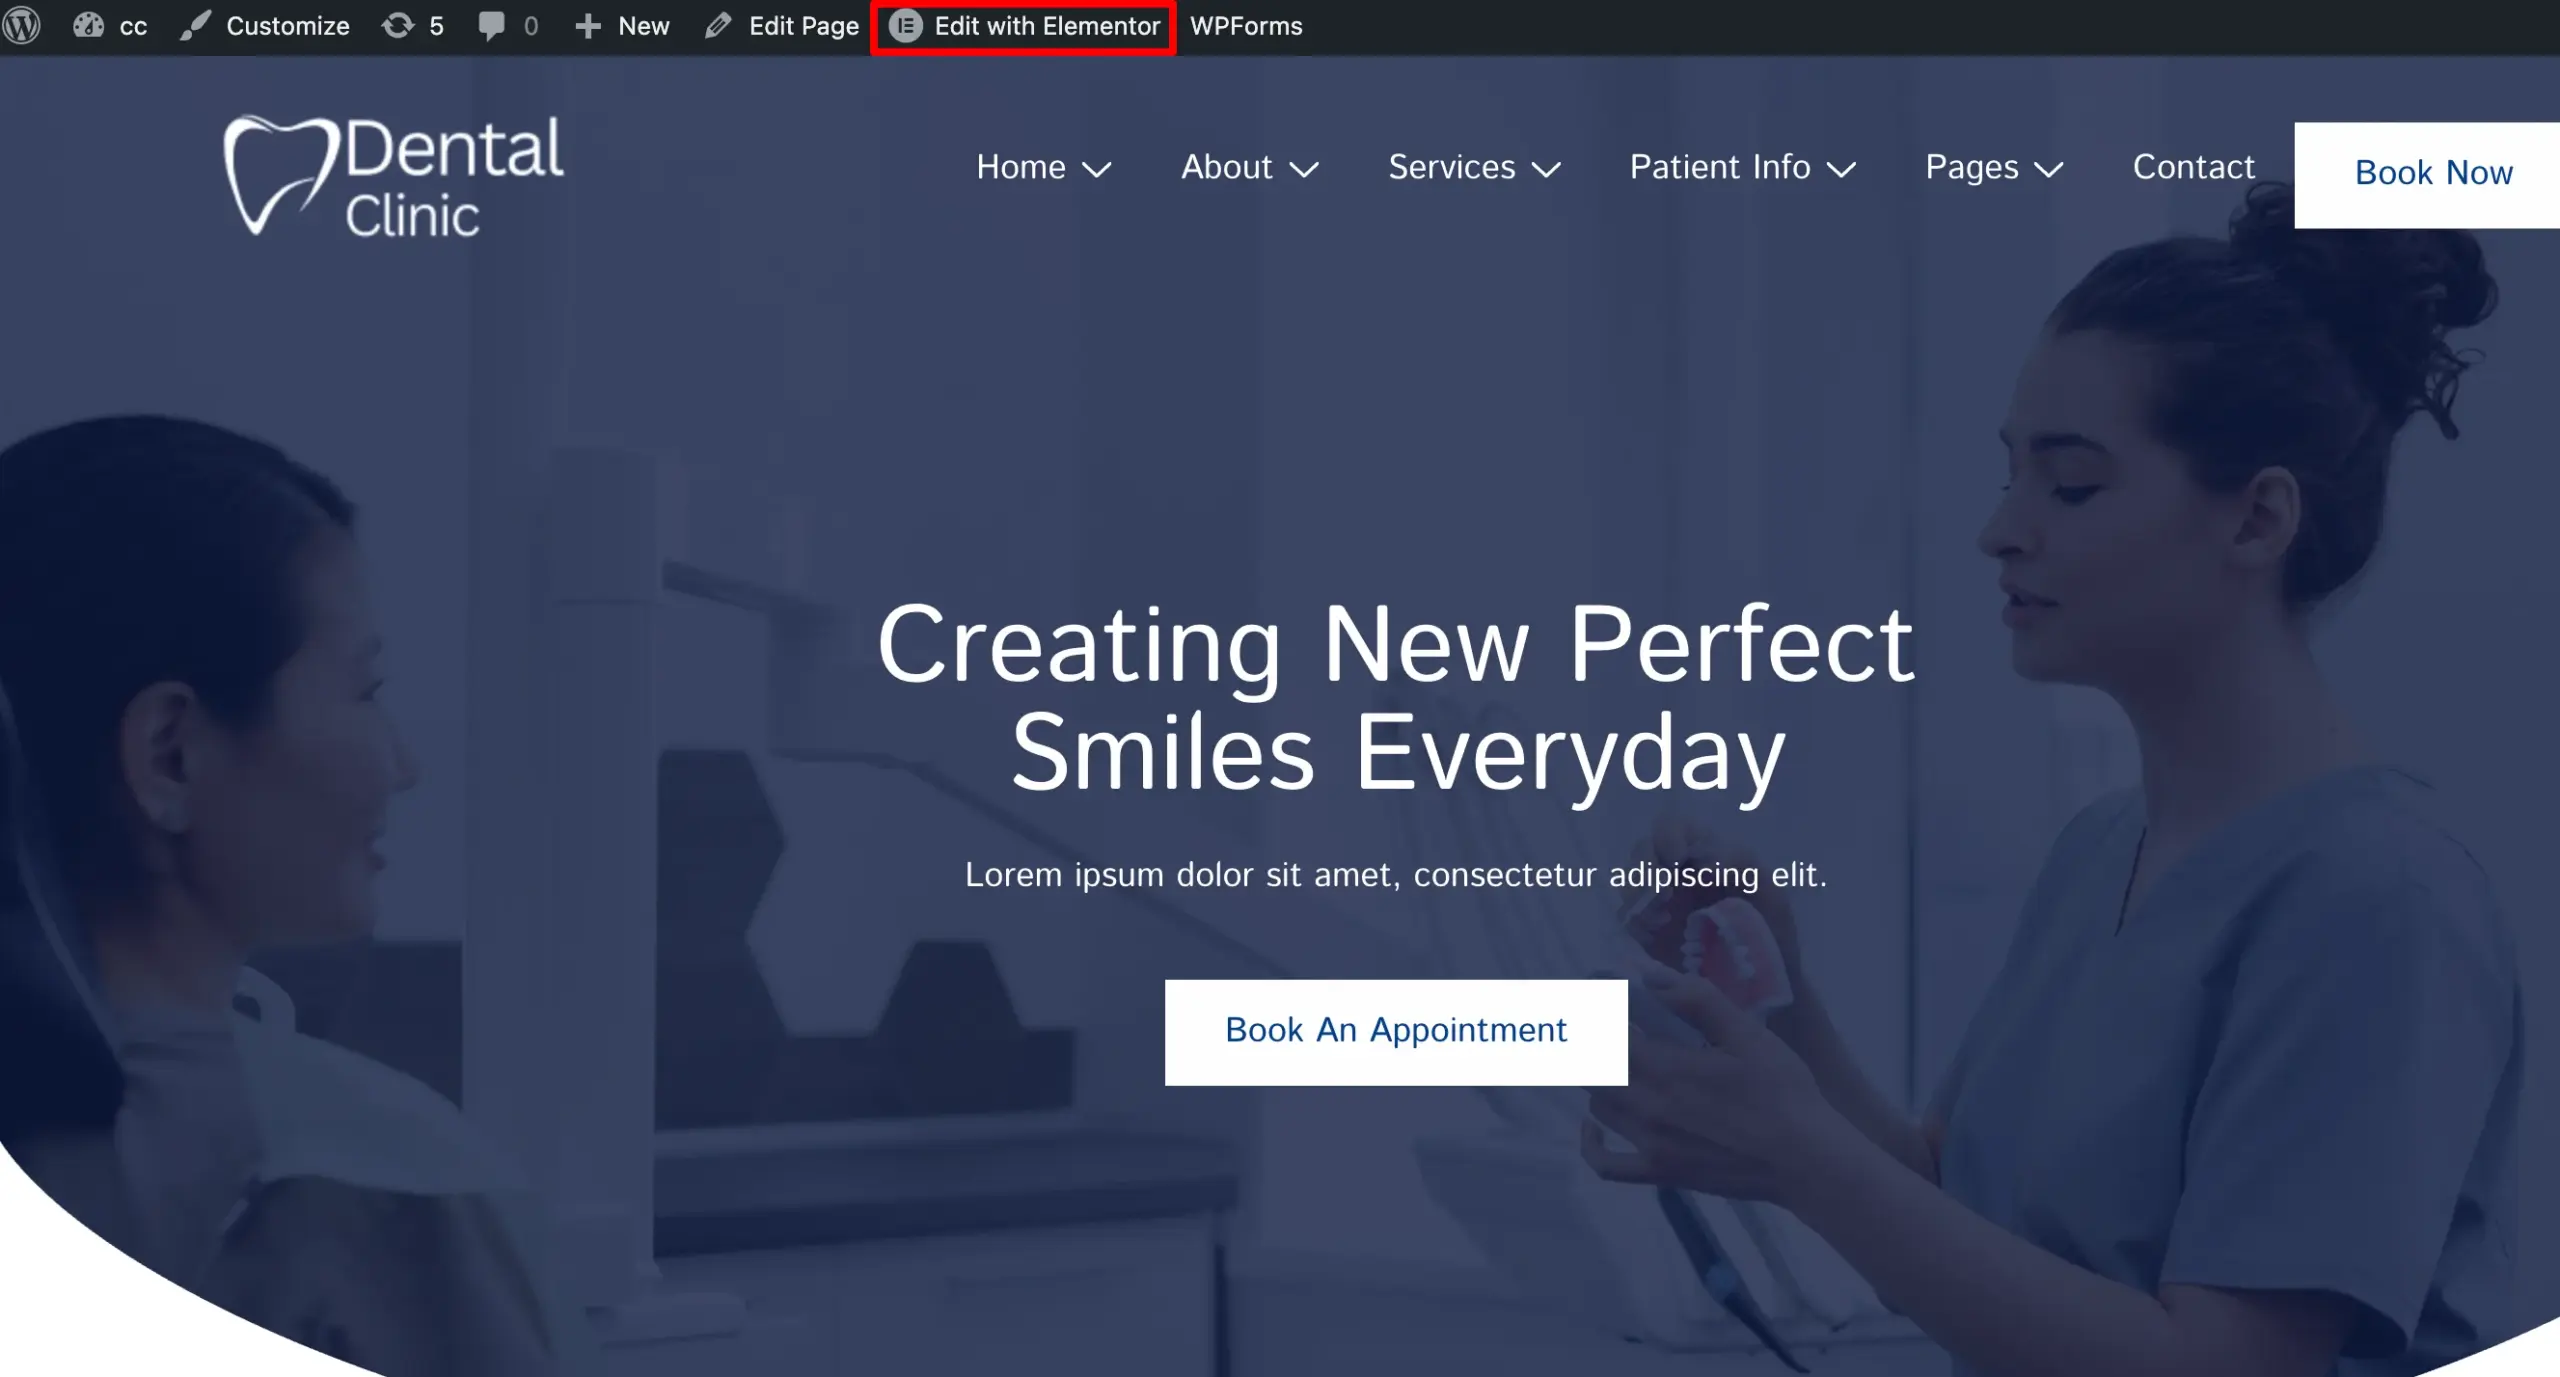
Now that we have imported the website, it’s time to customize its content.
Click on Edit with Elementor to customize the content, images, and other elements as needed.
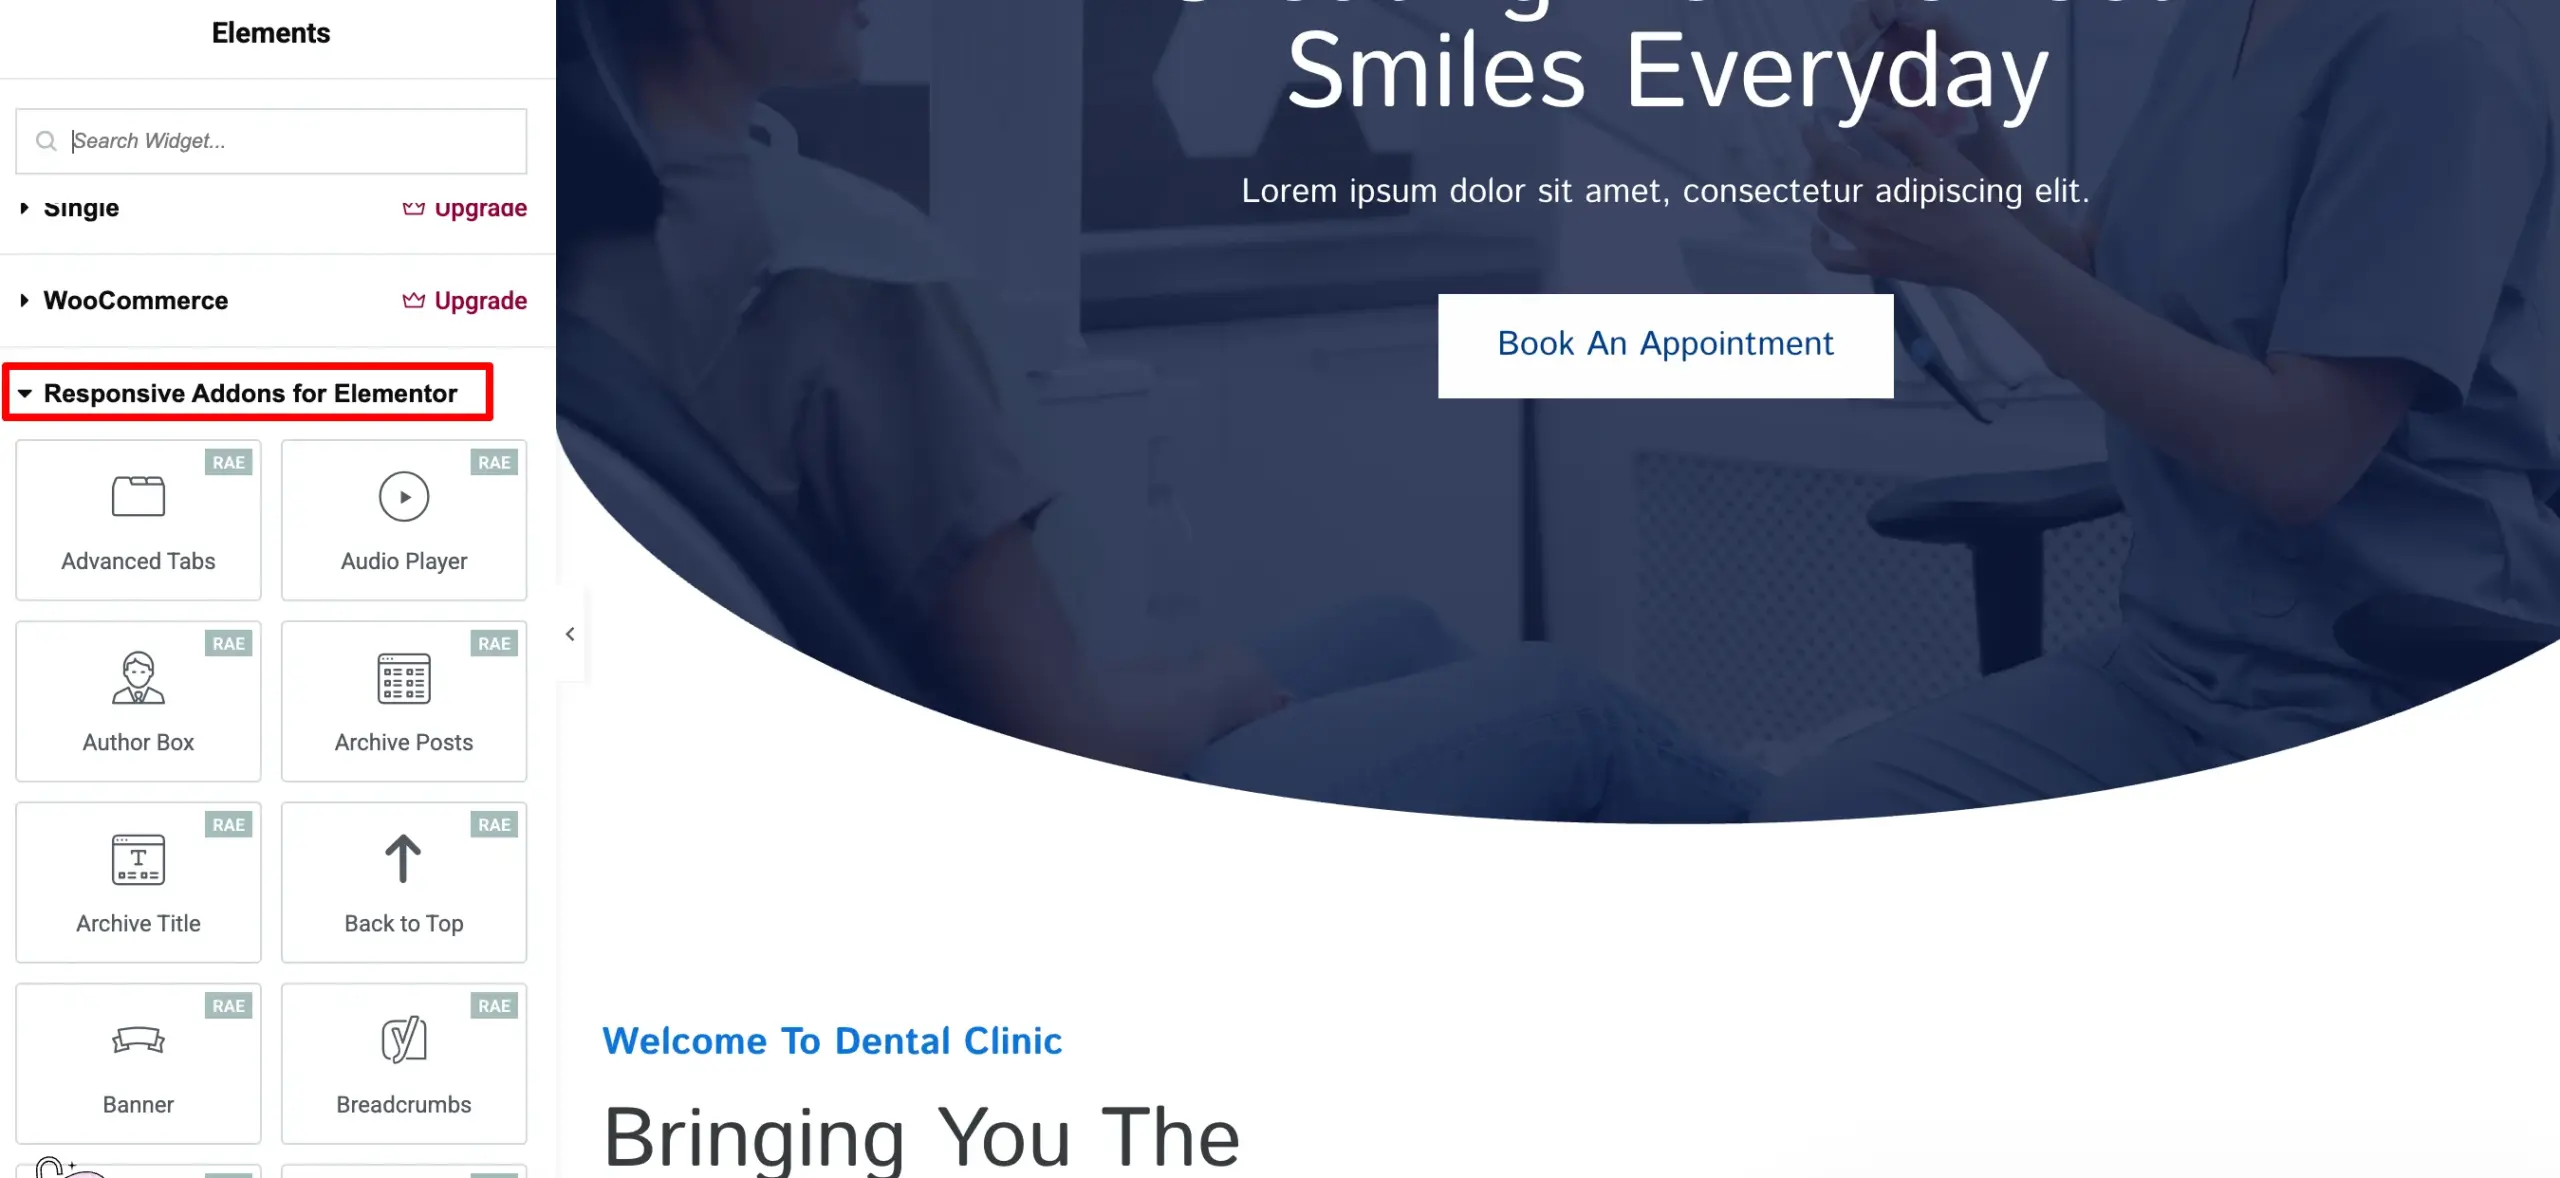
As this is a dental website, many people would like to view your business hours. To display your dental clinic’s visiting hours, you can add a Business Hours widget from the Responsive Addons for Elementor section.
To do so, simply scroll down on the left side of the menu panel and look for the Responsive Addon for Elementor.
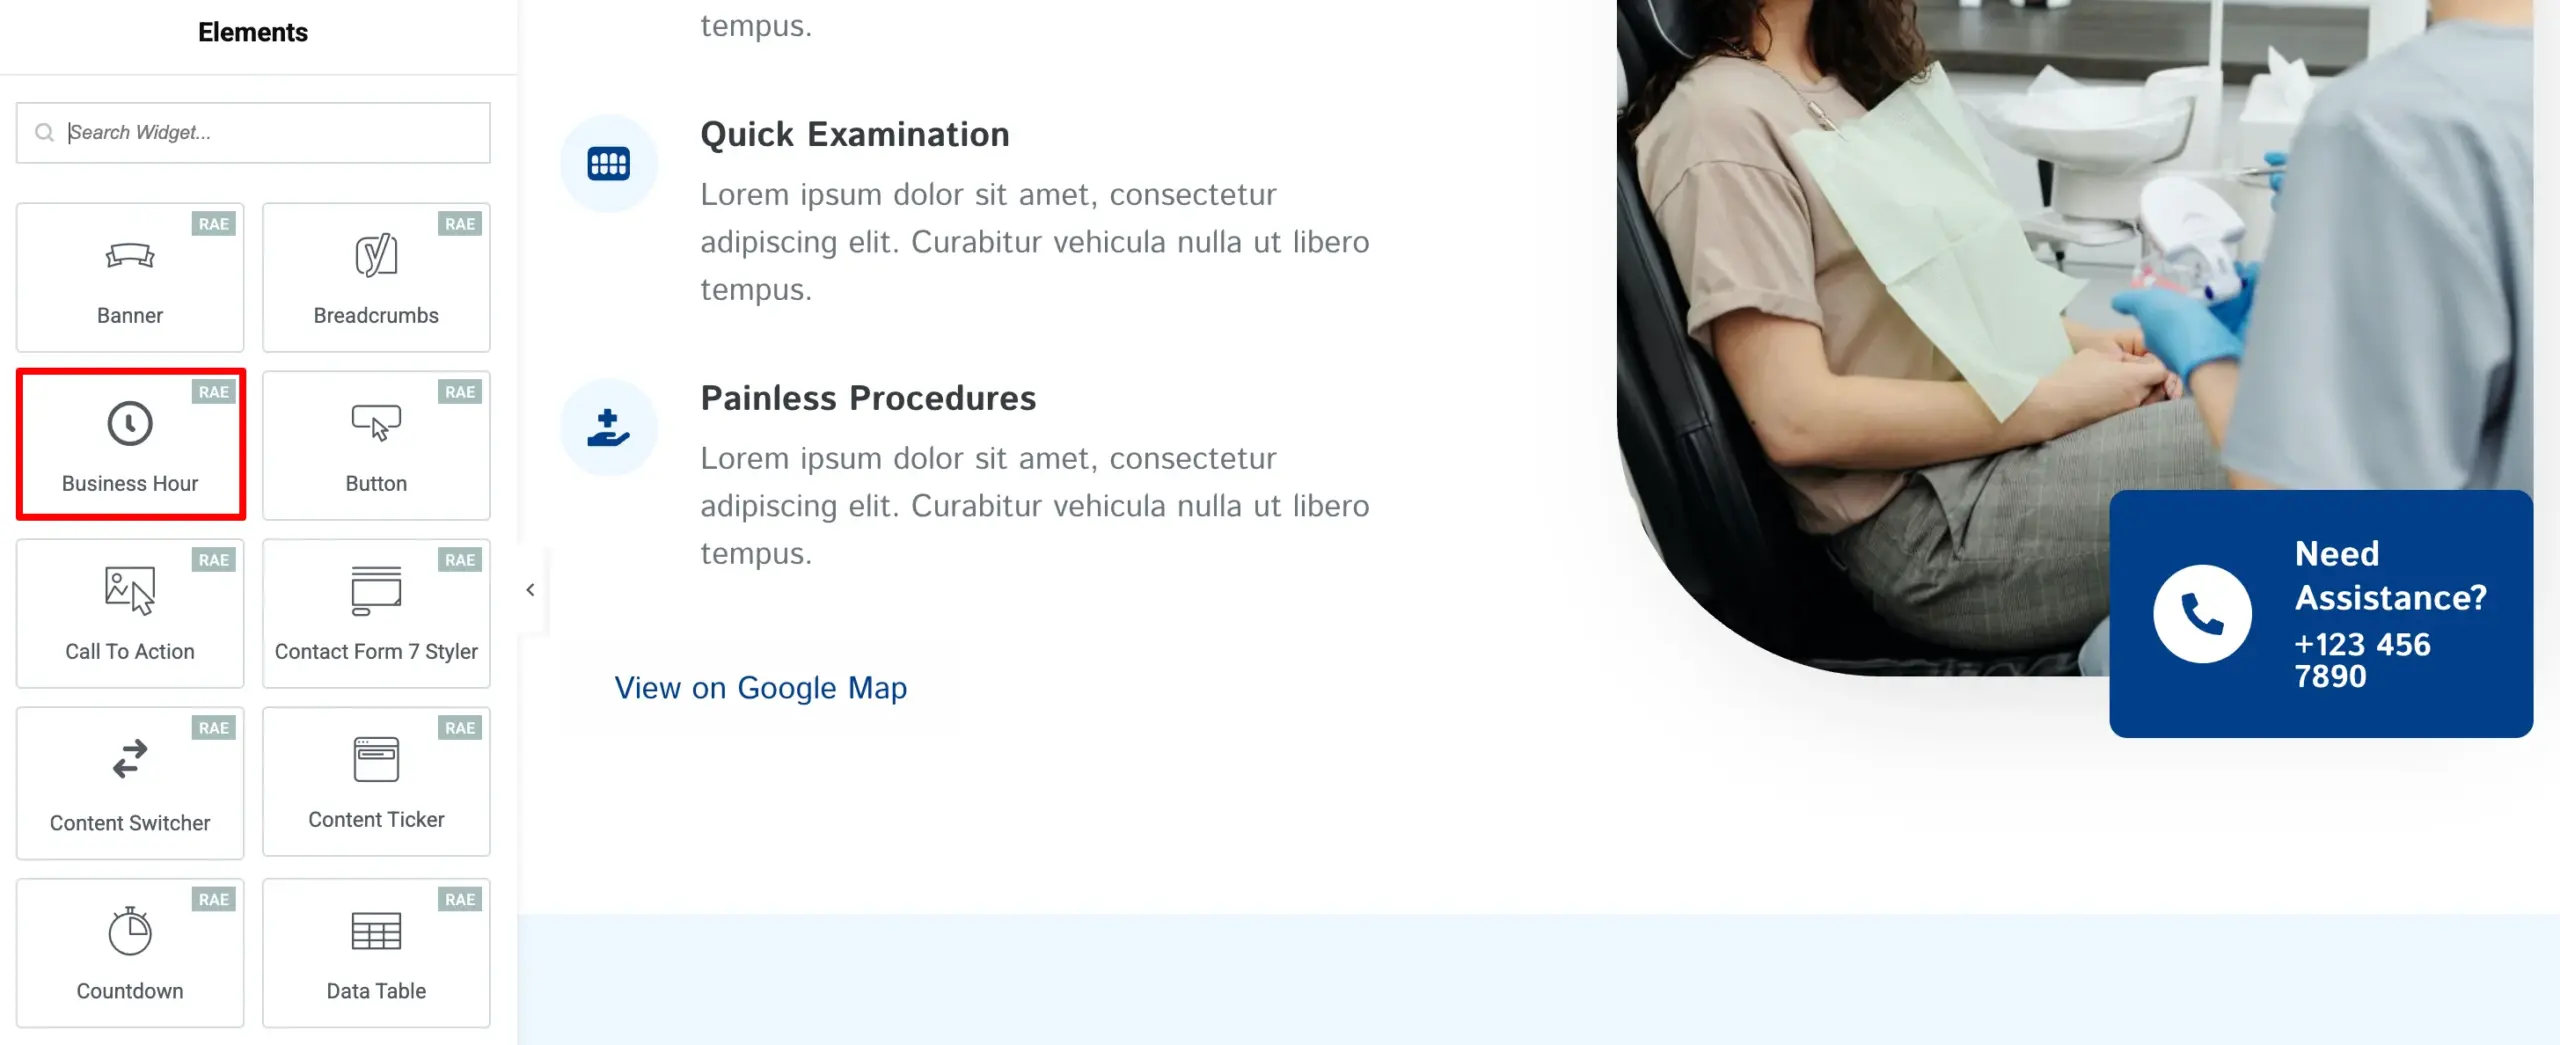
Now, scroll down and look for the Business Hour Widget and simply drag and drop it into the right section.
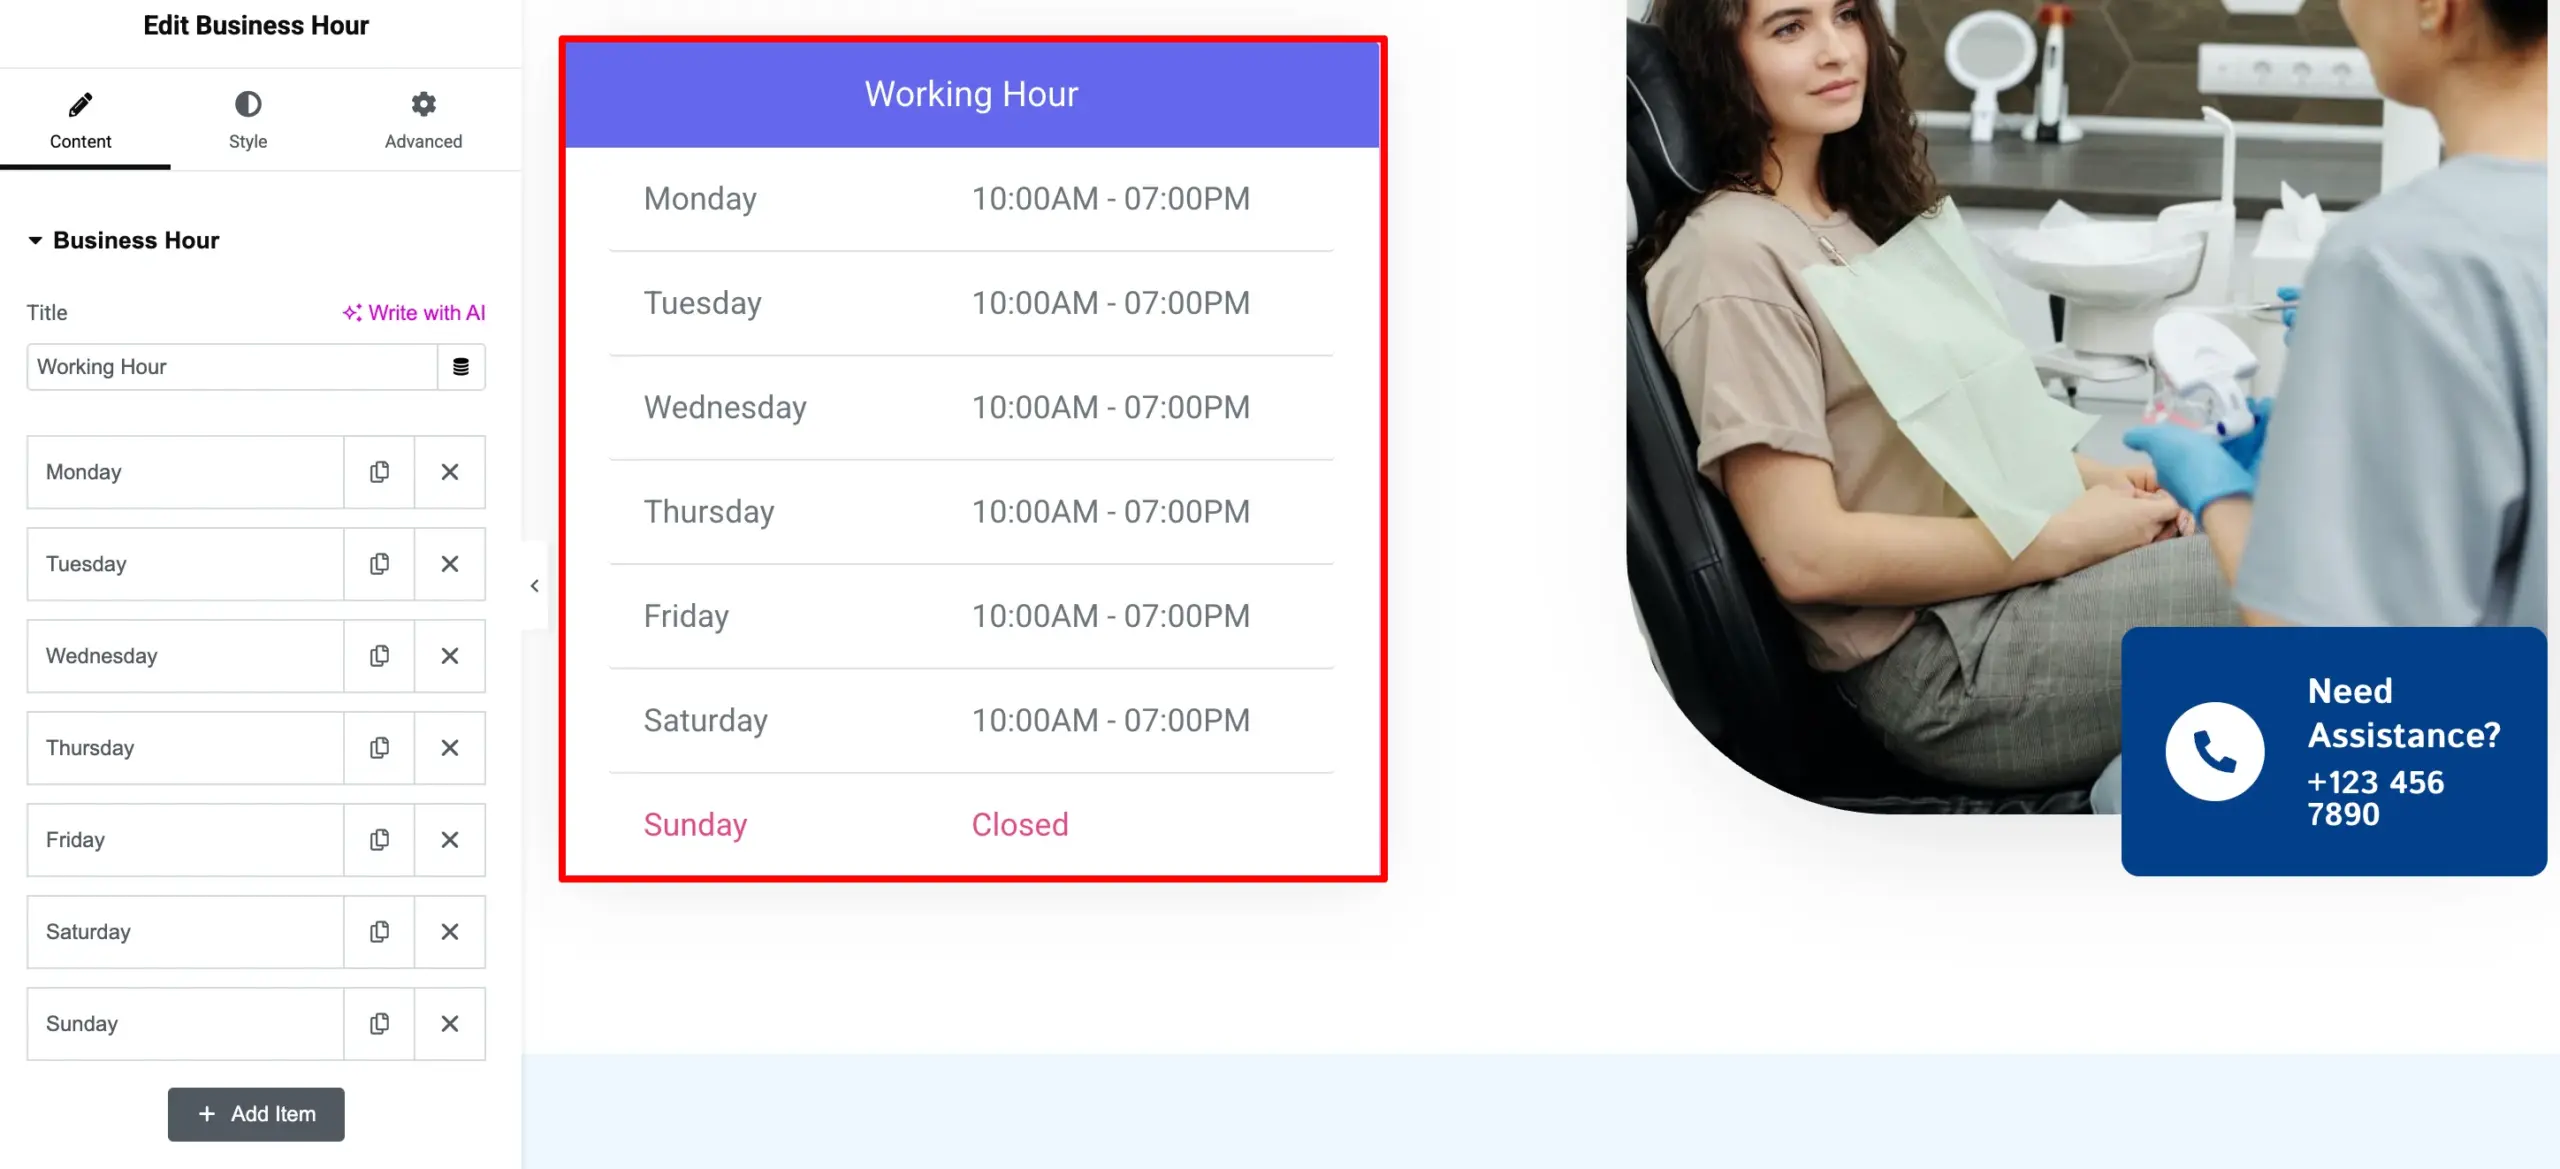
Once you drag and drop the widget, it will look like this in the Welcome to Dental Clinic section.
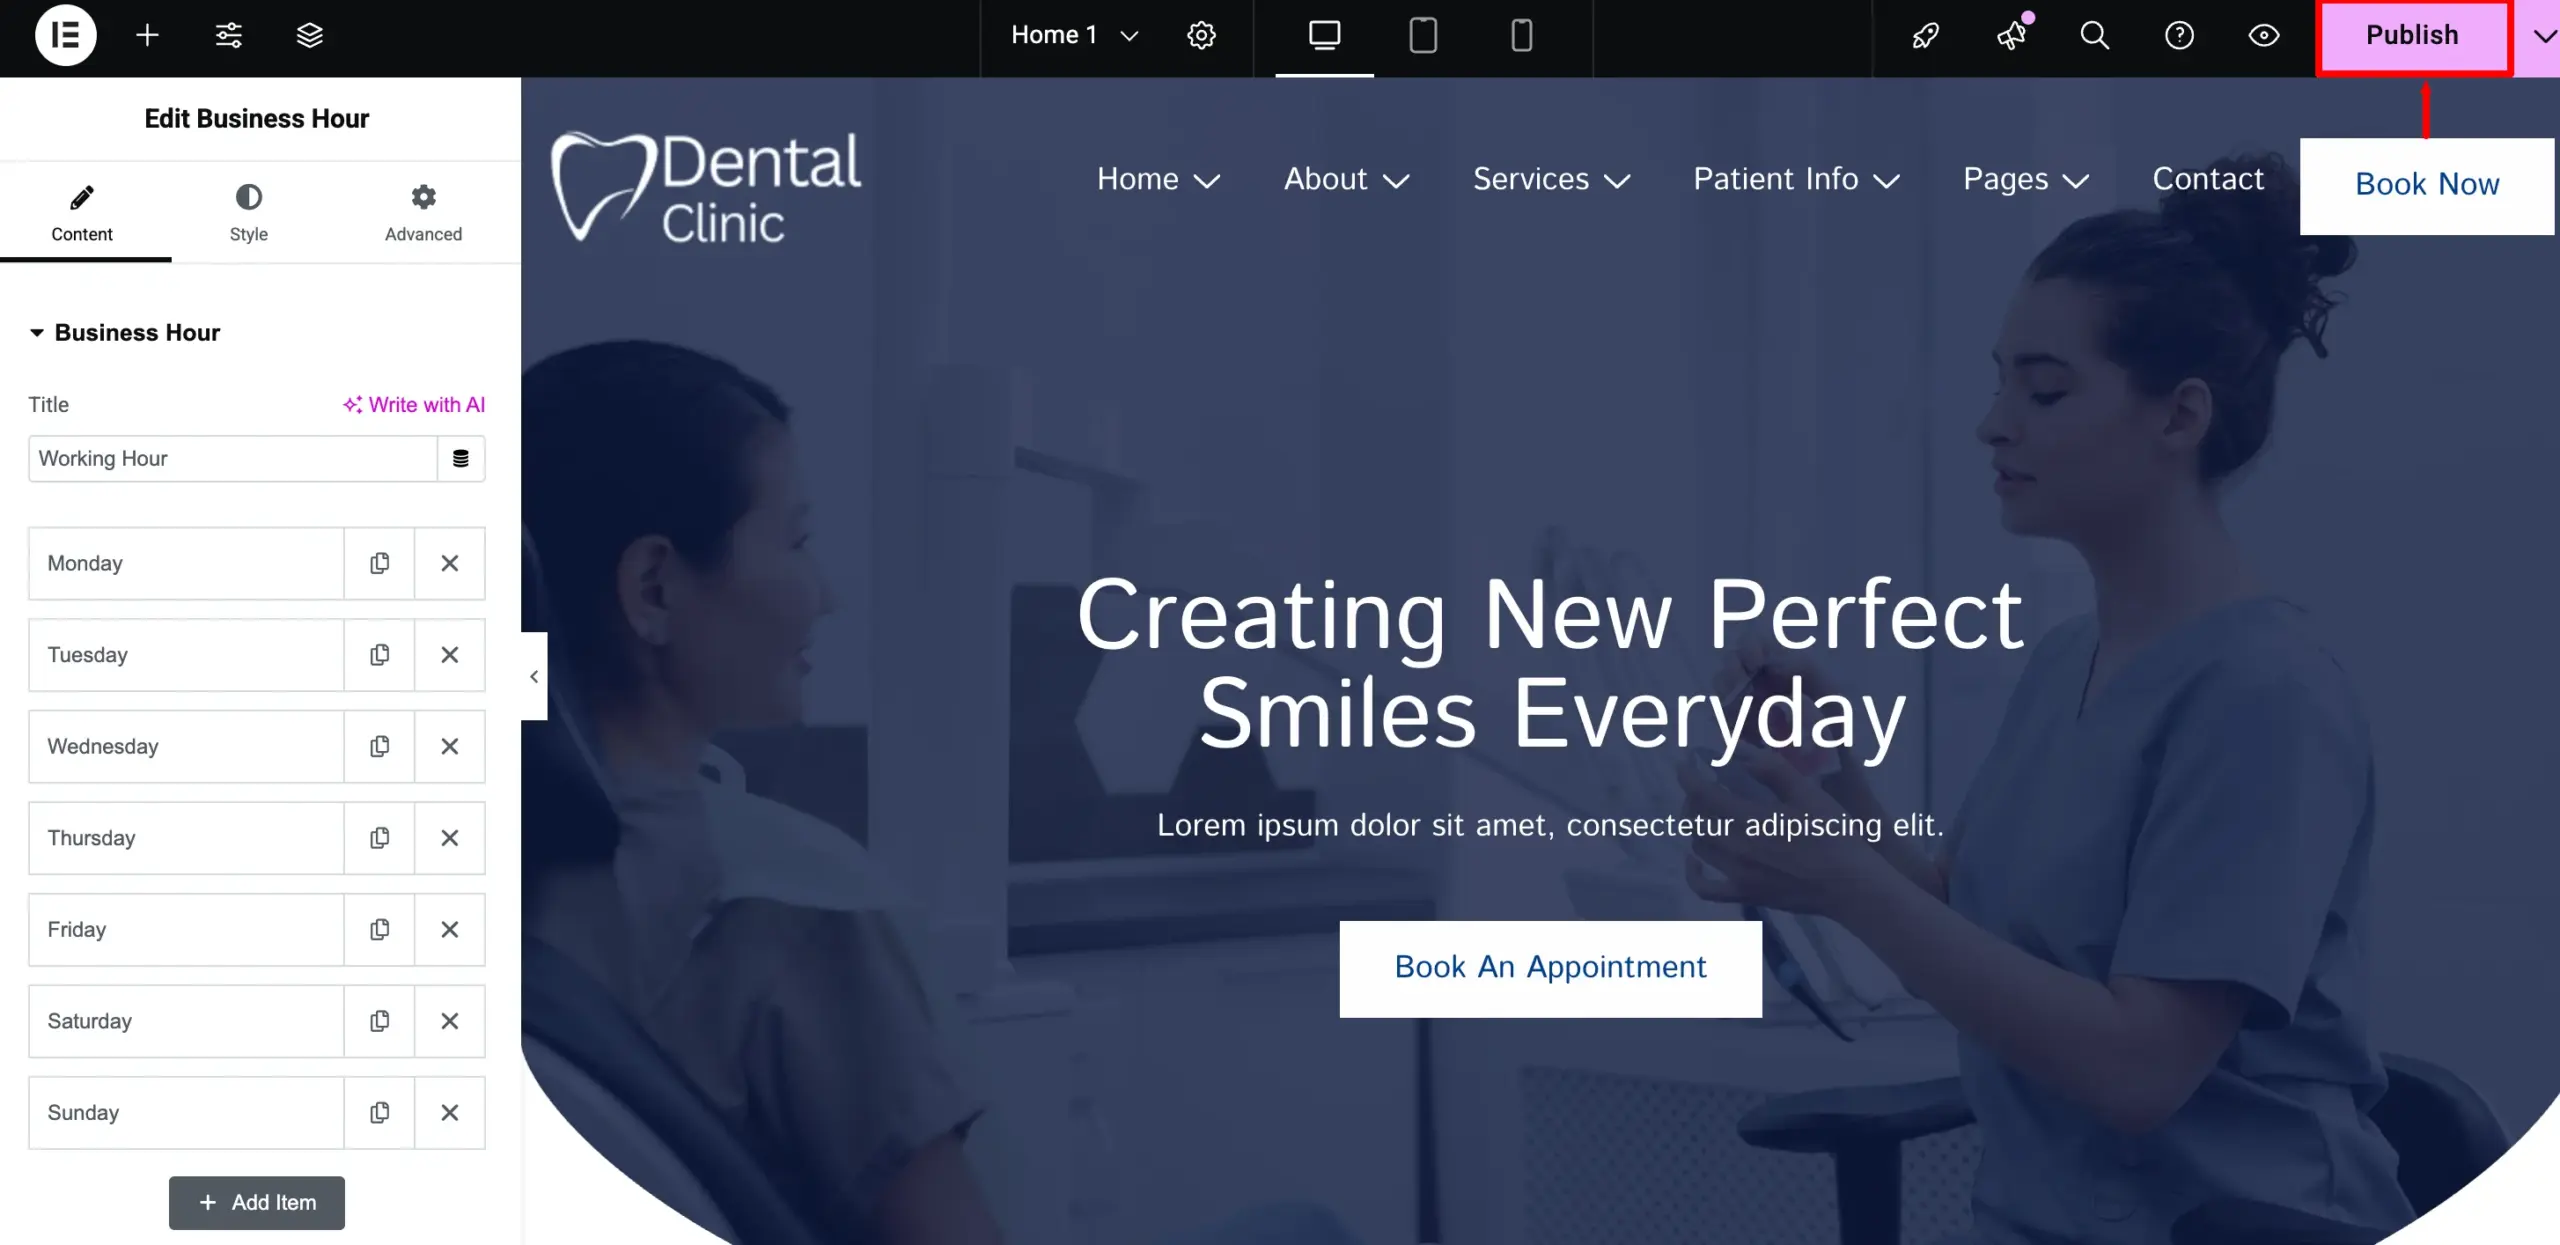
Once you have made all the changes and added extra features, it’s time to publish your site. Before launching, thoroughly check your site to ensure all content is high-quality and well-written.
To publish your dental website, click on Publish!
Step 7: Writing Content for The Website
One of the next , very important steps after you launch your dental website is to fill the site with quality content. Quality content will build trust with your patients, help educate them about their oral health care, and it can raise your visibility with search engines.
We recommend starting a blog to generate ongoing content for your site. Blogging is a great way to share useful oral health tips, educate patients about common dental procedures, and address frequently asked questions.
Tips to Market Your Dental Website
Building your dental website is only one side of the coin. Now you have to let people know it exists! There are many easy ways to let people know about your website and get more patients:
- Make Sure People Can Find You Online: Create a Google Business Profile for your clinic. Using phrases like dental clinic near me or dental clinic in your city on your website will help people find you online.
- Use Social Media: Post pictures of your clinic, happy patients (with their permission), and dental tips on Instagram or Facebook. You can also post offers, such as free teeth cleanings, to catch people’s attention.
- Send Emails: Collect emails from your patients and send them updates, dental tips, and reminders for check-ups.
- Ask for Google Reviews: Encourage your satisfied patients to write Google reviews. Good reviews look good, and help establish trustworthiness, and getting patients is all about building trust!
- Write Blogs: Post helpful blogs on easy tasks like how to brush your teeth, or which foods are good for your teeth. Showing some professional expertise with the content is good for your website to show up on Google.
- Run Ads: If you want to fast-track your results, you can run ads on Google or Facebook targeting people searching for a dentist in your area.
These steps will help more people find your website and visit your clinic.
FAQ
Absolutely, WordPress is a fantastic platform for a dental website. It is flexible, scalable, and built with SEO in mind. With a good theme and some plugins, you can create a professional dental website quickly and without needing extensive background knowledge.
To create a dental website, choose a reliable hosting provider, install WordPress, and use a responsive theme like CyberChimps Responsive Theme. Import a dental template, customize the design, and add interactive widgets for a fully functional website.
A good URL for a dental website is one that is easy and relevant to your company. Example: [NameOfYourCompany].com or [dentistarystudio.com ].
Conclusion
Cyberchimps’ Responsive theme is an excellent option for independent dentists looking to create their website.
Building a positive digital presence online can be more than simply creating a website. It is all about developing a platform that positively conveys information and attracts customers.
We hope our step-by-step guide will help dental practitioners, including a certified dentist, get their website up and running. More importantly, using a dentist website template from Responsive Plus will make sure you are on track since the template is well laid out and full of features!
Building a dentist website with WordPress can be easy and rewarding. You can even book appointments and let your customers know your offerings!
If you liked this article, you can also consider reading:
- Create A Professional Financial Consulting Website with WordPress
- How to Create a Wedding Website with WordPress
- Best WordPress Website Examples
Want to create a dental website with WordPress? Grab the Responsive Theme now!


