The Responsive Blocks plugin offers a Popup Block, which is a powerful tool to customize your WordPress website. It is a feature that allows you to display content such as messages, images, or forms in a small window that “pops up” on a website page.
Using this, you can collect email sign-ups, announce a special promotion, or simply welcome users to your site. This documentation is designed to help you understand and effectively utilize the RBA Popup Block to boost your website’s interaction.
How to Use the Popup Block? #
Install the Responsive Blocks Addon plugin to use popup and other multi-functional blocks.
In your WordPress dashboard, open the page where you want to add the form.
From the Responsive Blocks library, select the Popup widget to add a popup on the editor.
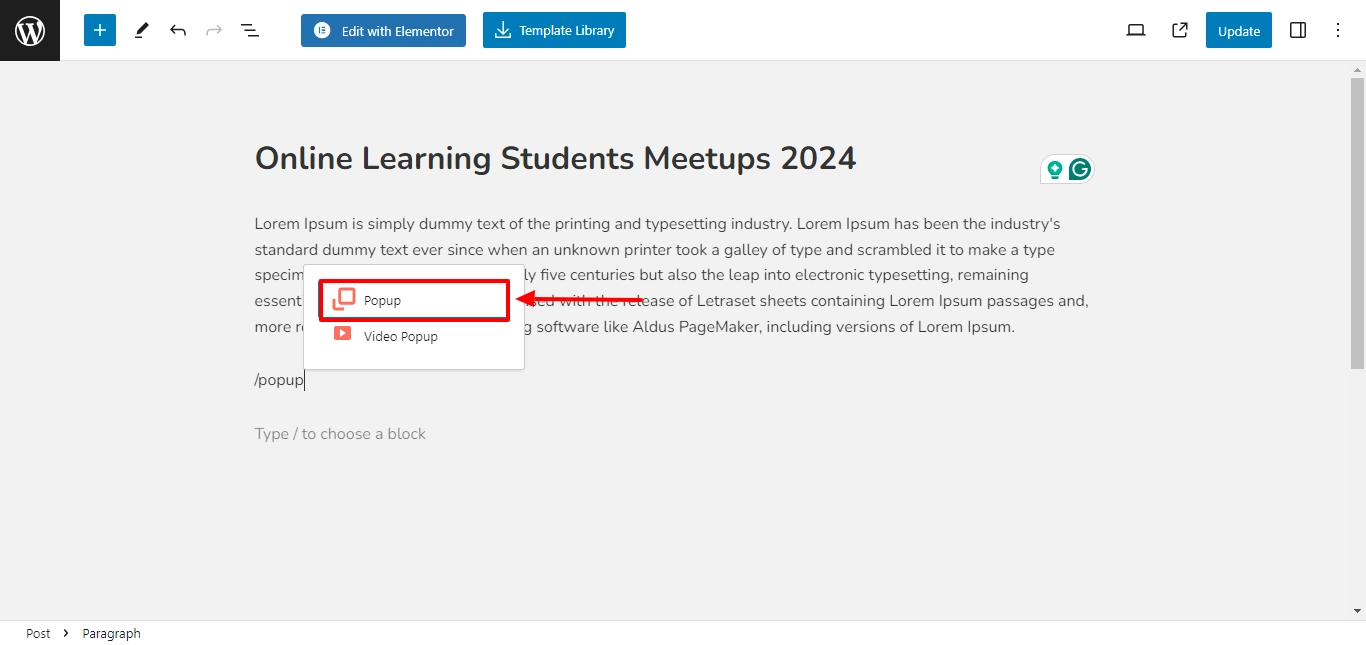
You can also add the popup block by typing “/popup” on the editor and selecting the Popup block from the suggestions.
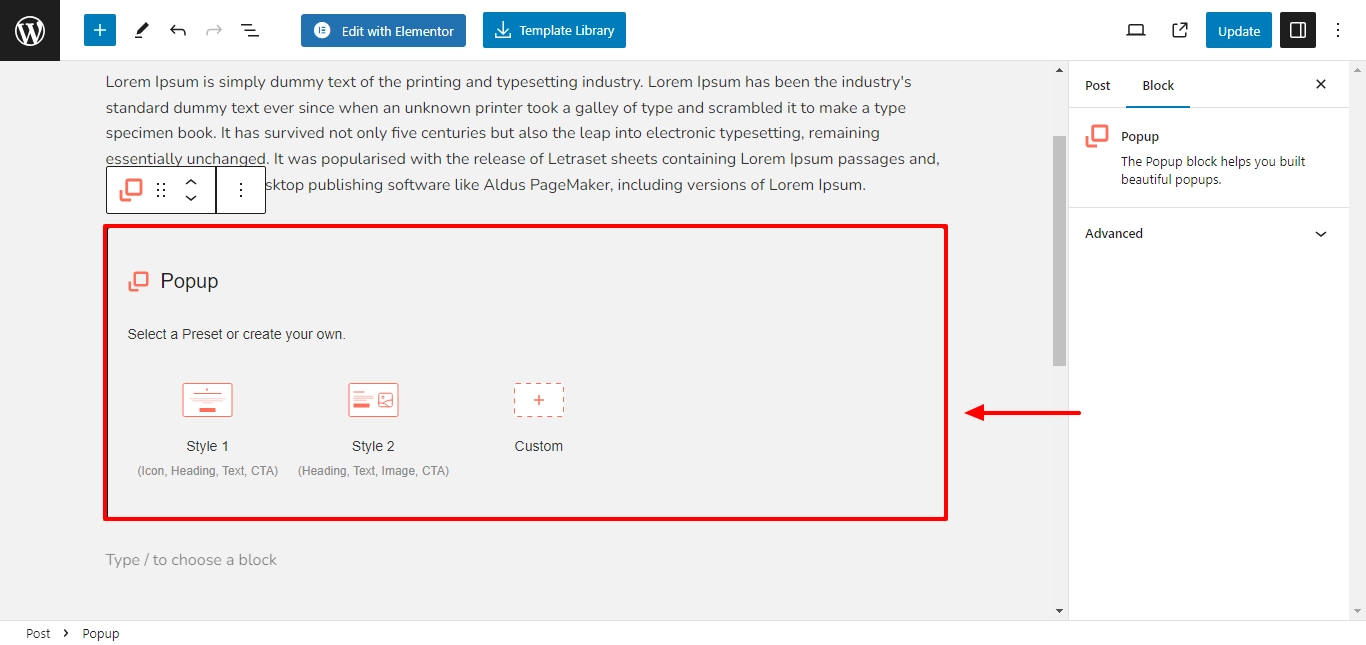
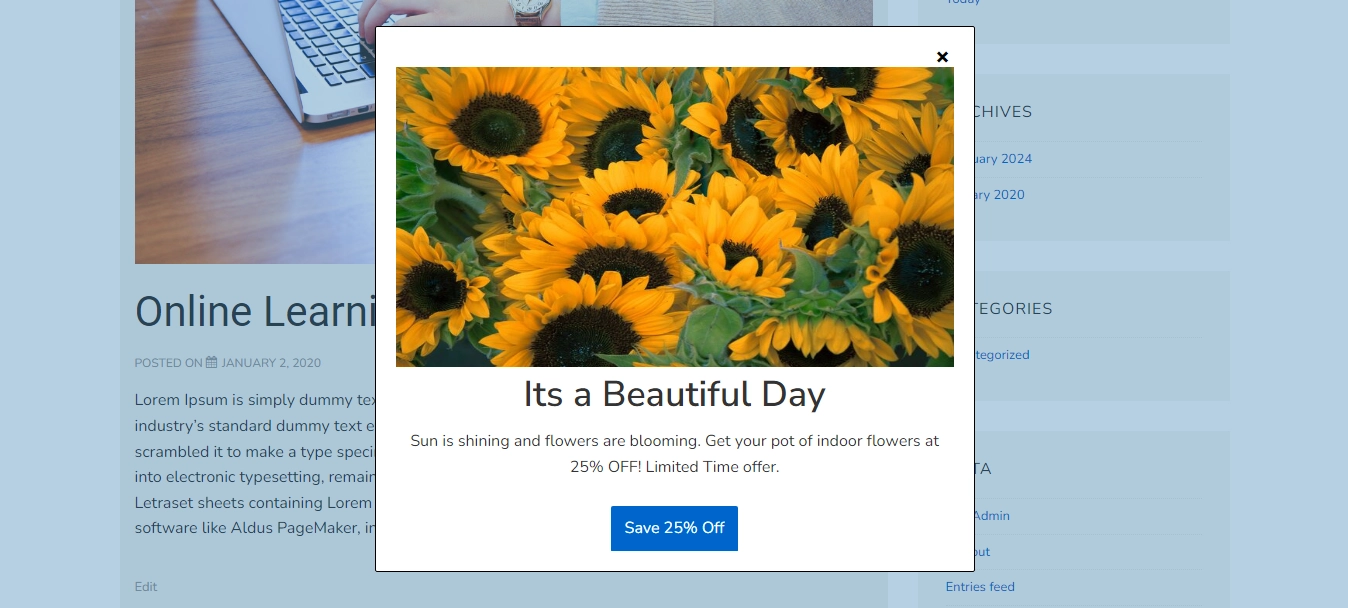
You can choose the popup style from the popup preset window on the editor. Or choose the custom option for creating a custom popup style.
The popup is added to the editor after you select the style.
You can add any multifunctional block in your custom popup to include more features as per your desires.
Use the Responsive blocks to add images, icons, buttons, and other media to your popup.
You can customize the popup from the block settings column.
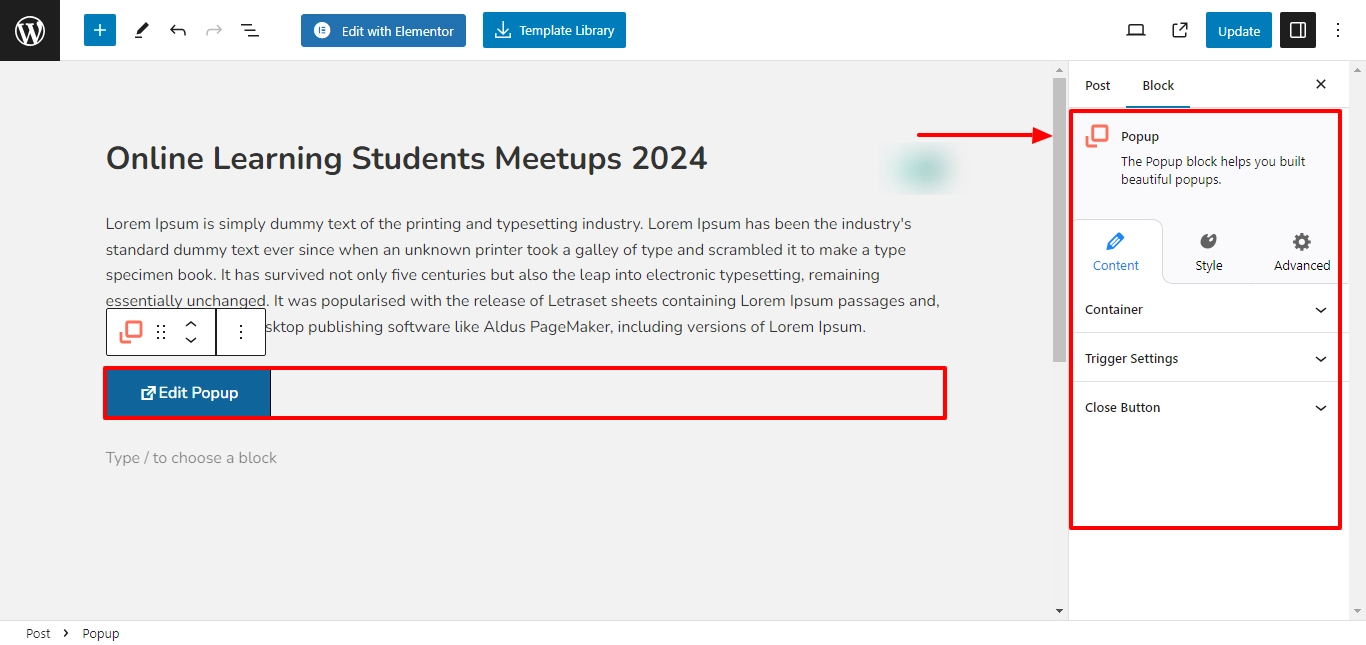
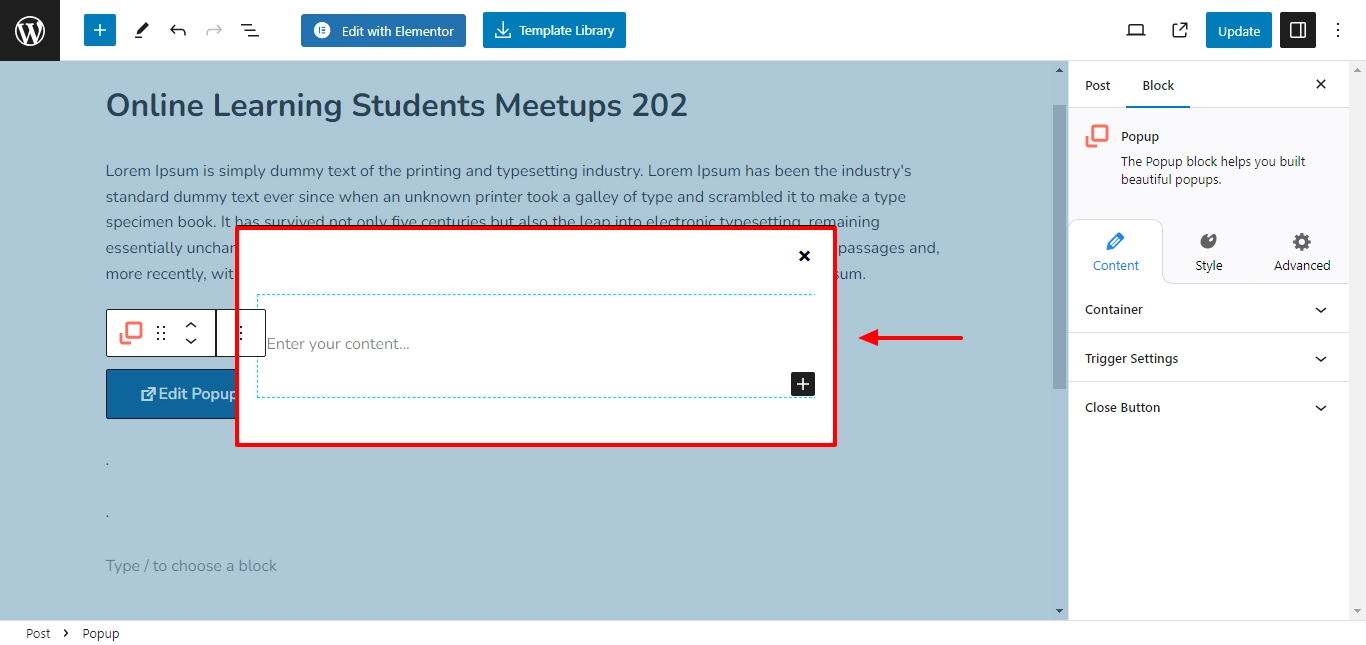
Click on Edit Popup to view and edit your popup.
Now you can begin customizing your popup.
Content Settings in Popup Block #
Responsive Blocks provides you with multiple formatting settings to easily customize the contents of your popup block.
1. Container Settings #
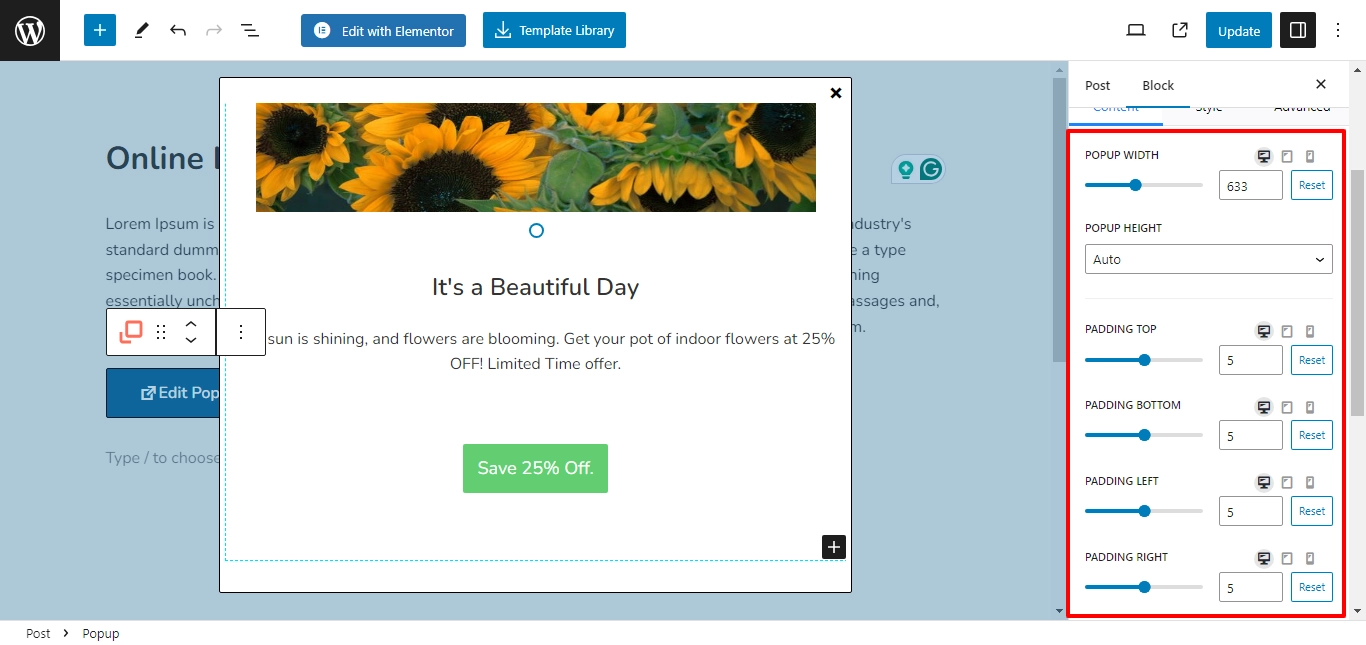
Here, you can control the elements of the popup and how it is displayed.
- Width: Drag the slider to set the width of the popup box.
- Height: Choose auto height or custom height for popup box height.
- Auto: Automatically scale optimum height with respect to the content inside.
- Custom: Provide a line slider to set the height of the popup box.
- Padding: Use the slider to adjust the padding dimensions. You can customize the popup box padding from the top, bottom, left, and right.
- Screen Type:
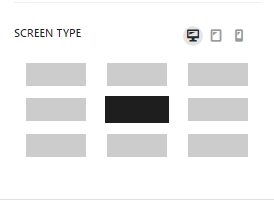
Choose the position of the popup displayed on the screen. You can choose different screen types for desktop, tablet, and mobile respectively.
2. Trigger Settings #
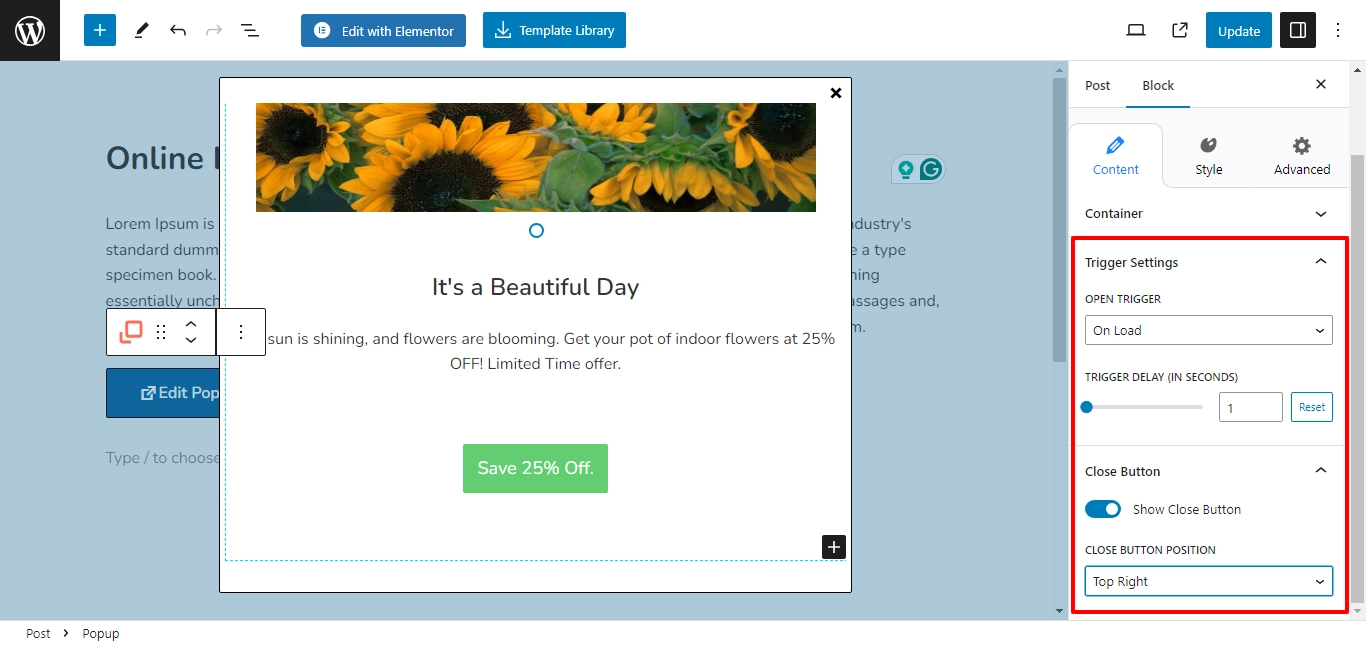
You can use the trigger settings to decide when the popup is shown on the screen.
- Open Trigger: Select the type of popup display trigger for your popup.
1. On Load: Popup is displayed after the page is loaded. You can customize the delay (in seconds).
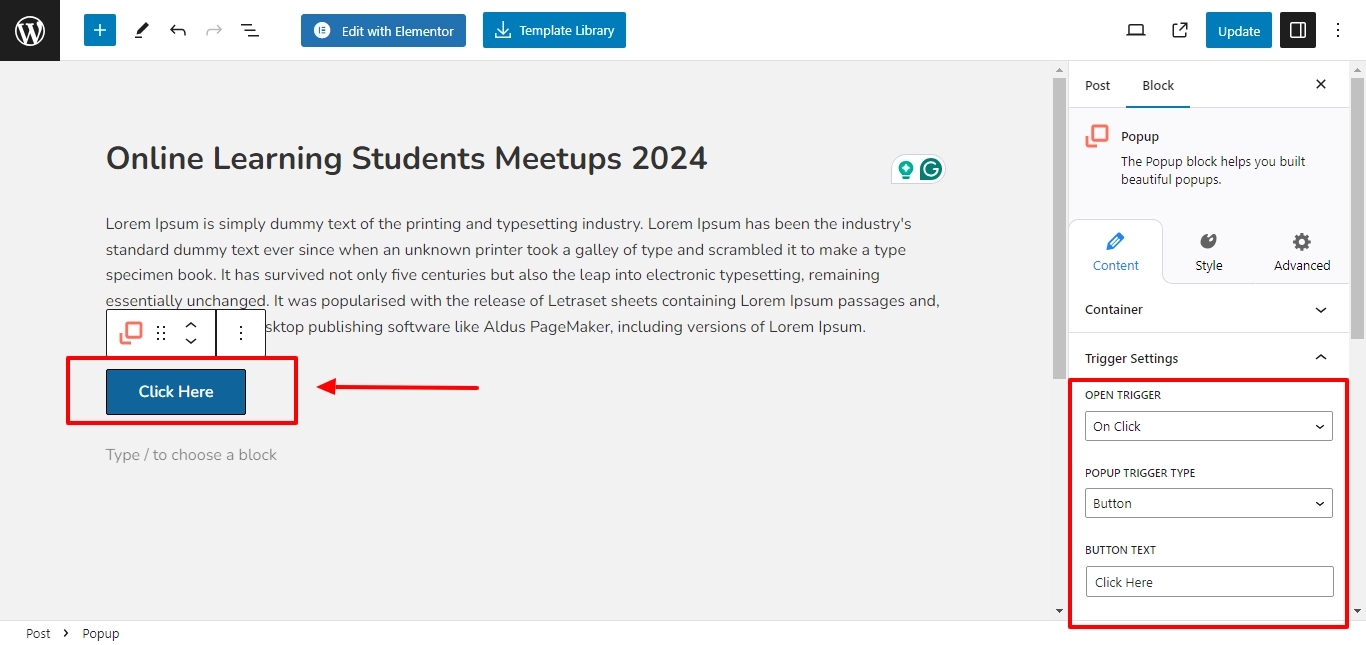
2. On Click: The popup is displayed after the user clicks the button on the editor. RBA provides multiple formatting for the button.
You get multiple trigger styling options in the style tab. You can customize the trigger button at your convenience.
- Trigger Function: Choose between normal and hover options for your button.
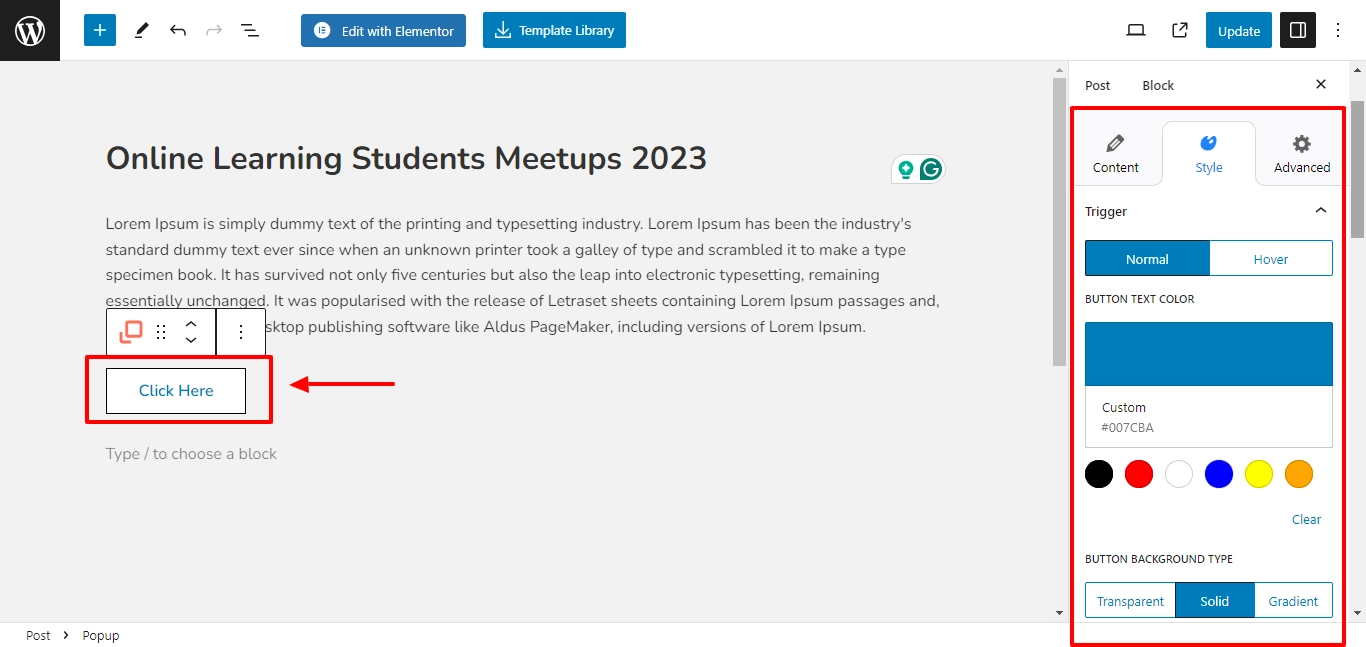
- Button Text Color: Choose the background text color for your button.
- Button Background Type:
- Transparent: Adds a transparent button background.
- Solid: Adds a button with a solid color background.
- Gradient: Adds a button with a gradient background. You can find multiple options to customize your gradient.
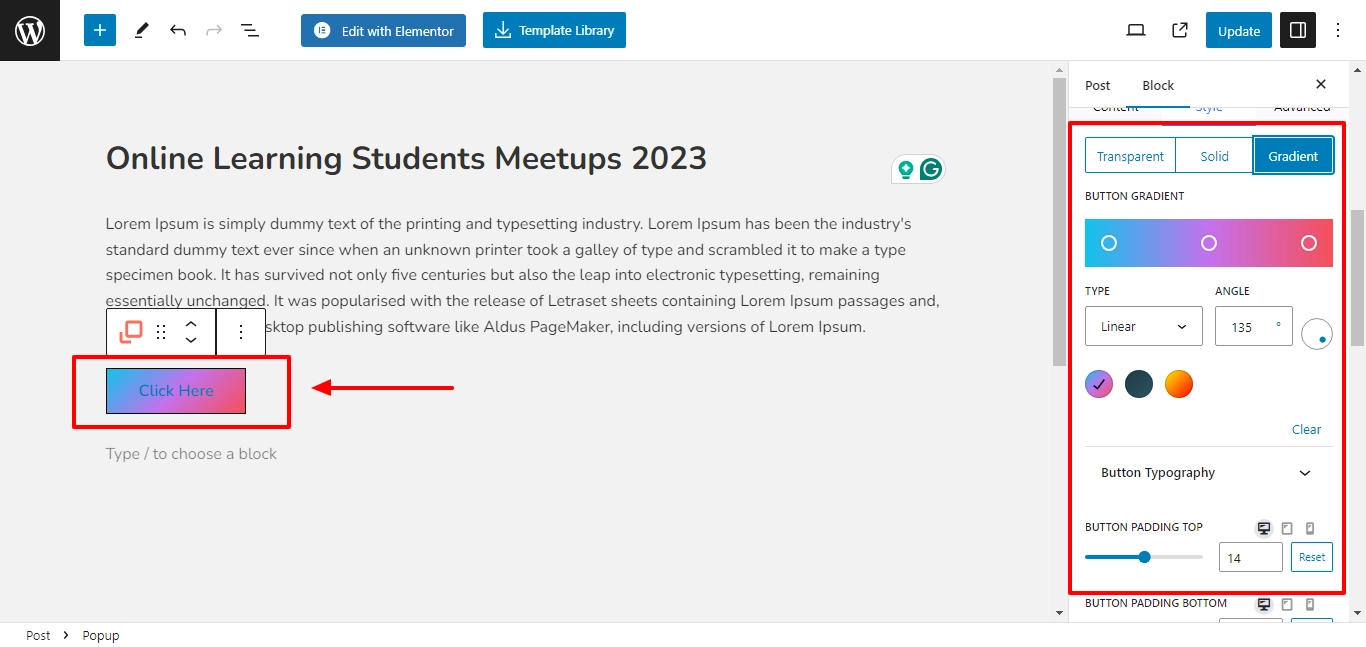
- Button Background Color: Choose the background text for the trigger button.
- Button Typography: Adjust the typography settings for the trigger button. You get complete control to customize the font family, font size, font weight, line height, and letter spacing.
- Border Style: Choose from border styles like dotted, solid, dashed, doubled, groove, inset, outset, and ridge.
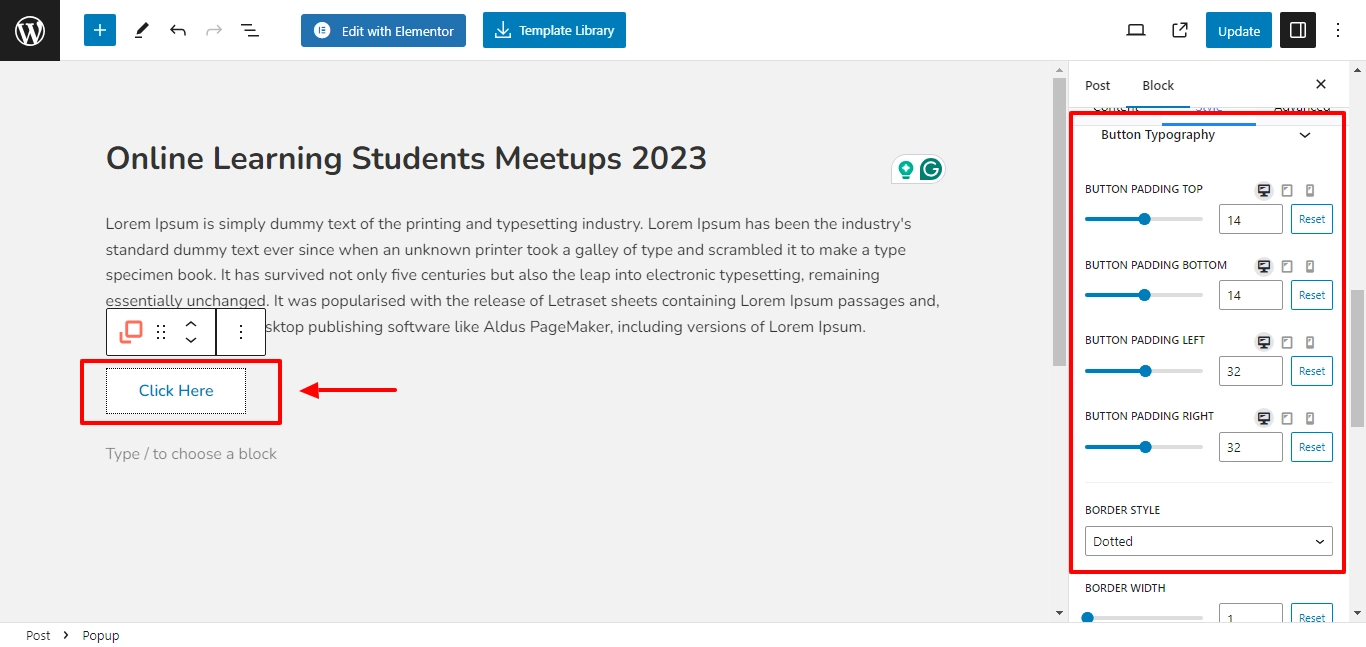
- Border Width: Adjust the border width of the trigger button.
- Border Radius: Adjust the border radius of the trigger button.
- Border Color: Choose the border color for the trigger button.
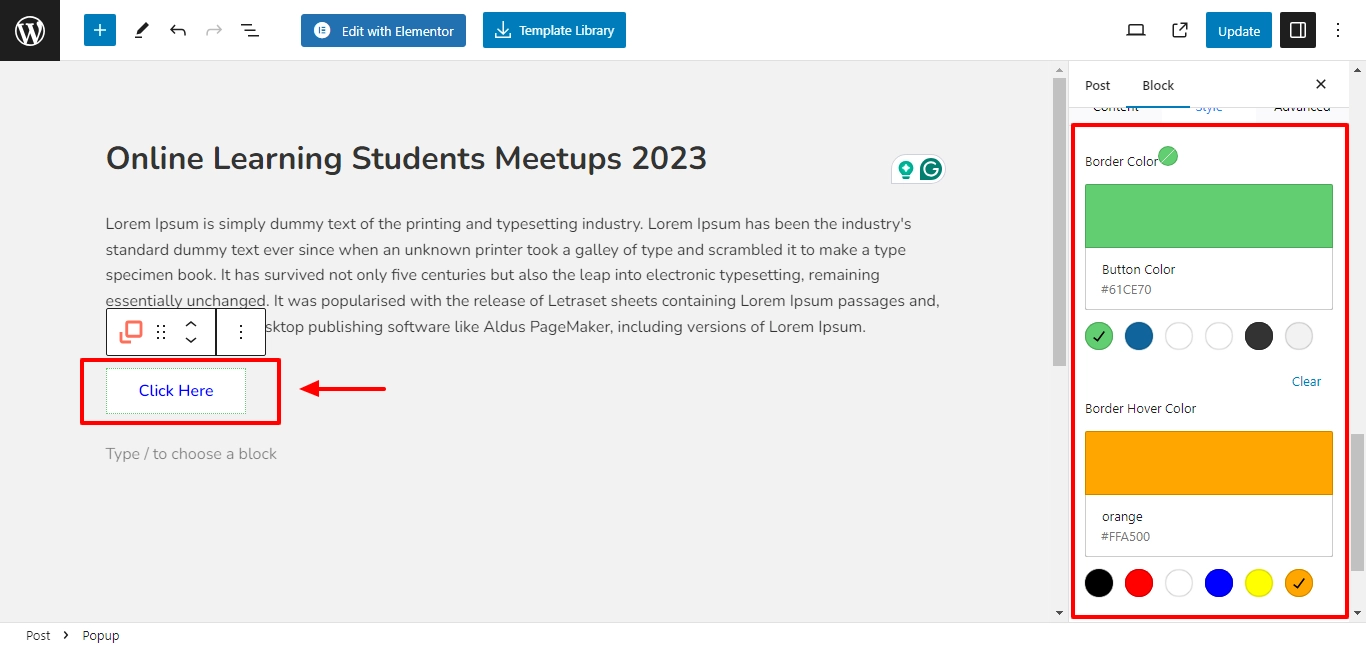
- Border Hover Color: Choose the border hover color for the trigger button.
3. Close Button #
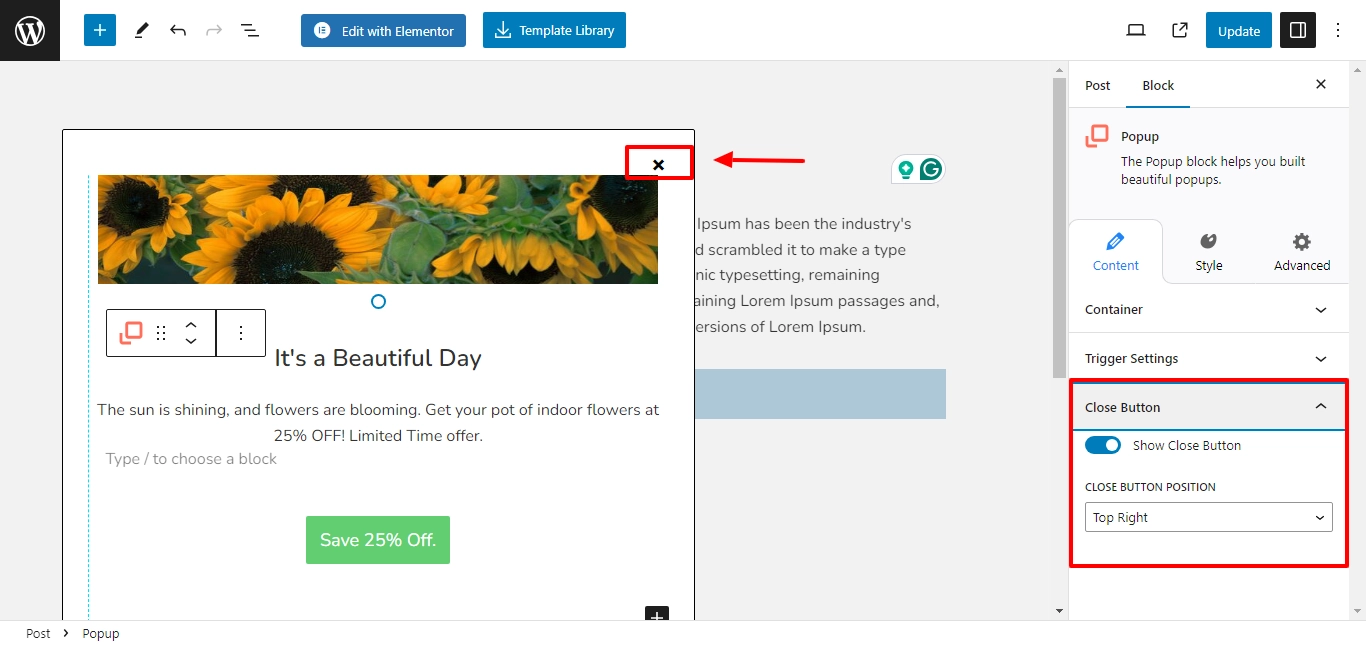
Use the settings to customize the close button on the banner.
On the toggle to show the close button. You can also adjust the close button position to the top left or top right.
Style Settings in Popup Block #
Select the popup and click on the Styles tab to begin formatting. Responsive Block Addon offers the following customization options:
1. Color and Background #
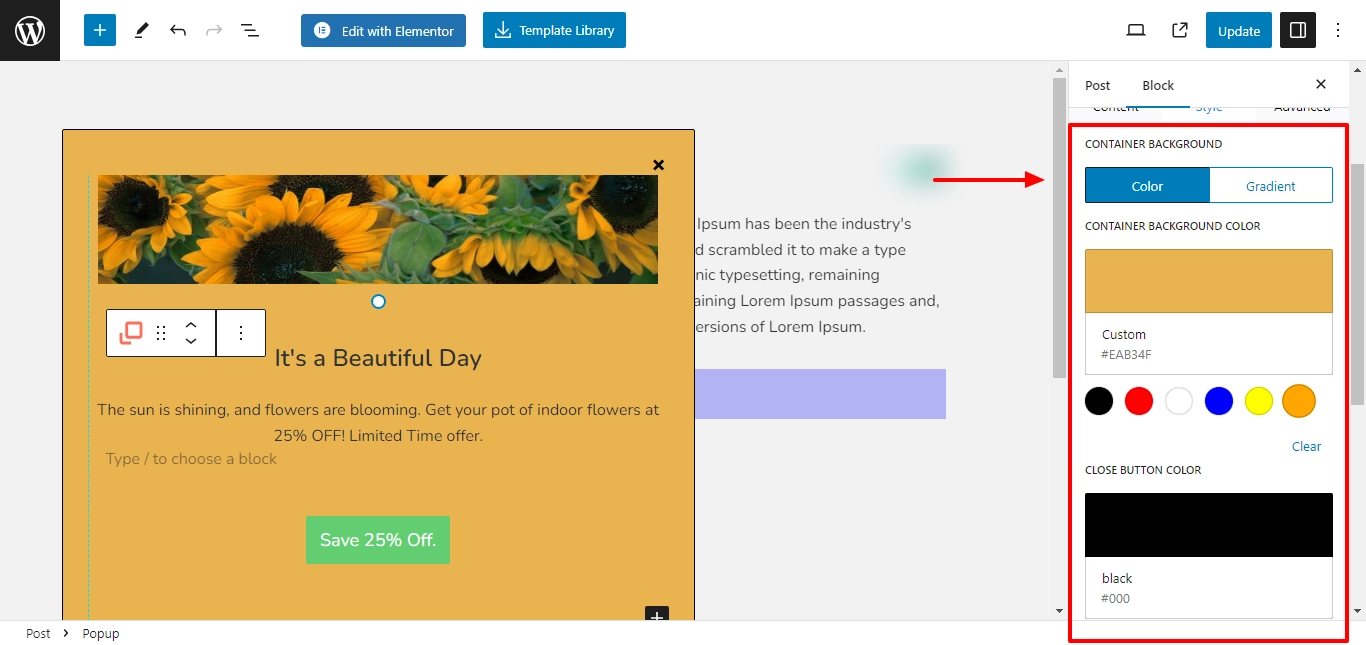
- Container Background Color: Select a custom background color.
- Close Button Color: Select a custom close button color.
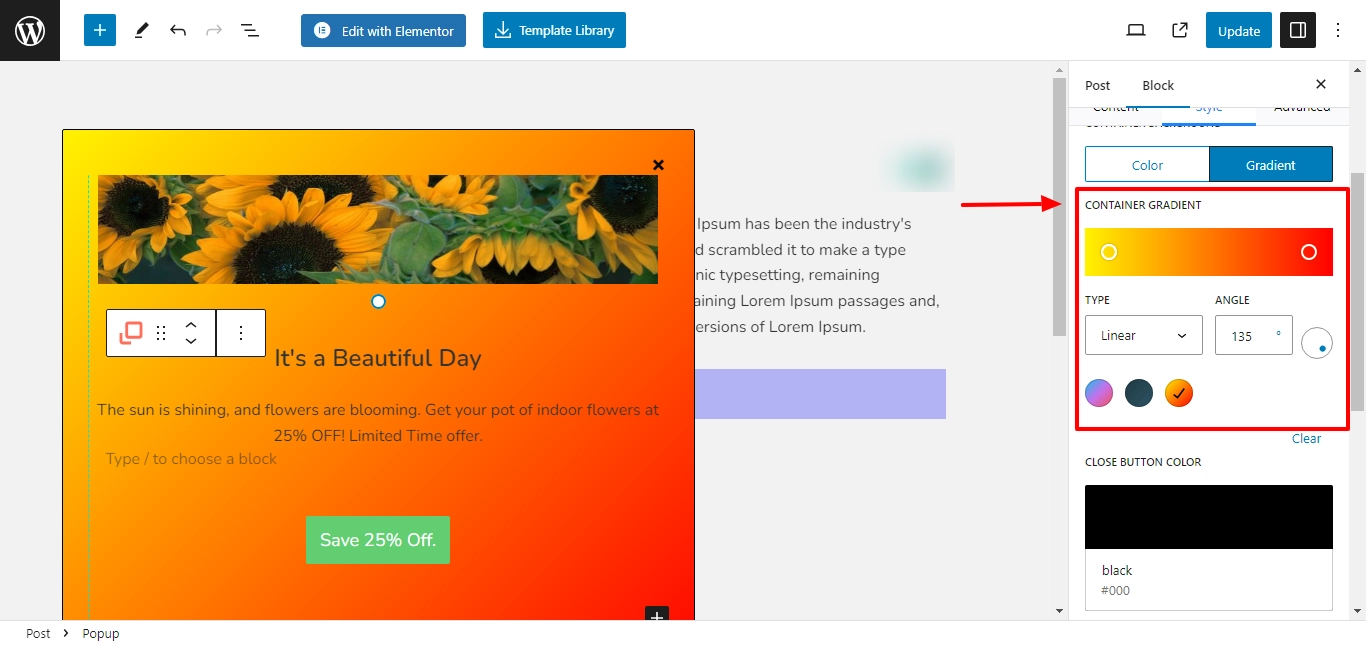
- Container Gradient: Format settings for creating a gradient in the popup.
- Overlay Color: Select a color overlay for the button on the editor.
- Overlay Opacity: Use the slider to adjust the overlay opacity.
2. Border #
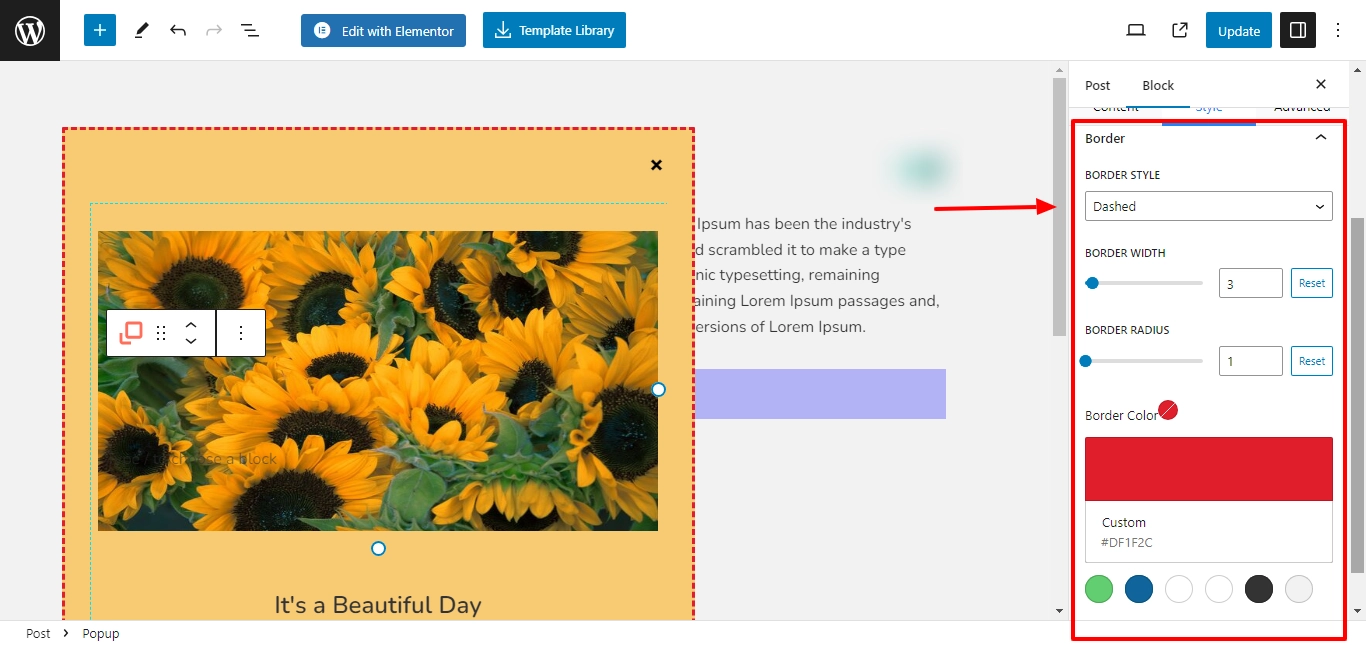
- Border Style: Choose from multiple border styles like Solid, dotted, dashed, double, groove, inset, outset, and ridge.
- Border Width: Use the slider to select a custom border width.
- Border Radius: Use the slider to select a custom border-radius.
- Border Color: Select a custom border color.
Finally, after finishing your popup formatting, click Update.
Your popup is now updated as per your preferences.
Get Responsive Blocks Addon Plugin for Your Website Today!


Hi
I’m using this block and have my some trouble.
I’m trying to get it to trigger on an icon or an image but it only popups in the editor and not at runtime. I can get it to trigger on a button at runtime but not on an icon or an image. I’m using Wordpress Gutenberg editor. Please help.
Thanks
Peter