Responsive Pro plugin is deprecated and migrated to Responsive Plus plugin. #
Importing Starter Templates is a simple process. All templates have the necessary settings to achieve the exact look displayed in our Library. You can modify settings and add, remove, or adjust any imported content as needed.
Moreover, you can import an entire website template, individual pages, or pre-designed elements to your designs.
This guide will explain these template options and demonstrate how to import Starter Templates to your website.
Responsive Plus – Starter Templates Plugin Basics #
After installing and activating the Responsive Theme and Responsive Plus – Starter Templates plugin, you can access the Starter Templates Library, where you can browse all available templates.
[Refer to this document to learn How to Install & Activate the Responsive Plus Plugin.]
Thus, navigate to Dashboard > Responsive> Templates to start.
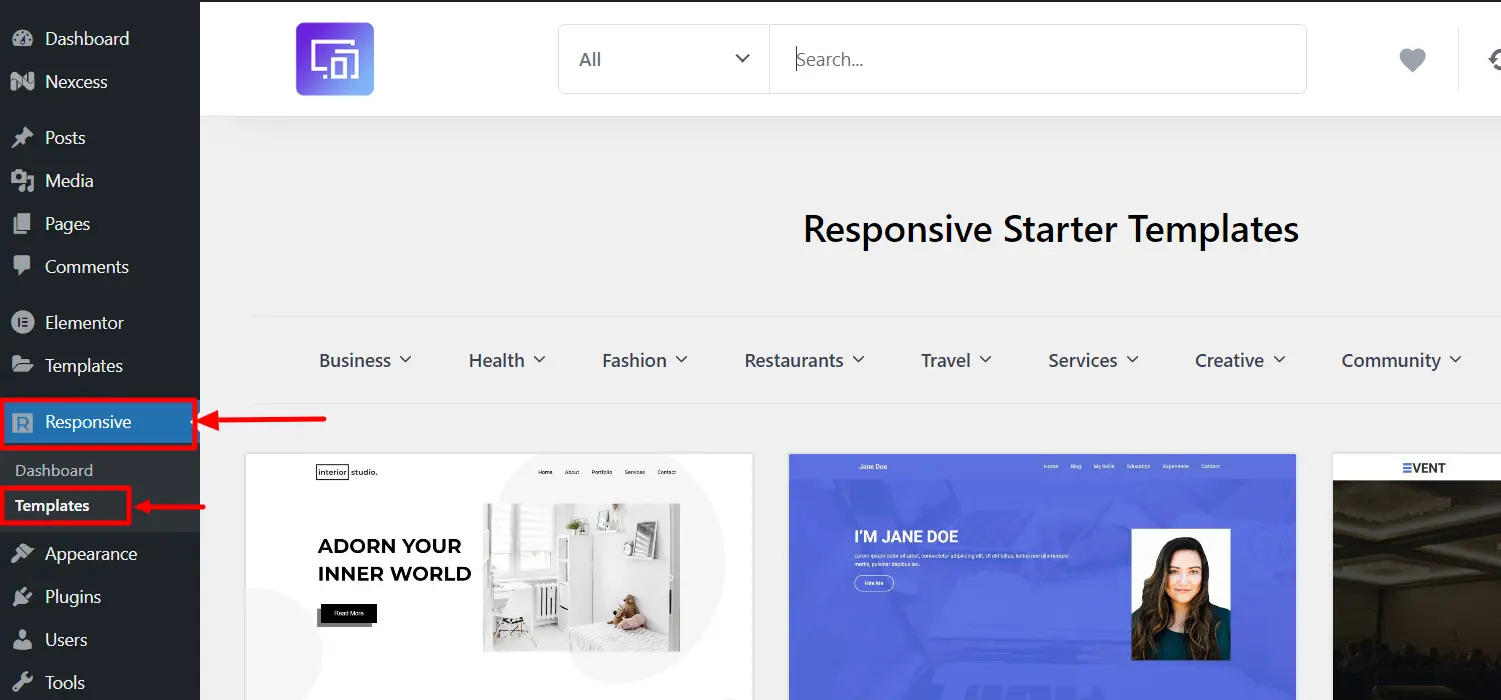
You will find these features there:
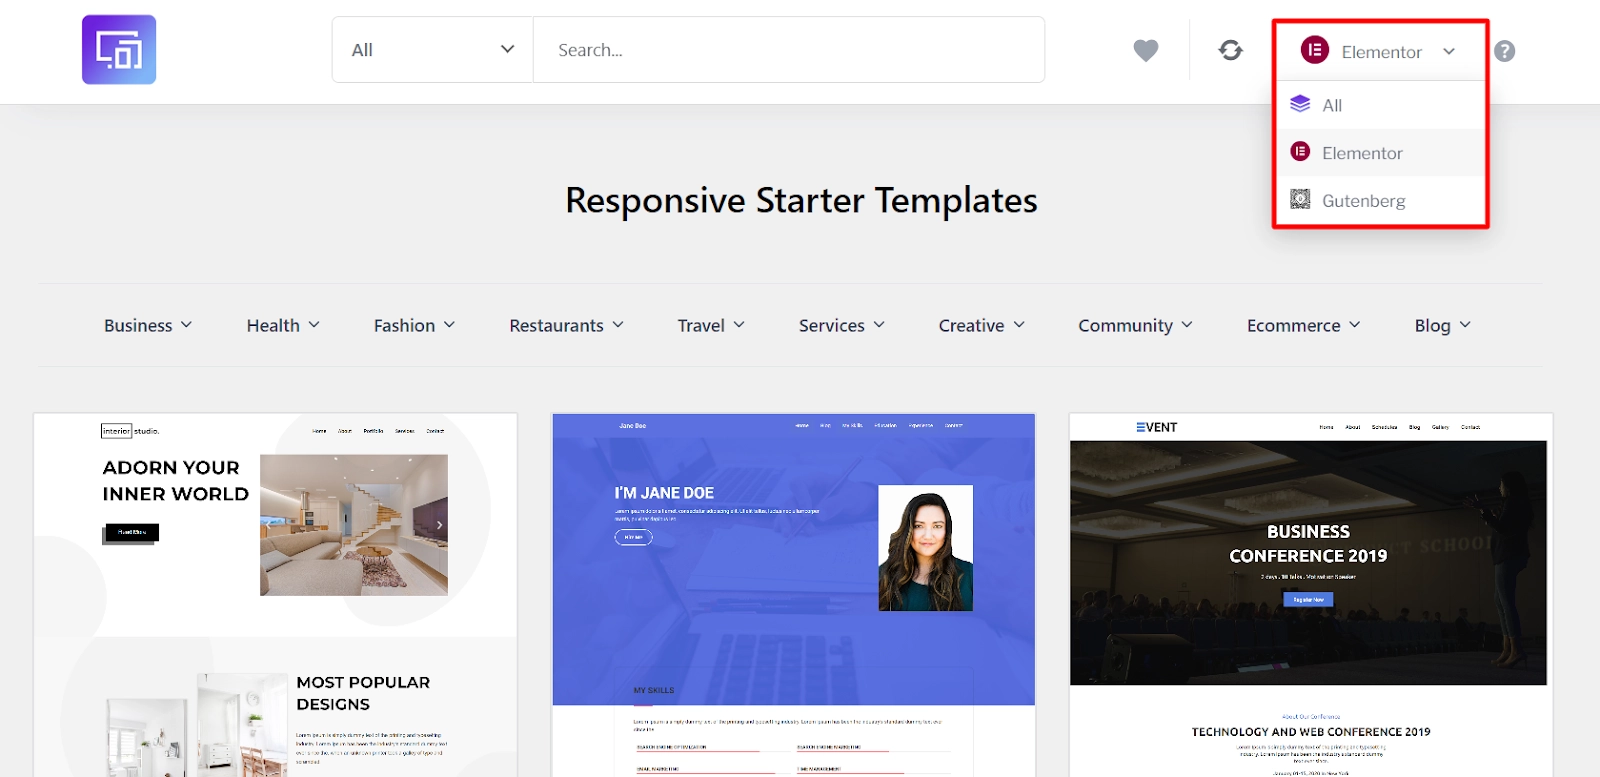
- Select Page Builder: In the library, you will see a Page Builder selector located in the upper right corner. You can select either All, Elementor or Gutenberg. By selecting your preferred Page Builder, the templates library will adjust accordingly.
- Sync Library: On the left, next to the page builder selector, you will find the Sync button. This feature can synchronize your website library with our server and refresh templates.
- My favorite: You can find the My Favorite feature next to the sync button. This option allows you to access all the templates you marked as favorites in the library. You can mark any template as a favorite by clicking a heart-shaped icon at the bottom of the template cover.
- Search Bar: The search bar is located in the middle of the library’s top part. You can type keywords to search for templates by their title.
- Filtering Options: Next to the search bar is a filtering option where you can select either All template or Free template or Premium templates.
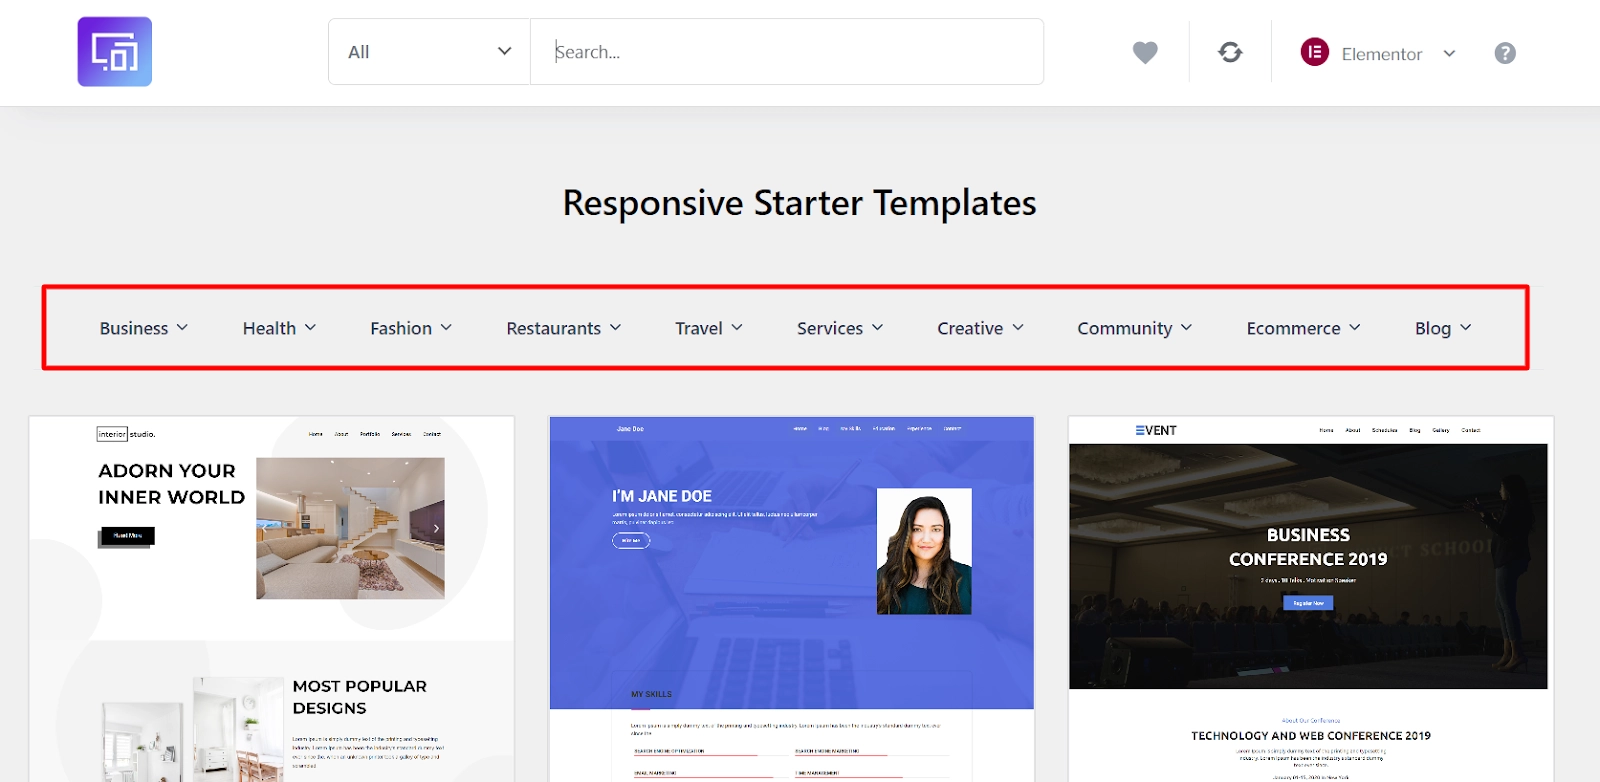
- Categorization: Below the search bar you’ll find different categories to select templates from.
- Browsing Templates: Templates in the library are presented with cover images. You can click on each template to preview it and browse through its different pages.
Still, if you don’t wish to search and filter templates, you can scroll down and browse the Library that way.
What Happens When I Import a Responsive Plus – Starter Template? #
When you import a Responsive Plus – Starter Template, you’ll have a fully functional website that looks just like our demos without additional customization.
This means you can get your website up and running quickly and efficiently with all the necessary components in place.
Once you have imported the website template, you only need to update the content, such as texts, logos, and images, with your own. This will complete the process of creating your website.
Further down, we will explain the differences between importing the entire websites and individual template pages.
How to Import a Complete Site #
Step 1: To import a complete site, click on the template you wish to import

Step 2: Click on the Import Site button.

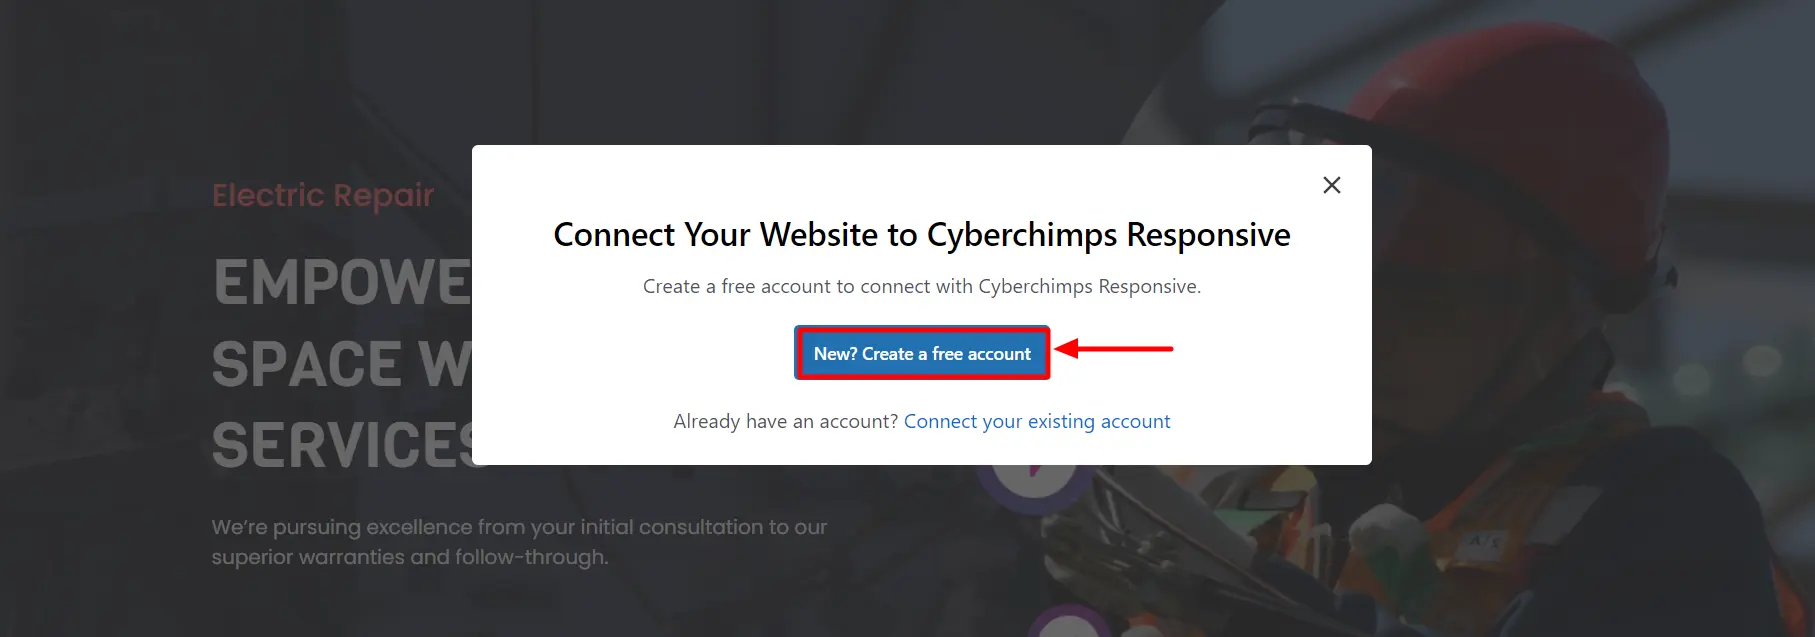
Step 3: Next, you will be asked to connect your website to Cyberchimps Responsive account.
[To learn how to connect your account, refer to this document.]
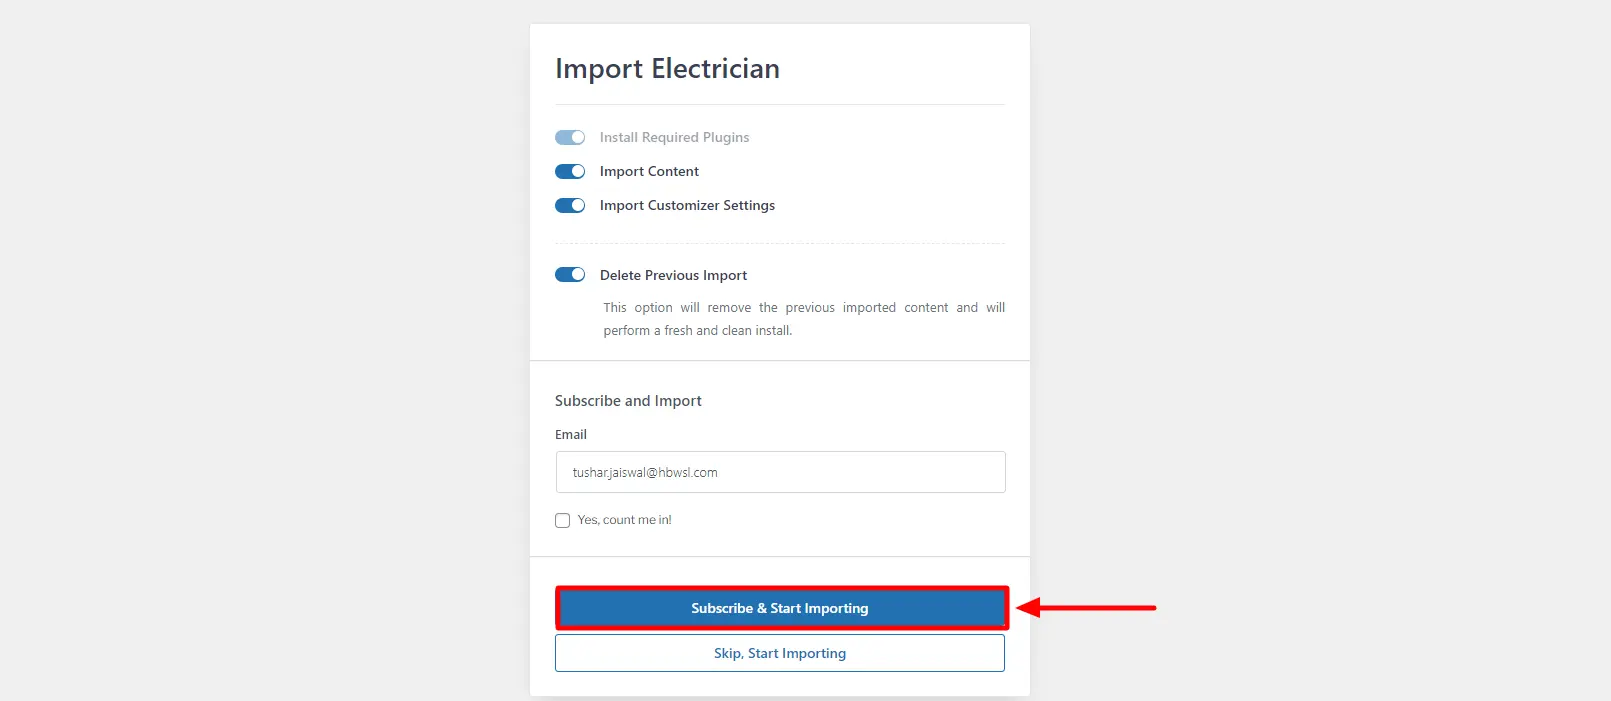
Step 4: Upon successfully connecting your website, this will take you to the following page, click on Subscribe and Start Importing.
Step 3: Next, click the Visit Website button to check the imported site.

When you import Responsive Plus – Starter Templates, the following actions will take place:
1. Our plugin will install and activate a Page Builder based on your selection. For example, if you choose an Elementor template, the Elementor builder plugin will be installed and activated as part of the importing process.
2. Some additional plugins may be installed and activated based on the selected template. These plugins can include WPForms Lite, WooCommerce, or LifterLMS among others.
3. Further, some premium plugins could be installed, like Responsive Blocks (RBA) and others.
4. If you uncheck Install Responsive Theme, a pop-up message will appear, notifying you that you must manually adjust settings since the templates work best with Responsive Theme.
Using Responsive Theme is the key to ensuring that your templates work seamlessly.
How to Import a Single Page Starter Template #
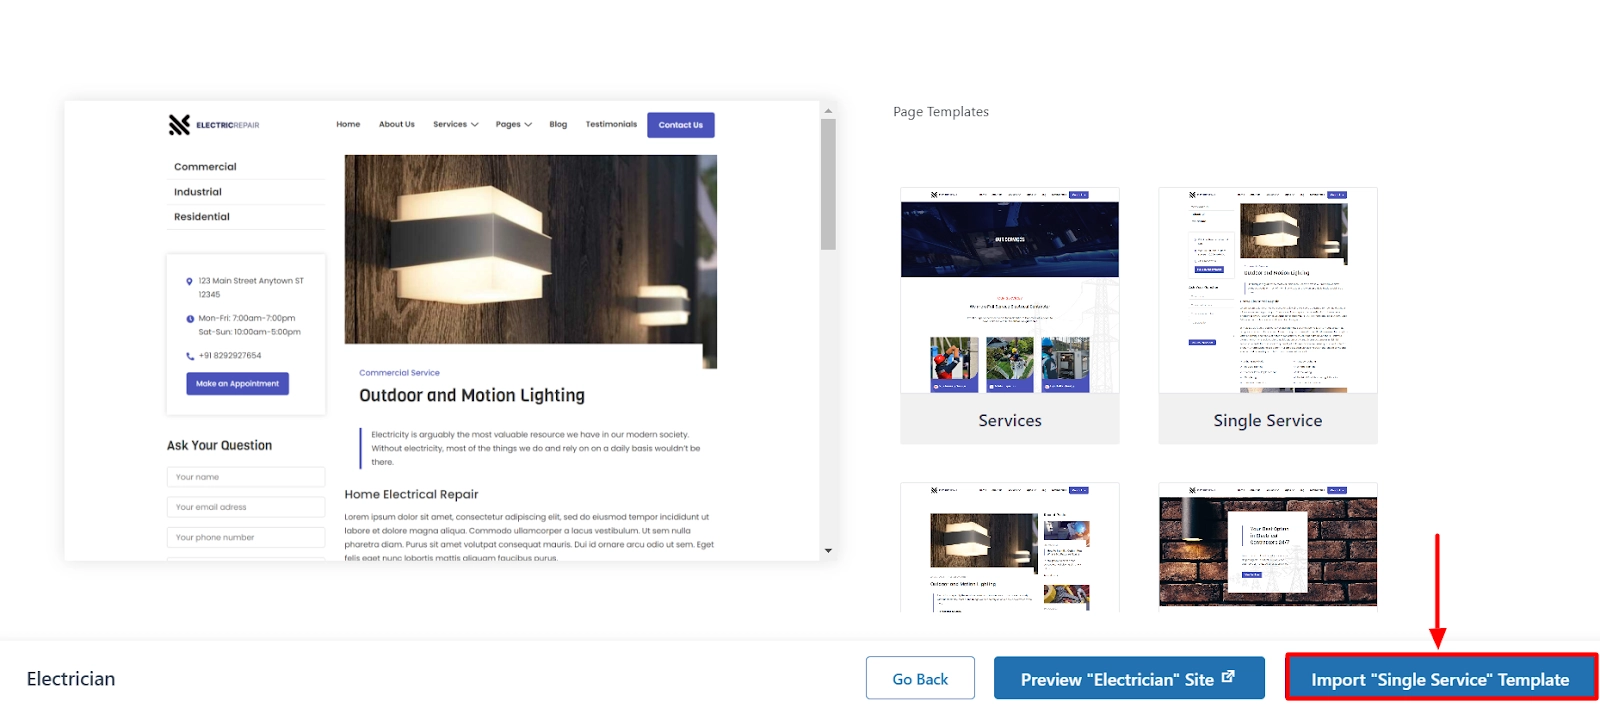
Step 1: Click on the template you want to import and select Import “Template Name” Template.
For instance, here we are importing the Single Services page of the Electrician template. So, we will click on the Import “Single Service” Template.
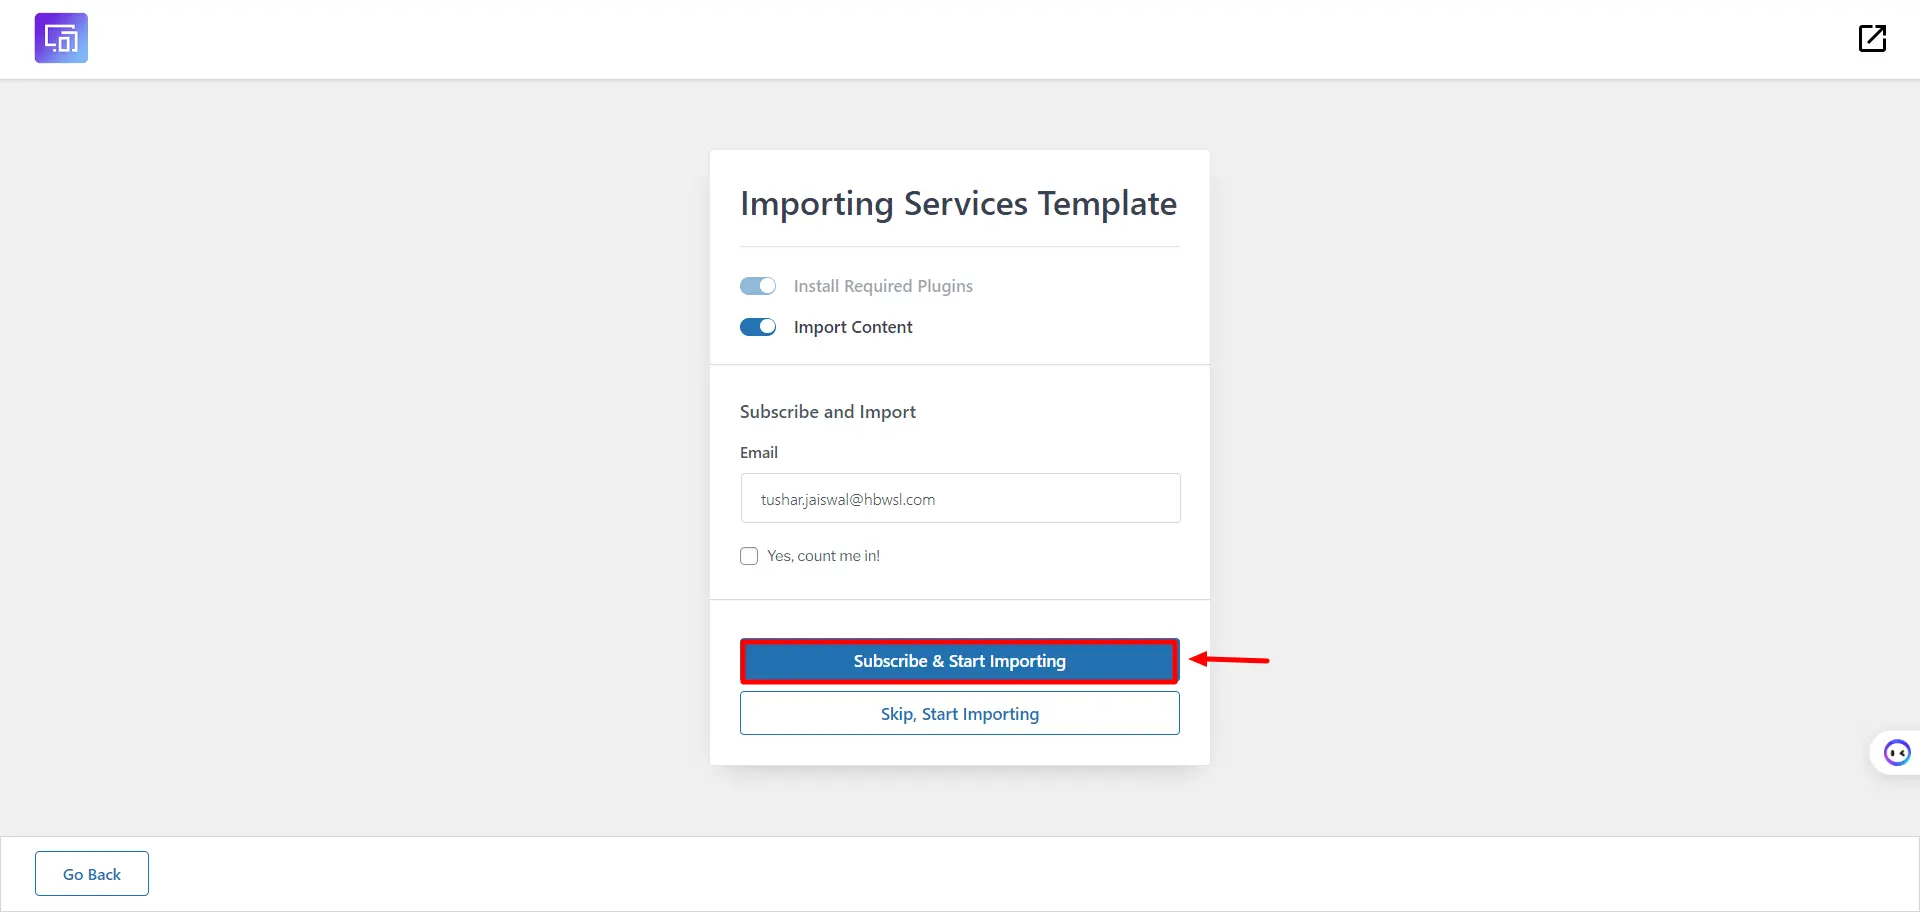
Step 2: Next, click on Subscribe and Start Importing.
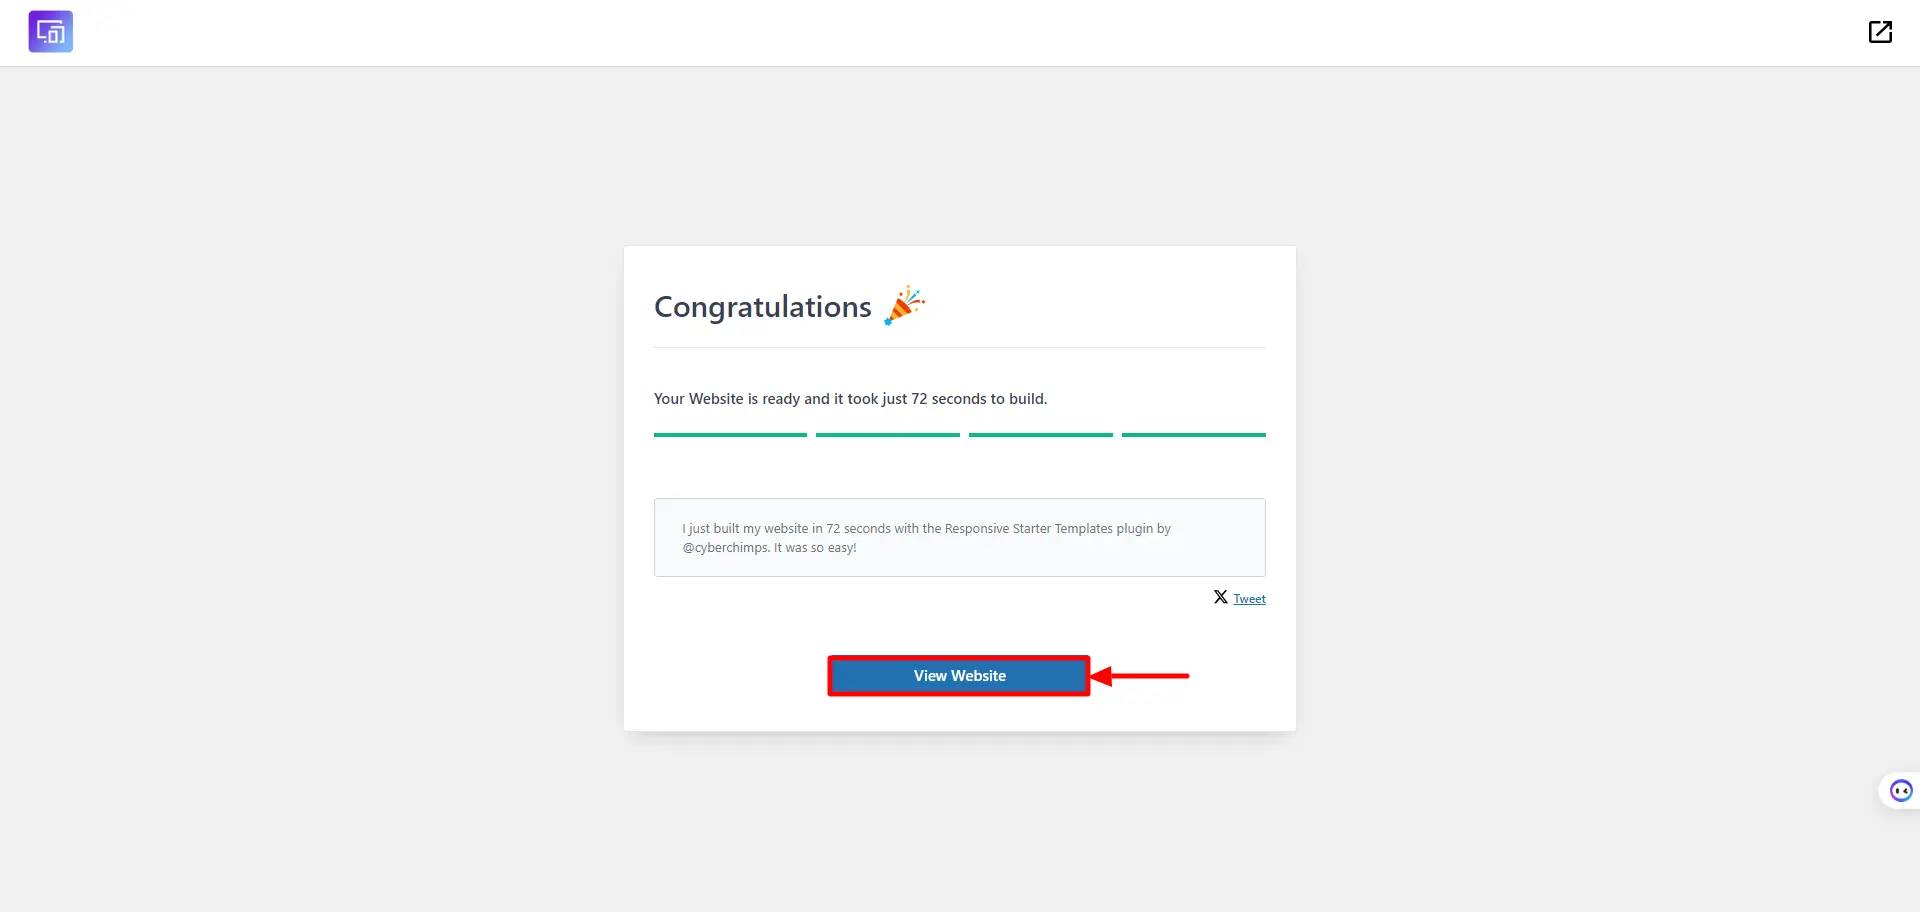
Step 3: Click on View Template to view the imported template.
And you have successfully imported the single page of the template to your website.
If you decide to import only an individual page (template), the import process will include only the following:
- Install a Page Builder depending on your selection;
- Add the single page template as a draft;
- Import dummy content only for the single page template.
If you use templates that work with plugins like WooCommerce or LearnDash, the import process will add the design, dynamic elements (widgets and modules), and required assets.dynamic data (WooCommerce products and LearnDash courses).


Leave a Reply